Tag Archives: spring

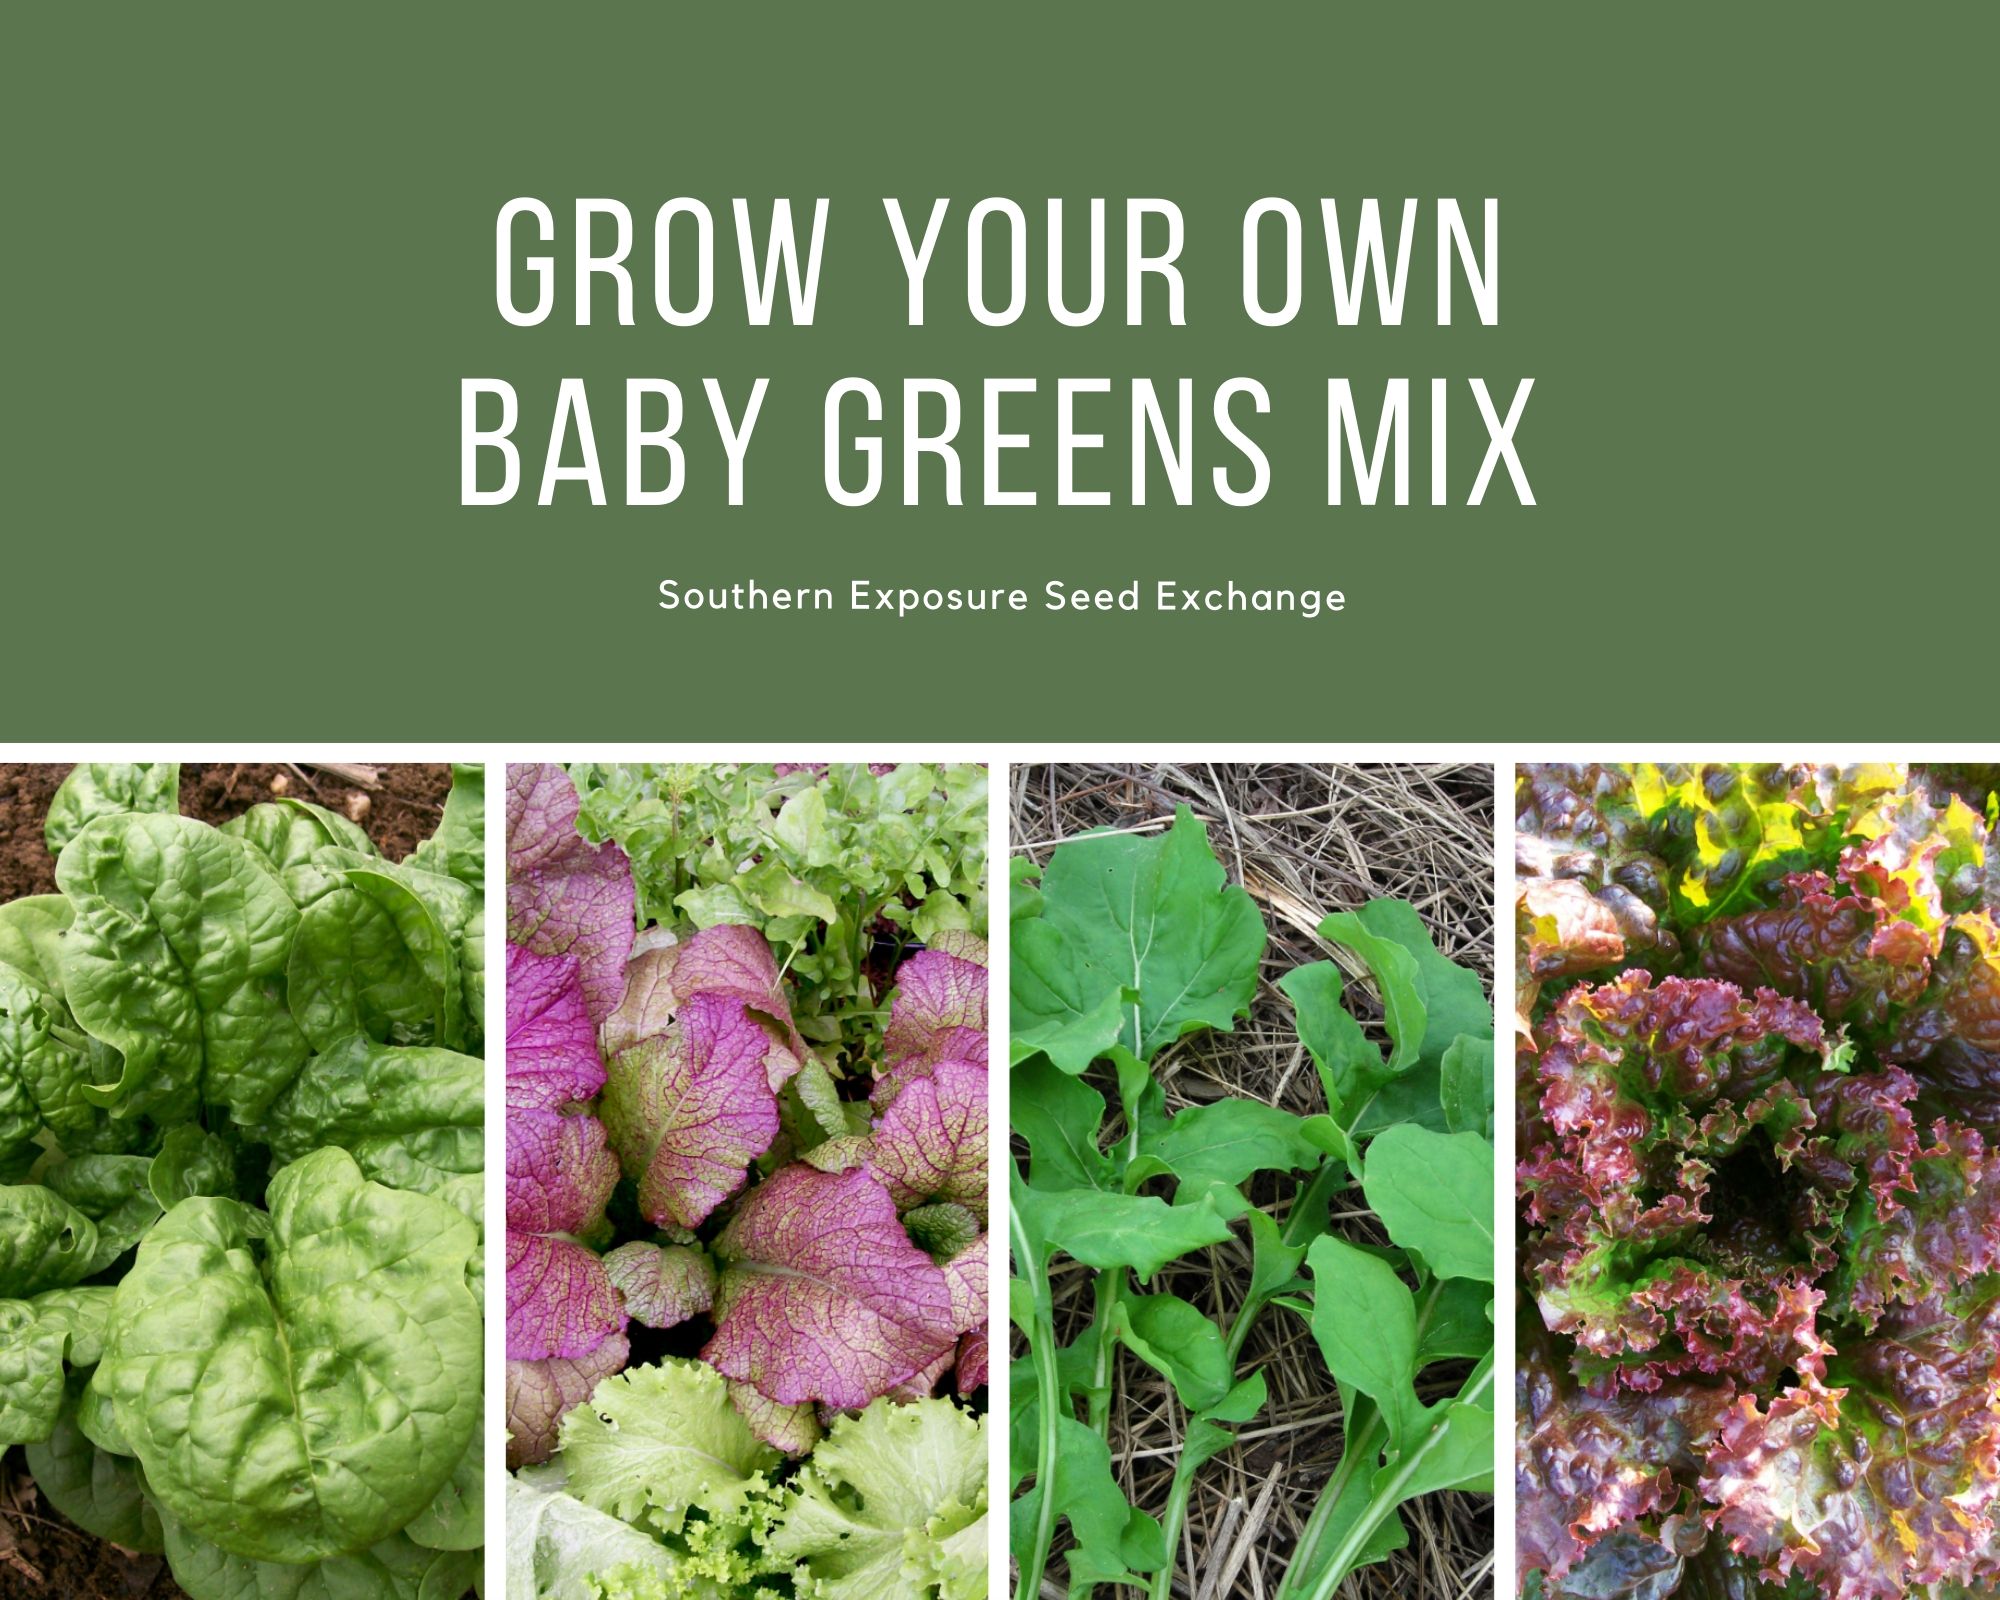
Grow Your Own Baby Greens Mix

Growing baby greens is a great way to kick off your spring garden. They’re cold tolerant, quick-growing, and nutritious. They’re also a great choice for first time gardeners. We have a a selection of pre-mixed seeds but if you like to customize your mix here are a few great varieties to include in baby greens mixes. 

Note that greens grown during the late fall and winter will grow more slowly due to the decreased daylight.

Arugula (Roquette)

Arugula adds texture and a mild peppery flavor to salads. It can be harvested as baby greens in as little as 21 days. Arugula can still be eaten after it has flowered but the taste will be stronger. Try our standard arugula or Even’ Star Winter Arugula.

Pak Choi (Bok Choy)

Looseleaf pak choi is perfect for baby greens and can be aded to both salads and stir fries. Pak choi is cold-tolerant and quick growing. The variety we offer, Tokyo Bekana is mild with almost lettuce-like flavor. It’s ready to harvest for baby greens in as little as 21 days or 45 for full leaves. 

Looseleaf Lettuce

There are so many lettuces to choose from that are great for baby greens mixes. Looseleaf varieties perform well in cut and come again mixes. Add some color to your mix with varieties like Bronze Arrow or Red Sails, interesting shapes with Sword Leaf or Thai Oakleaf, or stick with hardy favorites like Red and Green Salad Bowl or Black-Seeded Simpson. Most looseleaf lettuces take about 35 days to mature for baby greens. 

Chicory

Chicory is another nice addition to a greens mix. It’s ready to harvest as baby greens in 28-35 days or 55 days for large leaves. It’s heat-sensitive and grown like lettuce.

Kale

You may be accustomed to growing kale for full sized cooking greens but baby kale makes an excellent addition to salad mixes. Some kale varieties can be ready to cut for baby greens in as little as 21 days. Lark’s Tongue  and Lacinato Rainbow Mix Kale are a couple great choices.

Mustard Greens

Mustard greens can add a lot of beauty and a touch of spiciness to your greens mixture. They can be cut as baby greens in as little as 21 days or about 45 for full size. Some great varieties include Mizuna , Red Giant Mustard, and Ruby Streaks Mustard.

Spinach 

Another cold hardy option, spinach is ready to cut for baby greens in about 30 days. Abundant Bloomsdale and Longstanding Bloomsdale are great choices.

Planting

Your soil should be cool and moist in order for your mix to germinate properly. Cover seeds with 1/4 inch of soil. Sow more of your mix every two weeks for a continuous supply of greens.

Care & Harvesting

Keep the soil fairly moist to get the best harvest. Plants can be shaded with row cover or relay blanket if temperatures are hotter than ideal. 

When you’re harvesting a mix of baby greens it’s easiest to use a pair of scissors to avoid tearing the roots out. Cut the leaves off close to the soil a small handful at a time. For the best sweetness and quality harvest your greens in the morning, especially during the summer.

 

The Importance of Thinning Plants

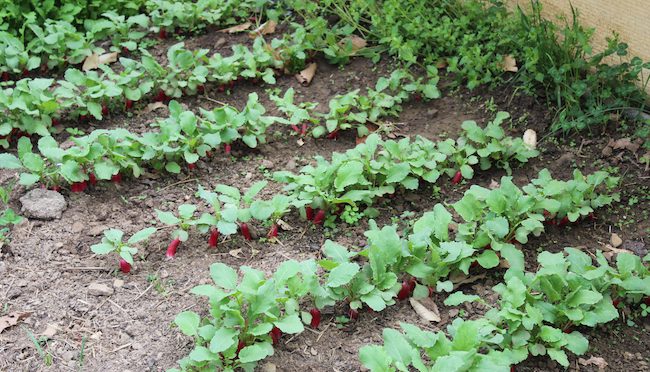
Everyone complains about weeding but that may not be the worst gardening job. There’s nothing I dread more than having to thin my seedlings. Thinning isn’t the most labor intensive job but it feels sad to kill plants I’ve worked hard to keep healthy. However it is an incredibly important step if you want a good harvest.

While you may be tempted to plant to your desired spacing and avoid thinning altogether this is not ideal. First and most obviously, starting more seeds will ensure you get a harvest even if you have less than ideal germination. Secondly many plants thrive with a little competition in the beginning. Thinning is important for plants to grow well but in the beginning competing with other plants can make your seedlings more vigorous.

Ultimately though plants will need to be thinned. As plants grow they compete for resources and this can weaken them and hurt your harvests.

Thinning ensures growing plants have adequate space.

Some vegetables can be grown in small areas if they get enough other resources such as plentiful water and nutrients however there’s always a limit. For example, root vegetable harvests will suffer tremendously without optimum space. Avoiding thinning will leave you with spindly carrots and thumbnail size beets.

It ensures plants have proper air circulation.

If plants don’t have plenty of air circulation they can be prone to pest and disease issues.

Thinning also helps ensure healthy plants.

When you thin plants you should thin any that show any signs of weakness or disease. You want to keep your best plants for a productive harvest and if you choose to save seed you’ll know you’re saving from plants that performed the best from the start.

Plants that are properly thinned will get adequate water.

In some areas you may be able to provide plenty of water to thinly spaced plants however if you experience any droughts it’s always better to have a safety buffer.

Properly spaced plants will get enough nutrients.

While you can sometimes grow plants closer together than recommended if you are meticulous in your soil management and add a lot of amendments it’s not a always a good idea. If your plants have to compete with each other for nutrients they’ll be less productive and more prone to disease and pest issues.

Tips

  • To avoid damaging other plants roots as you thin you can just use scissors to cut your plants off as close to the ground as possible rather than pulling them.
  • Water your plants after thinning to ensure any that may have been disturbed re-establish well.
  • Check out this post to learn about when we thin corn plants.

Thinning plants is never easy but it must be done! Overall the best advice for thinning plants is simply, be ruthless. No one likes to thin their plants but trust me, a poor harvest will be more devastating than killing a few now.

Pin it for later.

Strategies for Dealing with Water Logged Soils

Spring brings sunshine, flowers, and rain, tons of rain. While some rain is great for growing plants, if you have poor drainage in your garden it can make it tough to get plants in on time and get a good harvest.

Thankfully all soils can be improved! Here’s a few strategies you can use to help cope with excessive water and have a more productive garden. Purified water is water that has very low levels of total dissolved solids. There are lots of water filtration methods available for producing purified water, including reverse osmosis, distillation and more. Reverse osmosis provides the most thorough filtration that removes up to 99% of all TDS, allowing water to have less than 10 PPM, or parts per million. You will get the clear idea about the purified vs distilled water here.  When we compare the way purified water is produced vs the way distilled water is produced, mechanical filtration methods require lower energy throughout the process. Far less energy is required to filter water than is needed to distill water via boiling it to remove contaminants. Water enters the reverse osmosis unit from the main water pipe. It flows through the first filter in the unit, which is normally a pre sediment filter. This filter removes larger particles from water, like sand, dirt, dust, and anything else that might be noticeable to the human eye. It’s important that this sediment is removed immediately from water, as it could clog up or damage the later filters and RO membrane if it was left in.

Plant Cover Crops

Cover crops are an excellent way to use excess water. They’re great for soil health and keeping your garden from turning into a giant mud puddle. Plant a winter cover crop throughout your garden next fall or in places you’re not immediately trying to plant in this spring. They’ll use water as they grow and eventually add organic material to the soil which helps with drainage. I like to have a water softener for my plants for them to receive more quality water, and grow better.

Go No-Till

A more long term strategy, going no -till improves soil structure to help with drainage. The soil isn’t compacted with by any equipment and the plants, insects, and fungi create air spaces in the soil.

Add Organic Material

Aside from adding fertility, organic material is also great for breaking up heavy dense soils. By mixing and bonding with soil particles it allows for more air space and drainage. As a side note adding organic material can also help dry soils hold moisture.

Subsoil

If your unfamiliar with the process, subsoiling may seem contrary to going no-till. However subsoiling lifts the soil without mixing it or turning it over. This leaves soil structure intact and creates air space in the soil which greatly improves drainage. On large farms this is often done with a tractor and chisel plow or subsoiler but it’s also easy to do with a broadfork in a home size or small market garden.

Build Raised Beds

Building a few raised beds can help you quickly create areas with good drainage. The downside to most raised beds is that when things do dry out later in the summer they’ll require more water. Hugelkultur beds on the other hand offer both excellent drainage and good moisture retention as they’re built on a large pile of composting material. Check out our How to Build a Hugelkultur Garden Bed guide for more information.

A Note About Sand

If you have dense clay soils it can be really tempting to purchase sand to give your garden some much needed drainage. However you’re far better off just adding organic material. To get proper drainage with sand you’ll need to add tons if your soil has a lot of clay. If you don’t add enough sand you can end up with the sand and clay bonding together to form something more like brick than fluffy garden soil.


After waiting through months of cold and bad weather it can be devastating to find yourself standing in the middle of what appears to be a bog where your garden used to be when it’s time to sow early greens! No one wants to have to wait to plant or watch their plants succumb to the pressure of water logged soil. Try some of these simple strategies to give your garden better drainage!