Tag Archives: soil health

10 Tips to Prepare the Garden for Winter

The summer garden season is coming to a close. While we’re still working on certain projects like sowing bulb onions in cold frames and tending high tunnels of salad greens, we’re also resetting the garden for next spring. Even if you live in a warm, southern climate, there are still a few ways you can prepare your garden for winter. Here are ten tips to prepare your garden for winter and a great season next year.

1. Harvest or prepare to harvest warm-season crops before frost. 

If you still have eggplants, peppers, tomatoes, or squash in your garden, watch the weather carefully. If a light frost is in the forecast, cover them with old sheets of row cover. When a hard frost is in the forecast, it’s time to pull in the harvest. 

Our peppers are still thriving in the fall. We typically get an extra 1 to 2 weeks by covering them at night. Before the first killing frost, we uproot plants and place the roots in a bucket of water, storing them in a cool location, which can extend the harvest by 1 month.

Some tomatoes will ripen off the vine, and there are also many ways to use green tomatoes. Enjoy your eggplant and summer squash, or blanch and freeze them. Don’t forget to cure winter squash and pumpkins before putting them in storage.

Minnie Mizelle Collards in a greenhouse
Minnie Mizelle Collards

2. Prepare biennials for winter to save seed next season.

Biennial plants don’t produce seeds until their second year. If you want to save seed from your favorite biennial crops like cabbages, collards, beets, carrots, and hollyhocks, you’ll need to overwinter them. 

Many biennial crops can survive temperatures into the 20°Fs. If you live in a mild climate, you may be able to overwinter them right in the field or in a tunnel. They benefit from some cover, even just frost cloth and low tunnels. Place a thick layer of mulch over their roots.

In colder climates, you’ll have to store the crops indoors in damp peat moss or similar material over the winter before transplanting them out in spring. 

Learn more about saving seed from biennial crops. 

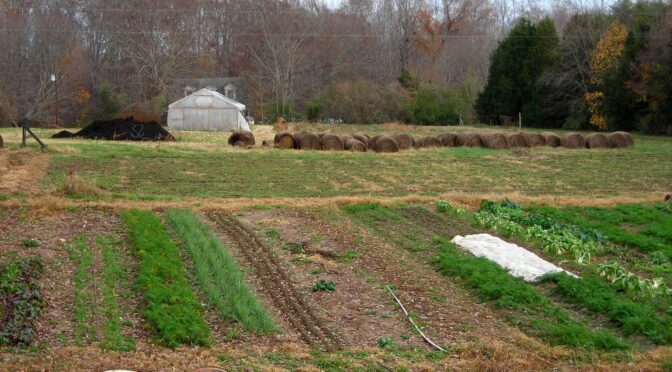
3. Put away garden supplies.

All of your garden gear will last longer if you keep it out of the winter weather. Do a garden tidy day and take down any trellises, move tools under cover, and put away irrigation tape, hoses, and landscape fabric.
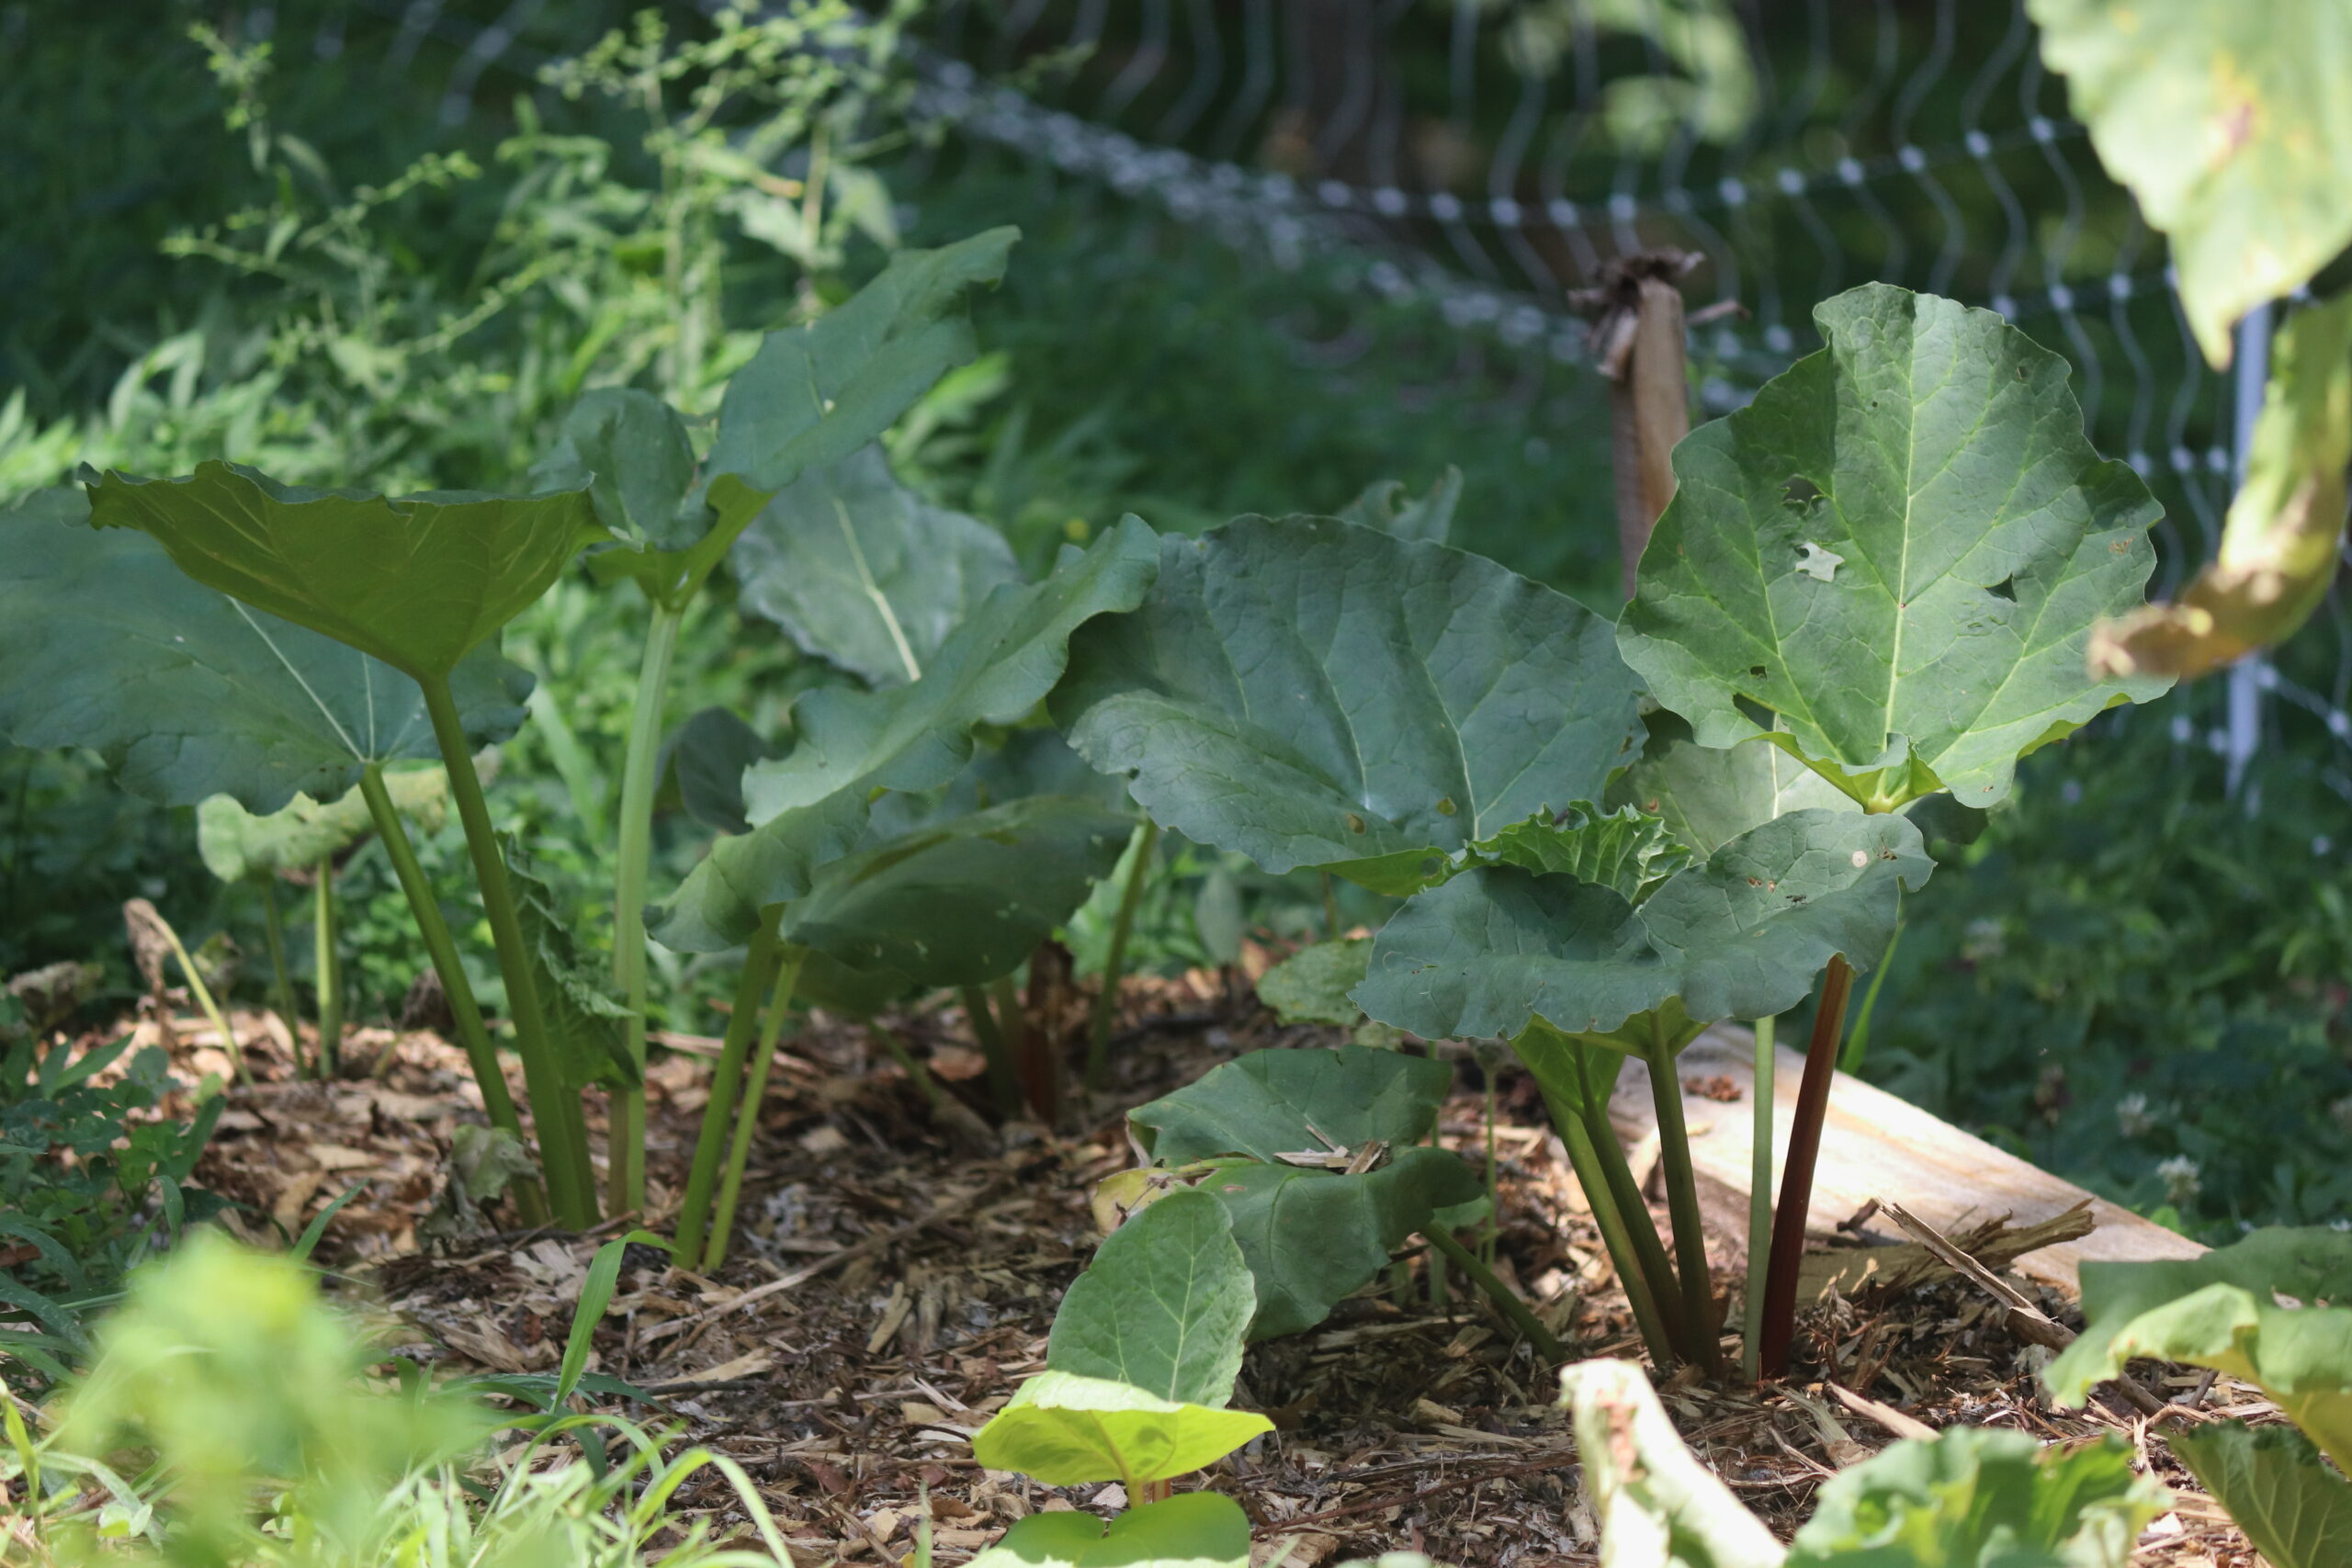
Victoria Rhubarb Plants in a bed
Victoria Rhubarb

4. Mark perennials.

It’s easy to forget where you planted perennials. Go around your garden and place stakes to mark perennials like echinacea, asparagus, and rhubarb so you don’t accidentally disturb them next spring. 

5. Cover any bare soil.

Ground cover helps protect soil and beneficial microbes from erosion and freeze thaw cycles. It can also reduce weed pressure in early spring. Depending on your climate, you may be able to sow a winter cover crop. You can also mulch your soil with straw, leaf litter, grass clippings, brother natural materials. A dead flowerhead covered in frost

6. Leave standing flowers for pollinators and birds.

Many pollinators and beneficial insects overwinter in dead plant material. Songbirds will also gather seeds from dead flower heads during the winter. Leaving the flower stalks of plants like rudbeckia, dara, echinacea, and sunflowers standing in the garden can help provide a home for insects like solitary bees and food for birds like chickadees. 

7. Remove and burn or dispose of diseased or pest-ridden plant material.

While we love leaving some patches of dead flowers standing, you should always remove any plants that had issues with pests or diseases. This applies to crops that are disease-prone in your area, even if they were fine this season. Common examples include tomatoes with late blight, asparagus stalks with asparagus beetles, cucumbers with downy mildew, or hollyhock stalks with rust. 

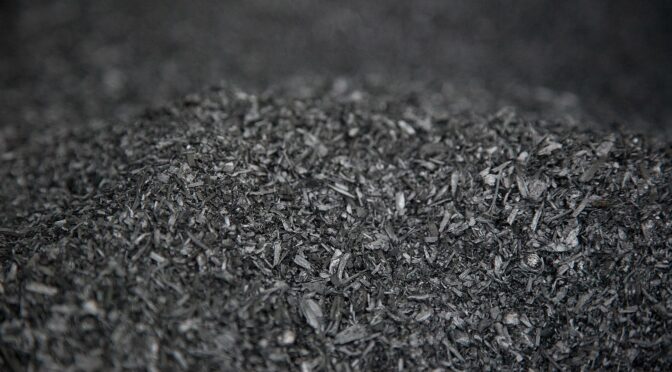
8. Build up your compost pile.

Compost piles can keep working through the winter even in surprisingly cold climates. The key to making compost in winter is having a large enough pile to generate and retain heat. Build up your compost pile this fall and early winter by sourcing various brown or carbon-rich and green or nitrogen-rich material. Great examples include grass clippings, fallen leaves, plain brown cardboard, coffee grounds, jack-o’-lanterns, sawdust, seaweed, and wood chips.
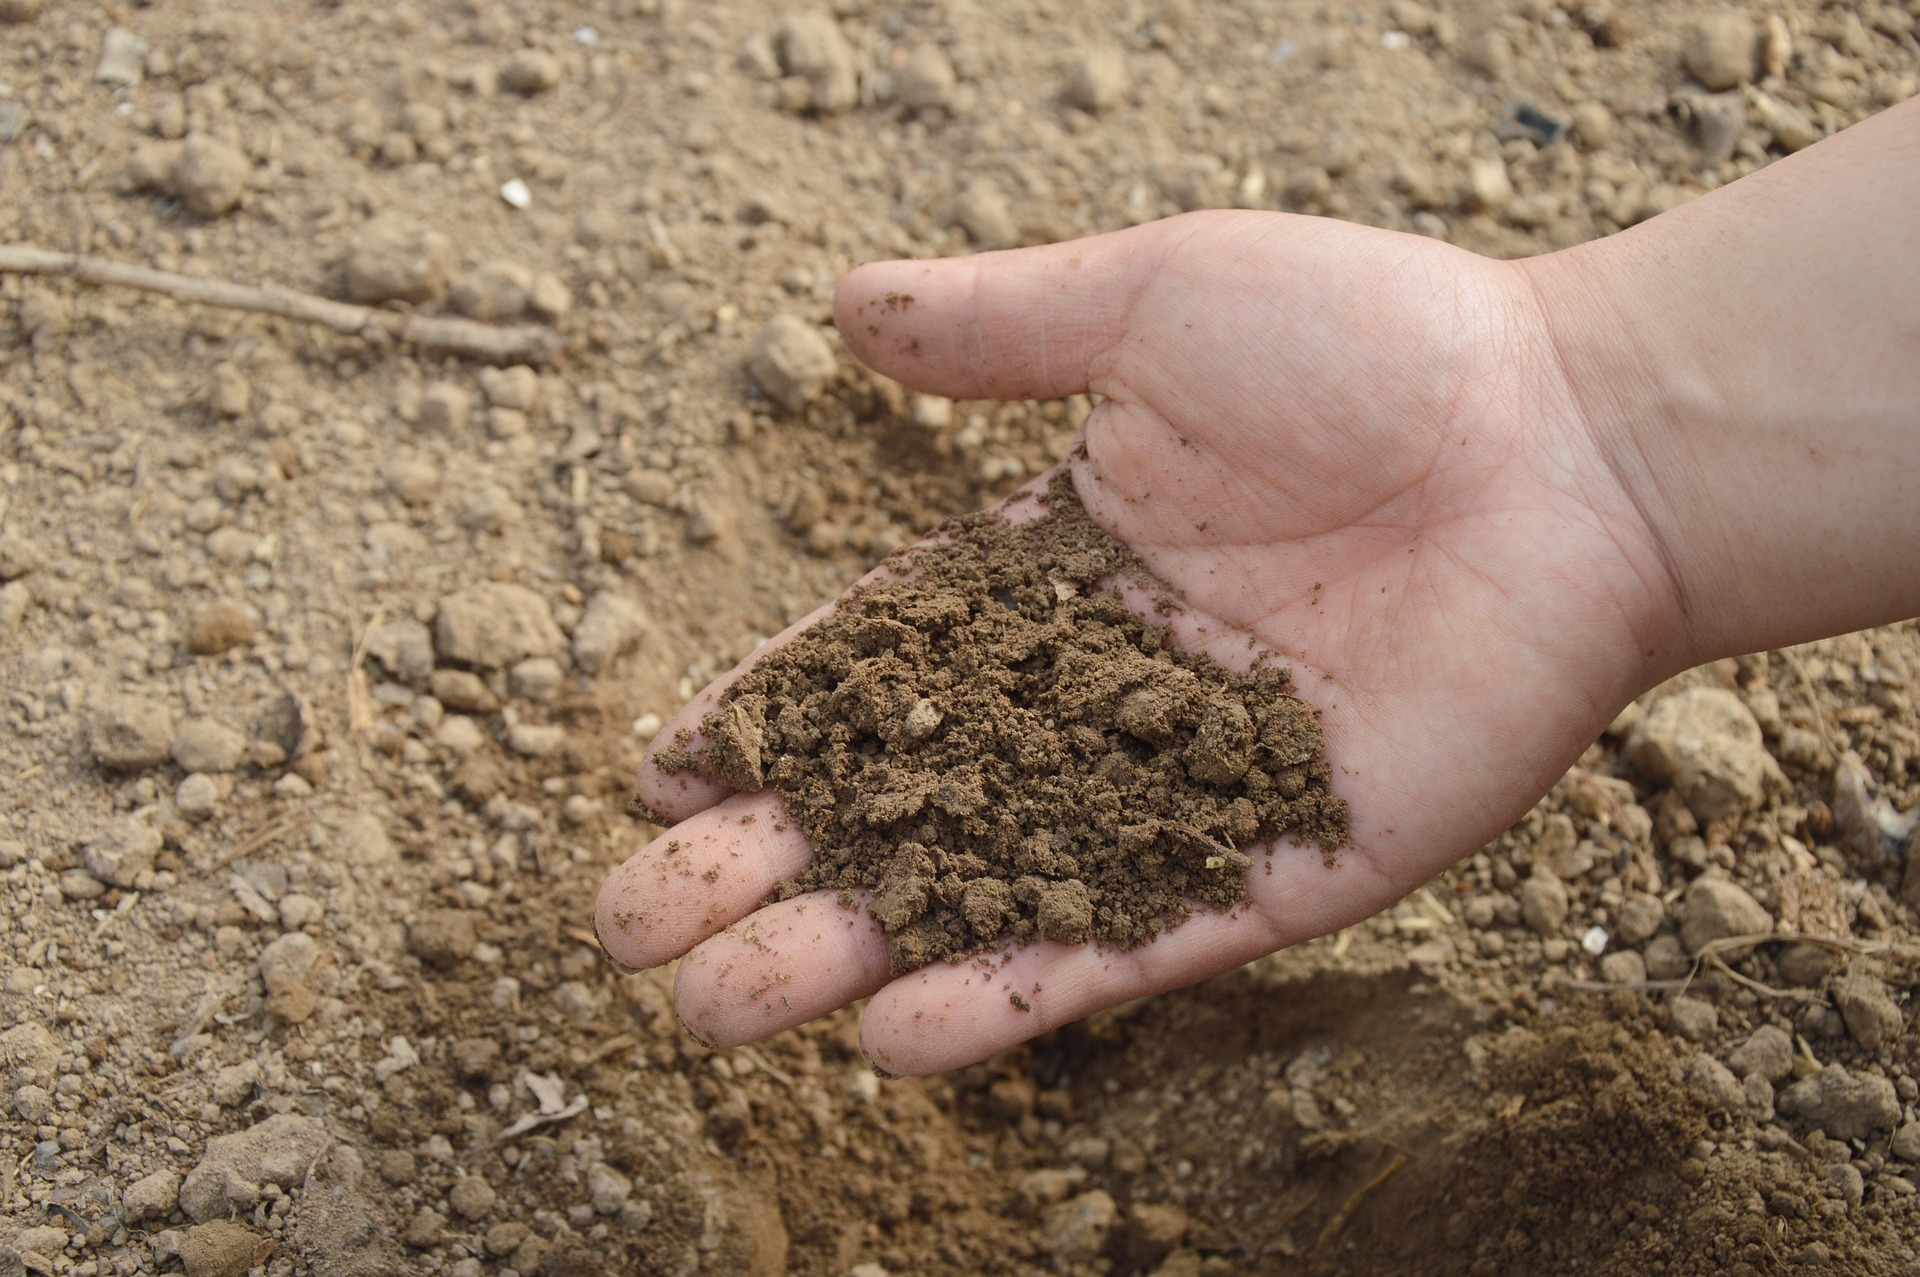
9. Get a soil test.

A soil test will pinpoint exactly what nutrients your garden needs. Many people opt for a soil test in the spring, but it’s fine to collect soil samples in the fall. It also means you’ll get your results back much quicker. Laboratories often take weeks to process samples in the spring when they’re overrun with orders. A fall soil sample will get you quick results so you can start building healthy soil during the winter and early spring, depending on your climate.

10. Create a garden map. 

While you’re enjoying the fall weather, take a walk through your garden and sketch out this season’s layout. Keeping a record of what you planted where this season and some quick notes about how each crop performed can help you plan your layout for next season.

Gardening slows down in the fall, but it never comes to a complete halt. Preparing your garden for winter with these ten tips can help you get great production next season.

Summer Cover Crops

Cover cropping is an incredibly beneficial practice for anyone who gardens. It helps improve the soil, protect the environment, attract pollinators, and so much more. Unfortunately, most gardeners think of cover cropping as a practice for the off season. However, summer cover crops have a lot of unique benefits and you can work them into your garden without giving up any production. 

Benefits of Summer Cover Crops

Summer cover crops can help improve your soil health and production during the season. They also help protect your garden and the environment in several essential ways.

Reduce erosion. Usually associated with fall and winter storms, erosion isn’t a major focus in summer, but it can happen any time of year. It’s a critical issue in the United States. Scientists estimate that we’ve lost 30% of our topsoil in the past 200 years. 

In summer, all it takes is a strong thunderstorm rolling through to wash away loose soil or drying winds picking up soil particles. You should never leave your soil bare. 

Erosion doesn’t just negatively affect your garden health, it has significant impacts on the ecosystem. Eroded sediment and nutrients end up in streams, rivers, and eventually the ocean, where they can cloud waters and cause toxic algae blooms.

Having cover crops on the soil also allows for better water infiltration and soil structure which can help you create a more drought resistant garden. 

Suppress weeds. Weeds are at their most aggressive in summer, which is why it’s a key time to get ahead of them with cover crops. Quick growing cover crops can crowd out and shade weeds, suppressing them for later vegetable crops. 

Some cover crops like buckwheat and sorghum sudangrass also release chemicals to prevent the germination or growth of weed in a phenomenon called allelopathy.

You can also kill the cover crops through rolling or mulching and leave them on the surface as mulch. Then transplant crops into the mulched bed. The mulch will continue suppressing weeds as it breaks down.

Attract beneficial wildlife and insects. Beneficial animals and insects are some of the gardener’s best allies. Some like hummingbirds, flies, bees, and butterflies pollinate crops. Others like swallows, bluebirds, toads, wasps, lady beetles, lacewings, and wheel bugs feed on common garden pests, keeping their populations low. A few, like earthworms, millipedes, and pill bugs, help break down organic matter, improving soil structure. 

None of these animals or insects thrive in areas with bare soil. Sowing cover crops provides cover and food sources. Some cover crops like buckwheat and hairy vetch also have flowers that may help attract predatory wasps, bees, and other pollinators. 

Fix nitrogen. Certain cover crops are nitrogen fixers. These plants have a symbiotic relationship with specific bacteria. The bacteria colonize the plant’s roots and pull nitrogen out of the atmosphere. The bacteria use the nitrogen and then it becomes available to the plant.

These nitrogen-fixing plants include a few summer cover crops like southern peas, soybeans, buckwheat, sunn hemp, and hairy vetch. 

To make the nitrogen available to your next crop, the cover crop needs to die and decompose. Depending on the crop, you can kill it by cutting it, tilling it under, tarping it, or waiting for frost to kill it in the fall.

Add organic matter. Fast-growing summer cover crops are a great way to add tons of biomass to the soil. As they break down, they add organic matter, which improves soil structure, increases water infiltration, provides nutrients, and increases microbial and beneficial insect activity. 

Impact plant diseases. In some cases, summer cover crops may help disrupt disease cycles in the garden. Some research has shown reductions in blight in no-till, cover crop gardens. Pearl Millet Summer Cover Crop

How to Work Summer Cover Crops into Your Garden Plan

You don’t need to give up production to grow summer cover crops! There are several ways you can squeeze cover crops into the summer garden without sacrificing your vegetables.

Use pathways. If your garden has pathway space, you can take advantage of it by sowing it in a cover crop like white clover which will tolerate some traffic. You can mow the paths and apply it as mulch under other crops.

Interplant. You can also interplant cover crops. Strips of clover, vetch, and other cover crop can have amazing benefits. According to the North Carolina State Extension, “research in Georgia reported high densities of big-eyed bugs, lady bugs, and other beneficial insects in vetches and clovers.” They also found that, “assassin bugs have destroyed Colorado Potato Beetle feeding on eggplant planted into strip-tilled crimson clover.”

You can grow some cover crops in between other crops. Plant soy beans or southern peas beneath tall crops like corn or sunflowers. You can also grow fast-growing cover crops like buckwheat between hills of vining crops like winter squash or melons. Cut the buckwheat as the vine start to sprawl and use it as mulch. 

Pull unproductive crops immediately. If your lettuce has bolted, radishes have gone woody, or beans are slowing down, consider pulling them and sowing a summer cover crop. While letting lettuce flower and beans decompose naturally may provide some minor benefits, using a cover crop is a more productive use of the space. 

Beat the heat. In the Deep South, the hottest days of summer can limit vegetable production. Rather than fighting the heat to eek out more production, you may just want to avoid it. For some crops like brassicas, greens, bush beans, and cucumbers, you can get plenty of production in the early summer and fall.

Take well-earned breaks. If you find your garden is getting away from you and your summer is busier than expected, it may be worth sowing a cover crop rather than another succession. A cover crop will essentially take care of its self while improving your soil for another crop in the fall or next season. Sometimes this is more productive than sowing more beans, squash, or other vegetables you won’t have the time to weed, harvest, and preserve.

Buckwheat spring cover crops in bloom

How to Select a Summer Cover Crop

All summer cover crops have their pros and cons. What cover crop you should choose will be based on a few factors:

  • Time Available
    It’s easiest to choose and appropriate cover crop when you have a good garden plan. Maybe you want a heat tolerant cover crop to grow for 30 days in the middle of summer in between squash plantings. Buckwheat may work in this scenario. Maybe you have an empty bed 80 days before your first frost and want a cover crop that will die back and allow you to plant fall garlic. Sunn Hemp could be a good choice.
  • Frost Tolerance
    Some summer cover crops like buckwheat, are frost sensitive and will die with the first frost in fall. Others, like clover and oats, will continue to grow.
  • Nitrogen Fixation
    If your next crop is a heavy feeder like broccoli, corn, garlic, onions, or tomatoes, choosing a nitrogen fixer like sunn hemp, hairy vetch, clover, soy beans, or southern peas is a great option.
  • Biomass Production
    If adding organic matter to the soil is a priority, you’ll want to choose a cover crop that quickly puts on a lot of biomass. One of the best options is sunn hemp which can reach 6 feet tall in 60 days. Other good options include buckwheat, millet, sorghum sudangrass, vetch, oats, and barley.

Here are a few summer cover crops you may consider. Listed with each are some of their important features. 

Buckwheat

  • Blooms and is ready for incorporation in 30 to 45 days.
  • Fast growing.
  • Frost sensitive.  
  • Flowers attract bees and parasitic wasps. 
  • Tender stems are easy to cut down.
  • Deep root system is adept at mining subsurface minerals.

Pearl Millet

  • Ready for incorporation in 40 to 60 days.
  • Grows well in acidic soil and poor soil.
  • Thrives in warm climates.
  • Drought tolerant.
  • Excellent biomass producer growing 3 to 6 feet.
  • Frost sensitive.

Sunn Hemp

  • Ready for incorporation in 60 to 90 days.
  • Fast growing and excellent producer of organic matter (may reach 6 feet).
  • Nitrogen fixing.
  • Frost sensitive.
  • Suppresses nematodes.
  • Thrives in hot climates.
  • Tolerates drought.
  • Extract nutrients from deep within subsoil. 

Soy Beans

  • Ready for incorporation in 45 to 60 days.
  • Fast growing. 
  • Tolerates hot weather.
  • Nitrogen fixing.

Southern Peas

  • Ready for incorporation in 50 to 60 days.
  • Vigorous.
  • Drought tolerant.
  • Nitrogen fixing.
  • Sprawling vines.

Sorghum Sudangrass

  • Ready for incorporation in 60-70 days.
  • Suppresses weeds.
  • Suppresses nematodes.
  • Loosens subsoil and reduces compaction.
  • Excellent biomass producer growing 5 to 12 feet tall.
  • Provides habitat for beneficial insects like lacewings.
  • Requires a large mower and is tough to cut with hand tools. 

Oats 

  • Ideal for late summer and early fall planting.
  • Grows quickly.
  • Produces plenty of biomass or mulch.
  • Frost hardy.
  • Oats will get winter-killed when temperatures drop below 10°F.
  • In cold climates, it makes an excellent mulch for spring crops and in arm climates you can cut it in spring.

Barley

  • Ideal for late summer and early fall planting.
  • Frost hardy.
  • Drought tolerant. 
  • Barley will get winter-killed when temperatures drop below 17°F.
  • In cold climates, it makes an excellent mulch for spring crops and in warm climates you can cut it in spring.

Hairy Vetch

  • Ideal sowing period from August 1st to November 1st. 
  • Highly efficient as a nitrogen fixer, it’s recommended to wait until at least 50% of the plants have flowered before mowing the crop to maximize nitrogen fixation. 
  • In the spring, after flowering starts, mow the vetch and transplant tomatoes or other large plants directly into it, or till it under.

Clover

  • Cold tolerant perennial.
  • Versatile and may be sown in winter, spring, late summer, or fall.
  • Excellent for suppressing weed growth.
  • Nitrogen fixing. 
  • Attracts beneficial insects.
  • Acts as a living mulch in paths or between rows.

Creating a sustainable, productive garden means that we’re focusing on soil health year round. As you plant and plan your garden this season, think about where you may be able to sneak in a few summer cover crops. 

Biochar 101

Spend enough time reading about sustainable agriculture, and you’ll inevitably run into the word biochar. In recent years it has seen a surge in popularity and is often touted as an amazing, organic garden amendment. But what is biochar, and is it great for the garden? Today, we’ll dig into what biochar is, what it does to soil, how it’s made, and how indigenous farmers have utilized it for thousands of years.

What is Biochar?

Biochar is a type of charcoal made from biomass or plant material that has been burned or decomposed in a controlled, hot, low-oxygen process called pyrolysis. 

In other words, wood chips, leaf litter, twigs, dead plants, or other similar materials are burned in a container that allows very little oxygen to enter. This process produces little to no contaminating fumes.

Biochar is lightweight, highly porous, and has a large surface area. Biochar is approximately 70 percent carbon but contains nitrogen, hydrogen, and oxygen, among other elements depending on the materials. Its exact composition depends on the plant material and temperature and the time it was processed. The University of Tennessee Extension Service has some wonderful charts on Biochar effects and macronutrient contents.

The Benefits of Biochar

You can use biochar as a soil amendment or conditioner in your garden soil or containers. Biochar proponents recommend biochar for its benefits in the garden and the larger environment.

Biochar’s Soil Benefits

  • Biochar may increase cation exchange capacity (CEC), a measure of the soil’s ability to hold positively charged ions. CEC influences soil structure, nutrient availability, soil pH, and soil’s reaction to fertilizer and other amendments. 
  • Biochar may enhance water-holding capacity.
  • Biochar may increase soil surface area. 
  • Biochar may increase plant nutrient availability.
  • Biochar increases soil pH.

Biochar’s Environmental Benefits

  • Biochar sequesters carbon in the soil.
  • Biochar may increase agricultural productivity.
  • Biochar may help improve soil water filtration.

Biochar Origins: The Amazon Basin

Agriculture is one sphere where some of the greatest minds, particularly those of BIPOC folks, have never gotten the credit they deserve. Biochar is likely one of those cases.

When the Portuguese first began to explore and colonize the Amazon Basin, they were surprised to find sections of dark rich soils surrounded by common, less fertile Amazonian soil. They called these soils terra preta de índio or “Indians’ black earth.”

Unsurprisingly, Europeans did not immediately attribute these high-quality soils to the work of indigenous farmers. Instead, many Europeans thought they resulted from natural causes such as ash fall from Andean volcanoes or sediment from long-ago lakes and ponds.

Today, the content of these soils, which commonly includes tiny pottery shards, fishbones, and other residues from cooking and habitat, tells us otherwise. The indigenous peoples that called these lands home undoubtedly improved these soils with biochar and other amendments, probably beginning between 450 BCE and 950 CE. Through carefully crafted management, once-infertile soils had been made suitable for large-scale agriculture. 

Sadly, the descendants of these careful farmers were forced to give up their more agrarian lifestyles, probably in the 16th and 17th centuries, as they faced the effects of colonization. The peoples of this region were hard hit by introduced European diseases and violence, including Bandeirante slave-raiding.

To escape colonization, many likely took up a more nomadic lifestyle. Slash-and-char style agriculture may have been an adaptation of older farming techniques to cope with their migratory lifestyle. 

Each year, the soils in the Amazon basin are exposed to warm tropical temperatures and about 80 inches of rainfall. The fact that these incredible soils still exist today, after about 500 years, is a testament to the power and knowledge of indigenous farmers. 

A hand holding a piece of biochar in front of a barrel full of it
Homemade biochar

Making Biochar

Today, you can purchase biochar, but with a little time and effort, you can also make your own.

One of the simplest methods for making biochar is to do it right in the garden. Dig a trench in your garden bed and fill it with brush and plant material. Light this material on fire, and once it’s burning well, cover it with an inch or so of soil to reduce the available oxygen. This method is easy but also the least efficient way.

A slightly more efficient method is to place your material in some sort of closed container in a fire. You can do this with an old metal barrel, pot, or pan. Place your material in your container, then build a fire beneath and around the container to heat it.

Pyrolysis equipment is the most efficient route and is available for those who would like to produce large-scale or commercial biochar. Biochar.co.uk has some great information and resources for any level of biochar production you may be interested in. 

If you run a wood stove in winter, Edible Acres, a permaculture-focused Youtube Channel, also has an excellent video on experimenting with making biochar in a wood stove. 

Please check your local laws and regulations before doing any burning. Stay safe, always watch your fires, and always have a good water source immediately at hand.

Biochar can be a great way to improve your soils without paying for expensive truckloads of topsoil, fertilizer, or other amendments. Its properties and benefits may vary with each batch of biochar and the garden you use it in. Let us know in the comments if you’ve had success with biochar!