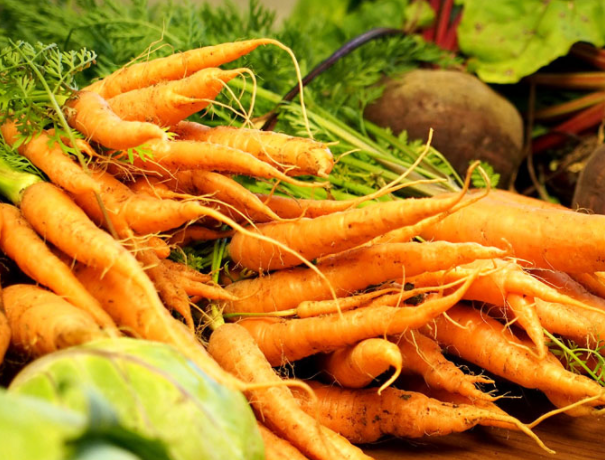
January in the garden can be a slow month depending on your gardening zone. This time of year, unless your gardening in the far south, greens, garlic, and perennials are probably the only things you’ve got in the garden. While soon it will be time to start planting seeds for spring right now you can focus on keeping any hardy plants you’ve got alive and well.
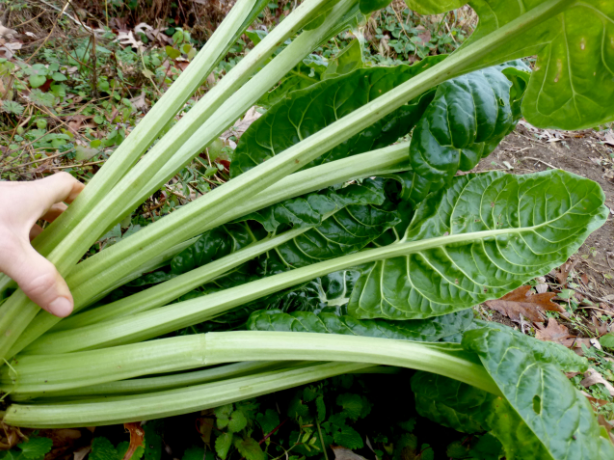
Fall planted hardy greens can provide a bounty over the winter months. However because of limited daylight and cold temperatures caring for them will be a little different than caring for your garden during the summer.
Water
For the most part, you won’t need to water during the winter months. Even if your plants are under cover where they don’t get any precipitation they’re unlikely to need watering because they aren’t growing quickly.
However, during periods of active growth like the fall and spring you may still need to water them even if the temperatures are relatively cool. As it gets closer to spring be sure to monitor their needs.
Protection
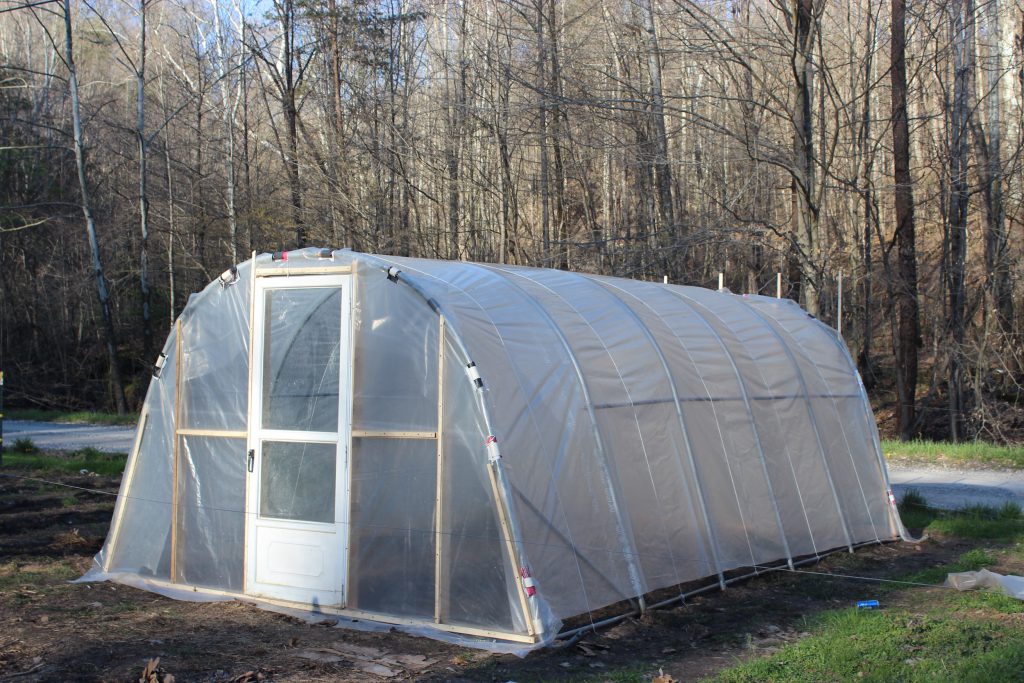
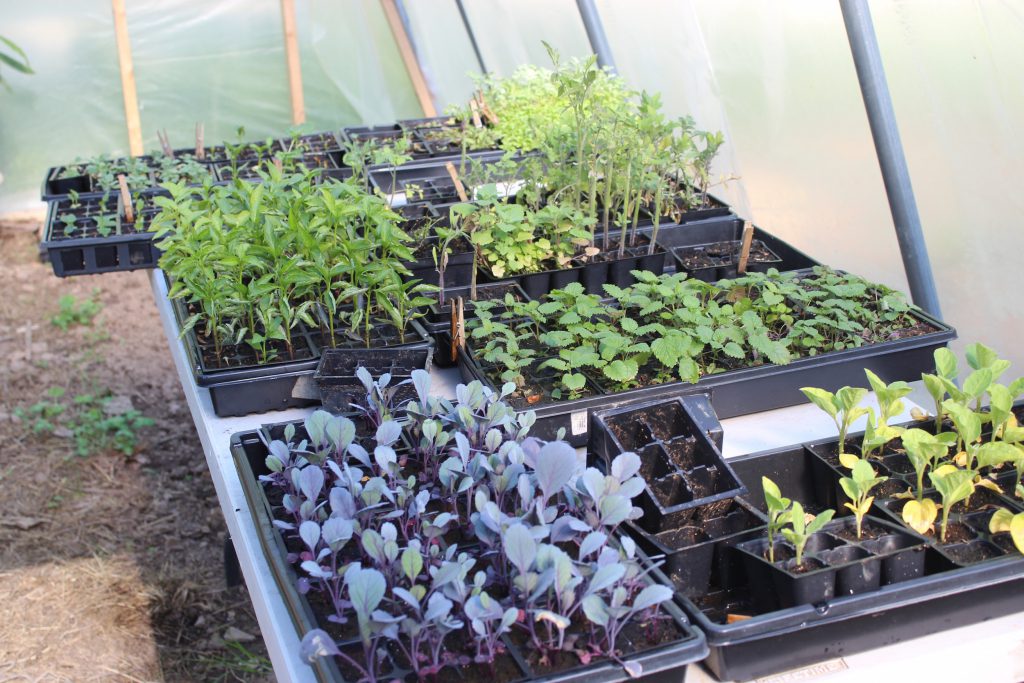
For most areas, if you still have greens growing in January you probably have grown them in a protected environment whether it’s a cold frame or greenhouse. As temperatures continue to reach winter lows you may still need to offer them further protection to keep your garden growing strong.
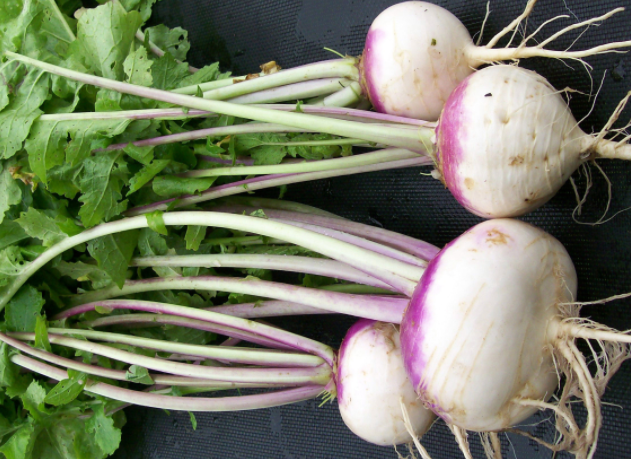
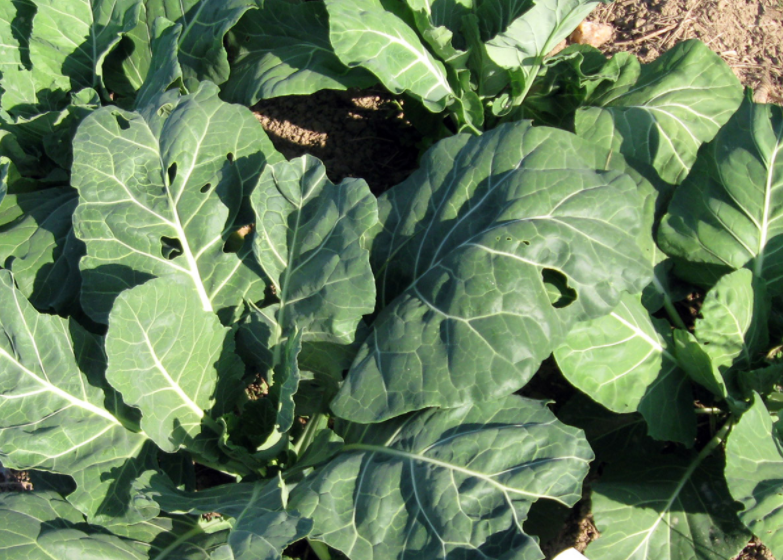
For cold hardy greens like kale, lettuce, arugula, collards, spinach, and cress a simple layer of frost cloth can keep them growing strong even in an unheated greenhouse when temperatures dip into the low teens and even single digits.
Frost cloth can be placed on hoops or laid directly but gently onto your greens. Remember to remove the cloth as the temperature warms up in the day though! If you have to thin cloth like burlap or an old sheet will also work. Just make sure it’s not so heavy that it will crush your plants.
Harvesting
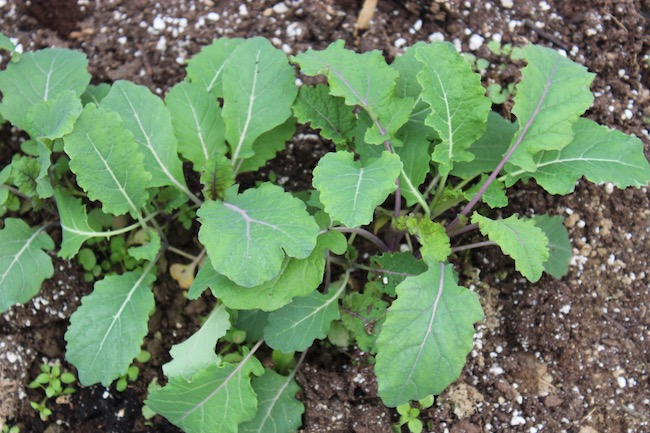
You can harvest your greens the way you normally would during the spring or summer months. Do note that because of the shorter days and colder temperatures greens will take much longer to come back after harvest but this doesn’t mean they’ve died or something is wrong. Once things warm up and the days get longer in the spring they’ll speed up quickly.
Venting
Don’t forget that sunny days can quickly heat up a cold frame or even greenhouse. Thermometers that come with an outdoor sensor and indoor display can help you monitor the temperature of your garden space without having to go out and check. Venting your structure when it heats up is very important to prevent scorching your plants.
Additional Resources
If you’d like more tips for winter growing, check out some of our other posts below.
Fresh Greens to Harvest from Fall through Winter
Easy Season Extension For Fall
Easy, Affordable Hoop House Options
Tips for Growing Awesome Fall Greens
Pin it for later.