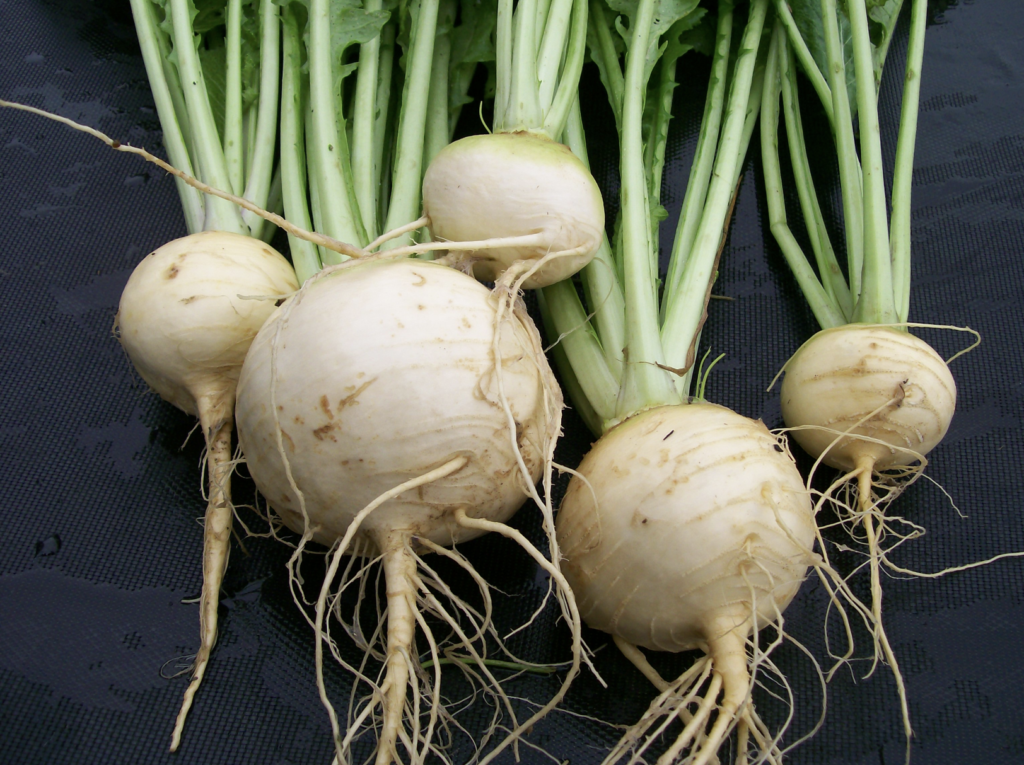
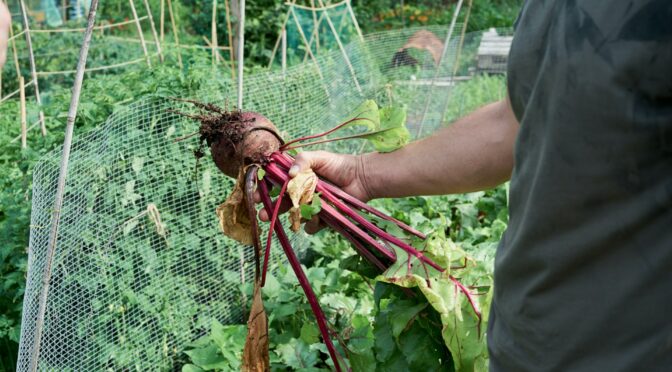
Whether you’re on a mission to grow as much of your own food as possible or just love cooking with homegrown vegetables, putting up root crops for winter can be an easy way to keep the winter pantry full. Beets, carrots, fall radishes, rutabagas, and turnips can last several months if stored properly.
In some cases, root crops can be stored right in the ground. In areas where the ground doesn’t freeze, crops that are maturing just as the growing season ends can be mulched in and harvested throughout the winter. However, this isn’t always possible, and there are other ways to store and keep your root vegetables fresh. To begin:
- Harvest carefully.
It’s best to harvest root crops during a dry period and before any hard frosts. To avoid damaging root crops, you may need to use a garden fork to help loosen the soil. - Brush them off.
You don’t want to scrub the skin off but you should try to gently rub off as much soil as possible. It’s best not to wash them.
Any damaged or bruised roots that you find should be set aside to be eaten immediately. - Trim the tops.
Rotting tops can quickly spread rot to your root vegetables so it’s best to trim them. Using a sharp knife or shears to trim leafy tops to 1/4 to 1/2 inch about the root. Don’t trim root ends or hairs, this invites rot! - Find a place to store them.
Root vegetables should ideally be stored somewhere cold and moist. Temperatures between 33° and 40°F are preferred. If you’re fortunate enough to have one, a root cellar is ideal, but other options exist.
If you don’t have too many roots, you can use the crisper drawer of your refrigerator. Alternatively, a cool corner of a basement or garage will work. You can also use an outbuilding or storage shed in parts of the Southeast as long as you can keep out rodents and you don’t have temperatures below freezing.
If you need to store many vegetables and are interested in a DIY project, you can create a root clamp. - Place them in appropriate containers.
If you’re storing roots in your refrigerator, it’s best to use perforated plastic bags. Try to set the bags in so that the roots in each bag are in a single layer.
Roots being stored in a root cellar or other cold room can be stored in various containers, including plastic totes, waxed cardboard boxes, 5-gallon buckets, and or even an old cooler. It’s best if there’s some airflow, so avoid putting the lid on tight, and you may even want to drill some additional holes in the container.
In these containers you want to keep your roots from touching the container or each other. To do this you can layer them in damp sand, sawdust, or even old leaves. - Check on and eat your roots!
You should check all the root crops you have in storage every week or two and remove any that are beginning to soften or rot. The smallest roots generally don’t store as well and should be eaten first.

Other Preservation Methods
If you don’t want to store your root vegetables fresh or are short on space, there are many other ways to preserve them. These include fermentation, pickling, canning, and freezing. These generally take more time and effort upfront but are great for having vegetables that are quick to prepare or even ready to snack on throughout the winter.
Fermentation
Lacto-fermentation is a simple, safe, and ancient method of food preservation. All you need is clean, sliced vegetables, a mason jar and lid, a clean rock or weight, salt, and water. You simply ferment your vegetables and any desired spices in saltwater brine. You can substitute sliced root vegetables for the cucumbers in this recipe.
You can also grate them up and add them to other ferments like kimchi. The book Wild Fermentation by Sandor Katz is an excellent resource for those looking to get started or expand their fermentation techniques.
Pickling
Pickling is a bit more involved than fermenting, but it’s still a safe, easy to preserve root vegetables, even for beginners. Pickled vegetables are canned in highly acidic vinegar, so they can be safely processed in a simple water bath canner.
There are many recipes available online if you’d like to browse others. Note that any labeled as “quick pickles” are designed to be refrigerated not canned.
Pressure Canning
Without the addition of vinegar, root vegetables are not acidic enough to be safely water bath canned. This means if you’d like to can plain root vegetables you’ll need to use a pressure canner. It’s not as scary as many people think!
PennState Extension has instructions for pressure canning vegetables here. Always follow the instructions that came with your canner.
Freezing
If you have room in your freezer, this can be a great way to keep root vegetables. They generally freeze well and maintain good texture and flavor.
Like other vegetables, you must blanch root veggies before freezing; otherwise, they will get mushy. You can find directions for freezing all kinds of vegetables over at the Pick Your Own website.


