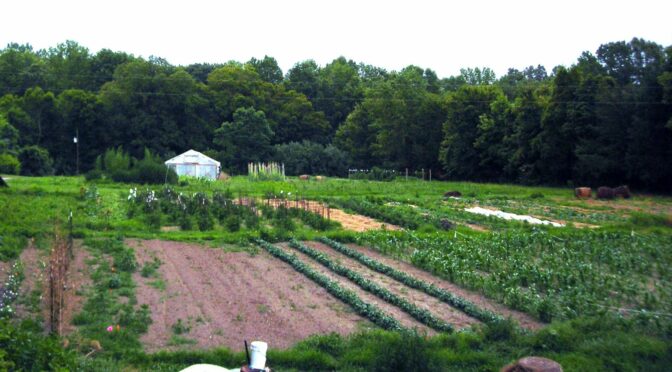
Utisols, also known as red clay soils, are the most common soil type in the Southeastern United States. They’re what many Southern Exposure Seed Exchange customers and seed growers garden. While many gardeners may wish they had soft, dark loam, clay soils aren’t terrible. Like any soil, they come with their own set of advantages and disadvantages. In this post, we’ll discuss the features of clay soil and how you can use cover crops to improve it.
Advantages of Clay Soil
Clay soils aren’t perfect, but they come with their own set of advantages. Clay soil holds water for much longer than sandy soil, especially when you mulch it, helping you cut down on that water bill.
Clay soil is also high in nutrients and minerals that plants need, the perfect starting place for a garden. All of those tiny clay particles are also very good at holding onto nutrients from amendments that tend to leach out of sandy soil quickly.
While clay soils are dense, that density helps perennial plants and fruit trees hold tightly to the ground and withstand wind, storms, and erosion better than in light, sandy soil.
Disadvantages of Clay Soils
If you’ve ever had to till or dig garden beds in clay, you’re probably already familiar with one of the main disadvantages. Clay soil is heavy. This makes working it quite troublesome. When it’s wet, it’s heavy and sticky. When it’s dry, it’s often brick-like.
This same characteristic also means that clay soil compacts easily. Especially when the soil is wet, walking on it or using equipment on it can cause severe compaction. Heavy, dense clay soil can be especially tough to deal with if you’re hoping to grow root vegetables like carrots.
Some of its advantages can have a negative side, too. If you live in boggy or low areas, clay soil’s ability to hold water isn’t ideal and can lead to issues like root rot. Additionally, its ability to hold little particles also means that it can hold onto bad particles like salt, and changing the soil’s pH may take some serious work.
What Do Clay Soils Need?
The best thing you can do to amend clay soil is to add plenty of organic matter. There are many ways to add organic, including compost, mulch, leaf mold, peat moss, and cover crops.
Don’t add sand. It can be a tempting choice to improve drainage, but it gets stuck between the clay particles and creates denser, brick-like soil.
Though somewhat slow, cover crops are an excellent, affordable way to build up organic matter in the soil each season. They can help add nutrients and break up hard pans and compaction, allowing air and water into the soil.
 Using Cover Crops to Improve Clay Soils
There are several great cover crops for improving clay soil, and fall is a great time to plant them! While all cover crops are good, some excel in specific areas.
Cover Crops to Add Organic Matter
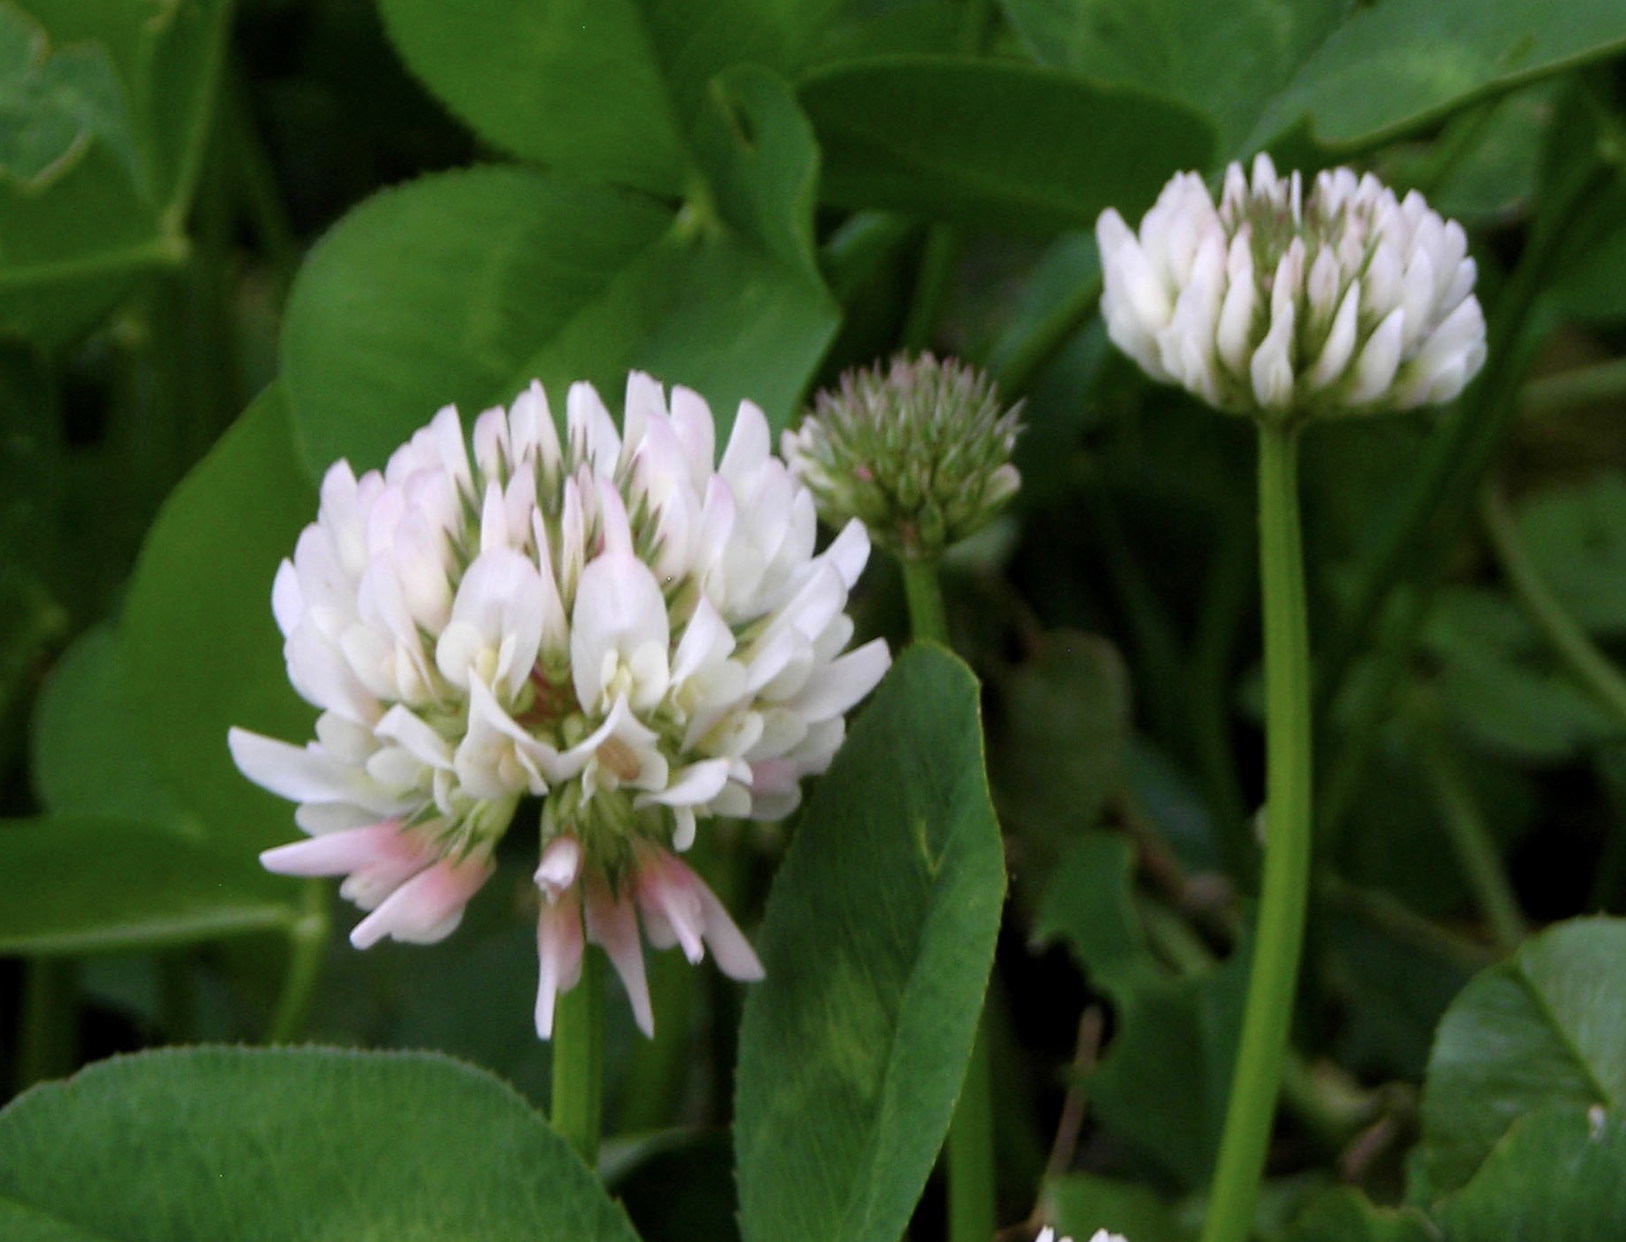
Clover
Clover is an all-around good choice for cover cropping. Clovers fix nitrogen and produce plenty of organic matter. White Clover can be sown in late winter, spring, summer, or fall. It also makes an excellent living mulch for pathways. Mowing these paths and collecting the material with a bagger gives you a consistent supply of mulch and organic matter for the beds they border.
Winter Wheat
Though generally grown as a cereal, winter wheat is also an excellent cover crop. It produces a large amount of mulch material, adding plenty of organic matter to the soil. It’s also easy to kill and less likely to get weedy than other cover crops. It’s also a great cover crop for no-till systems. Mow it down in the spring and transplant it into the beds.
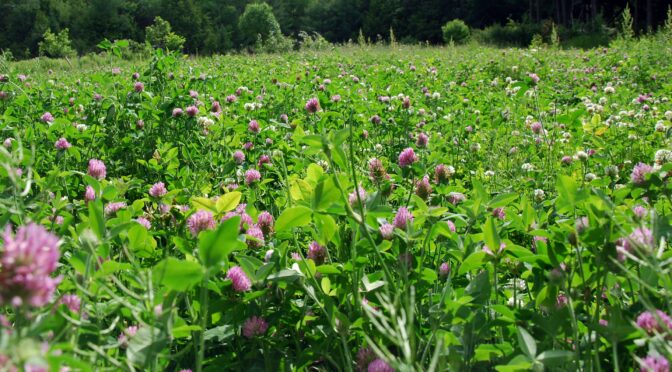
Buckwheat
Buckwheat is one of the fastest-growing cover crops. It can create tons of organic matter in just 30 to 45 days. We recommend sowing buckwheat with crimson clover for a fall or winter cover crop. The buckwheat acts as a nurse crop for the crimson clover during the heat of the day. In the fall, the buckwheat is killed by frost.
Cover Crops to Break Up Compacted Soil
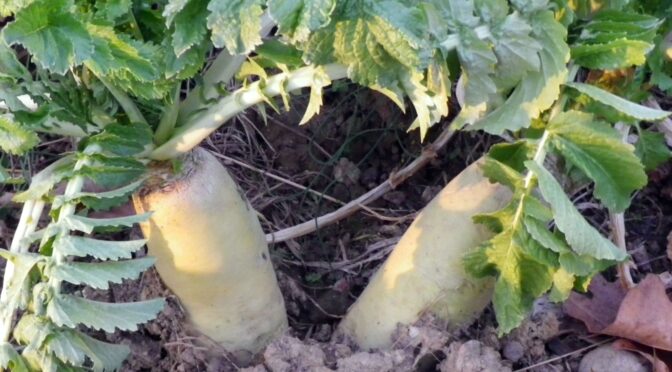
Daikon Radishes
Daikon Radishes are popular for compacted soils because their tough, fast-growing roots easily break up the soil. They put on rapid fall growth, and winter kills them where temps regularly get below 20°F.
The crop residue from daikons decomposes quickly and releases its nitrogen early. The channels created by radish roots improve infiltration, drainage, soil warming, and growth of the next crop’s root systems.
Rye
Rye is a great winter cover crop with an extensive root system, making it an excellent choice for improving soil structure in compacted beds. Rye is very good at releasing phosphorus and potassium. It also stabilizes excess soil and manure nitrogen.
Many of us gardeners of the Southeast grow our crops in red clay soils. While we’re thankful for the nutrients and other advantages they bring, they also have a few downfalls. One of the most affordable ways to improve these soils is to grow cover crops. Choose one of these cover crops and sow this fall to improve your clay soil this winter.
 Grasses & Mulchers