
In these pandemic times, many folks are getting into gardening for the first time, or are getting more serious about their vegetable gardening. The following is a thorough but concise introduction to succession planting, written for us by Pam Dawling, author of Sustainable Market Farming: Intensive Vegetable Production on a Few Acres, and The Year-Round Hoophouse: Polytunnels for All Seasons and All Climates. As garden manager at Twin Oaks Community in Louisa, Virginia for 20 years, Pam was responsible for growing organic food year round for 100 people. Her books are excellent resources. There are also links in this post to more detailed information on succession planting, and to her weekly blog. This post is the first in a series from Pam for Southern Exposure Seed Exchange, to help gardeners grow more vegetables with fewer problems.
Succession planting is important to providing a substantial amount of home-grown food over the whole season, or all year round under the right circumstances. The specifics in the charts below are for gardening in USDA Hardiness Zone 7a, in the Eastern USA, but Pam tells you how to calculate planting dates for your particular garden.
The goal of succession planting is to provide seamless harvests of garden crops. Don’t just plant in the spring. Plant several times during the warm season, timing your plantings according to how fast the crops will grow. Use any spaces in your garden as they open up during the season.
Five Different Approaches to Succession Crop Planning
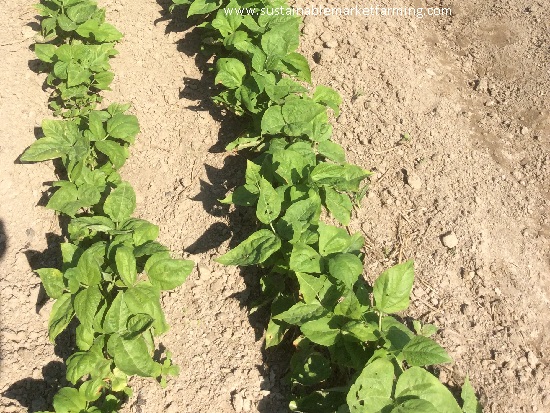
- Using a Rough Plan This is quick and dirty succession planning. Plant every 2 weeks for corn and beans, 3 weeks for cucumbers, squash, and edamame, 4 for carrots and cantaloupes. A rough plan doesn’t take into account many aspects of the growing season, so it risks the gluts and shortages I mentioned above.
- Several No-Paperwork Guidelines: Sow another planting of sweet corn when the previous one is 1”–2″ (2.5-5 cm) tall; Sow more lettuce when the previous sowing germinates; Sow more beans when the young plants start to straighten up from their hooked stage. The warming temperatures cause each sowing to come up faster than the one before, nudging you to sow sooner than you might have to keep pace with nature.
- Sow several varieties on the same day: Use varieties with different days-to-maturity sown on the same day. We do this with broccoli, lettuce, sweet corn. For example, we sow three varieties of sweet corn on the same day to provide over two weeks of harvests. Our favorite varieties are the fast-maturing Ashworth (69 days), the heirloom white Luther Hill (82 days), and the slower white Silver Queen (90 days).
- Adjust the planting intervals through the season: see the charts below and use them as a guide.
- Fine tune using your own crop records: make a graph of sowing dates versus date of first harvest of each sowing. See my online slideshow, Succession Planting for Continuous Harvests on SlideShare.net, to learn how to use this method for the most accurate results.
Step-by-Step Succession Crop Planning
- Determine your first spring planting date for a particular crop
Most growers are probably adept at planting as soon as possible in the spring. Don’t plant too early! For example, keeping old cucumber transplants on hold through cold early spring weather is just not worthwhile. I finally grasped this the year we transplanted our first and second cucumber plantings side by side on the same date one cold spring. The second ones did better than the first, and were ready just as soon!
- Determine your last worthwhile sowing date for frost-tender crops
Keep good records and eliminate sowings that are too late to give a harvest before the crop gets killed by frost.
Count back from your average first frost date, adding:
- the number of days from seeding to harvest,
- the average length of the harvest period,
- 14 days to allow for the slowing rate of growth in the fall, and
- 14 days to allow for an early frost (unless you add rowcover as temperatures cool down. There is often a spell of warmer weather after the first frost, and you can effectively push back your first frost date.)
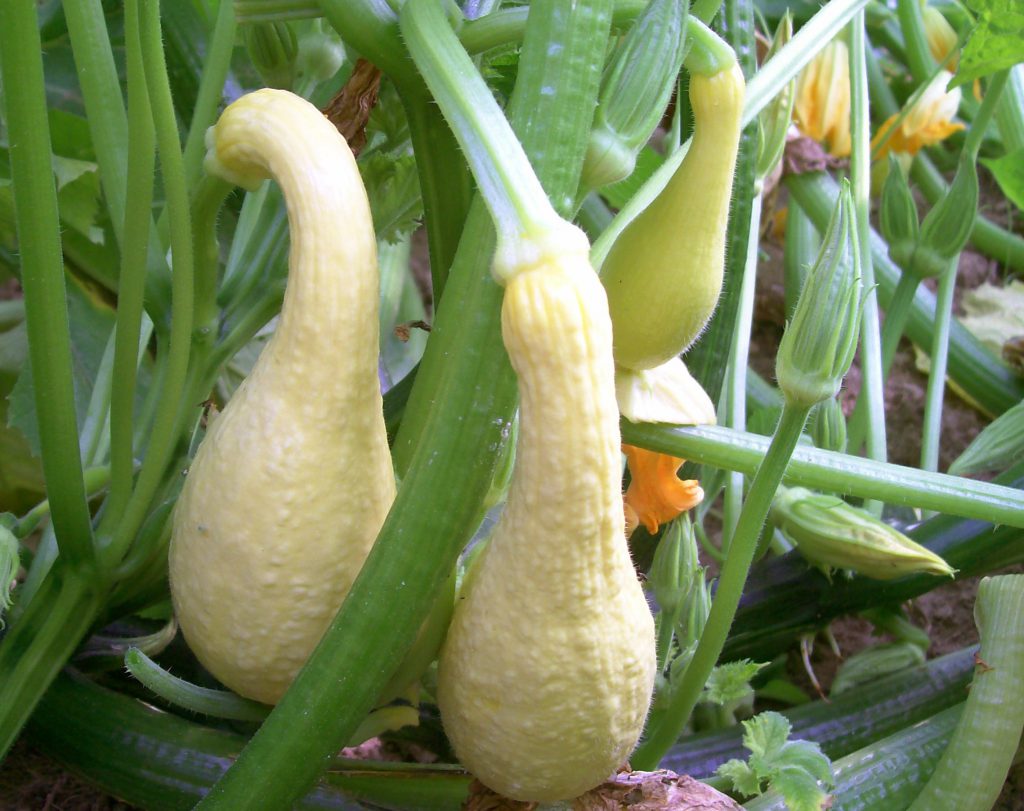
Example: Yellow squash:
- Number of days from seeding to harvest 50
- Minimum length of a worthwhile harvest period 21
- 14 days to allow for the slowing rate of growth in the fall 14
- 14 days to allow for an early frost (but we have rowcover) 0
- Days before the first frost = total of these = 85
- Last date for sowing, with October 14 first frost date = July 21
But using rowcover to throw over the last planting during cold spells, the growing season is effectively 2 weeks longer, and we sow our last planting of squash on Aug 4.
- Determine how long you can harvest from one planting and how many plantings you need throughout the season
We reckon we can harvest for about 15 days from one sowing of sweet corn if we sow three varieties, 20 days for edamame, 20-25 days for bush beans, 25-32 days for summer squash, 30 days for cantaloupes, up to 37 days for cucumbers.
Estimate the number of days from the first sowing (Step 1) to starting to harvest it. Start with the number of days to maturity from the catalog. Is that from seed to harvest or transplant to harvest? This gives you a general guideline for spring planting once conditions have warmed to the usual range for that crop. If you are starting very early, add about 14 days – seedlings grow slower when cold. In summer crops mature sooner than in spring.
Repeat this for the last sowing (Step 2), using the same guidelines. When growing late into the fall, add about 14 days for the slowdown of growth.
Count the days from first harvest of the first sowing to the first harvest of the last sowing: For our squash, it’s May 19-Sept 24 = 128 days. We reckon a patch of squash can last 32 days. That’s how often we want a new patch coming on line. Divide that harvest period into a whole number of fairly equal intervals matching the number of days a planting will last. For a new squash patch every 32 days, we’ll need 4 equal harvest intervals between plantings (32 x 4 = 128). Four intervals means 5 plantings. (P-I-P-I-P-I-P-I-P). Write down your planned harvest start dates.
- Determine the sowing dates to match your harvest dates
This is the tricky part: as I said at the beginning, to get harvests starting an equal number of days apart through the whole season, you need to vary the interval between one sowing date and the next according to the growth rate. We used a graph-making method to generate these charts, but I won’t go into that here. See my online slideshow or the chapter Succession Planting for Continuous Harvesting in my book Sustainable Market Farming.
You can just use our charts to make educated guesses on when to sow. The important bit is to write down what you decide, what you actually do and what the results are. Then you can tweak your plan for next year.
Scheduling Charts
Squash
Sowing squash to harvest a new patch every 32 days.
| Squash Sowing | Sowing Date | Sowing Interval | Harvest start date | Harvest interval |
| #1 | 4/21 transplants | 5/19 | ||
| #2 | 5/17 | 26 days | 6/20 | 32 days |
| #3 | 6/15 | 29 days | 7/22 | 32 days |
| #4 | 7/19 | 34 days | 8/23 | 32 days |
| #5 | 8/5 | 17 days | 9/24 | 32 days |
This summer slowdown surprised me. It seems the squash idles in late June and early July.
Cucumbers
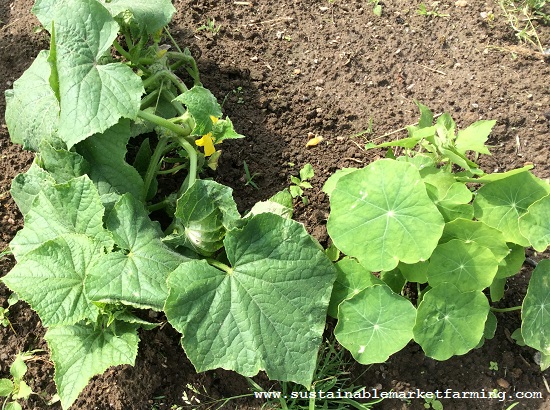
4 plantings of cucumbers are enough, and we get a new patch to harvest every 34 days.
| Cucumber Sowing | Sowing Date | Sowing Interval | Harvest start date | Harvest interval |
| #1 | 4/21 transplants | 6/10 | ||
| #2 | 5/31 | 40 days | 7/14 | 34 days |
| #3 | 7/4 | 34 days | 8/17 | 34 days |
| #4 | 8/4 | 31 days | 9/20 | 34 days |
Sweet Corn
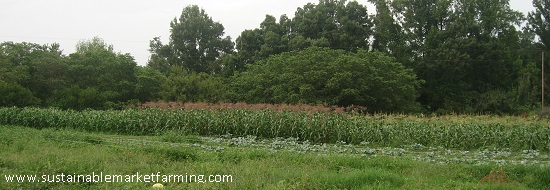
Our first sowing is 4/26, providing a harvest starting on 7/9, and our last sowing date of 7/16 provides a harvest starting on 9/22. Earlier or later doesn’t work here.
A patch of our three varieties will provide corn for 15 days, so we plan for a new patch being ready every 15 days. We can fit 6 sowings in during our corn-growing season.
| Sweet Corn Sowing # | Sowing Date | Sowing Interval | Harvest start date | Harvest interval |
| #1 | 4/26 | 7/9 | ||
| #2 | 5/19 | 23 days | 7/24 | 15 days |
| #3 | 6/6 | 18 days | 8/8 | 15 days |
| #4 | 6/24 | 18 days | 8/23 | 15 days |
| #5 | 7/7 | 13 days | 9/7 | 15 days |
| #6 | 7/16 | 9 days | 9/22 | 15 days |
For 6 plantings to provide fresh eating every 15 days, using our graph of corn sowing and harvest dates (see my slideshow) I estimate that April 26, May 19, June 6, June 24, July 7, and July 16 would be good sowing dates. The planting intervals are 23, 18, 18, 13 and 9 days. They get noticeably shorter as the season goes on.
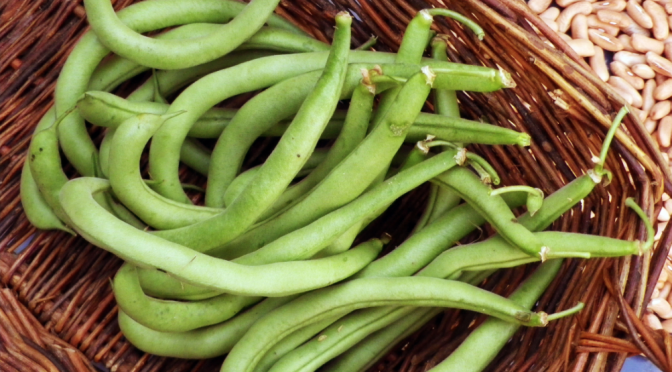
Beans
Having a new patch to harvest every 20 days requires 6 plantings.
| Bean Sowing | Sowing Date | Sowing Interval | Harvest start date | Harvest interval |
| #1 | 4/19 | 6/15 | ||
| #2 | 5/15 | 26 days | 7/5 | 20 |
| #3 | 6/6 | 22 days | 7/25 | 20 |
| #4 | 6/27 | 21 days | 8/14 | 20 |
| #5 | 7/18 | 21days | 9/3 | 20 |
| #6 | 8/3 | 16 days | 9/23 | 20 |
But if we kill the Mexican bean beetles (by importing parasitic wasps), 5 plantings are enough, and we get a new patch to harvest every 24 days.
| Bean Sowing | Sowing Date | Sowing Interval | Harvest start date | Harvest interval |
| #1 | 4/19 | 6/15 | ||
| #2 | 5/19 | 30 days | 7/9 | 24 |
| #3 | 6/13 | 25 days | 8/2 | 24 |
| #4 | 7/8 | 25 days | 8/26 | 24 |
| #5 | 8/1 | 24 days | 9/19 | 24 |
Edamame
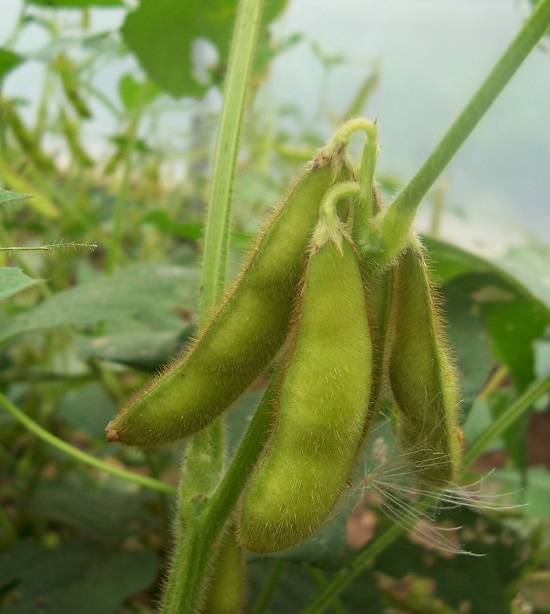
Planting #1 Planting date: 4/26
Planting #2 Planting date: 5/14 (finished 8/2). Gap of 18 days
Planting #3 Planting date: 5/31. Gap of 17 days
Planting #4 Planting date: 6/16. Gap of 16 days
Planting #5 Planting date: 7/1. Gap of 15 days.
Planting #6 Planting date: 7/14 (the last worthwhile date) Gap of 13 days.
This gave us a lot of edamame. The following year we reduced to 5 sowings: 4/26, 5/19, 6/9, 6/27, 7/14
Cantaloupes
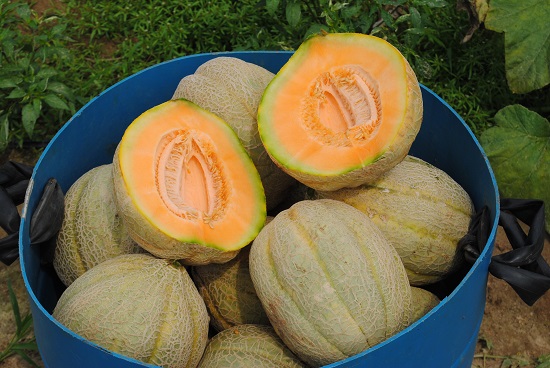
We have made as many as four plantings, 5/3 (transplants), 5/25, 6/25, 7/15
========================
Pam Dawling blogs weekly at https://www.sustainablemarketfarming.com. She is the author of Sustainable Market Farming: Intensive Vegetable Production on a Few Acres, and The Year-Round Hoophouse: Polytunnels for All Seasons and All Climates.
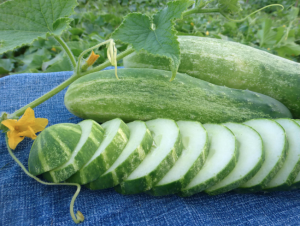 Straight Eight Cucumber
 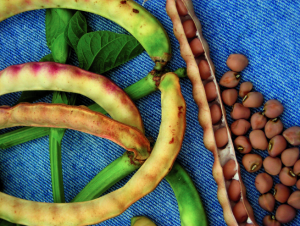 Creel Crowder Southern Pea (Cowpea)
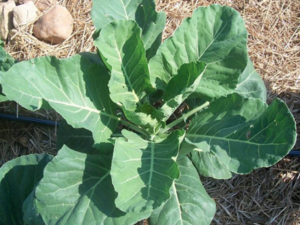 Georgia Green (Georgia Southern Creole) Collards
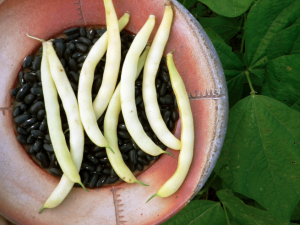 Pencil Pod Black Wax Bush Snap Bean
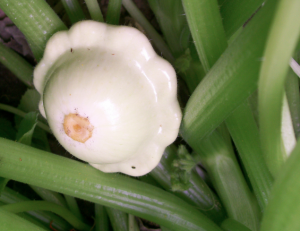 Benning’s Green Tint Summer Squash
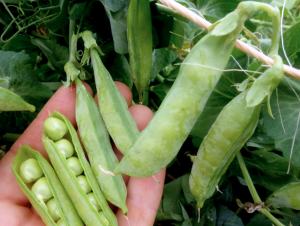 Little Marvel Dwarf Shelling (English) Pea
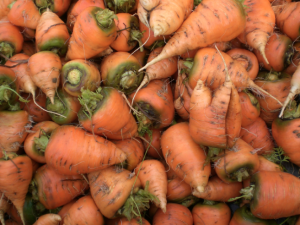 Oxheart Carrots
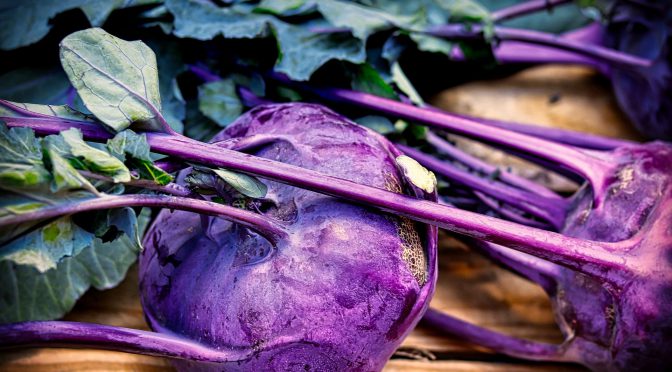
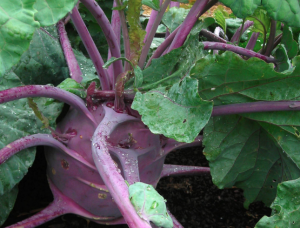 Early Purple Vienna Kohlrabi
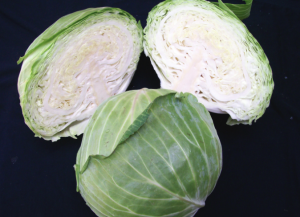 Early Flat Dutch Cabbage
 Evening Sun Sunflower
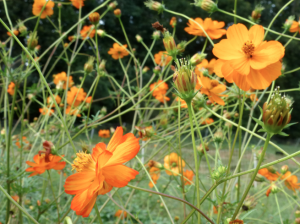 Mona’s Orange Cosmos
 Peruviana Red Zinnias