7 Easy Materials to Fill Your Compost

Most gardeners already know that compost is black gold in the garden, but it can be challenging to make as much as we may want to. It’s always surprising to see how much that pile of kitchen scraps shrinks as it breaks down! If you’d like to make more compost, there are a few materials you can gather to fill up your bins.

Compost Basics

If you’re new to composting, read this before digging into the list.

Ideally, compost piles are made of a mix of nitrogen-rich “green” and carbon-rich “brown” material, usually in a 1:1 ratio. This mix allows the pile to decompose correctly, which can be achieved by layering or stirring in the material with a garden fork or shovel. 

A quick tip is to add more green materials if your pile is too dry and not breaking down and add more brown materials if your pile is too wet, slimy, and smelly.

In the list, I’ve labeled items as “green” and “brown” in parentheses. 

Learn more about the basics of composting in our guide, Black Gold: Making Compost.

Black Gold: Making Compost

Grass Clippings (green)

Fresh grass clippings are often one of the most accessible “green” materials to collect in mass for your compost pile. If you have areas that you keep mowed, getting a bagger for your mower can be a great way to fill up a compost bin quickly. If you have raised or permanent beds, mowing the paths is excellent for this.

If you don’t mow, check with neighbors, especially in suburban areas. Many people send grass clippings to the landfill. See if you can put them to good use instead. As with leaves, you want to check whether your neighbors use herbicides or pesticides before adding the clippings to your compost or garden.

Seaweed (green)

For our friends near the coast, seaweed is an incredible compost amendment.

Make sure you check local regulations about gathering seaweed. Always harvest responsibly and sustainably. Remember that many organisms call seaweed in the tidal zone home, and species like birds and insects use beach-cast seaweed.

Read more about How to Harvest Seaweed Sustainably with Modern Farmer.

Learn to make Seaweed Fertilizer with Milkwood Permaculture.

Cardboard and Paper (brown)

Especially after the holidays, our homes can fill with cardboard and paper. Some of this material can be used to top up the compost bin! Avoid adding glossy or highly colored paper, and remove any packing tape.

It’s best to opt for brown paper and cardboard, as some companies have switched to packing. To encourage it to break down, rip it into smaller pieces with your hands, water it well, and put a layer of green material over it if available.

Old Woodchips (brown)

Fresh woodchips aren’t ideal as they take too long to break down and can tie up nitrogen in the process. We like to use woodchips as mulch, but if you can collect a bunch or have a local tree company dump a lot on your property, you can leave them to break down in their own pile for a year or two. Once they’ve started to break down, they make an excellent addition to the compost pile.
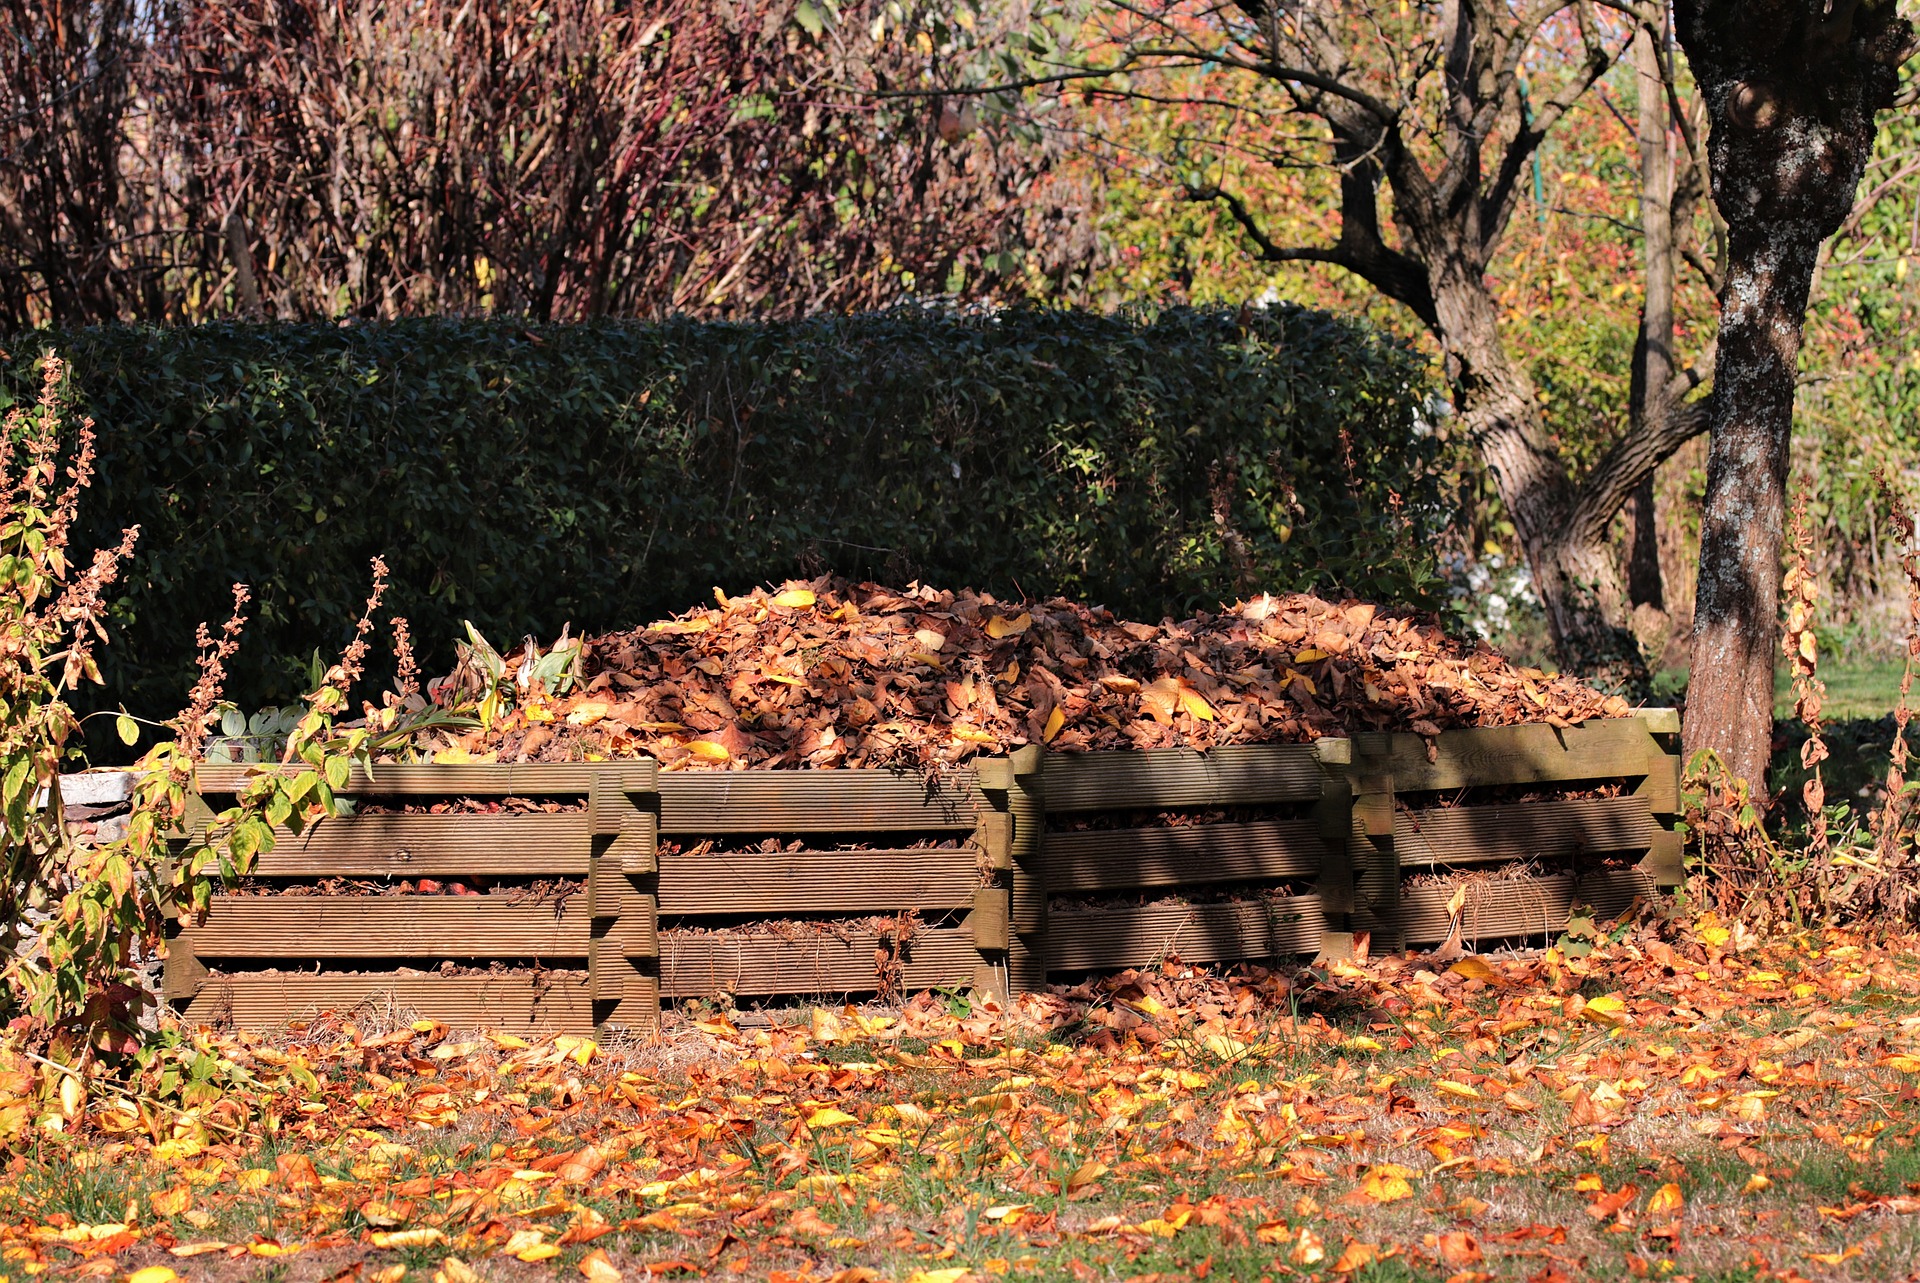
Four square compost bins with leavesFallen Leaves (brown)

Fall and sometimes through the winter are great times to build up your compost pile with old leaves. In rural areas, you may have to rake and collect your own, but in more suburban places, you may find folks happy to pass on bagged leaves they’ve removed from their yards. When getting leaves from others, politely checking if they use herbicides or pesticides on their property is always a good idea.

It’s always a good idea to leave a few leaves around as they provide habitat for overwintering beneficial insects and add nutrients back to the trees and plants they’re around.

Sawdust (brown)

If you cut piles of firewood or untreated lumber in the same spot, you may have a great source for your compost bin! While woodchips should be set aside for a bit, finer sawdust will break down faster and can be mixed into a pile with nitrogen-rich materials. 

Also, check with local sawmills or lumber yards. Just ensure that you and your sources do not include sawdust from pressure-treated, painted, or stained material.

Manure (green)

If you own chickens, goats, horses or other livestock adding their manure to your compost pile can be an easy way to add tons of nitrogen rich material. You can also check with local farms and horse stables.

Unfortunately, the rise of herbicides and pesticides, even in hay fields, has made using manure much more complicated than it used to be. Unless you know for certain any hay you’ve bought is uncontaminated, even your own animal manure could be harmful.

One easy way to check the manure is to try a simple bioassay test. Plant four to ten seedlings in small pots. For half of the pots, mix a bit of the manure in with your potting soil and grow the other half in plain potting soil or your usual mix. Watch for signs of herbicides in your seedlings, such as twisted, misshapen stems and curling, discolored leaves.

Learn more about Bioassay tests and Herbicide Residues in Manure, Compost, or Hay from The University of Florida.

Bonus Question

Can I compost clothing?

In an ideal world, we could compost most of our clothing at the end of its lifespan. You would think you could compost clothing made from natural materials like silk, linen, cotton, and wool. Unfortunately, the reality is far from that. 

Many items made from cotton or other natural fabrics have been treated with chemical dyes or solutions that make them stain or wrinkle-resistant. They may have also been stitched with polyester thread.

Some organic products are the exception, but you should check how they were manufactured. Homespun and handmade products may be composted. Just know that they may take a while to break down.


An endless supply of compost is a gardener’s dream. While we may never get there, these seven materials can help you quickly build up a larger compost pile, ensuring you have plenty of material for next season.

7 Reasons You Should Grow Flowers in Your Vegetable Garden

For foodies, homesteaders, and dedicated vegetable gardeners, it is easy to squeeze as many different vegetables into our gardens as possible and let other plants go by the wayside. This is a mistake! Some of the most beautiful and productive gardens are a mix of food crops and flowers. Whether you want to be as self-sufficient as possible or have a passion for heirloom tomatoes, adding flowers to your vegetable patch has many benefits.

Flowers attract pollinators. 

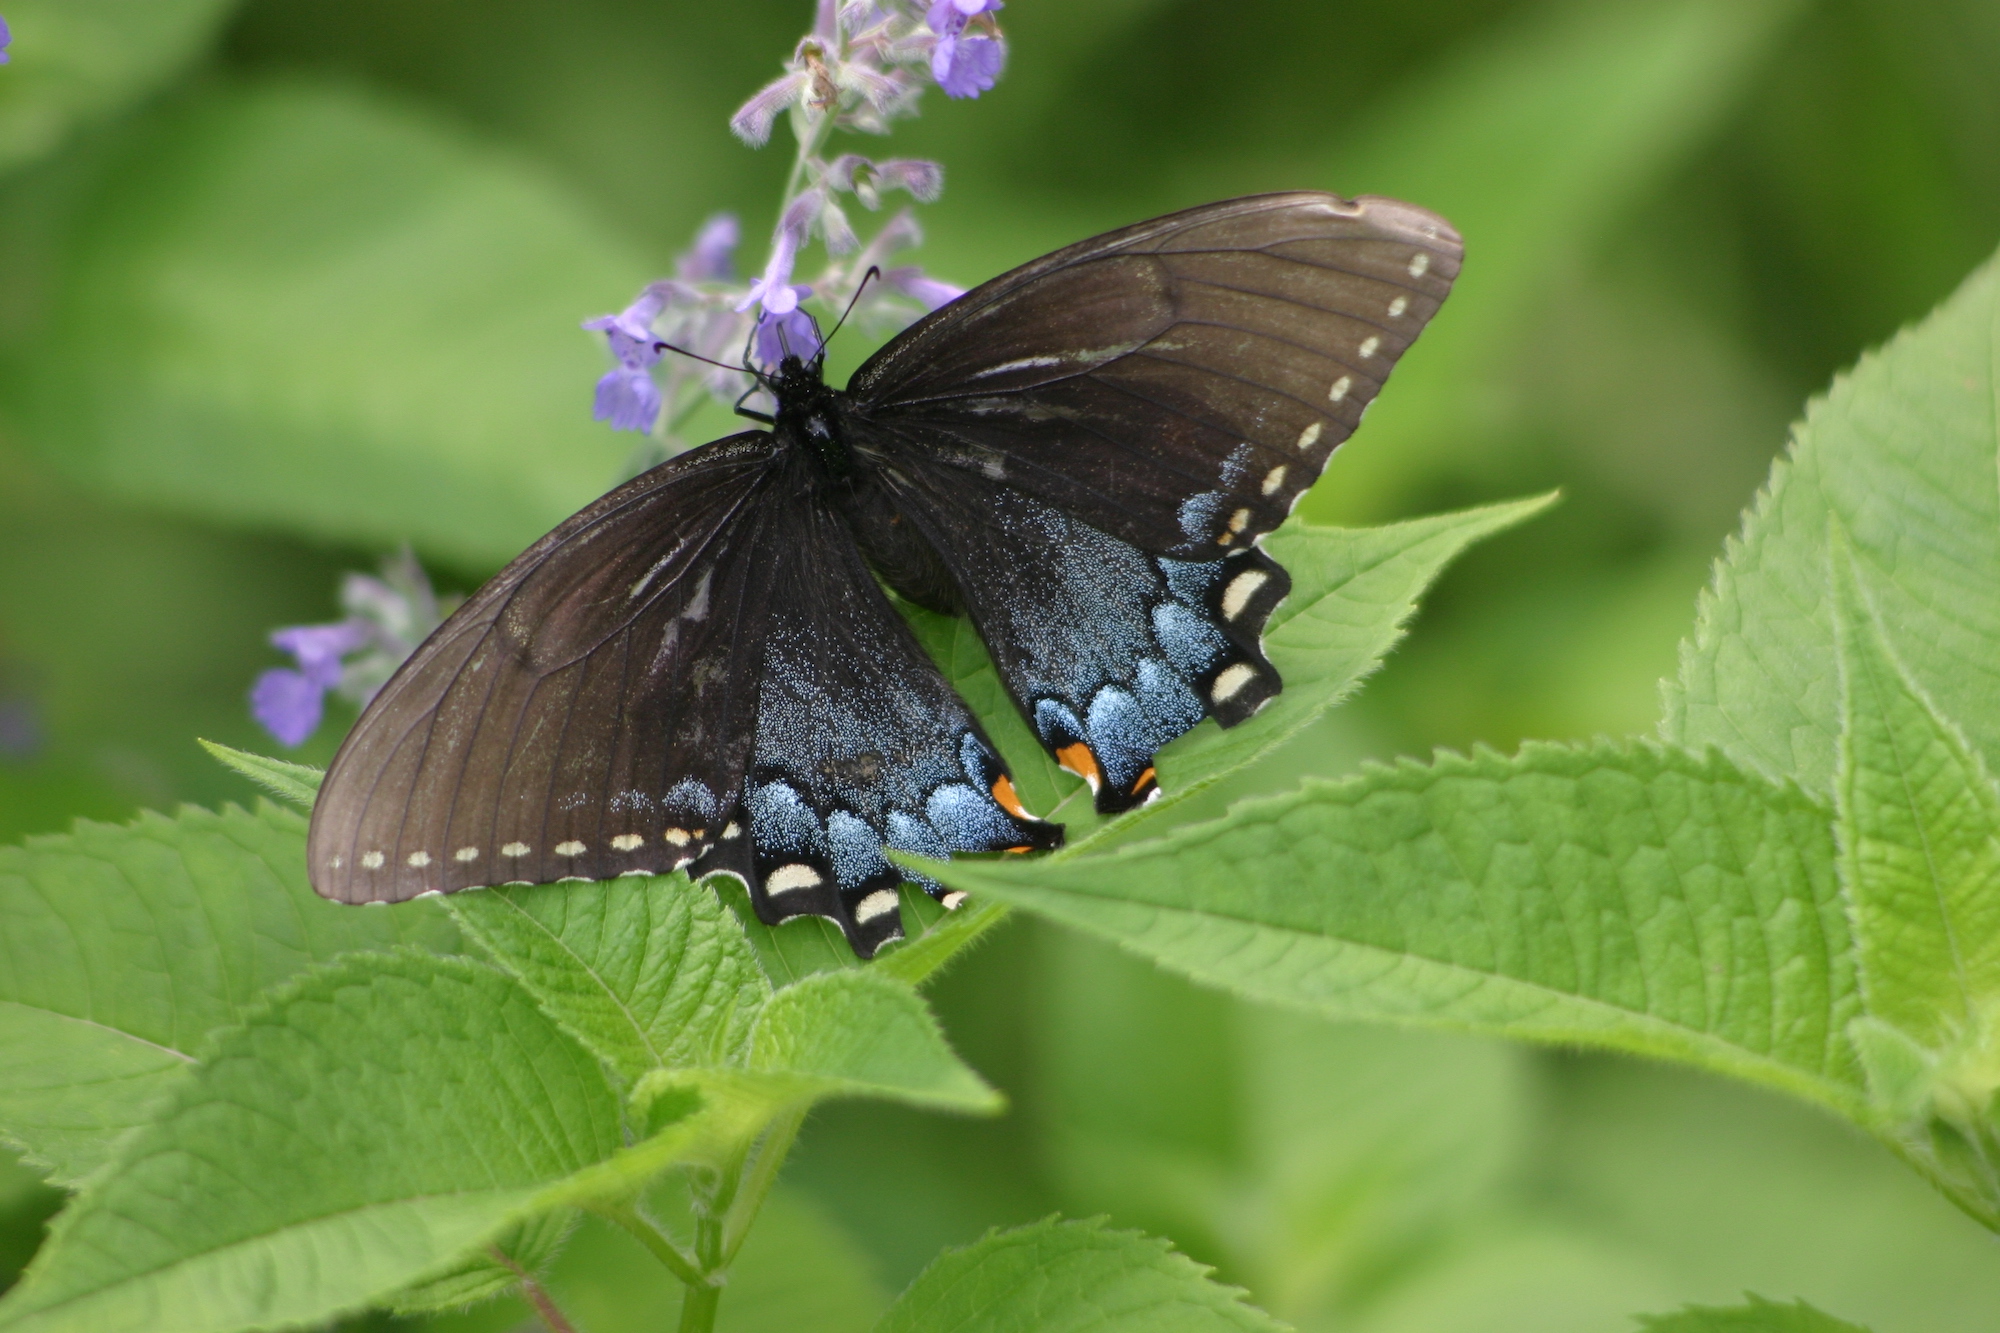
Many of our favorite vegetable crops, like squash, watermelons, tomatoes, eggplants, and peppers, rely on insect pollination to produce. These pollinators do an incredible job, too!

A look at greenhouse tomatoes found that those compared with pollination by a vibrating hand wand (a tool workers use to ensure pollination manually), tomatoes pollinated by buzz-pollinating bees had improved seed set and higher fruit weight. 

Adding flowers to your garden and aiming to have something blooming throughout the season can help support these creatures and ensure they spend more time in your garden. You won’t get a good harvest without them.Butterfly on flower

Flowers may help reduce pest and disease issues. 

Companion planting isn’t just an old wive’s tale! There’s much evidence that avoiding monocultures and mixing plants together can help reduce pest and disease issues. Creating mixed plantings can help significantly reduce how diseases and pests can spread through a crop.

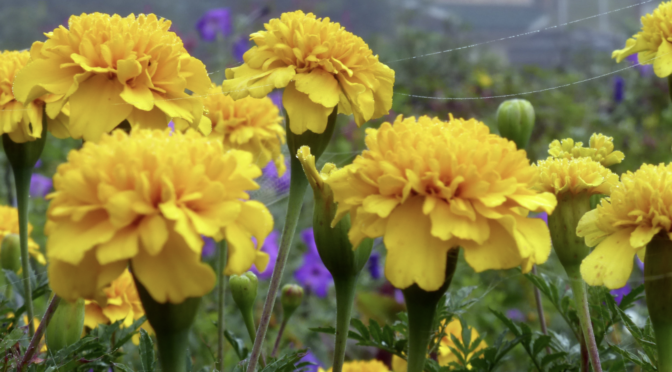
Try specific pairings if you have a recurring issue. For example, research has shown that French marigolds help protect tomatoes from whiteflies.

You can also take a more broad approach. A study on large monoculture plantings found that adding wildflower strips was highly effective at reducing pests and plant damage.

There are many edible flowers available.

Growing flowers doesn’t mean that you have to give up productive food-growing space. There are plenty of edible flowers that you can use to make soothing herbal teas, toss in fresh salads, or decorate cakes. A few of our favorite edible flowers include nasturtiums, chamomile, breadseed poppies, echinacea, and hollyhocks.

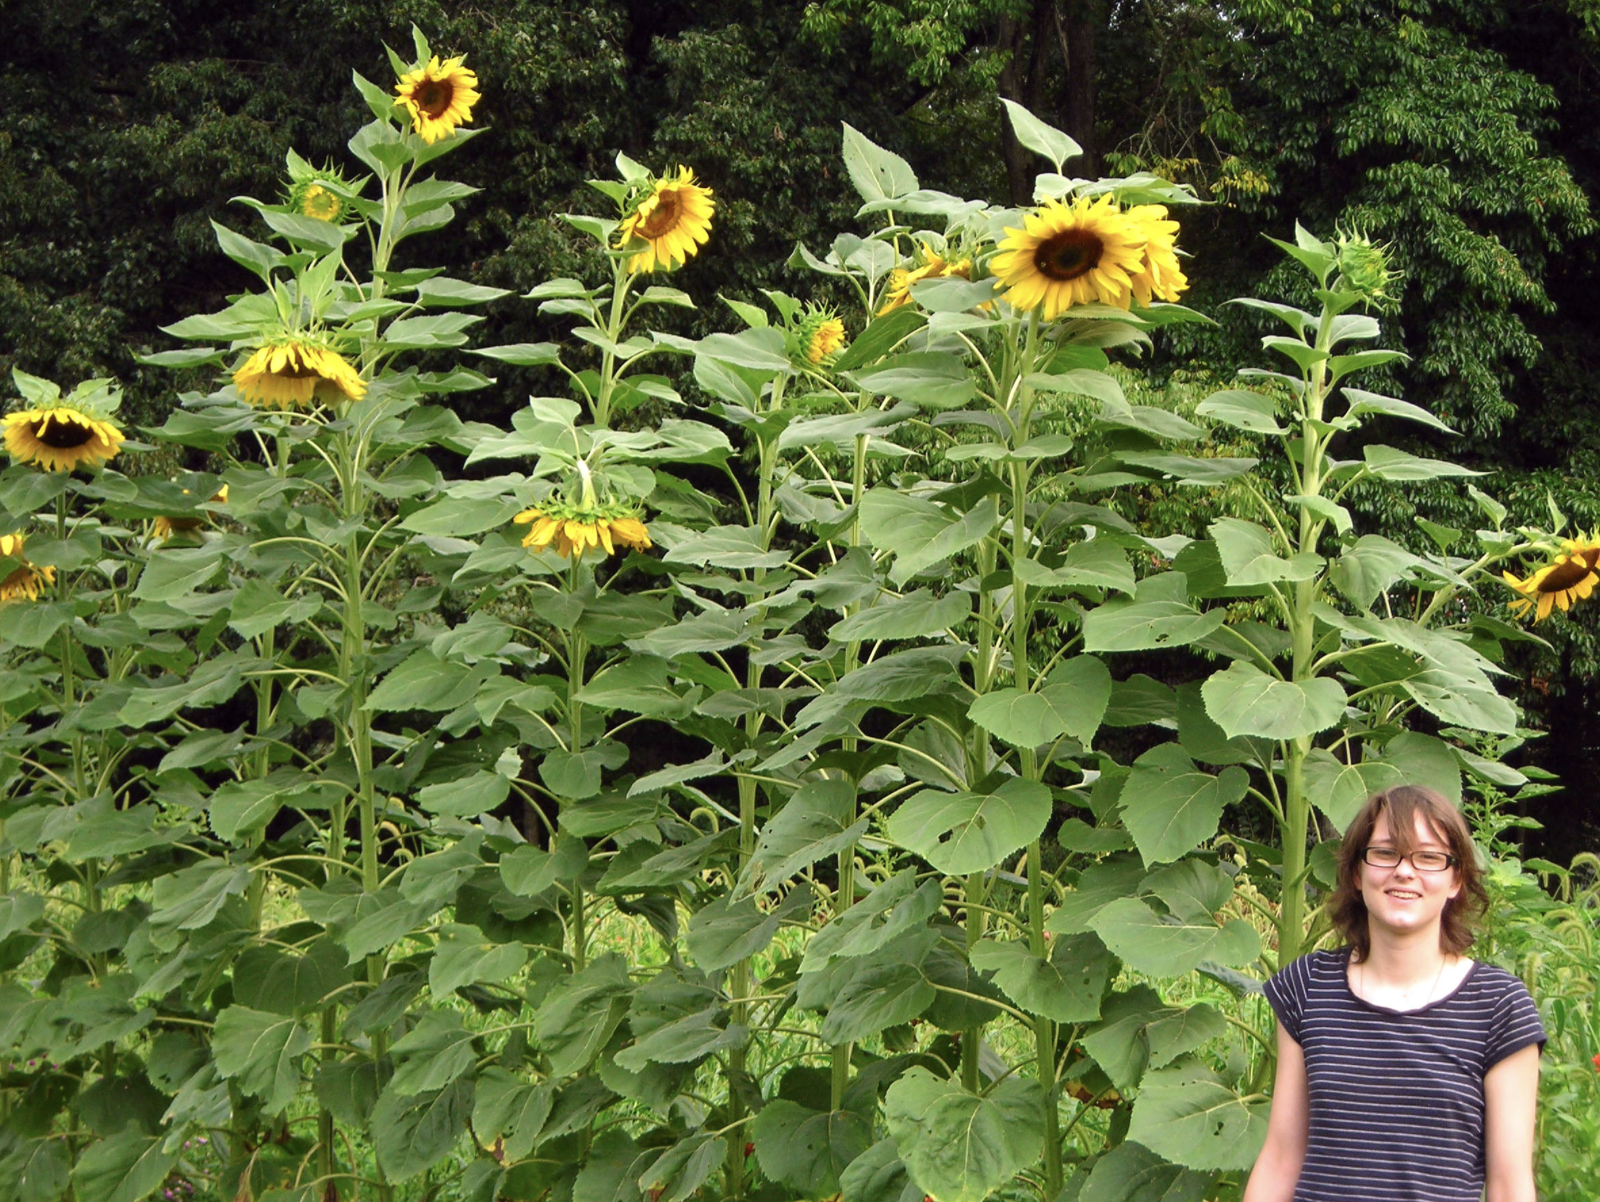
Mammoth Sunflowers
Mammoth Sunflowers

You can use them to create shade.

Generally, we don’t want our flowers shading our vegetable crops, but occasionally we might. When we’re trying to stretch the season for cool-weather-loving crops like lettuce and kale, having a few taller flowers around can be helpful to create a bit of shade.

They’re beautiful.

Growing as much of your food as possible is a wonderful goal. Hopefully, our above points illustrate that saving room for flowers can help with this goal. If you’re still not convinced that flowers deserve a bit of your garden, think about what you want your garden to feel like. Ultimately, gardens should bring joy. While vegetables are beautiful in their own right, tucking a few flowers in amongst the vegetables can make your garden a happier place to be.

Flowers can help provide habitat and food for wildlife. 

While you probably know that pollinators are using your flowers for food, you may not be aware that they may use them for shelter, too. Some pollinators and beneficial insects use flower stalks or debris as shelter to overwinter or lay eggs.

Birds will enjoy the flowers in your vegetable patch, too. Songbirds enjoy perching on tall flower stalks and searching the seedheads of species like sunflowers and echinacea during the fall. They will also help pick a few pests off while they’re there. Of course, the charming Ruby-throated Hummingbirds of our area will also take advantage of blooms during the season. 

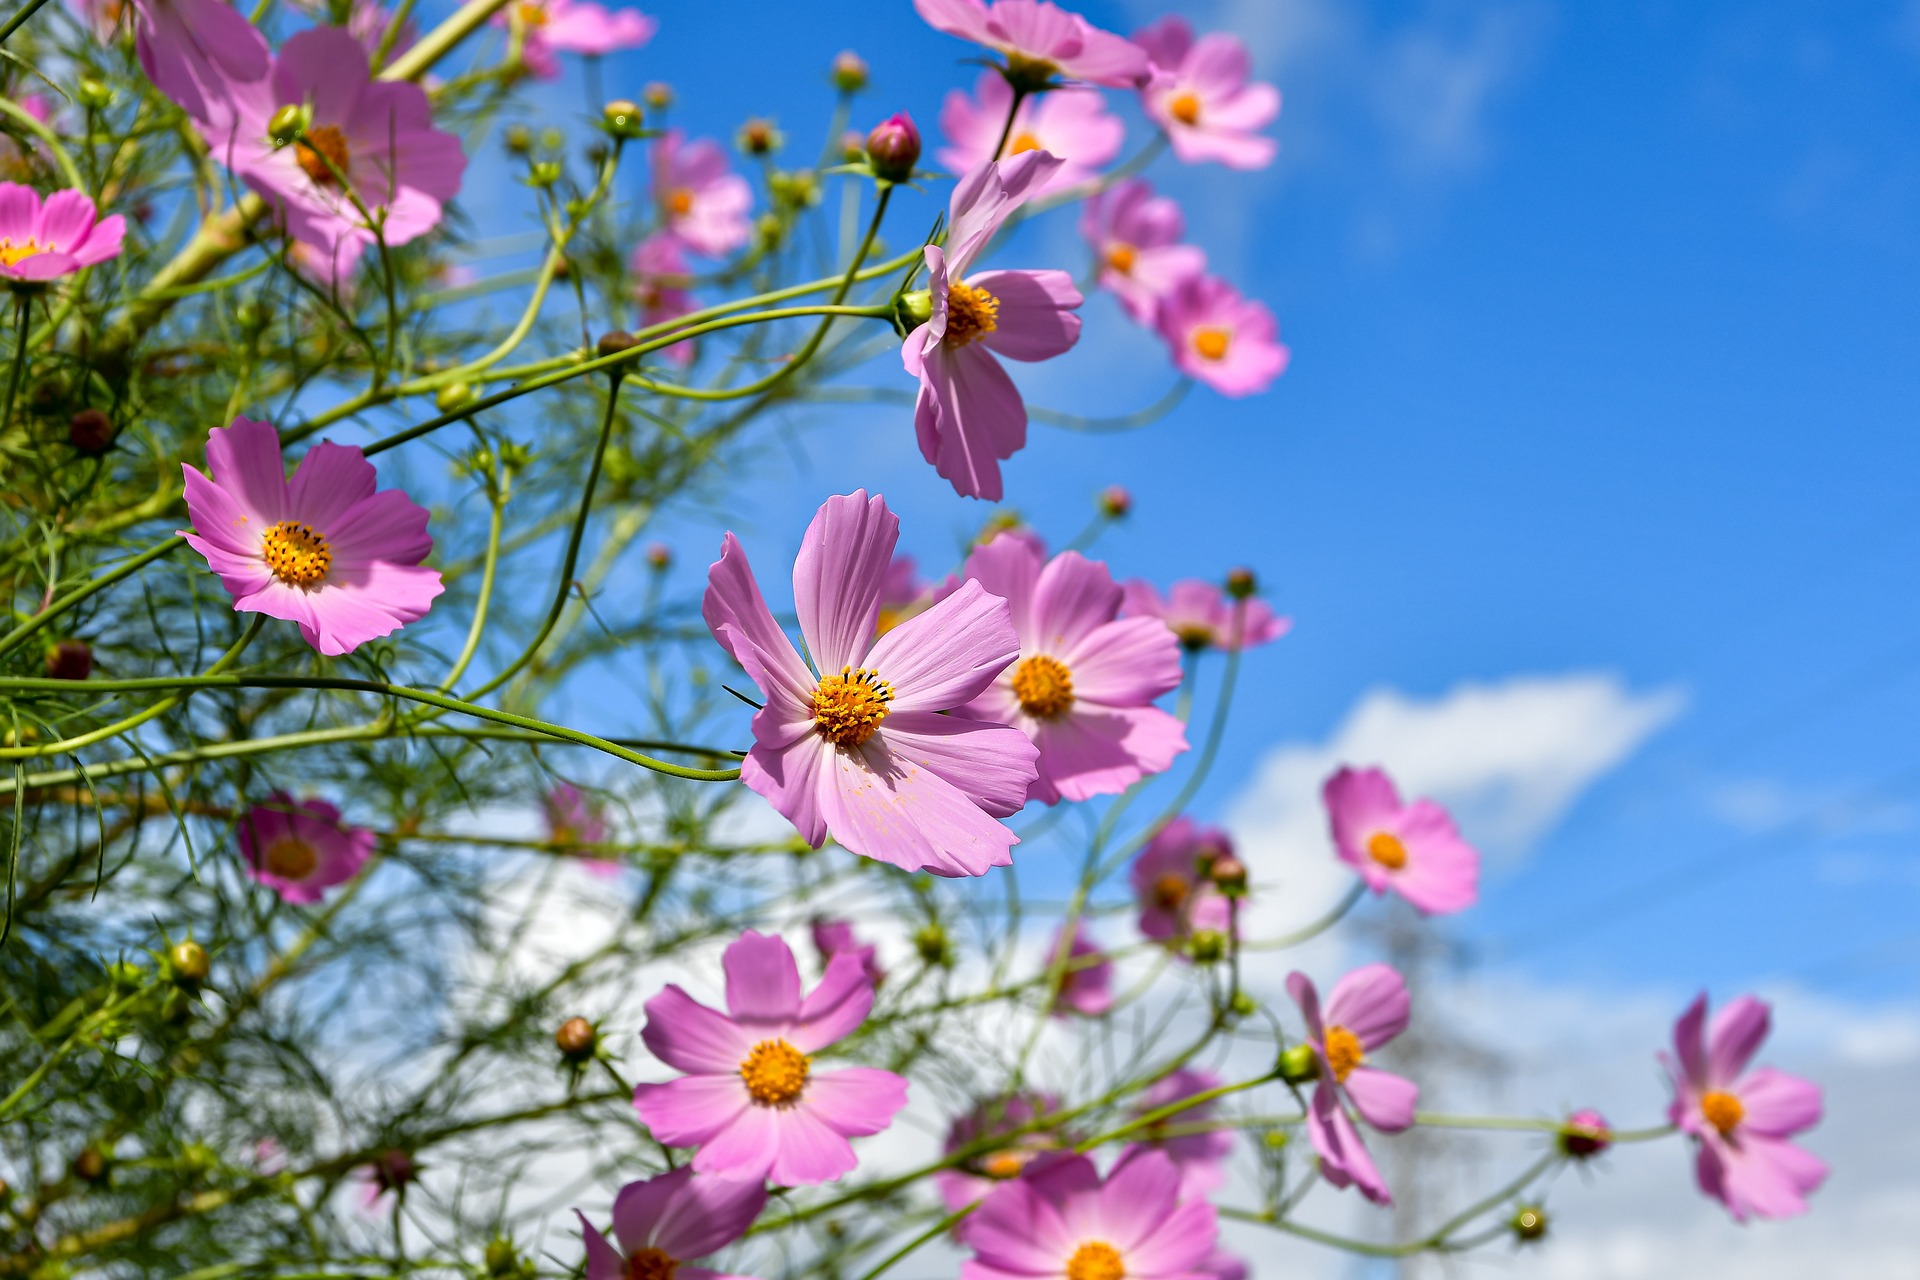
CosmosFlowers can be low maintenance and affordable. 
Growing flowers doesn’t have to be difficult or stressful. Some of the easiest flowers to start with are annuals like cosmos, marigolds, sunflowers, and zinnias. All four of these plants are easy to start indoors or direct sow. They grow fairly quickly and make a big impact in the garden. 

These four are also easy to save seeds from, meaning you won’t need to purchase packets of seed each year, helping you cut costs. Given the opportunity, they also have a tendency to self-seed, and you’ll probably get a few volunteers, too!

If you don’t want to work on planting flowers every year, you can establish a few hardy perennials like coneflowers (echinacea), bee balm, salvia, or rudbeckia. Many of these options, such as the echinacea and rudbeckia, are also incredibly drought tolerant once established. 


When you’re shopping for seeds this year, don’t forget to add a few flowers to your list! Flowers are easy to grow and can help you to have a healthier, more productive garden in 2024.

Growing Guide: Ground Cherries

You’ve probably grown tomatoes and maybe even tomatillos, but their lesser-known relative, the ground cherry, deserves a spot in your Solanaceae (nightshade family) lineup. Ground cherries have a more sweet, fruity flavor, hence the name ground cherry. They’re well suited to sweeter, dessert-type recipes than their relatives and are tasty fresh, too!

Ground Cherry History

Ground cherries are native to South and Central America and may have originated in Brazil before spreading to Peru and Chile. They were one of the many crops cultivated by indigenous peoples in the Americas before European contact, and Europeans brought them to England in 1774.

English colonists brought them to the Cape of Good Hope, earning them one of their other common names, the Cape Gooseberry. As colonists traveled with them, the plants made their way back to North America. 

While ground cherries were popular with small farmers, they were never commercialized, probably due to their ripening and harvest, which we’ll get into in a bit. Today, they remain popular among specific communities like the Pennsylvania Dutch, who grow them for jams and preserves.

Starting Ground Cherry Seeds

Growing ground cherries is a lot like growing tomatoes! Start your seeds indoors about 6 to 8 weeks before your last frost. Plant the seeds about 1/4 inch deep, and for good germination, maintain a soil temperature between 75 and 85 degrees F.

Ground cherries typically take 7 to 10 days to germinate.

Transplanting Ground Cherries

Ground Cherries should be transplanted out after all danger of frost has passed. Harden off your transplants for a couple of weeks before planting.

Transplant them into a bed that has rich, well-drained, light soil. You may need to amend the bed with compost, as ground cherries are heavy feeders. You should also select a bed that receives full sun.

Rotate Your Ground Cherries

Rotating your crops is essential, and ground cherries are no exception. We like to rotate crops by family. Ground cherries are a member of the Solanaceae family, like tomatoes, peppers, tomatillos, eggplants, and potatoes, so we avoid planting them in beds where any of these crops have grown in the last couple of years.

Cossack Pineapple Ground Cherries
One of our customer favorites, Cossack Pineapple Ground Cherries

Ground Cherry Spacing

Unlike tomatoes and tomatillos, ground cherries don’t require trellising or cages. However, they still need proper spacing. Ground cherries have a sprawling, spreading growth form, so you should place them 2 to 4 feet apart. In some varieties, like Mary’s Niagara Ground Cherry, plants can surpass 6 feet wide in good growing conditions. 

Ground Cherry Care

Keep your ground cherries weeded and water consistently. Keep the soil moist but not soggy. After the soil temperature has risen in June, mulching around plants is a good idea. It will help with weeding and prevent the fruits from getting dirty or rotting as quickly around harvest time.

Harvesting Ground Cherries 

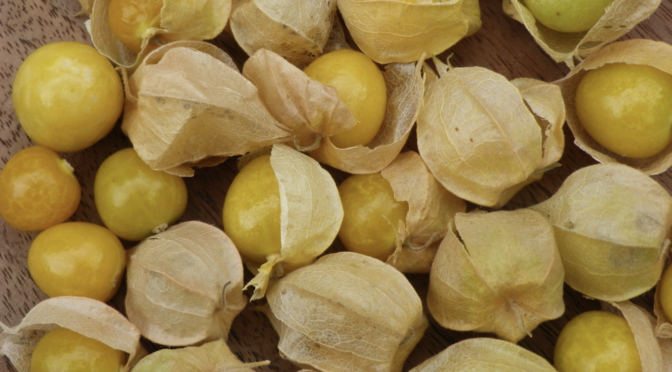
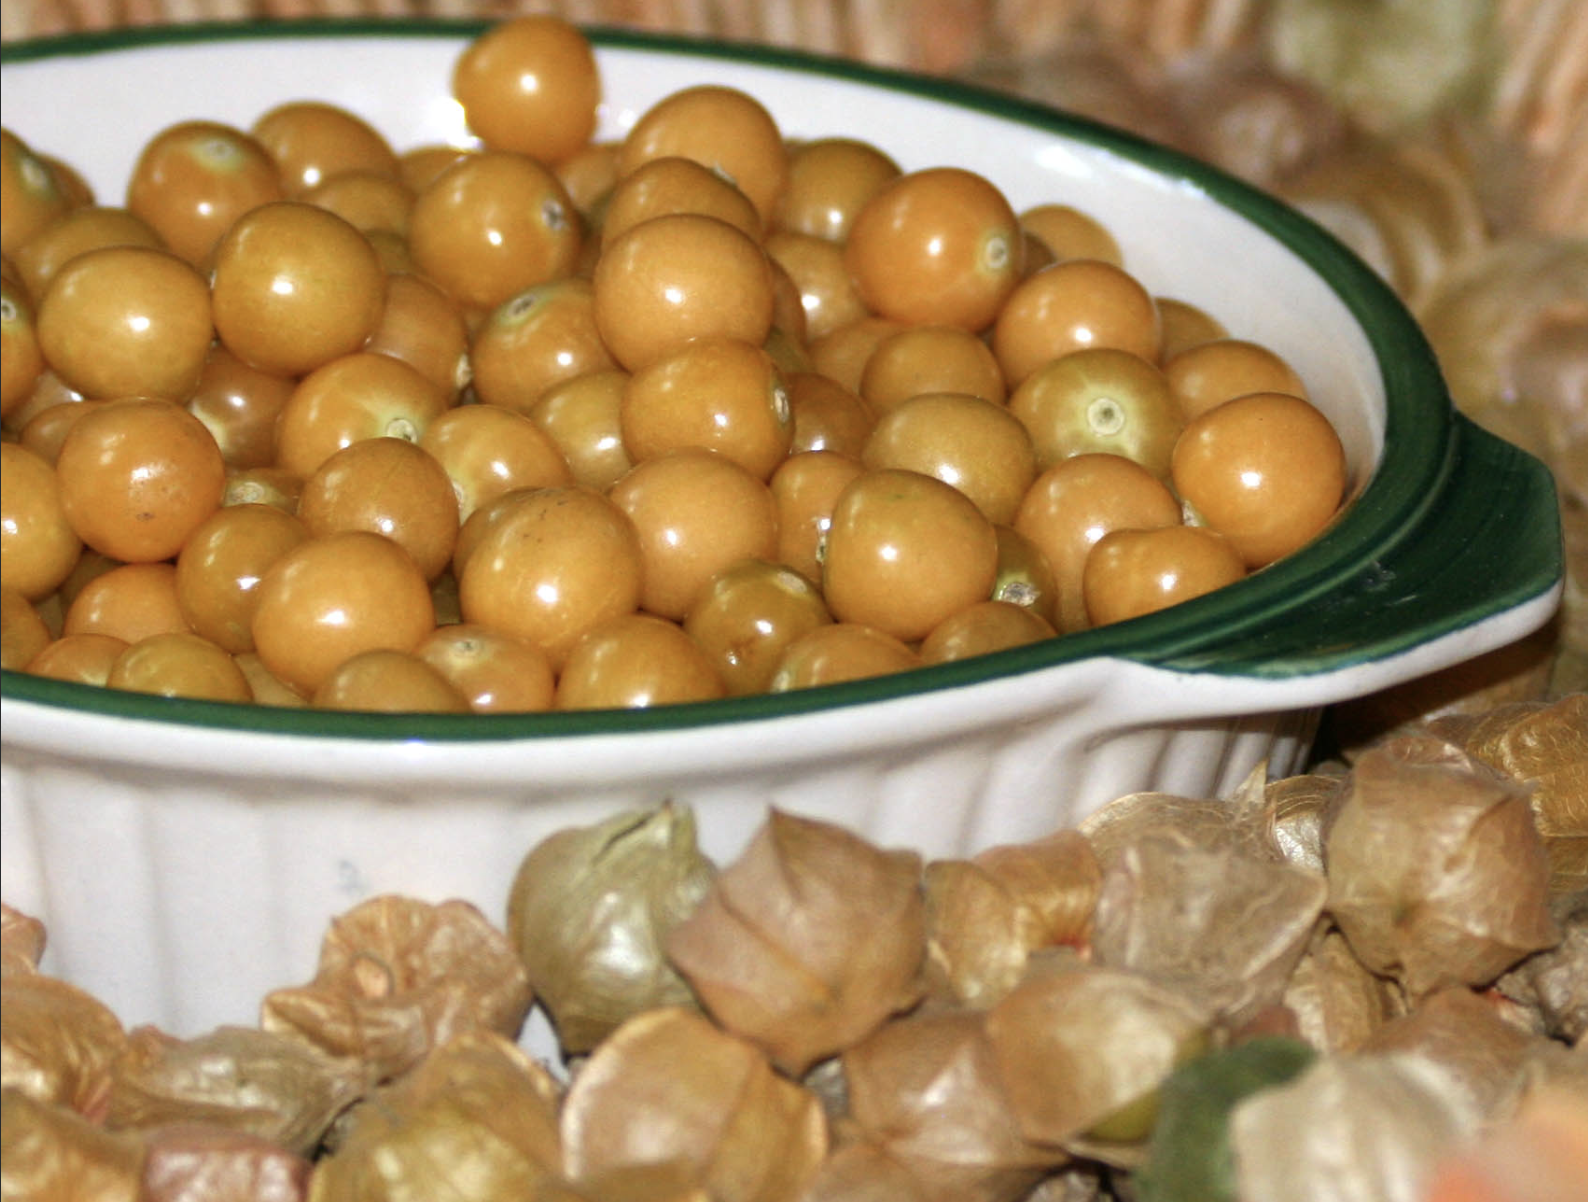
Ground cherries are edible and tasty when fully ripe and yellow, and their husk is brown and dry. Usually, this also means the cherries have fallen off the plant and are lying on the ground. Collect your fallen cherries and remove the husks before eating. 

This habit of dropping ripe fruit is one of the reasons ground cherries have never seen widespread commercial interest.

Using Ground Cherries

Ground cherries can be eaten fresh, cooked, or preserved for later. Ground cherries also have a good shelf life and can be kept fresh for weeks before processing. Here are a few of our favorite recipes we’ve found for ground cherries:

Preserve your ground cherries for later with Grandma Ott’s Ground Cherry Jam from Seed Savers.

Make breakfast special with this 10-Minute Ground Cherry Coffee Cake from The Kitchn.

Try this Ground Cherry Tart from The Forager Chef for a simple dessert that really lets the ground cherry flavor shine through.

Try a more savory approach with this recipe from Ground Cherry Salsa from Health Starts in the Kitchen.

Turn your ground cherries into moist and delicious cake with this Coley Cooks recipe for Ground Cherry Torte.

Saving Ground Cherry Seed

You may not have to save seeds, as ground cherries have a strong tendency to self-sow. However, if you’d like to steward a variety, we recommend separating varieties by 300 feet for pure seed. You only need one plant to save viable seeds, but if you want to maintain a variety over many generations, save seeds from between 5 and 20 plants.

Processing and saving the seeds is exactly like processing tomato seeds. Squeeze the seeds and pulp into a jar, add about as much water, and let the mixture ferment for 2 to 3 days, stirring once a day. A little mold growth on top is fine.

After fermenting, add more water so that the pulp and non-viable seeds float to the surface and pour them off. You may need to repeat this a couple of times. Then, rinse your good seeds in a mesh strainer or cheesecloth with clean water.

Let your seeds dry out of direct sunlight for three weeks. Then, store them in an airtight container out of the sun.

Saving the Past for the Future