As soon as you start gardening, you begin to see the earth beneath your feet in a whole new way. Soil is a surprisingly complex topic and the key to plant health. While you may not know everything there is to know about soil, getting a good grasp of the basics can help you create a more productive garden. Soil pH is one of the critical elements for gardeners to understand.
What is Soil pH?
In simple terms, pH stands for the “power of hydrogen” or “potential of hydrogen” and refers to the concentration of hydrogen ions in the soil. As the concentration of hydrogen ions in soil increases, the pH decreases, so the soil is more acidic. Conversely, a low concentration of hydrogen ions in soil means it has a high or alkaline soil pH.
The scale for pH ranges from 0 to 14, with 7 being neutral. The lower numbers are acidic, while the higher numbers are alkaline. Most plants prefer a slightly acidic to neutral pH between 6.0 and 7.0, but I’ll cover that in more depth below.
Soil pH by Region
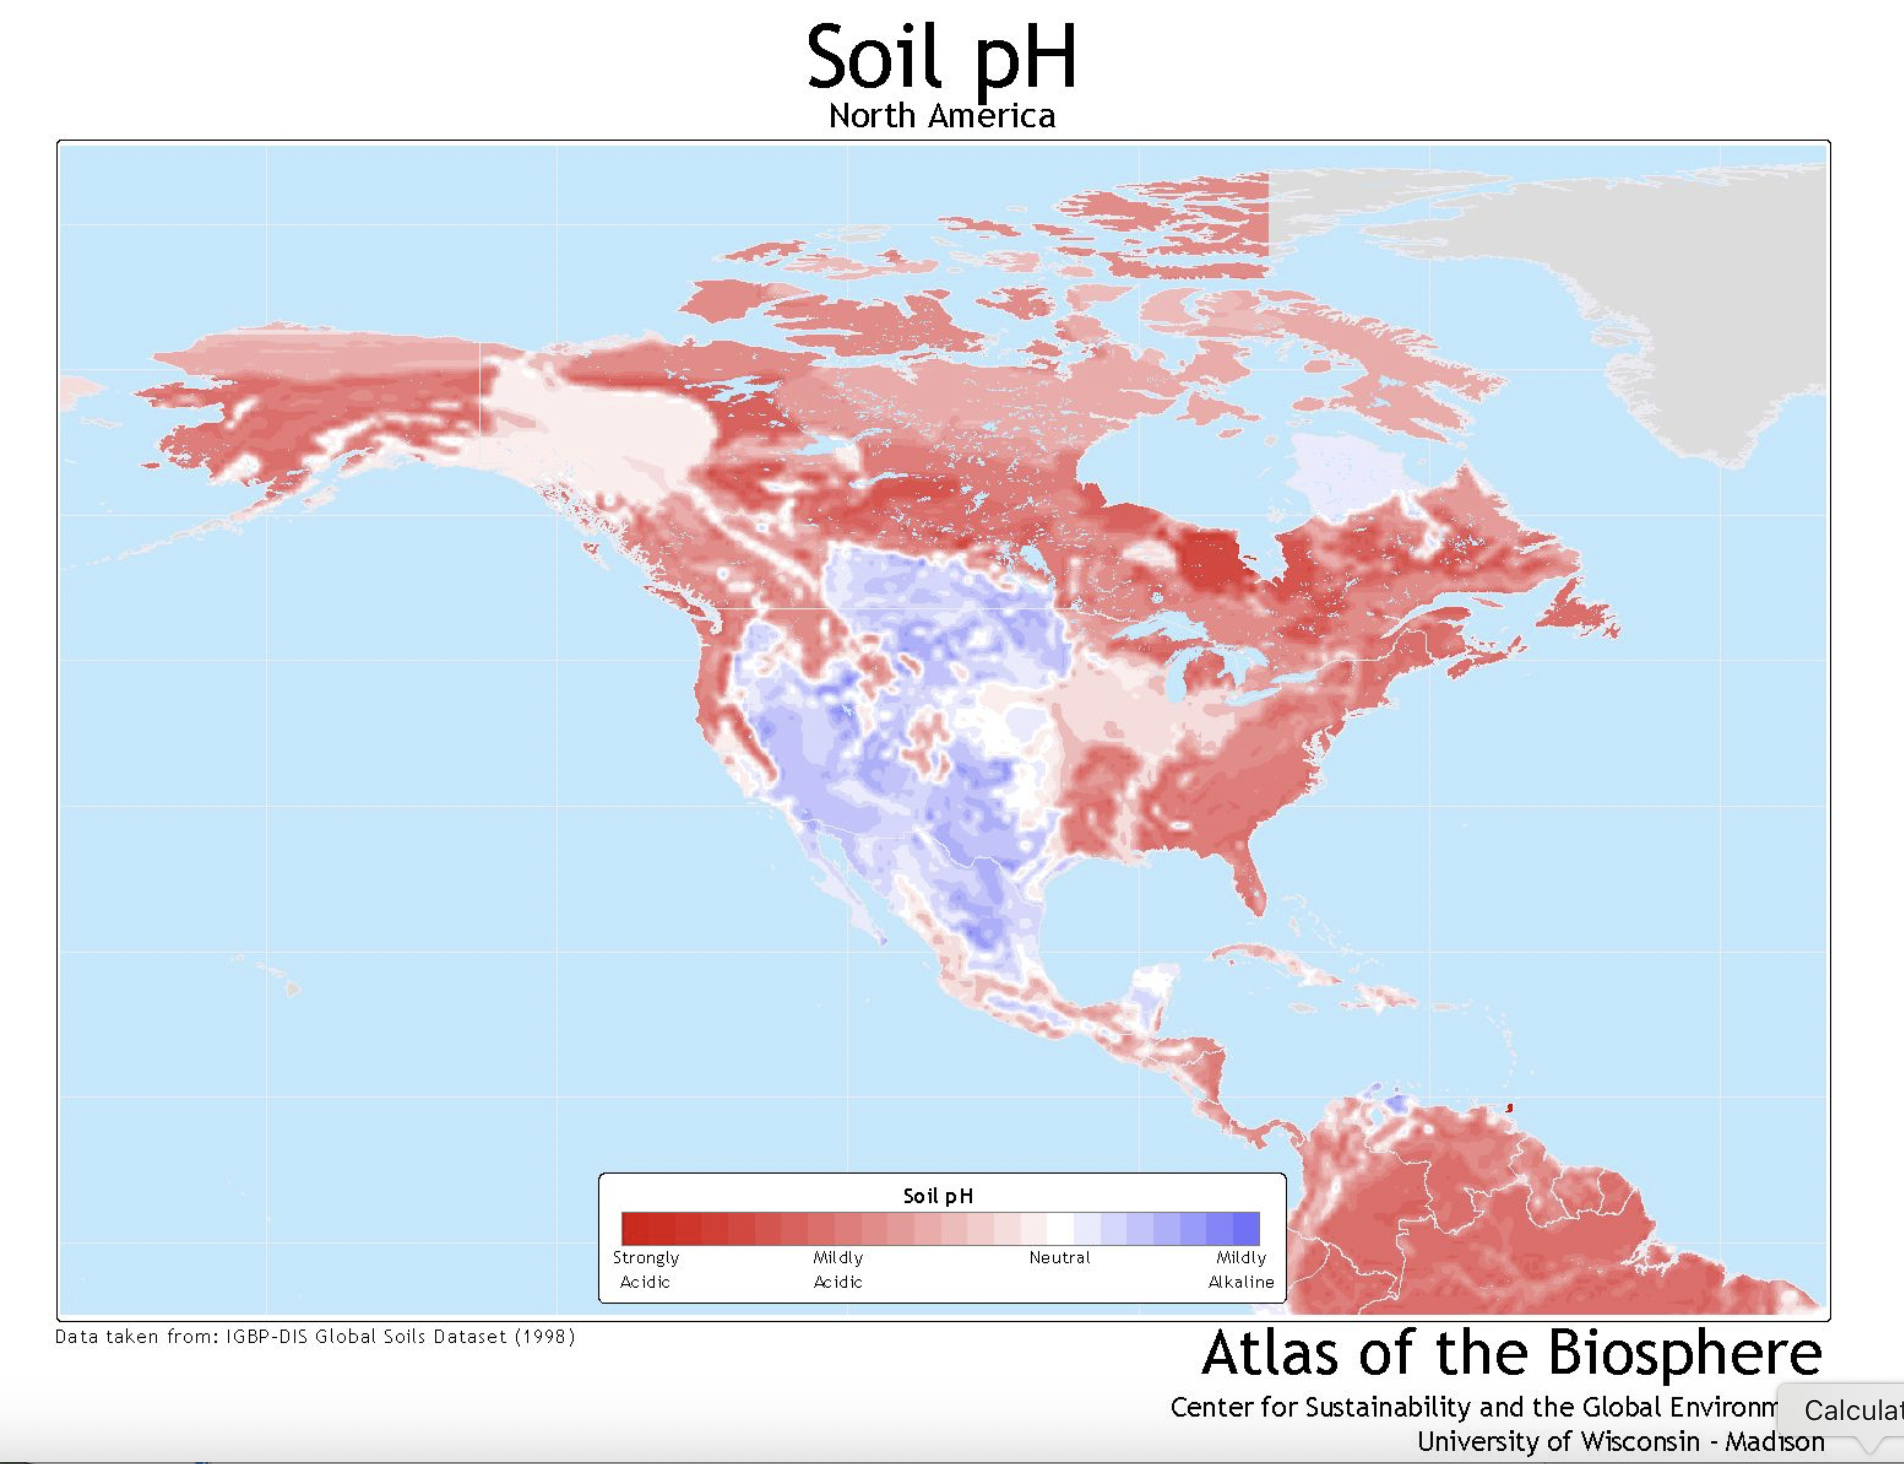
Just as there are various soil types like heavy clay and loam across the United States, there are regional variations in the pH of unamended soils.
Many factors contribute to the pH of native soil. Rainfall leaches alkaline nutrients like calcium and magnesium from the soil, making areas with heavy rainfall more acidic. Organic matter decomposition also creates more acidic soil. Leaves and pine needles release organic acids as they break down. The bedrock also affects the soil. Basic rocks like basalt break down to form more alkaline soils, while acidic rocks like granite lower the pH and create more acidic soils.
In general, the eastern United States, including the Southeast, has acidic soils, though there are smaller regional variations. Due to its rainfall, forests, and bedrock, the Pacific Northwest also has mainly acidic soils. The Midwest and Great Lakes fall closer to neutral, while the western states tend to have alkaline soil.
Smaller, regional variations have become more common thanks to humans. We’re constantly moving and mixing soil. Soil moved for construction, development, agriculture, and any amendments will affect the soil pH you find on your property.
How to Test Soil pH
The best way to test your soil pH is to get a full soil test from your local agriculture extension office or agricultural college. Usually, they offer free or very affordable tests for residents. Most offer some recommendations or support in addition to your test results.
To find your county extension agency, try browsing the listings of Pick Your Own. They list contact information for county extension agencies across the United States.
You can also find at-home pH tests at many garden centers. These offer quick results but aren’t as reliable. They also usually lack any additional support or recommendations.
For more information on how and when to take an accurate sample, visit our guide to taking a soil test.
Soil pH for Plants
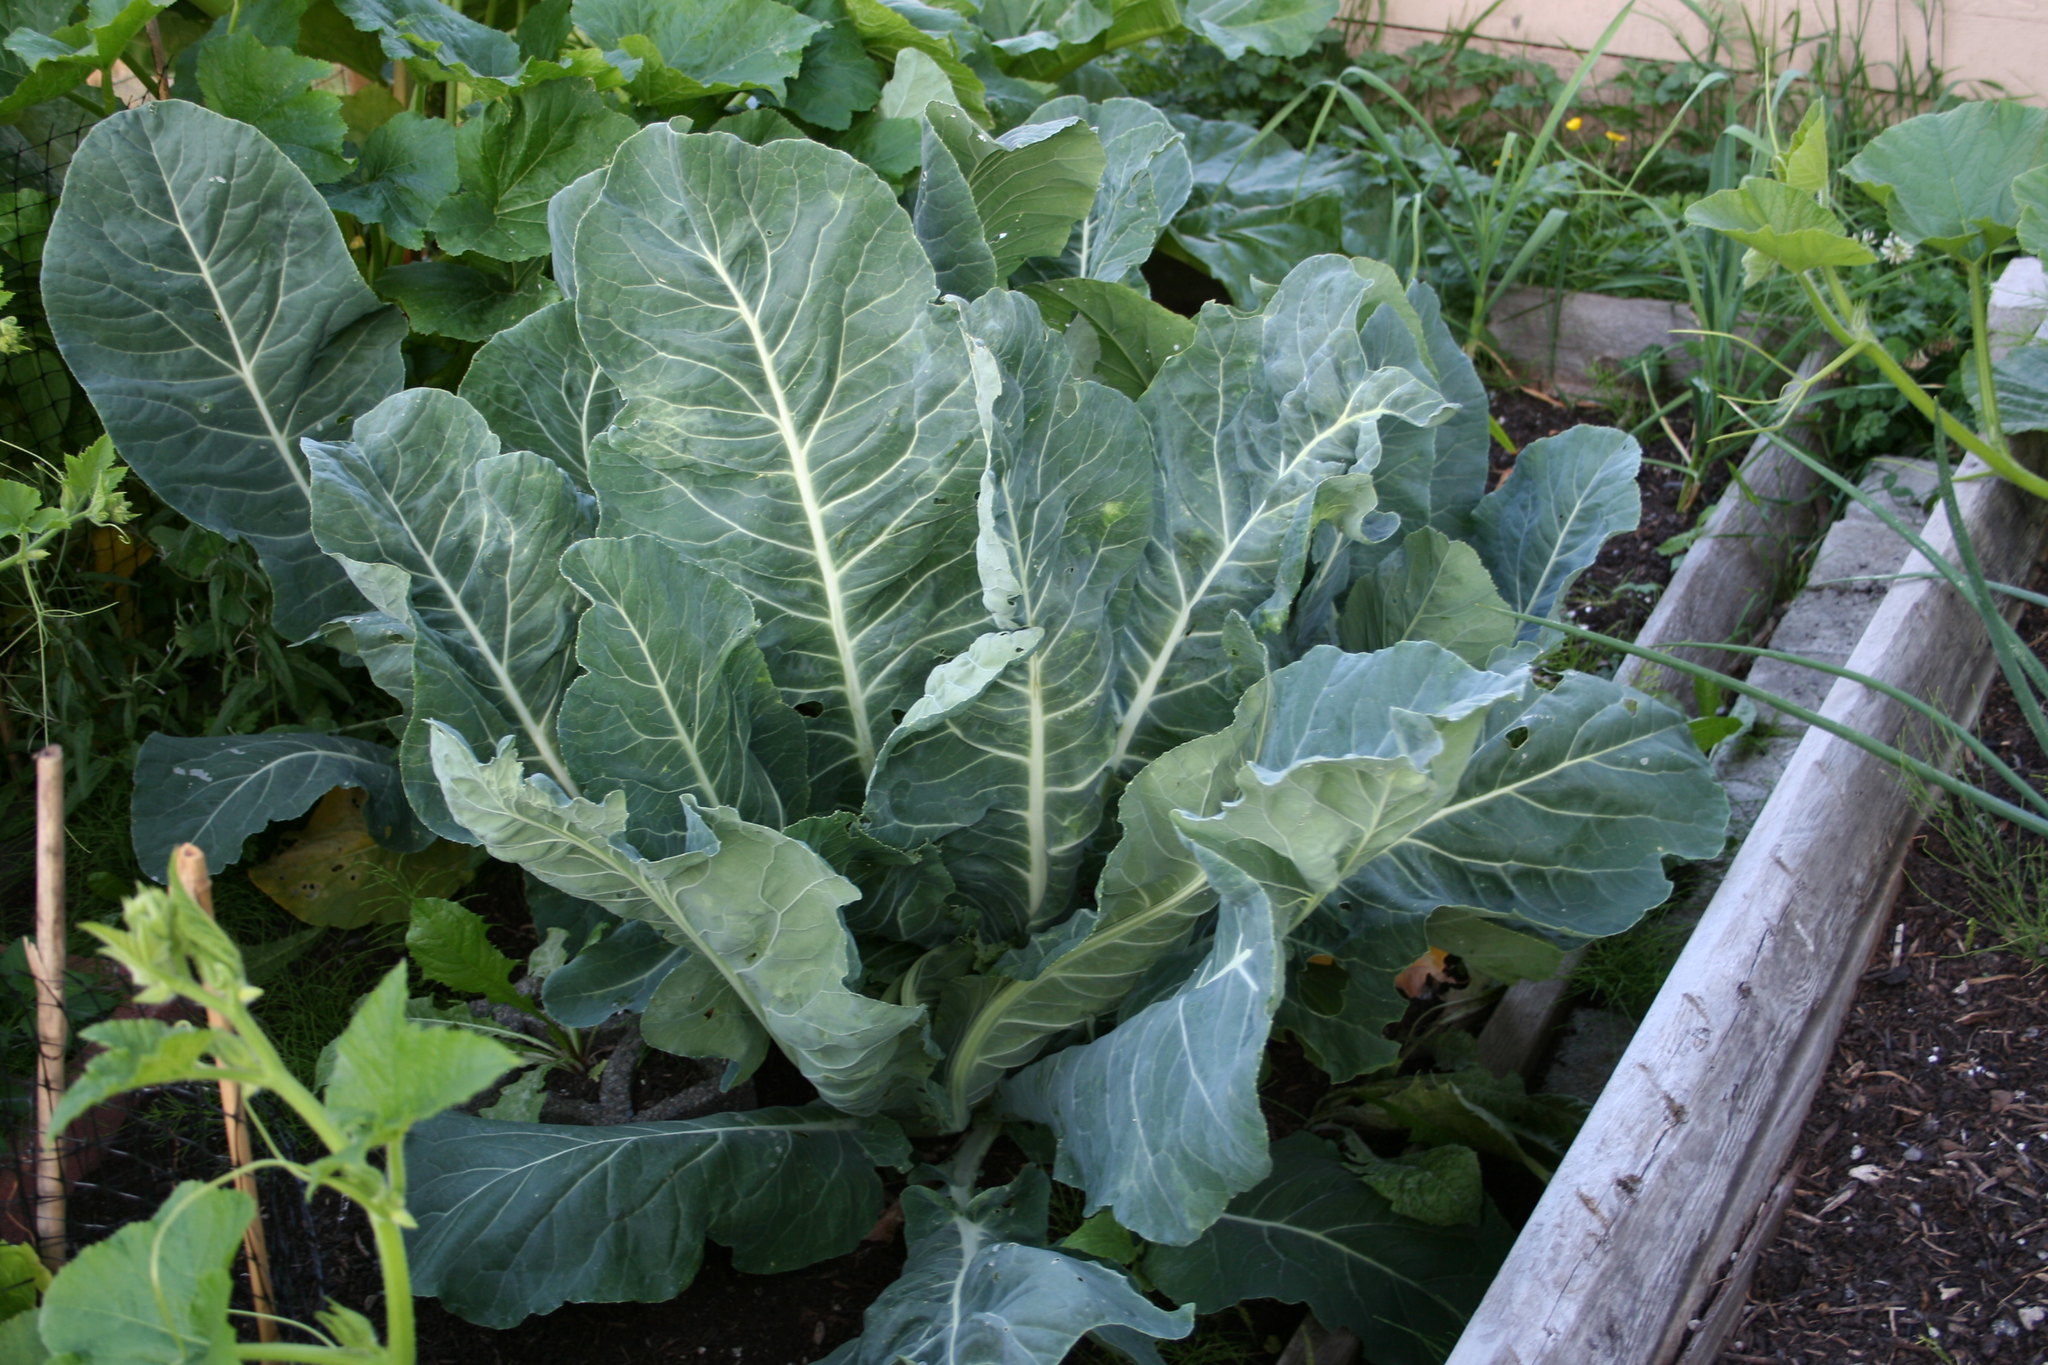
As I mentioned above, most vegetable garden plants prefer a slightly acidic to neutral pH between 6.0 and 7.0, but it can vary widely depending on the plant and the type of soil that they’re adapted to. For example, most of the Southeast has acidic soil, so many of our native plants like azaleas, American elderberries, goldenrod, and rudbeckia tolerate or thrive in acidic soil.
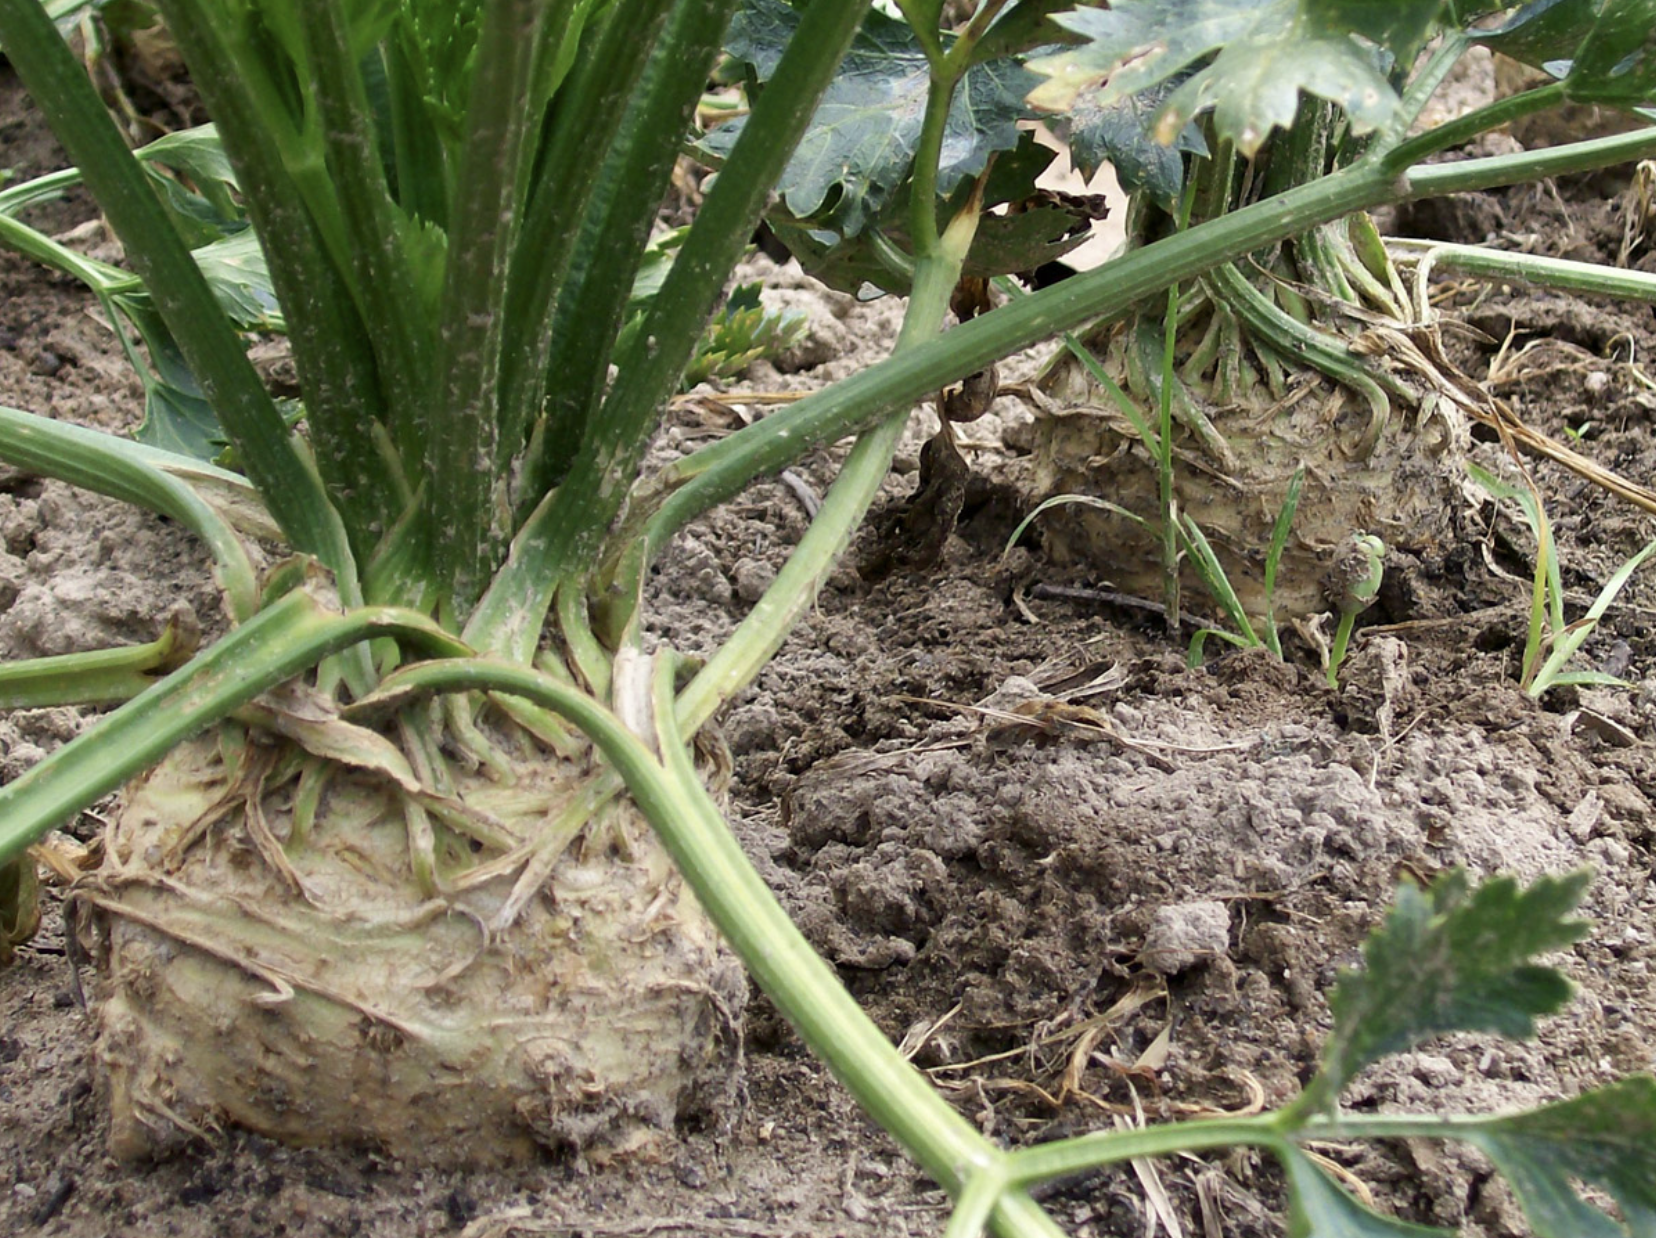
The University of Maryland Extension has a helpful chart for the ideal soil pH for vegetable crops, including the level at which you should apply lime. You’ll notice that a few vegetables like potatoes and carrots tolerate a bit more acidity than many of the others.
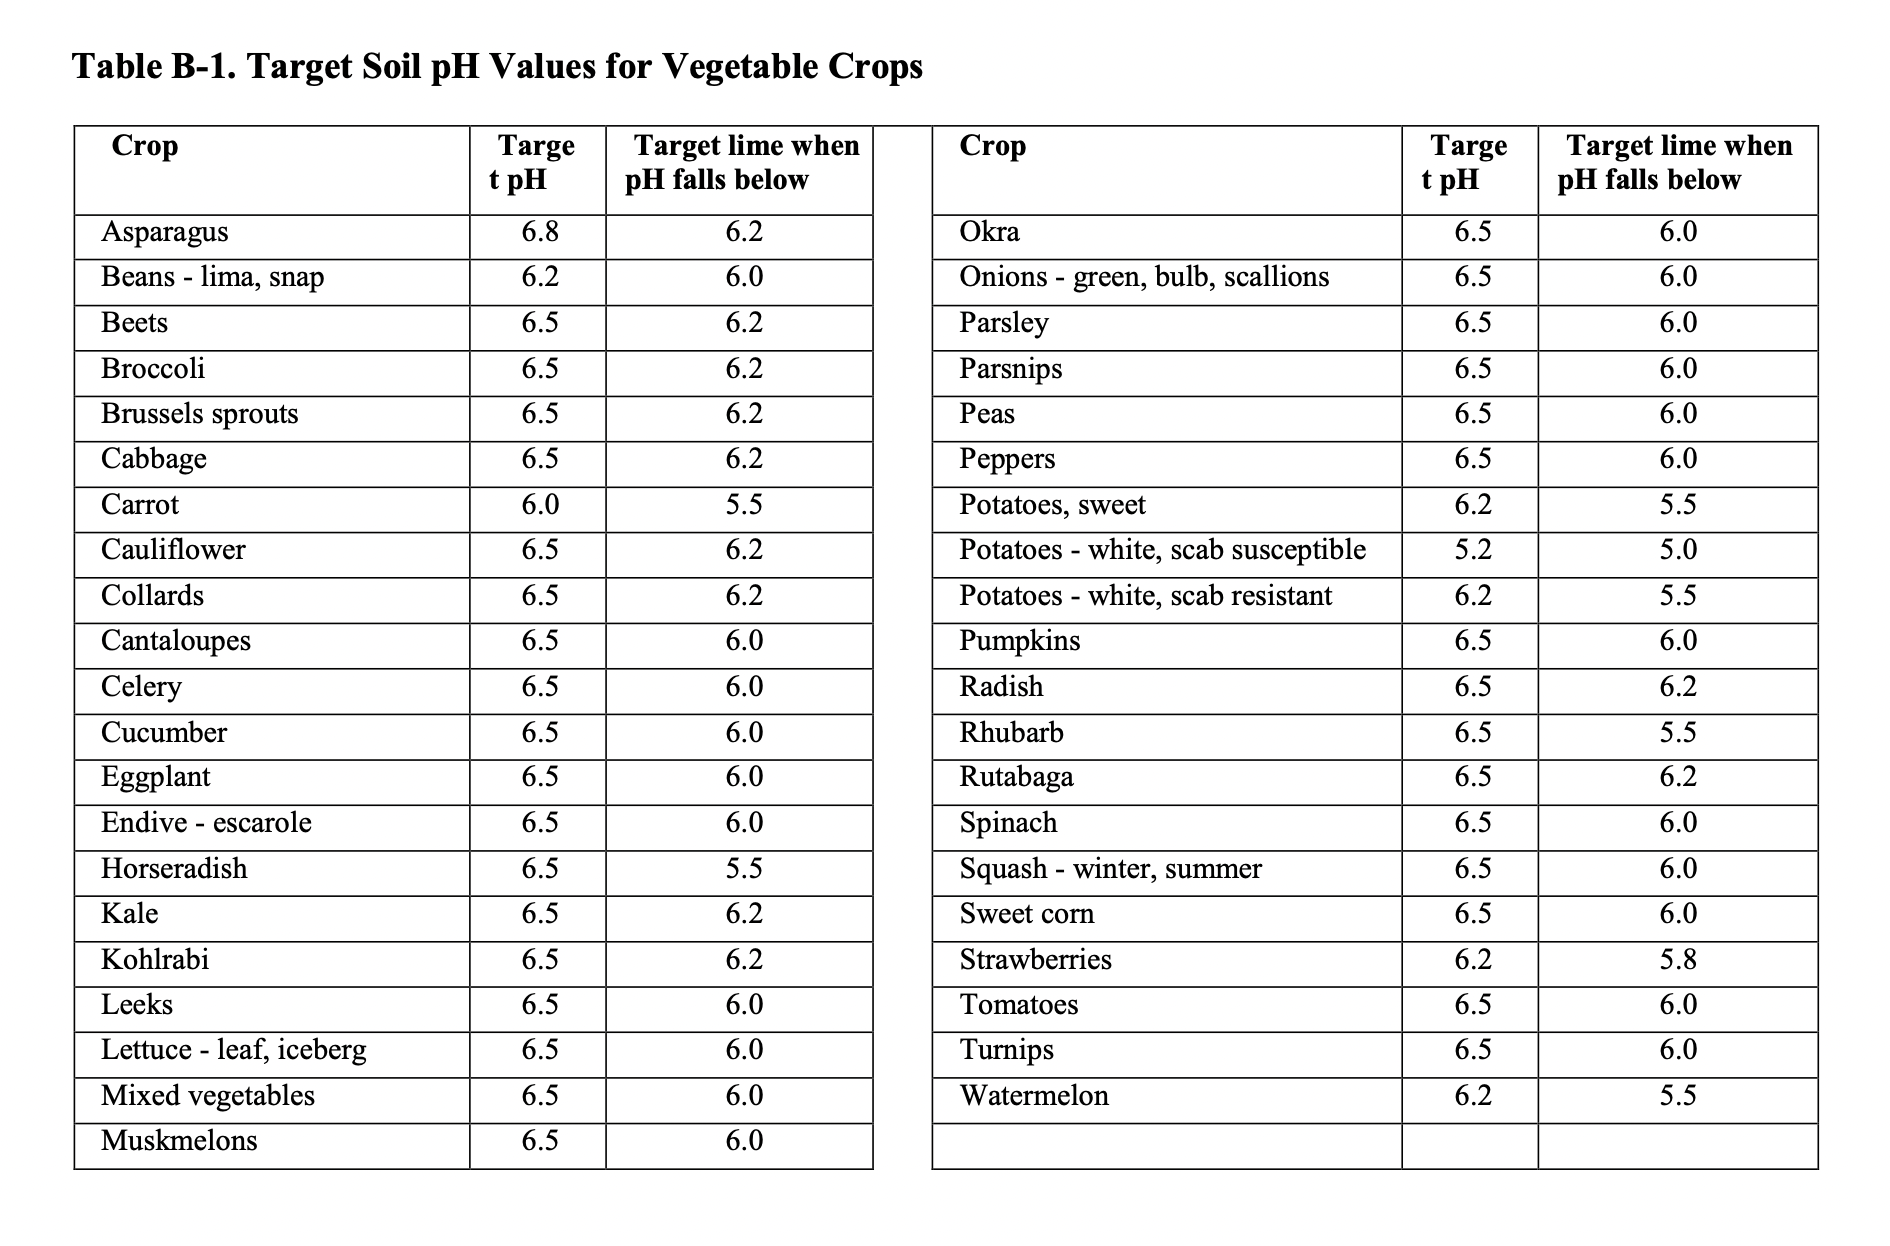
Keeping vegetables within their key pH range is essential for good production. If the pH is too high (alkaline) or too low (acidic), the soil particles bind too tightly to essential nutrients, preventing your plants from using them, which will lead to stunted growth, disease issues, and poor production.
In acidic soil, phosphorus, potassium, sulfur, calcium, and magnesium become less available. Toxic levels of aluminum, manganese, and iron can build up, damaging roots. In alkaline soil, iron, manganese, zinc, copper, and boron become less available.
How to Change Your Soil pH
No matter what pH your soil test indicates, you can amend your soil to be suitable for the crops you’re growing.
If your soil is too alkaline, you’ll want to lower the pH to make it more acidic. Elemental sulfur is a common option that’s easy to find. Many other garden amendments will lower the pH more slowly over time, including peat moss, compost, and fertilizer.
If you’re on the East Coast, it’s most likely that your soil is too acidic. The most common way to remedy this is to amend your garden with agricultural or dolomitic lime, both of which are made from ground limestone. Adding biochar or wood ashes from your wood stove or fireplace can also slowly help to raise your garden pH.
Knowing how much to amend your soil can be tricky. Too much sulfur or lime can be as detrimental as too little. Getting recommendations from a soil laboratory based on your test is the best option. The Clemson University Soil Testing Laboratory also has a handy lime calculator you can use based on your test results.
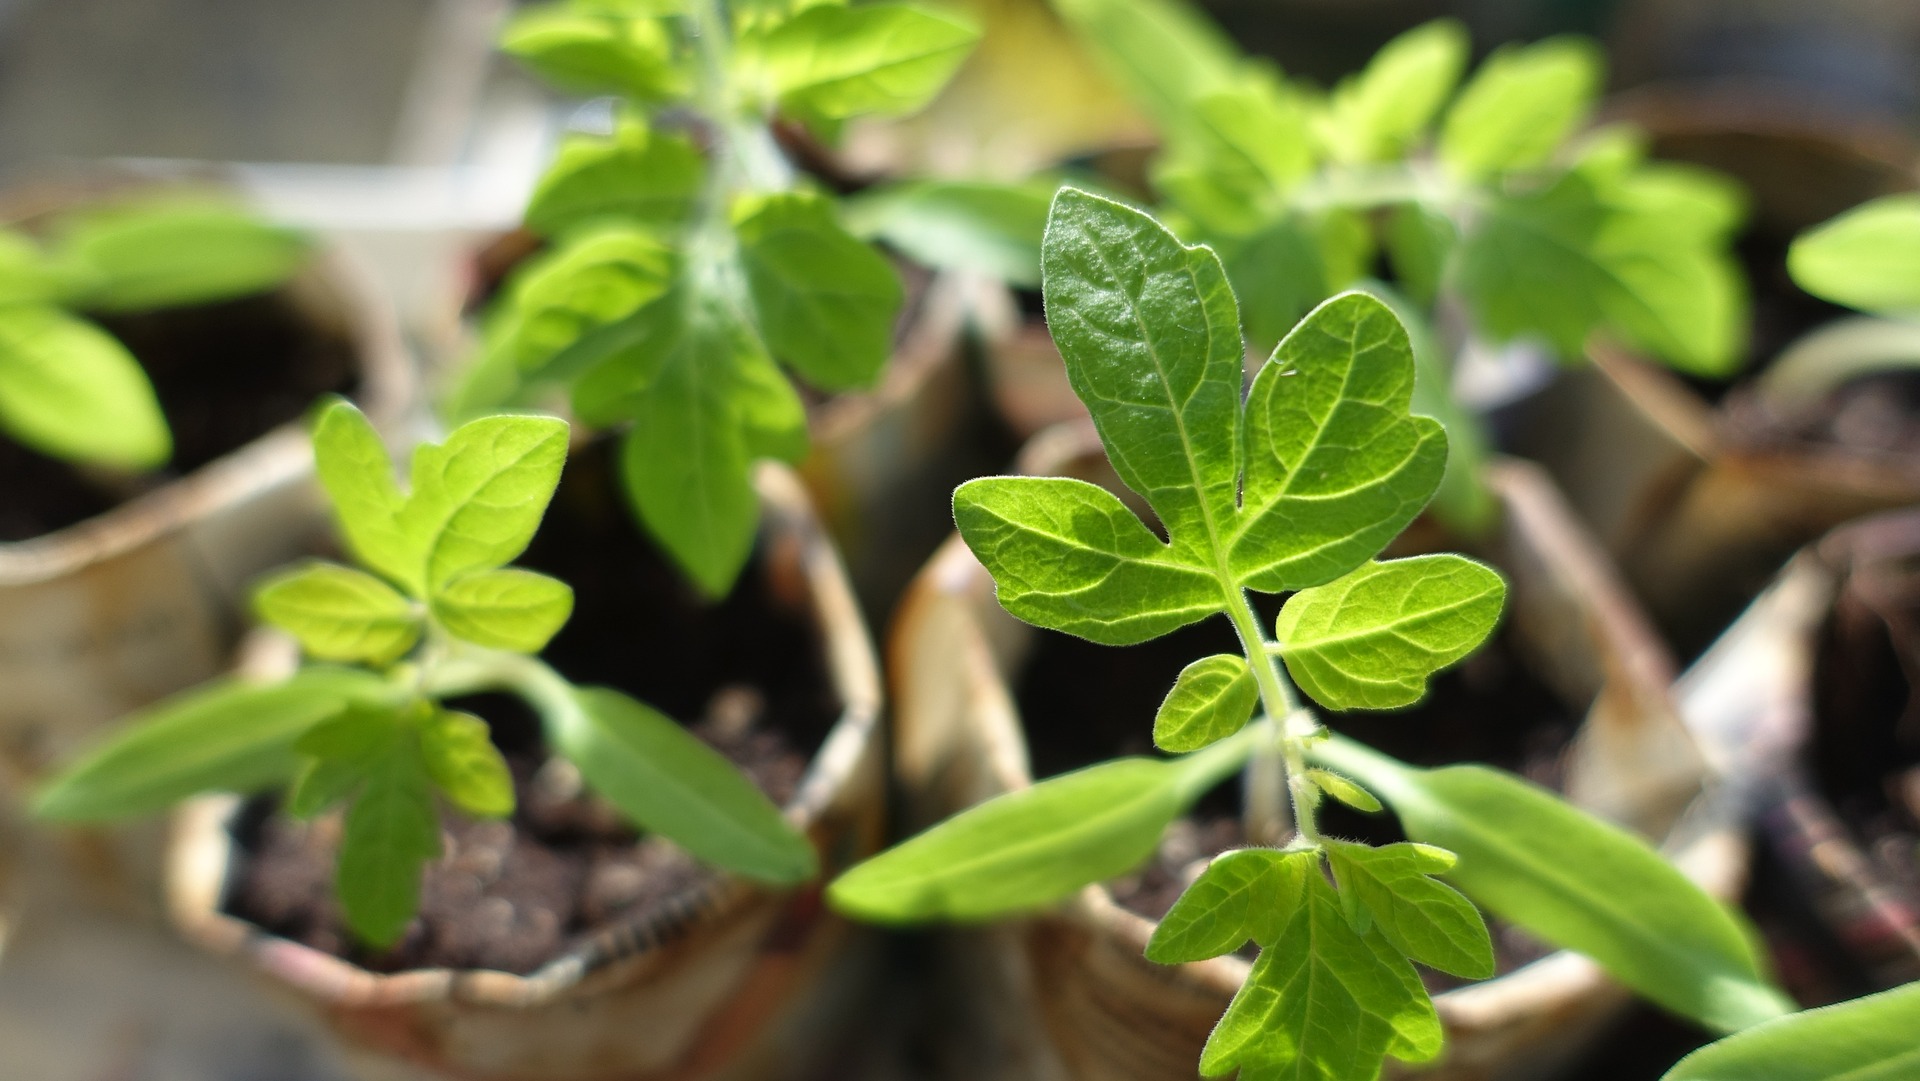
If possible, amend your soil at least three weeks before planting. While you can amend closer to planting time without harming plants, it will take several weeks before you see changes in your soil pH.