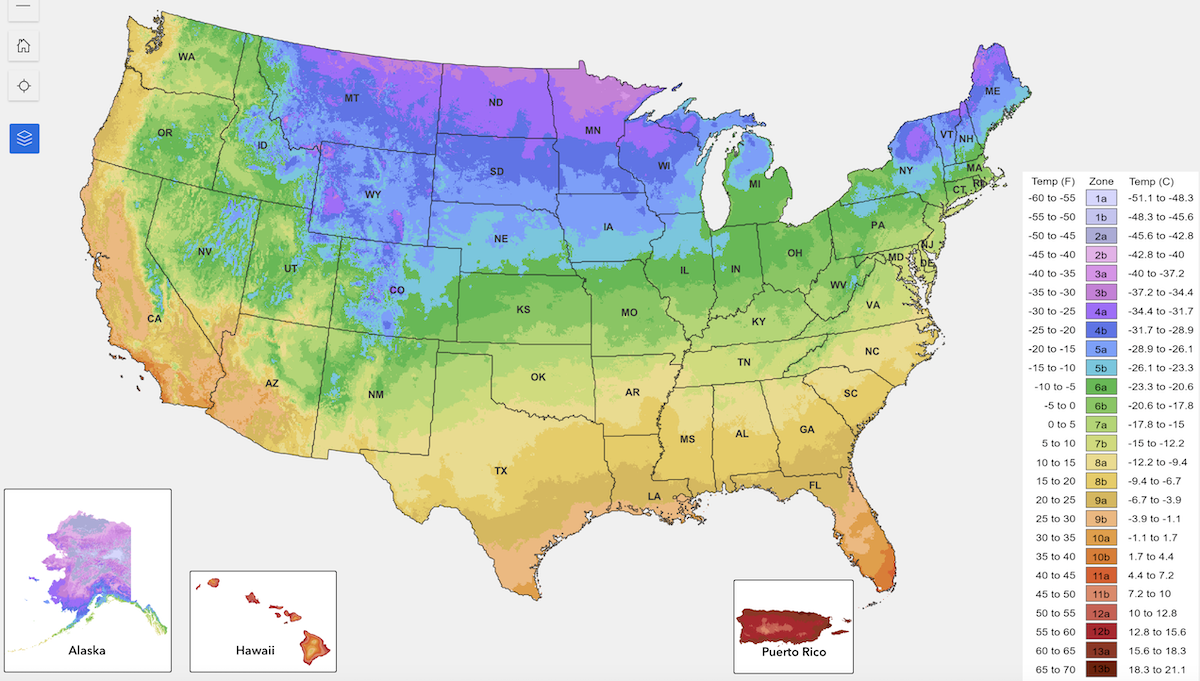
Many of you probably saw that the USDA released a new hardiness zone map just a couple of weeks ago. Some of you may have gotten a further surprise, glancing at the map to see that your hardiness zone had changed! This little jolt may have helped confirm signs of climate change you’ve already noticed in your garden, like milder winters, hotter summers, erratic weather patterns, or earlier budbreak. While we can’t totally predict the effects of a changing climate, we do expect to see generally hotter, drier summers, and many of our customers do too. Here are a few ways to prepare for a heat-tolerant garden this season.
Grow Drought Tolerant Varieties
Many of our old heirlooms come from a time when irrigation on a small family farm was non-existent. When you look at many old Southern heirlooms like ‘Iron and Clay’ Southern Peas, Texas Gourdseed Corn, and Genuine Cornfield Pole Beans, you’ll find varieties that have tolerated heat and drought for years without much assistance.
Grow Short-Season Crops
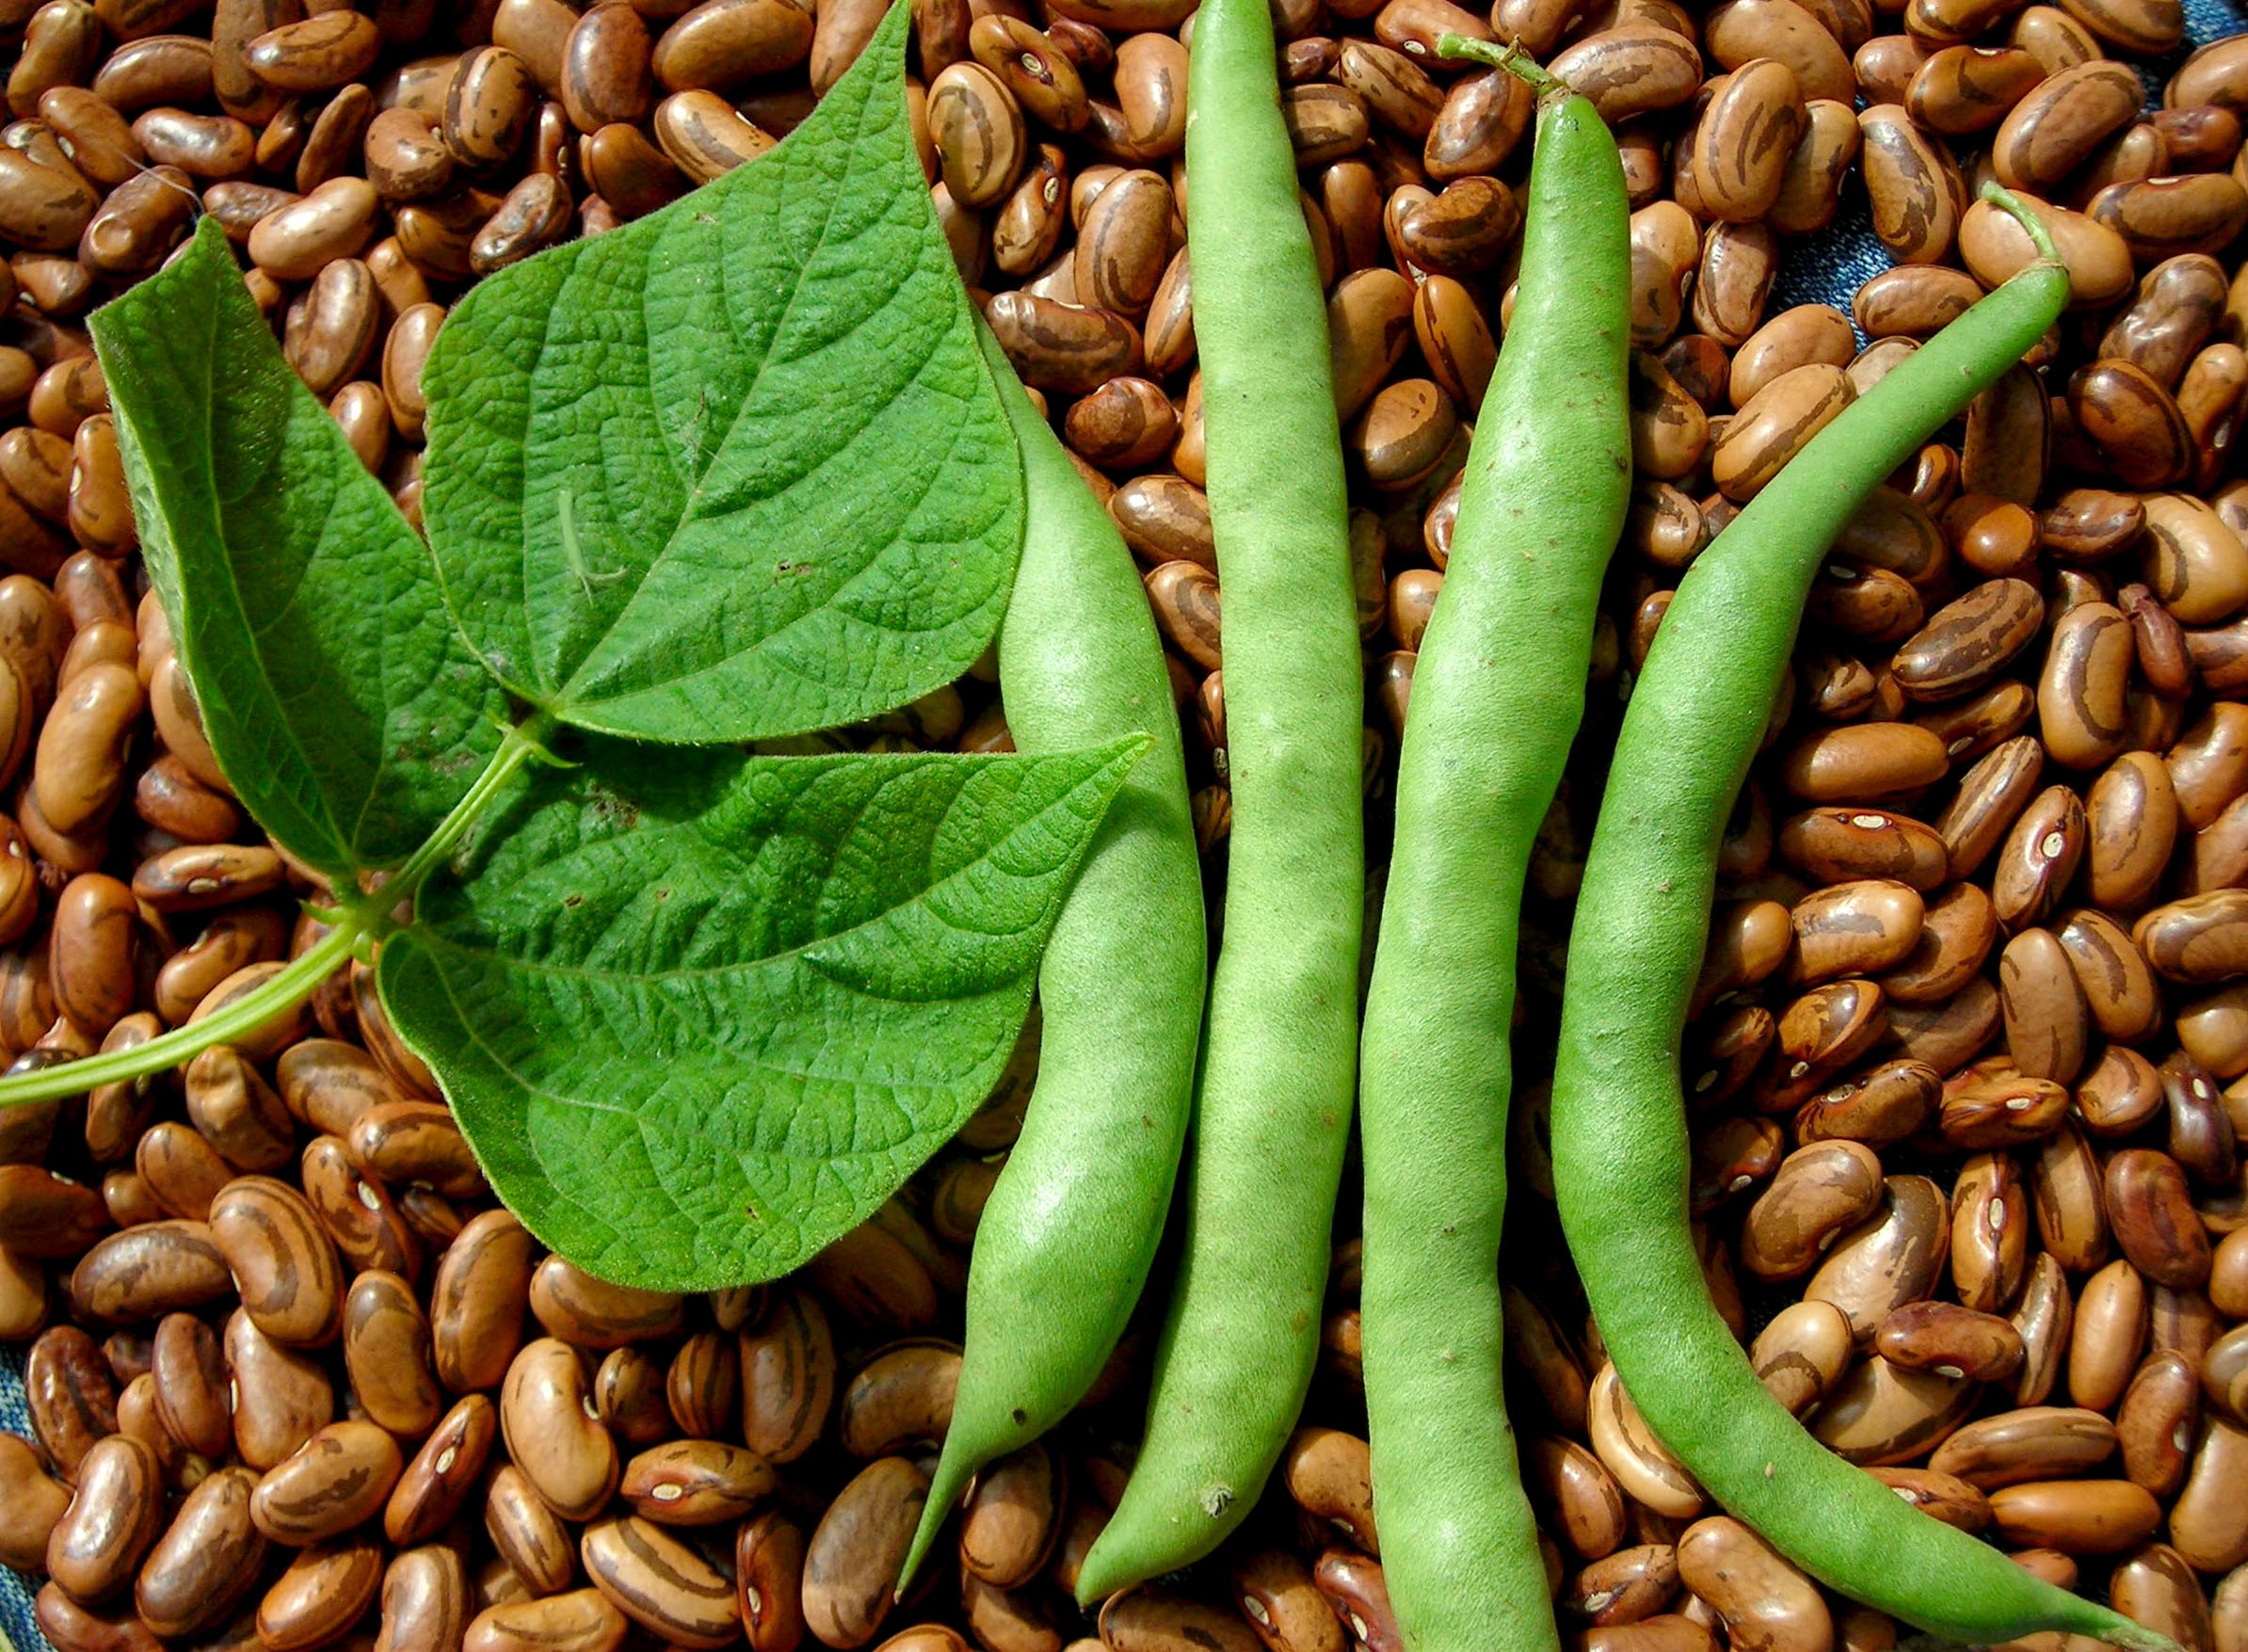
One way to beat the heat is to avoid it. Crops that are fast-maturing stand a better chance of producing before they even have to face extreme temperatures or drought. Short-season bush beans are a great crop for this strategy. Varieties like ‘Provider’ can mature in as little as 48 days. In hot areas, crops like these should make up a good portion of your spring garden and will allow you to get another round in autumn.
You can also opt for smaller versions of some of your typical slow-maturing favorites. ‘Golden Midget’ has become one of our favorite small watermelons for its ability to produce in just 72 days. ‘Table Queen’ winter squash, which produces in just 80 days, is another great option, especially when compared to varieties like ‘Big Max,’ which takes 115 days to mature.
 Plant Perennials
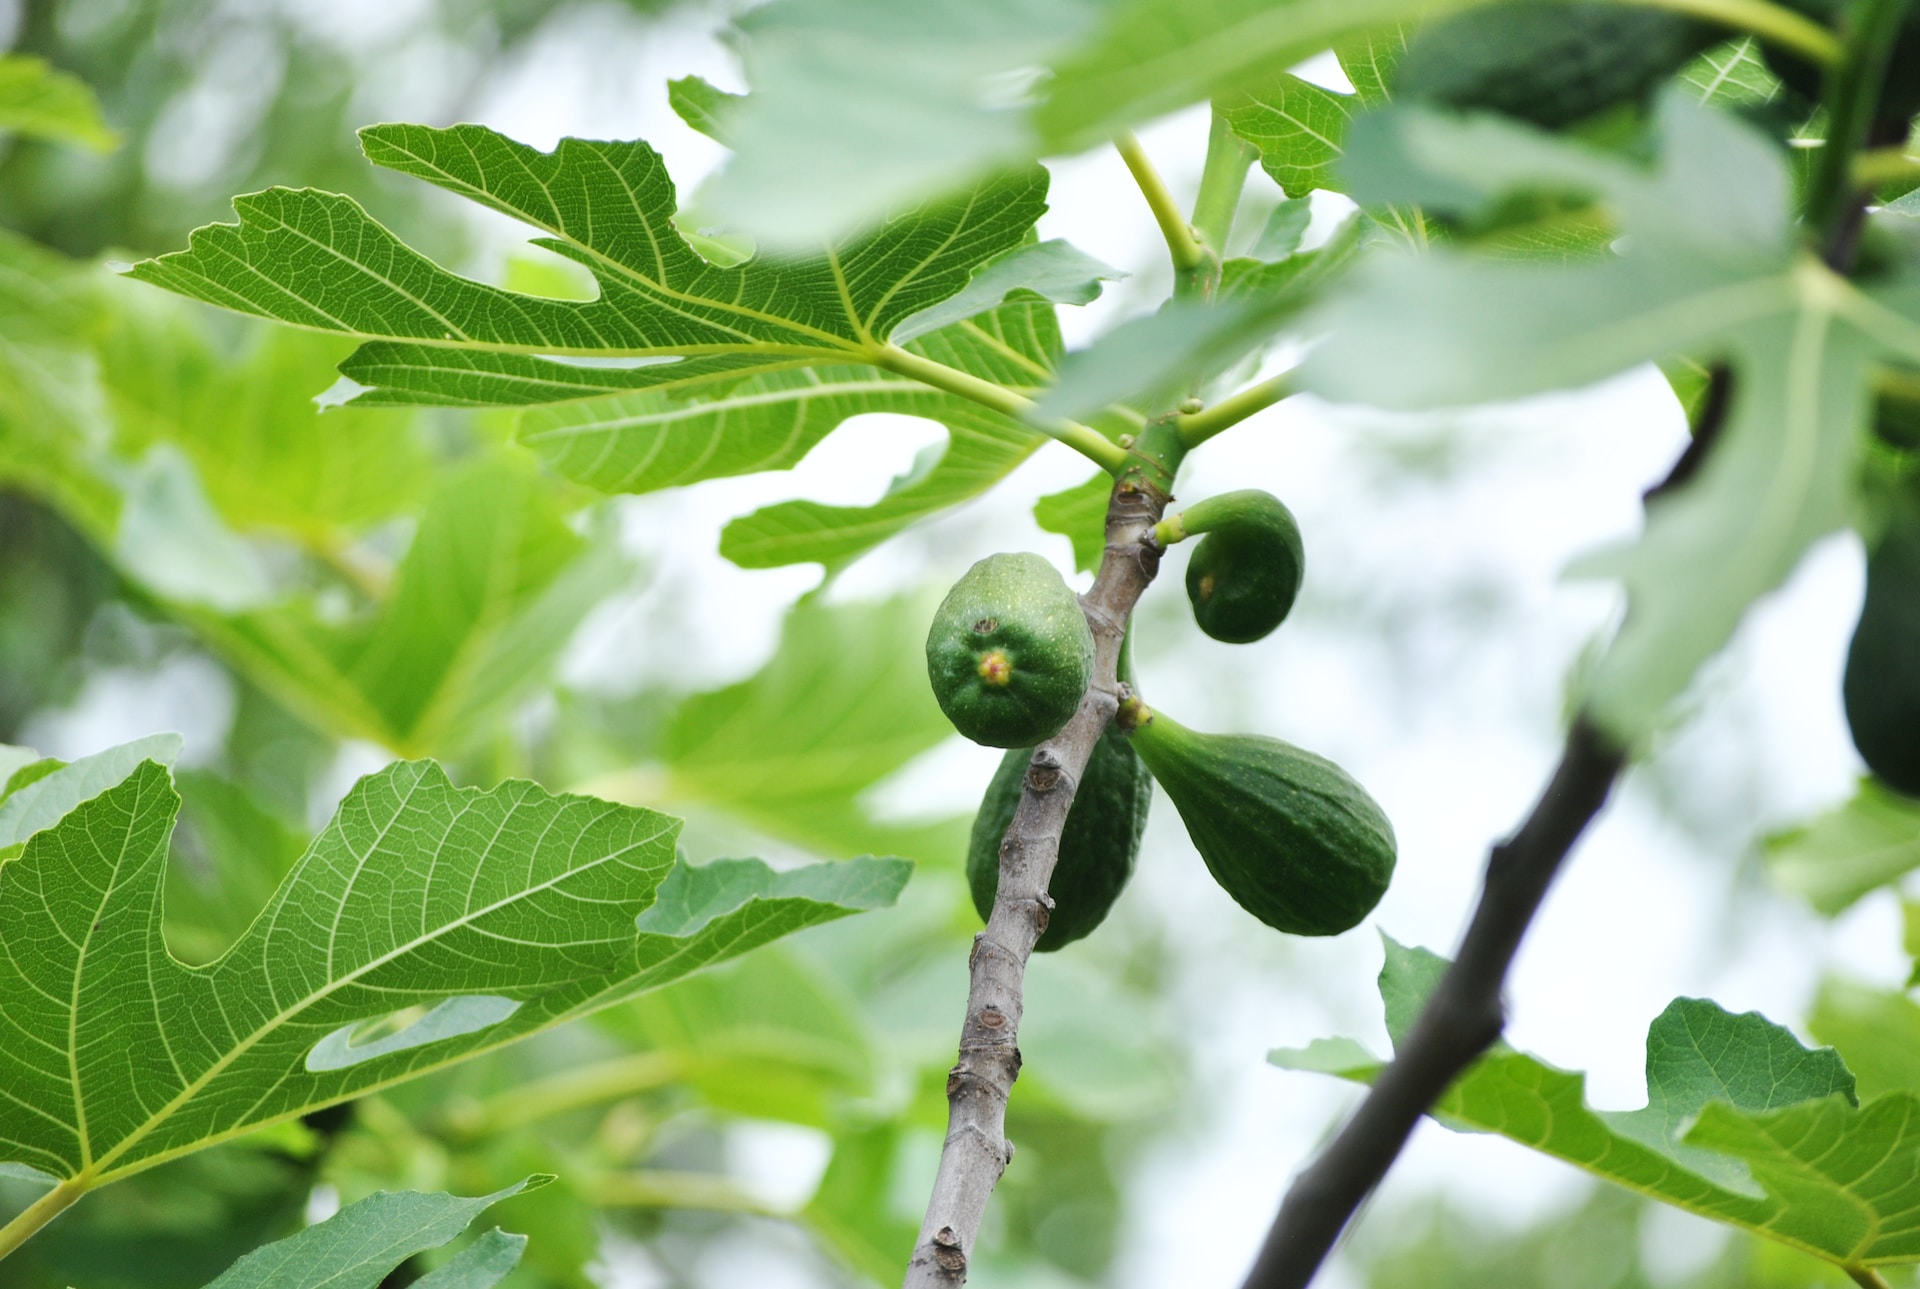
Many perennials are quite drought-hardy once established. Their long lives allow them to develop deep tap roots and extensive root systems. This includes many fruit and nut trees and perennial herbs and vegetables like figs, almonds, horseradish, and asparagus. They may require watering initially, but once established, they should do pretty well on their own, especially if you keep them mulched.
Many of our native wildflowers, like Rudbeckia, echinacea, and Early Horse Gentian, have more extensive, deep root systems than many ornamental flowers. Opting for more species like these can reduce watering and maintenance in flower beds.
Use Companion Planting and Intercropping
The classic example of companion planting is the Three Sisters Garden, where corn, beans, and squash are interplanted. In this example, the squash vines help shade the soil for the corn and beans, keeping it cool and moist.
While this example has become famous, Native Americans often interplanted other crops like sunflowers and amaranth, too, and you can use the same principles with other crops. Cucumbers can be grown beneath sorghum, roselle, or other tall crops to shade the soil. Bean tunnels or trellises can create shade to stretch the season for cool-weather crops like lettuce and broccoli.
Diversifying in this way has other benefits, too. If one crop fails, you’ll still have used your space well. Multi-crop beds also tend to be more disease and pest-resistant than monoculture plantings.
 Use Cover Crops and Mulch
Bare soil is dead soil, especially when the temperatures climb. Keep your soil cool, moist, and healthy by keeping it covered. Cover crops are ideal for edges, pathways, and resting beds as they add nitrogen and organic matter to the soil. Some, like buckwheat, are very quick-growing and can be cut, dropped, and used as mulch for transplants.
Use mulch around plants and in heavy-use pathways. Mulch doesn’t have to be beautiful and perfectly matching. Try woodchips, straw, hay, grass clippings, or old leaves.
Use Your Shade
Shade isn’t usually a vegetable gardener’s friend. However, in the middle of a hot summer, plenty of cool-season crops will benefit from a bit of shade. Use the spaces around fruit trees or sides of buildings to experiment with getting better summer production from tender crops like green mixes.
Save Seeds
Each year, you have an opportunity to adapt your favorite varieties to your climate. Take it.
You may not have the time or energy to save all the seeds for your garden, but you can probably pick a few favorites. Maybe there’s a tomato you couldn’t live without or a pole bean your family has enjoyed for years. If you save seeds from the plants that performed best each year, you will shape that crop’s future to be specifically adapted to your growing conditions.
Gardening has never been easy, and it isn’t getting any easier! Climate change brings warmer temperatures, drought, new pests, and more. Hopefully, these tips will help you adapt your garden strategy to climate change and have a productive year.
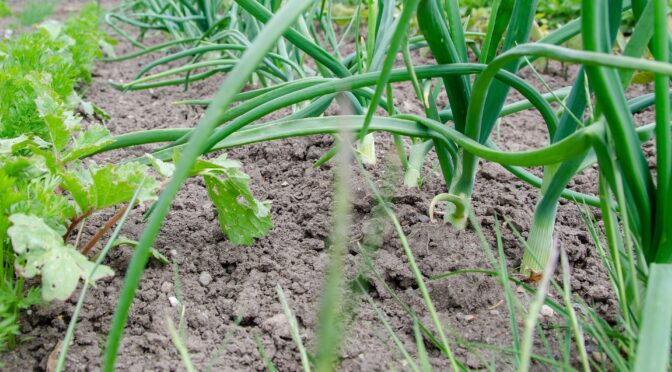
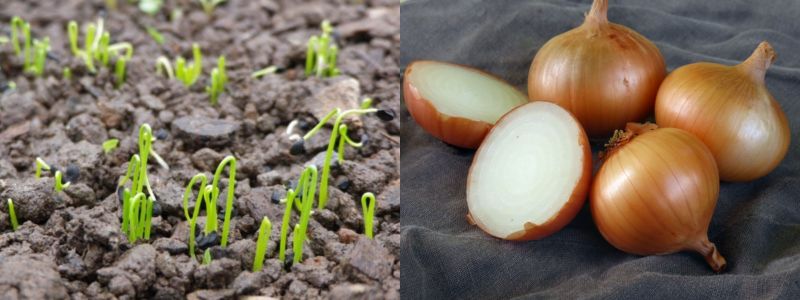 Step Two: Start Onions Early
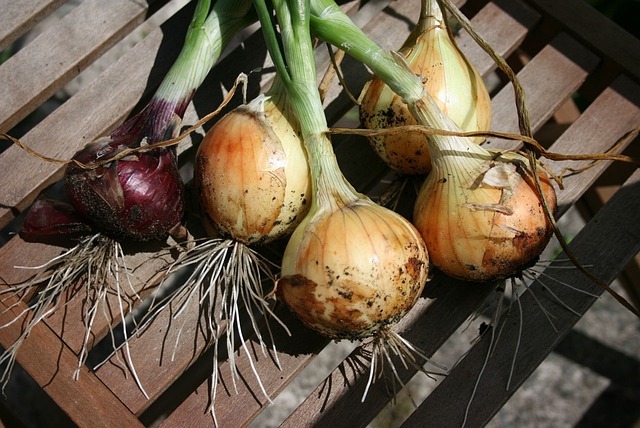 Step Five: Mulch them Well
 Step Eight: Rotate Your Onions Next Season
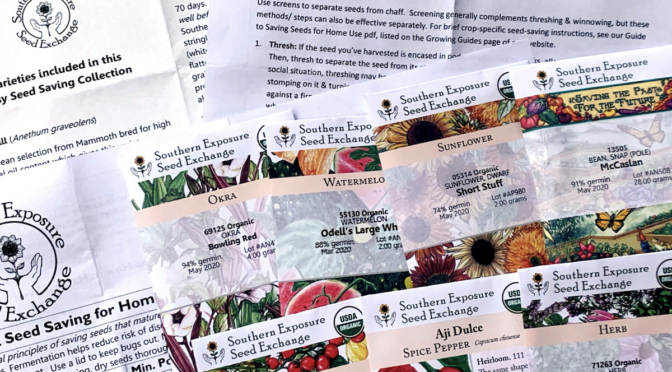
 Know your climate.
 Consider pest and disease resistance.