One concept that’s often brought up in gardening literature and rarely fully explained is hardiness zones. While they are a simple concept, to a new gardener it can be helpful to know exactly what a hardiness zone is and how to find theirs.
What’s a Hardiness Zone?
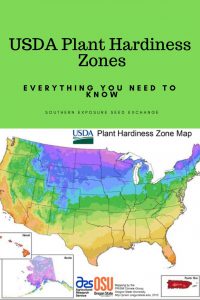
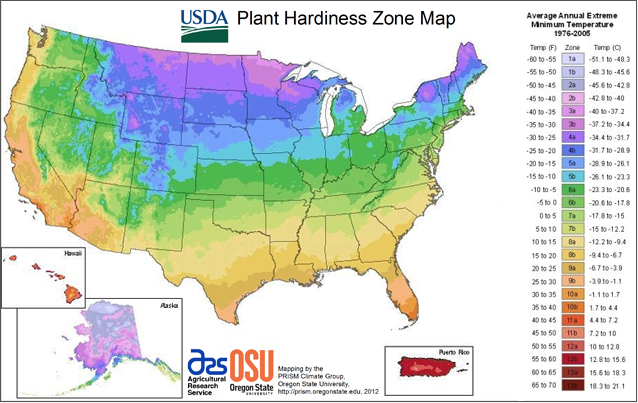
A hardiness zone is a geographic area that has similar climatic conditions that affect plant growth. In the United States, the most commonly used hardiness zones are those 13 zones found on the USDA Hardiness Zone Map. The USDA map is based on the annual minimum winter temperature.
History of Hardiness Zones
Starting in the 1920s people and organizations in the U.S. began making efforts to create a system of hardiness zones. However, it wasn’t until 1960 that the system we use today was created by the National Arboretum in Washington. Over the years the map has been revised by the American Horticultural Society, the Arbor Day Foundation, and the USDA. Many other countries employ the USDA hardiness zones or a similar system.
The Current Map
The current hardiness zone map was created by the USDA in 2012. The USDA based the map on temperature recordings that were taken between 1976-2005. It’s digital and interactive, allowing users to enter their zip code or click on their location to find out more about their zone. In the future, this map will no doubt need to be updated. In fact, some believe that it already is incorrect due to climate change. Certain zones may have experienced warmer than average winter temperatures in the past few years.
You can find the current map here: https://planthardiness.ars.usda.gov/PHZMWeb/#
How Accurate Are Hardiness Zones?
First, it’s important to note that though winter minimum temperatures are what hardiness zones are based on they are not the only factor that determines a plants survival in a specific area. Some areas within the same zone may experience low winter temperatures for months on end while others within the same zone will only reach anywhere near the minimum temperature for a couple of days.
Snowfall is another big factor. Snow acts as insulation and if plants are consistently covered it can help them survive temperatures they otherwise wouldn’t. Wind is another important consideration. Think about the areas referred to as “above treeline” in certain sections of the Appalachian mountains (particularly the northeast) even though it may be colder farther north where trees are still present, extreme winds play a huge role in limiting growth in the mountains.
What if I Want to Grow Plants Not Suited to My Zone?
While greenhouses and high tunnels are typically used in modern agriculture to extend the growing season of annual plants you can use them to grow perennials as well. Planting in a shelter like this can allow you to plant species that would need a whole hardiness zone warmer than your area.
Some people have also had good luck planting against large rocks or buildings. These features shelter plants from wind and can absorb the sun’s heat during the day and release it slowly as nighttime temperatures fall.
Lastly, some perennials can be grown like annuals or brought indoors during the winter. Keep in mind if you bring a perennial in during the winter that is typically found in warm climates it probably won’t be quite as productive. You may also need to provide supplemental light unless you have large, south-facing windows.
Pin it for later.