

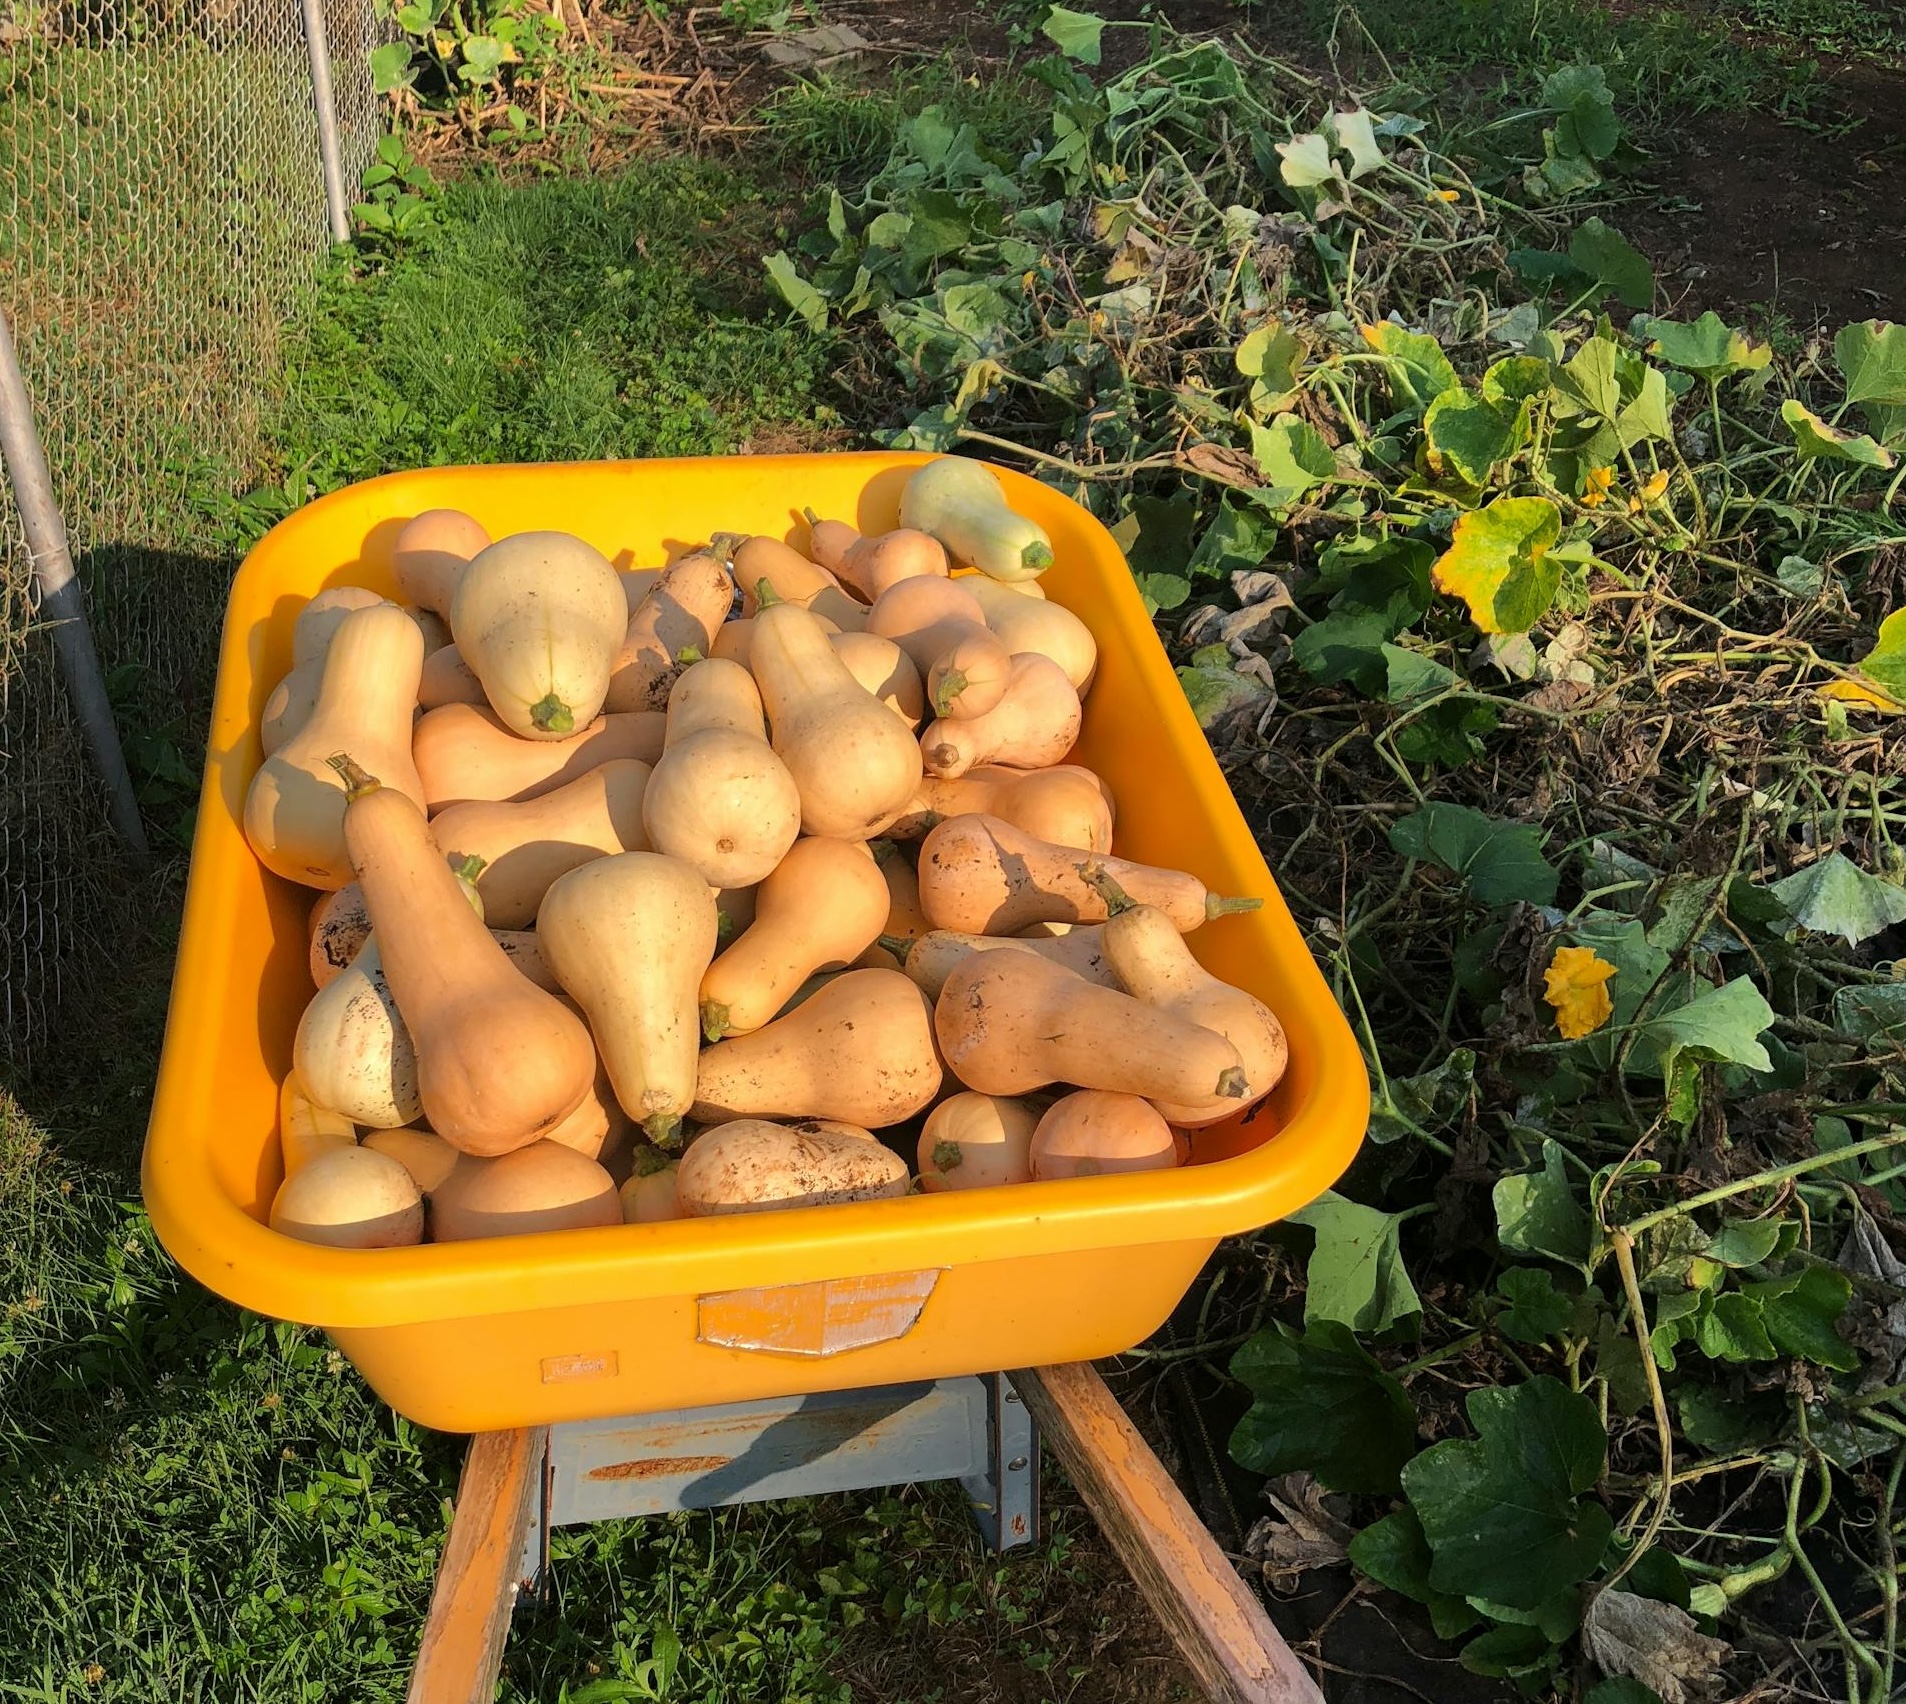
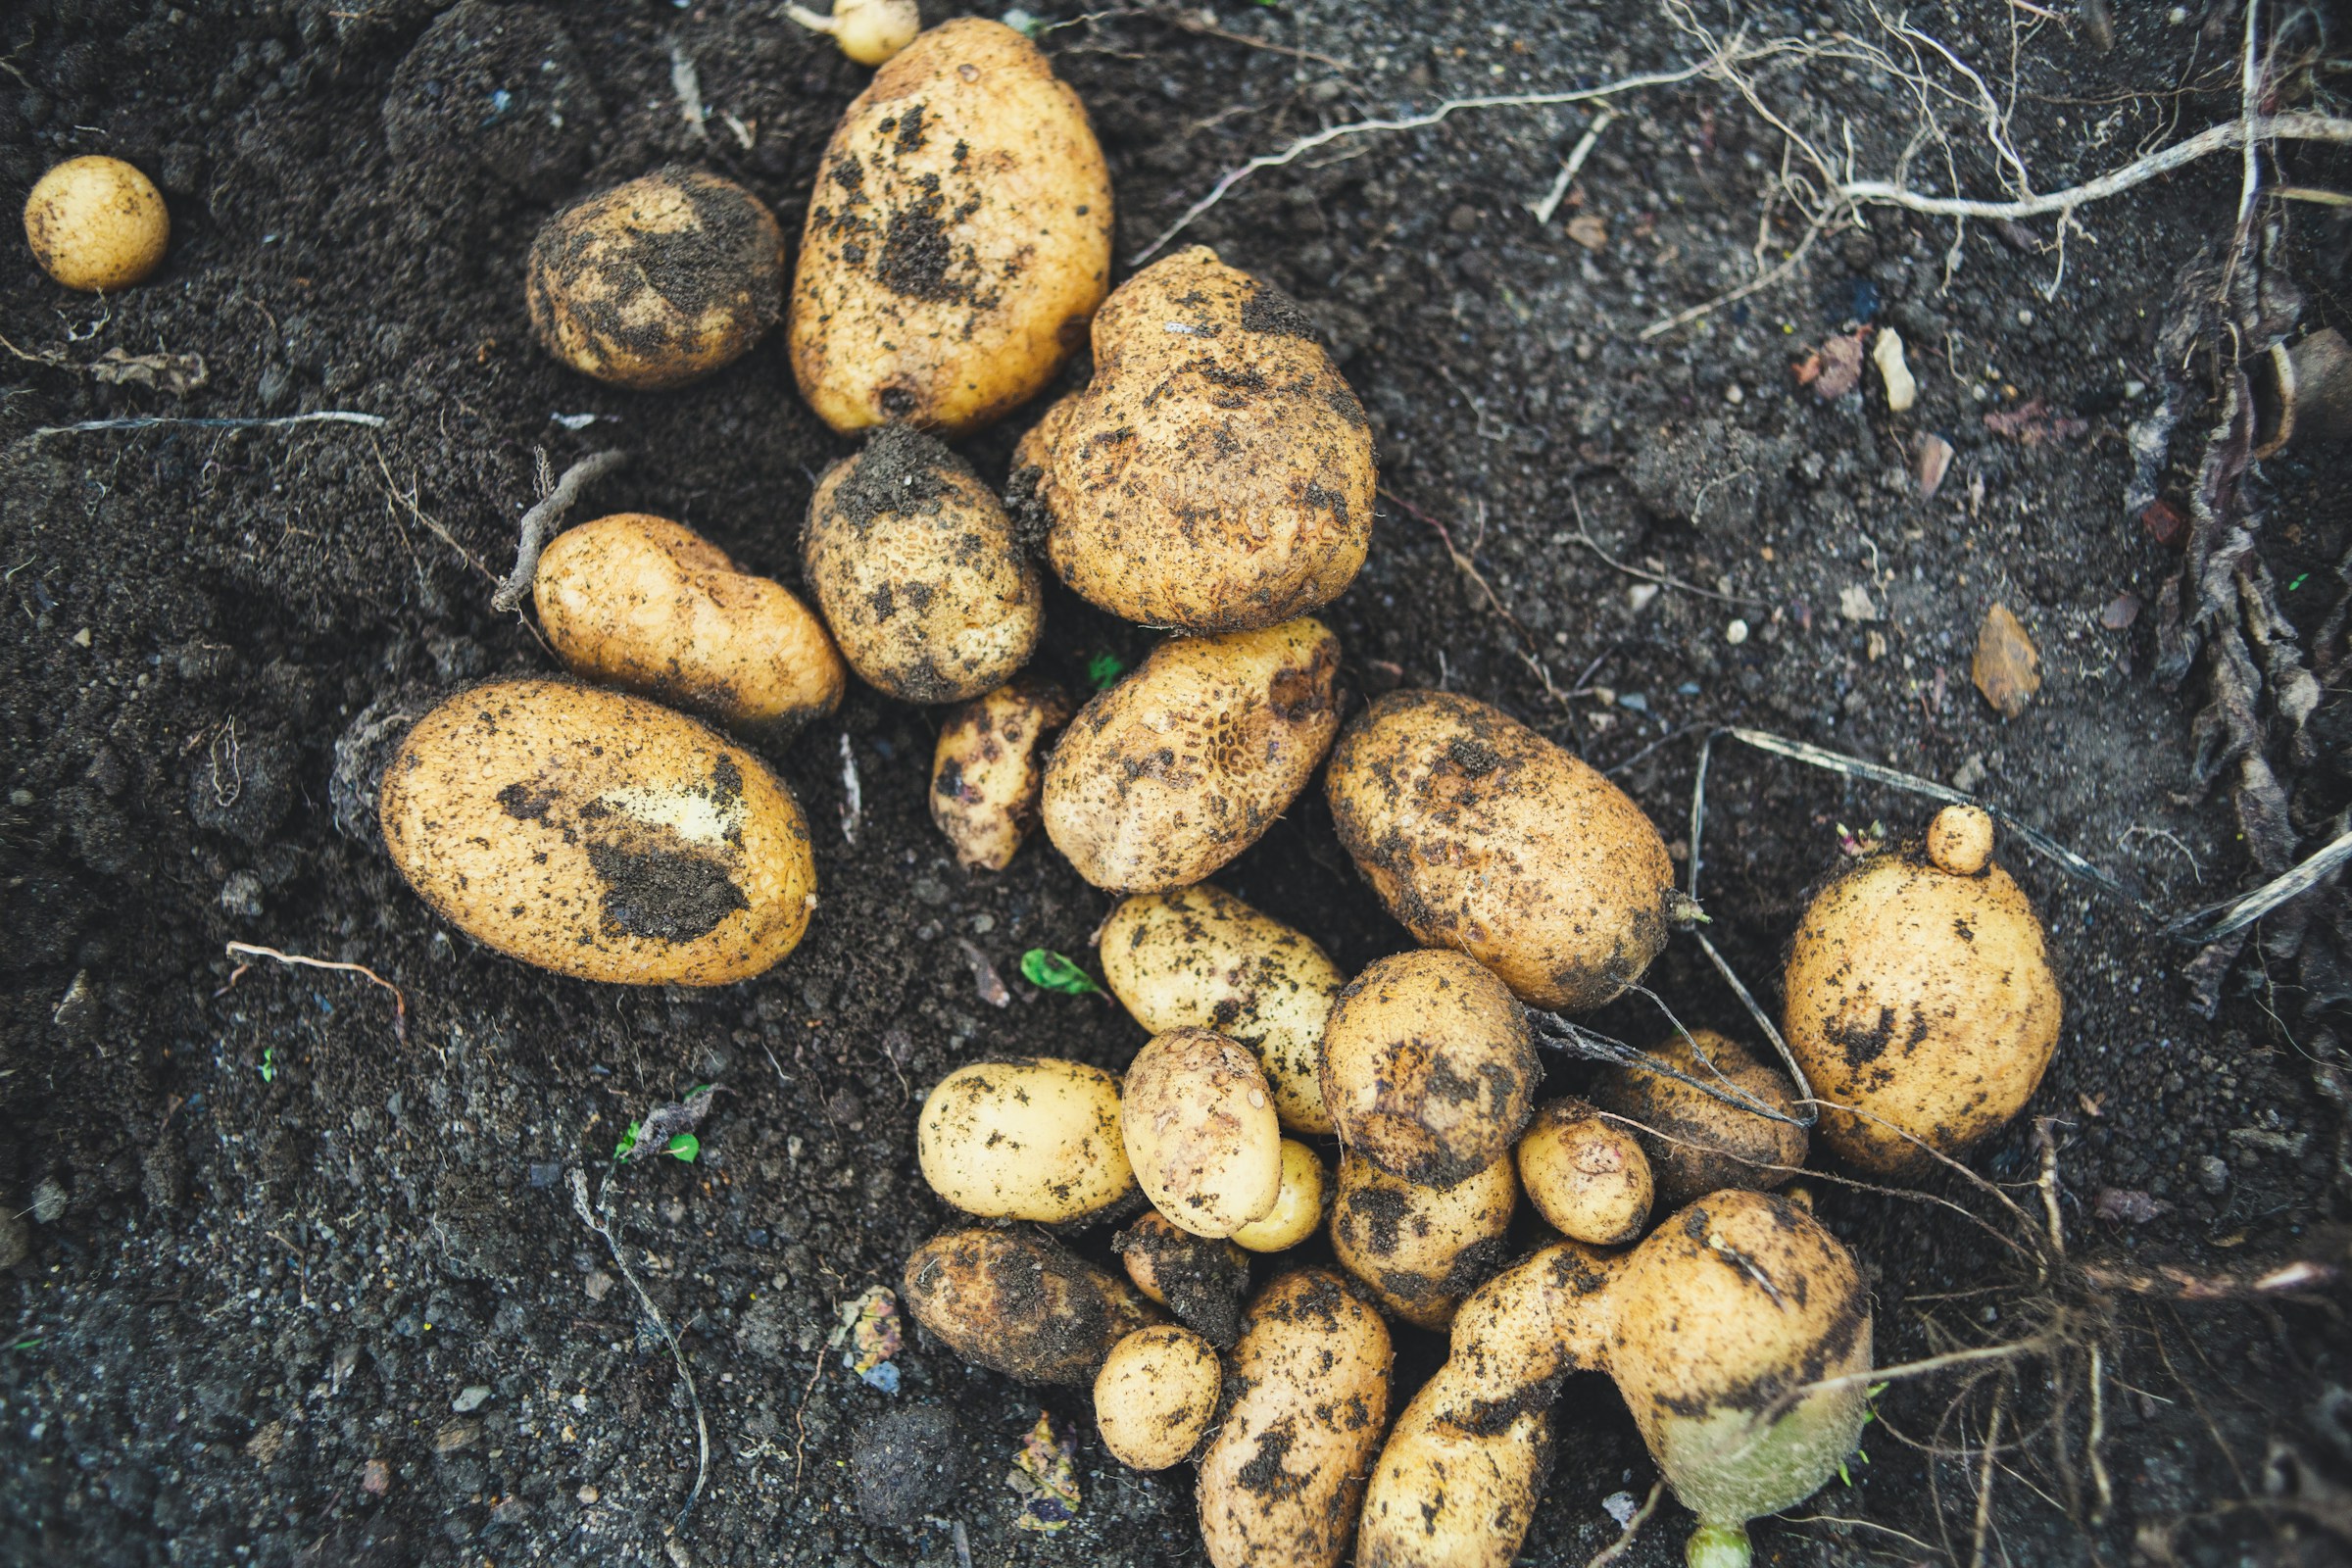
Winter squash is one of our favorite staple crops. It’s sweet, nutrient dense flesh brings to life so many of our favorite cozy winter recipes. Most varieties also store well with no extra work. No canning or freezing required! Just set your squash somewhere cool and grab one occasionally to crack open for flavorful soups, delightful pies, or roasted veggie sheet pans. Unfortunately, it’s not always the easiest crop to grow for those in warm climates. Follow our best tips to have success with winter squash in a southern garden.
Tips for Growing Great Squash in a Southern Garden
Having a long growing season can be helpful when planting long season varieties like Rouge Vif d’Etampes (Cinderella) Pumpkin, which takes 120 days to reach maturity. But those long, hot days come with a few downsides too. Hot, humid southern summers are perfect breeding grounds for pests like squash vine borers and disease like Downy Mildew. They can also leave your plants vulnerable to issues like sun scald.
Select a Variety Suited to Your Climate
Finding open pollinated crops that are adapted to your region is always a good idea. Here are some of the winter squash varieties we prefer for southern gardens and why we like them.
- Magic Cushaw Winter Squash (found in a GA swamp and “resistant to almost everything.”)
- Seminole Pumpkin (Resistant to vine borers. Excellent Downy Mildew resistance; a good choice for hot, humid, disease-prone areas.)
- South Anna Butternut Winter Squash (A recently developed Downy Mildew resistant butternut.)
- Thelma Sanders Sweet Potato Winter Squash (Light color helps prevent sun scald and its smaller size and fast growth allows for planting flexibility.)
C. moschata varieties tend to be more resistant to vine borers while C. maxima tend to be highly susceptible.
 Plant Early or Plant Late to Avoid Vine Borers
Vine borers are the most common reason we hear southern gardeners talk about giving up on squash. Their ability to destroy a perfectly healthy crop is unbelievable. However, with careful timing, you may be able to avoid them altogether.
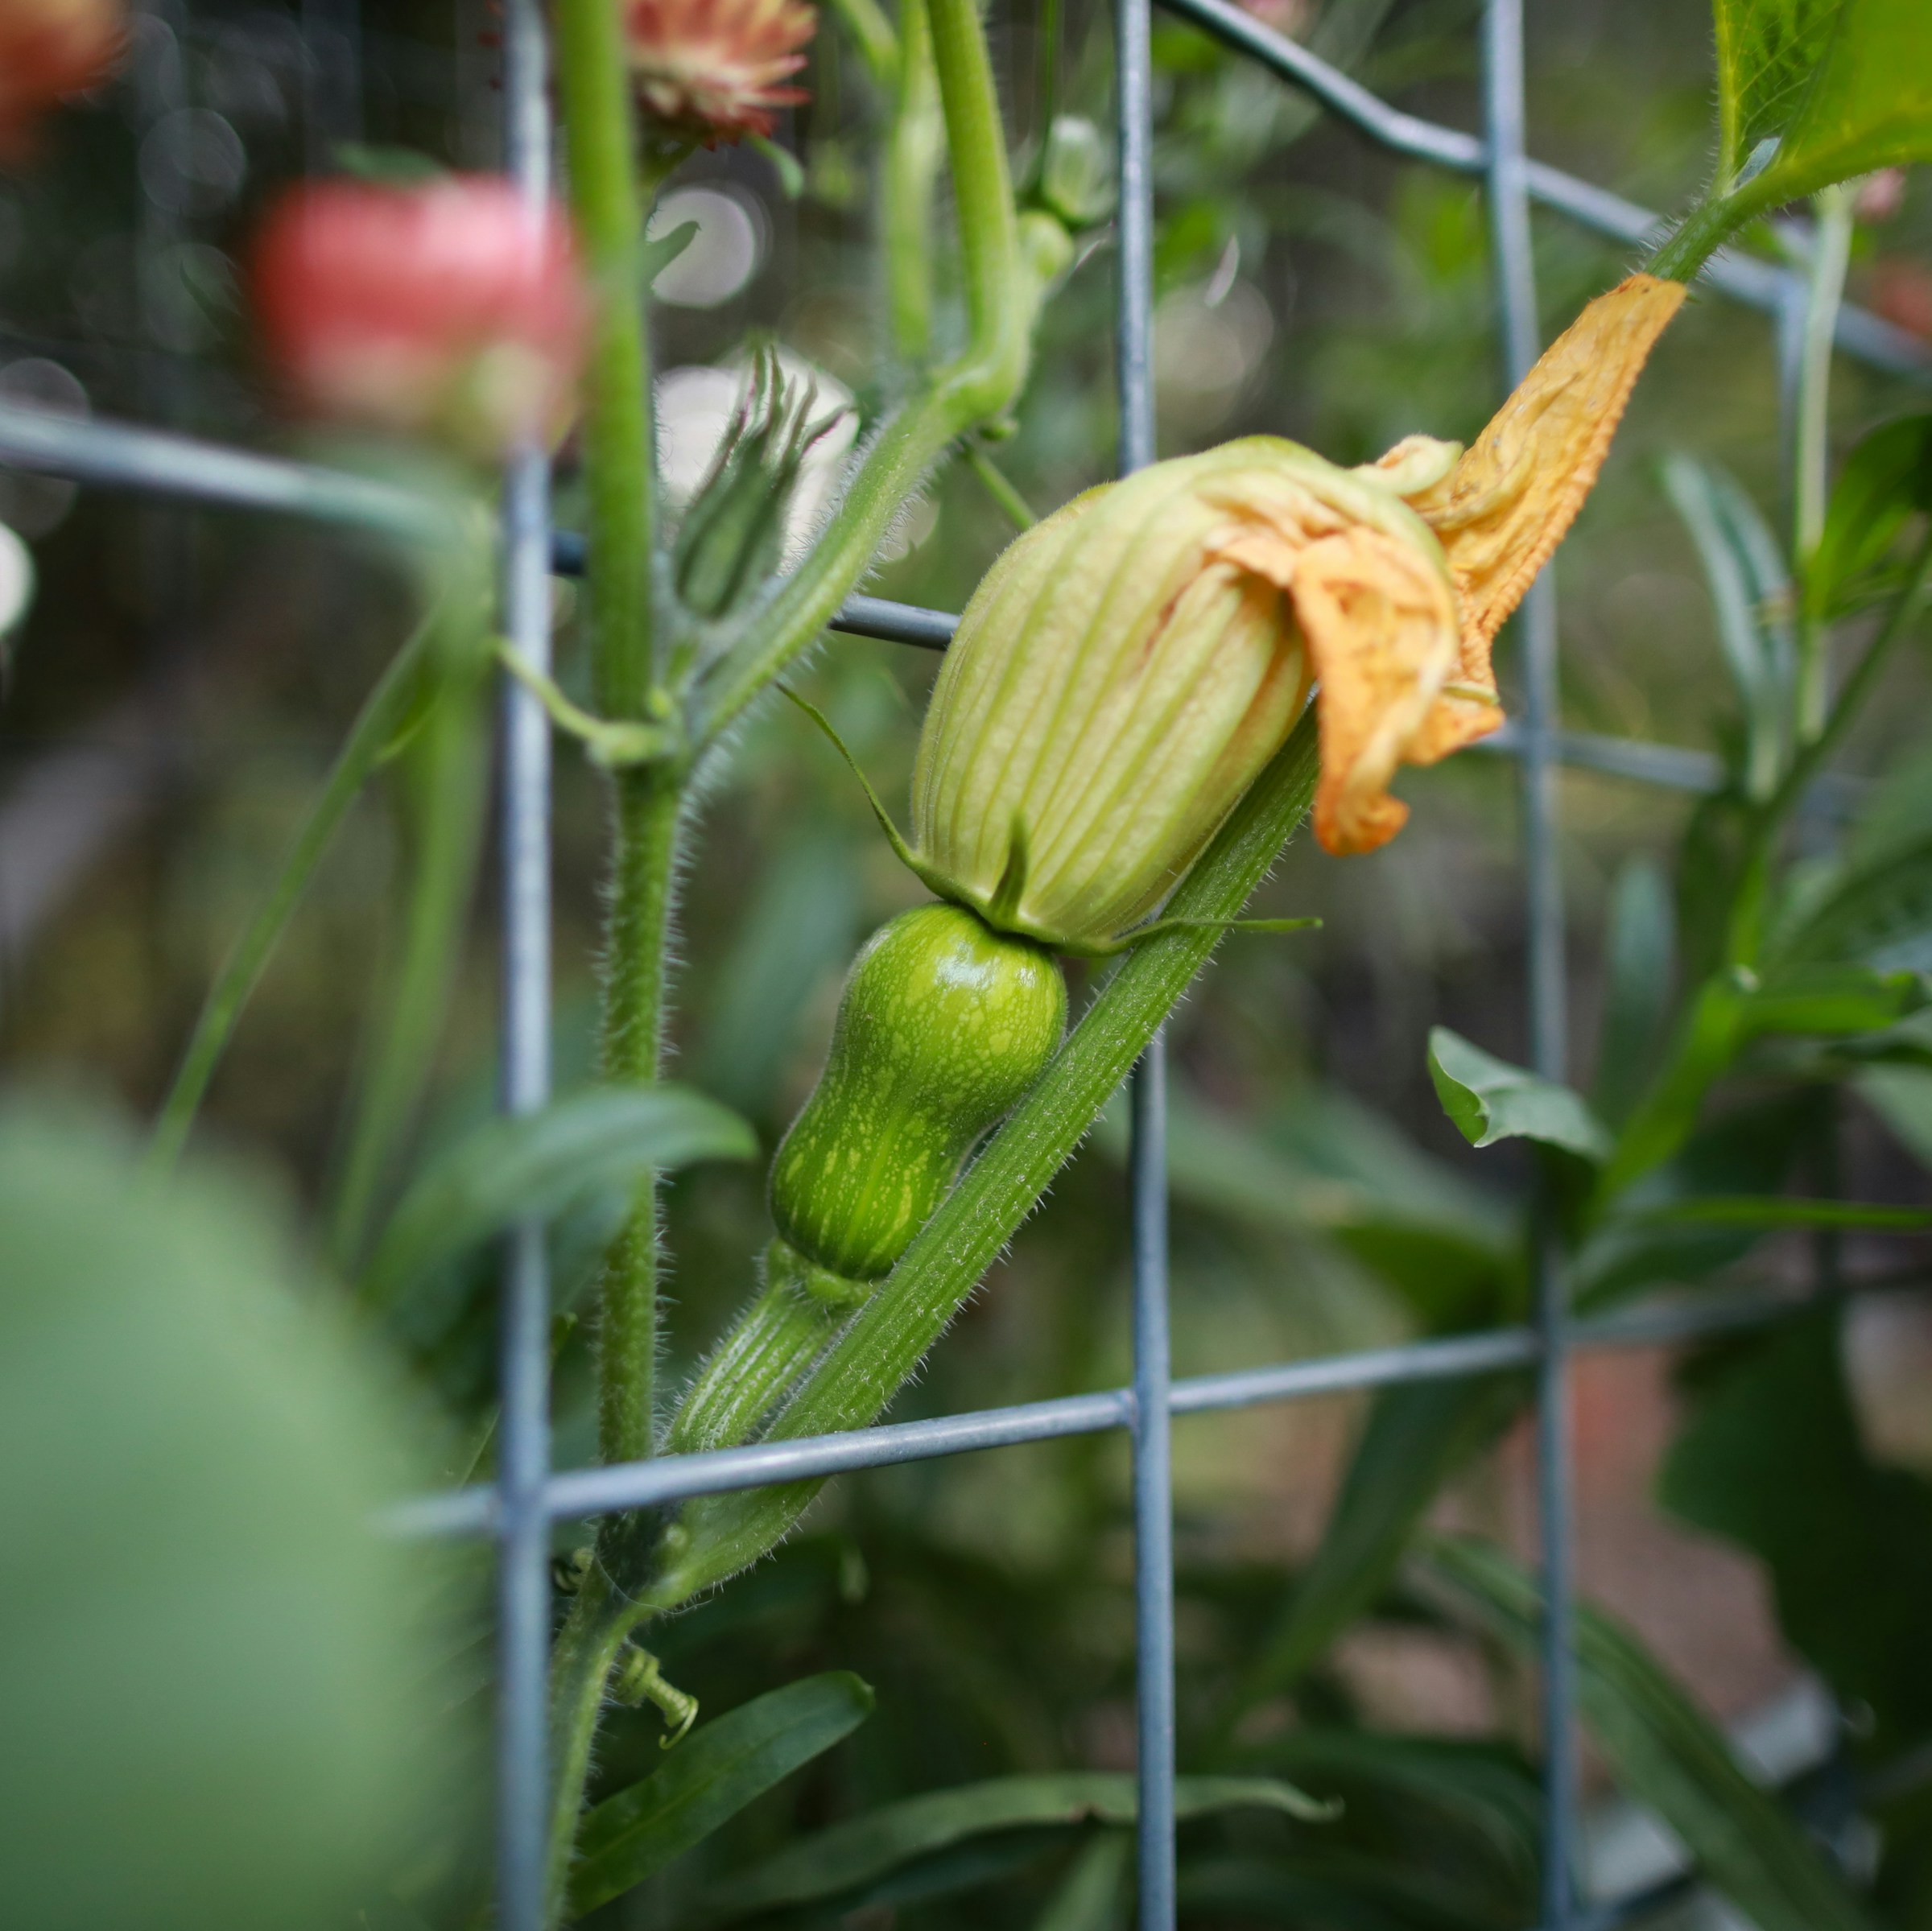
Vine borer pupa overwinter in the soil. They emerge in late spring or summer. The moths deposit their eggs on the squash plants, primarily on the stem near the plant’s base. If you watch closely, you’ll likely notice the moths flying low around the bases of your plants during this period.
When the eggs hatch, the larvae burrow into the plant’s stem, feeding on the plant for up to four weeks before they crawl down the stem and into the soil to pupate.
In northern or cool mountainous areas, vine borers may only have one generation per year. They’re usually laying eggs between late June and early July. Unfortunately, in warm southern gardens, vine borers can lay eggs from May to early August.
Planting early can be a helpful technique to avoid vine borers in southern gardens. Start transplants indoors and get them into the ground as soon as possible. Select smaller varieties that mature more quickly.
Depending on Your USDA hardiness zone and first fall frost date, you can fall plant squash to avoid vine borers as well. To help extend your season even further, grow in a hoop house or select smaller varieties you can cover with low tunnels.
Thwart Vine Borers with Other Organic Methods
Aside from timing your plantings, there are a couple of other organic methods to exclude or prevent vine borers.
One of our favorite methods to protect winter squash and other crops from insect pressure is row cover. Lightweight row cover allows light and air to move through while excluding insects. Place it over winter squash plants while they’re young and then remove it when the plants get too large or begin flowering and you need to allow pollinator access.
Some growers also have luck with the old aluminum foil method. Cover the lower stems of your squash with aluminum foil before the vine borer moths emerge to protect them.
C. moschata squash varieties are usually only vulnerable to vine borers when young, so protecting them early in the season is often enough.
Monitor for Vine Borers and Remove Larvae
If vine borers successfully attack your winter squash, remove the larvae as soon as you notice wilting. Gently slice open the squash stem using a sharp knife. Begin near the base and slice upward until you find the larvae. Kill the vine borer larvae with the tip of the knife.
After killing the larvae, mound moist soil over the slice in the squash vine. Keep the cut section of the squash well watered. Some plants will recover and grow roots from this section.
Even if you cannot save the plant, destroying any vine borer larvae can help lower the population in your garden for later in the season and future seasons.
 Space Plants Appropriately
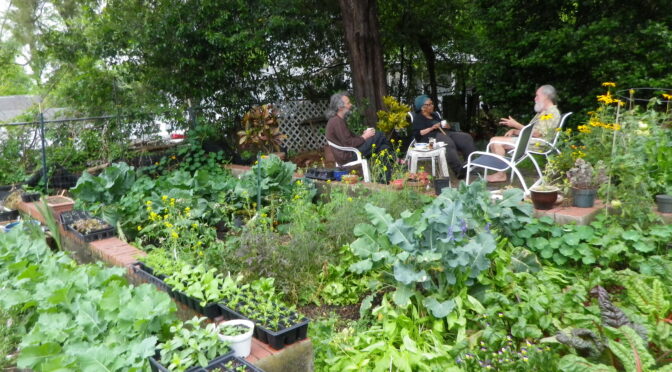
We all want to plant all of our favorite varieties, even if it means we have to cram them into a small space. It can be tempting to ignore those spacing recommendations we put in growing guides and on seed packets, but sometimes it does more harm than good.
Dense plantings can restrict airflow and make crops fight for nutrients, space, and light. This can contribute to poor production and issues like fungal diseases.
Trellising winter squash can be an effective way to save space and improve airflow. However, you will need to support the fruit of larger varieties.
Manage Water for Winter Squash Carefully
Watering winter squash can help promote good production. Winter squash thrives with about one inch of water per week. Rainfall may be sufficient in spring, but especially in dry summers, you’ll get better production if you water.
To help prevent fungal diseases like Downy Mildew, carefully water the plants, focusing water on the roots. Avoid using a sprinkler or splashing water onto the leaves and fruit.
Be careful to avoid over watering. While moist soil is beneficial, consistently wet soil can cause rot and other fungal issues.
Use Thick Mulch Around Your Winter Squash
Mulch helps suppress weed growth and keep the soil moist and cool, but it also keeps the soil from splashing up onto the leaves and fruit when it rains. A good layer of mulch can improve your plants overall health and help prevent diseases like Downy Mildew.
Remove Downy Mildew Infected Leaves Immediately
Removing Downy Mildew leaves can help to lessen and slow the spread of this fungal disease. Unfortunately, it doesn’t ensure it won’t come back.
Rotate Your Crops
Rotating your crops, especially when you incorporate rest periods with cover crops, can significantly reduce pest and disease issues. While this technique is common on organic commercial farms, we often see small gardeners forgoing this practice. But it doesn’t matter how small your garden is, you can practice crop rotation!
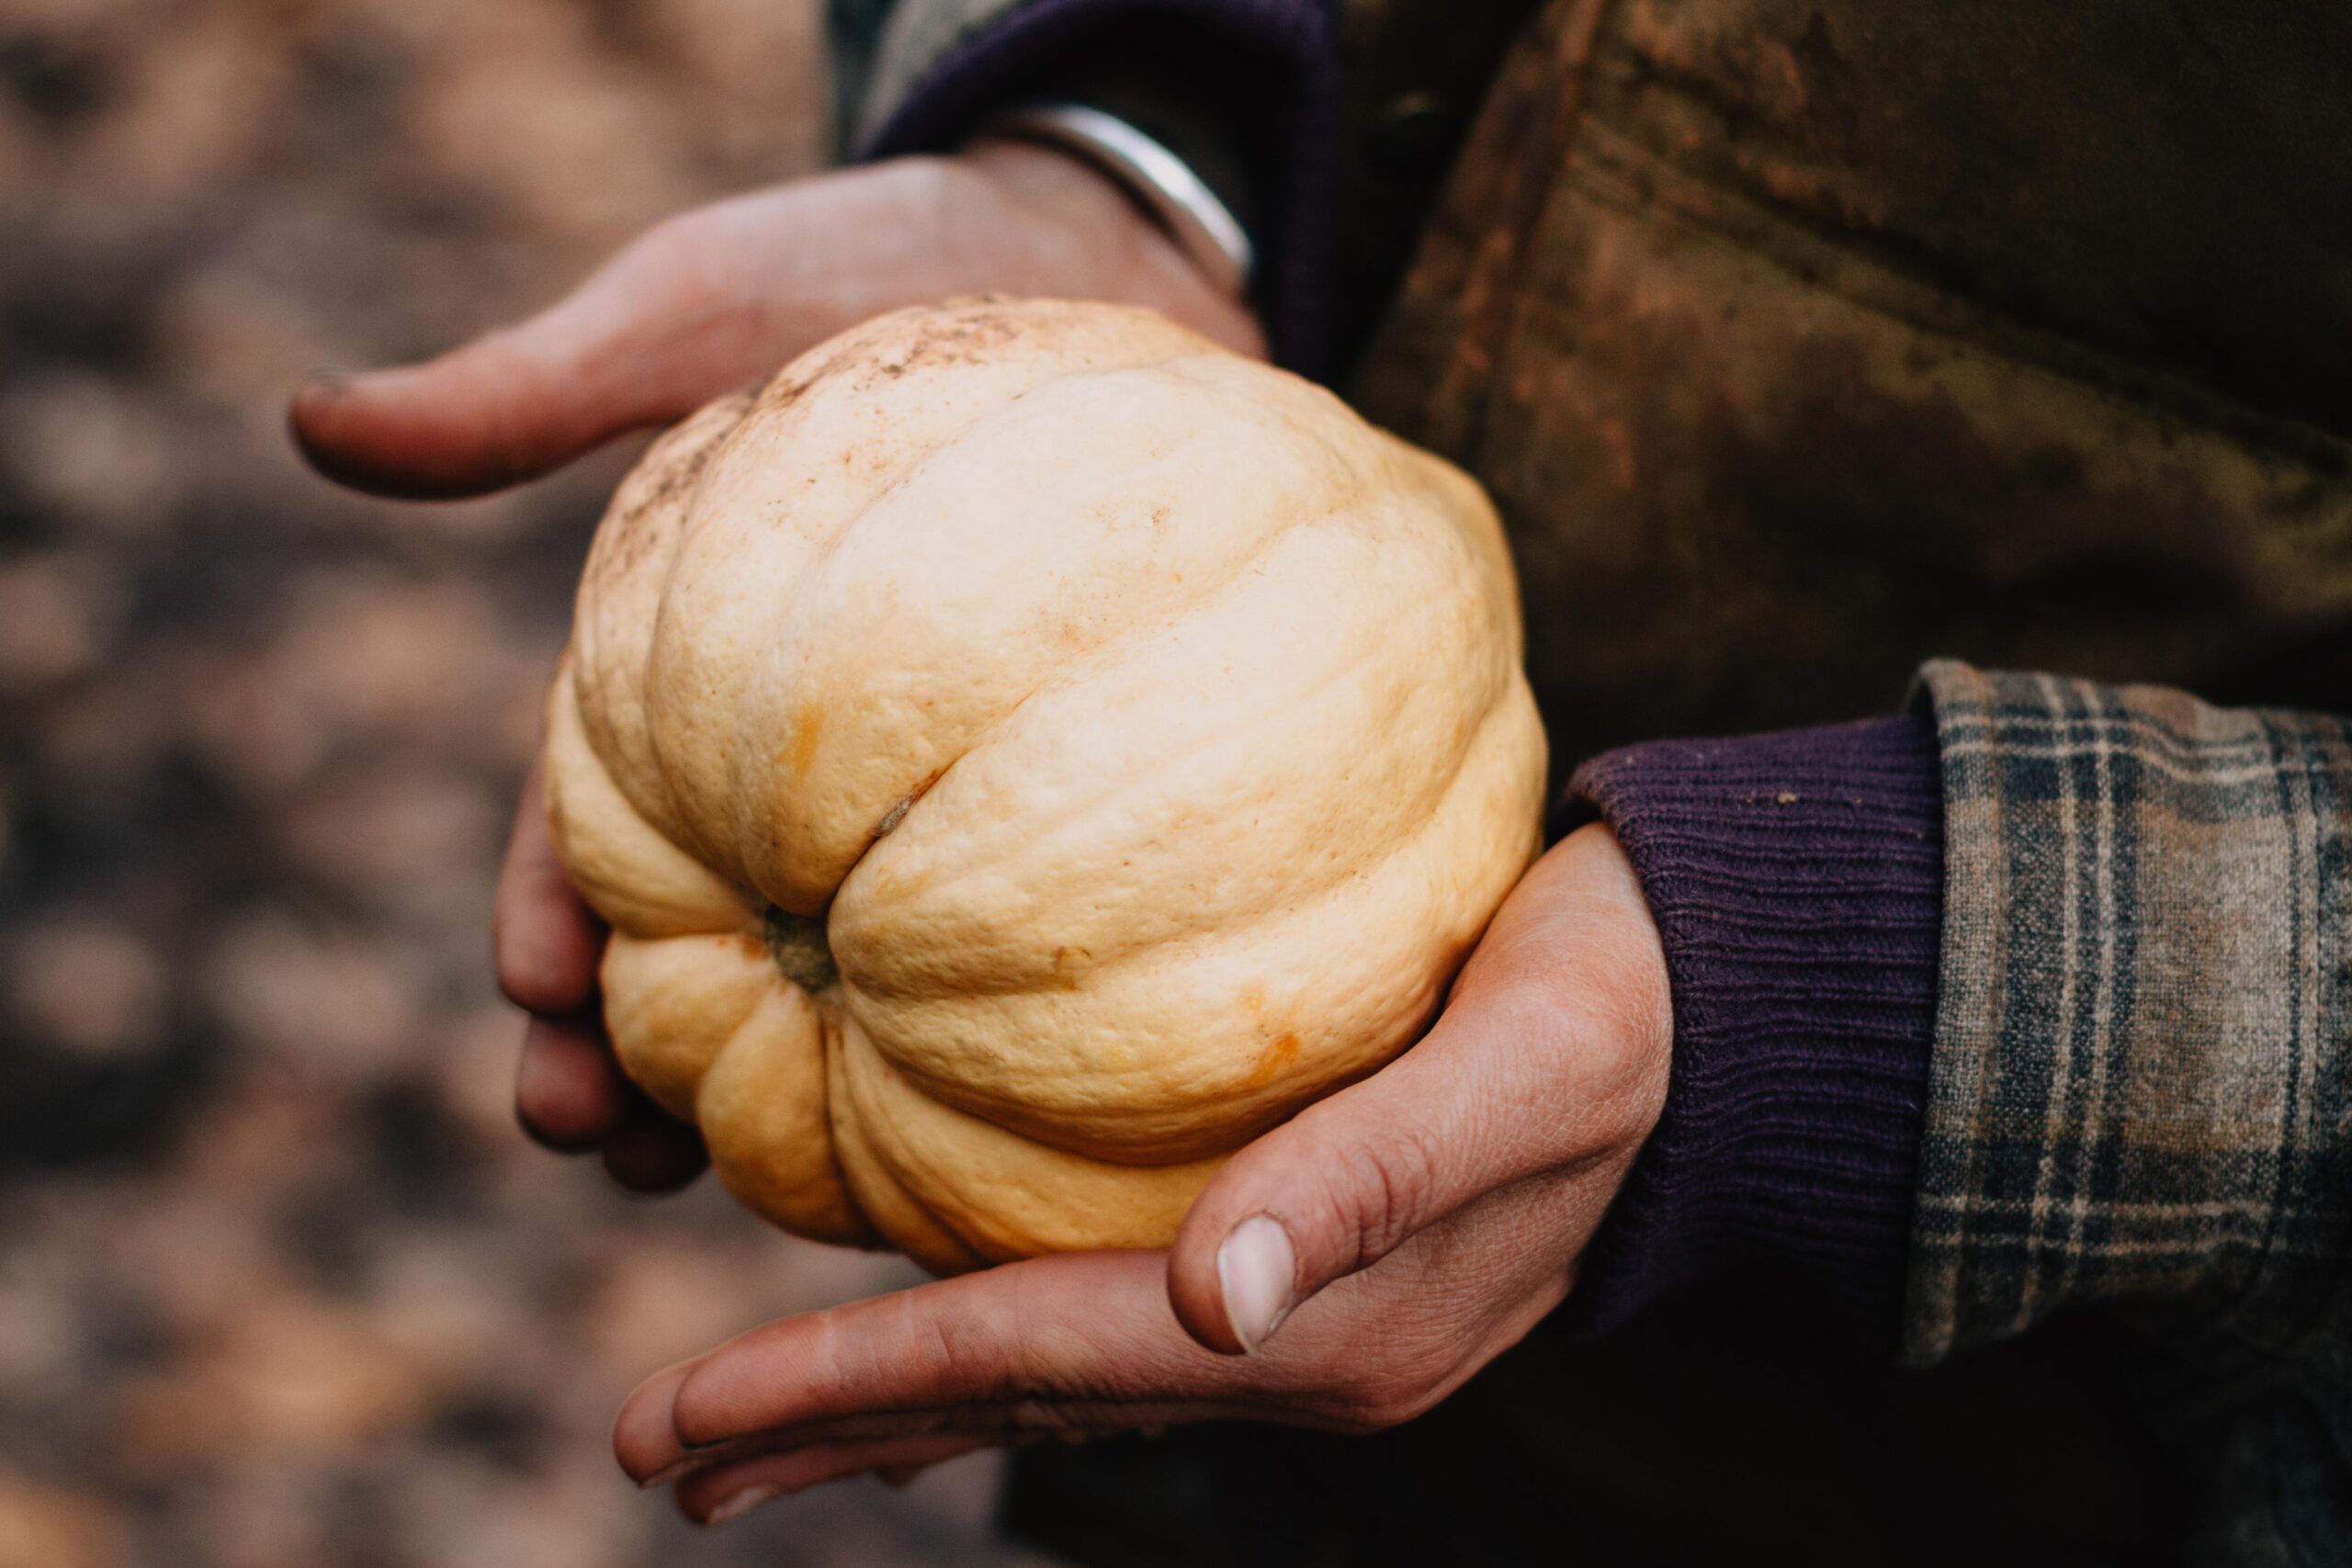
Heirloom Spotlight: Thelma Sanders Sweet Potato (Acorn) Winter Squash
We carry many heirloom winter squash varieties at Southern Exposure, but Thelma Sanders always stands out. It’s a southern heirloom, coming from Thelma Sanders, who stewarded the squash for years in Adair County, Missouri. In Thelma’s words, this squash is “fine meated, better than sweet potatoes.” Slow Food USA added Thelma Sanders to their Ark of Taste, a catalog featuring endangered heritage foods.
While Thelma passed in 1998, her legacy lives on through this acorn squash. Thelma Sanders is a prolific producer of seeds and is a splendid choice for beginner seed savers. Saving seed from this variety is a simple way you can help protect biodiversity.
Thelma Sanders Sweet Potato Squash is also a perfect variety for those looking to stock the larder this season. It has a well-earned reputation for incredible productivity and winter storage ability. It’s a good way to stretch your harvest a little further into the year.
 Plant a Seed Program
This spring Southern Exposure Seed Exchange has partnered with Slow Food USA in their Plant a Seed Program which features six Ark of Taste Crops. By purchasing Thelma Sanders Squash from us, or another featured heirloom from the other seed partners, you’re helping provide free seeds to school gardens.
Visit the Plant a Seed 2025 website to learn more about the program and receive a discount code for Thelma Sanders and the other featured varieties.
 Focus on Soil Health
 Grow Vertically in Your Small Garden
 Succession Plant
 Use Season Extension in Your Small Garden
 Read all the specific crop instructions.