Tag Archives: winter squash

Harvesting & Curing Winter Squash & Pumpkins

How do you tell they’re ripe?

If you’ve never done it before determining if winter squash is ripe can be a bit more difficult than picking tomatoes or green beans. It’s also very important that it is ripe if you want it to store well through the winter.

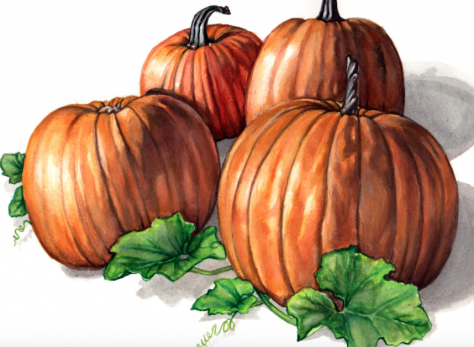
The biggest indicator that winter squash and pumpkins are ready to be harvested is their stems. The stems should be hard and dry. Often you can tell that the plant is beginning to die. The fruits should also be their mature color and sound hollow when patted with an open hand.

Harvest

When they’re ready it’s time to harvest! Simply cut the fruit from the plant, leaving about 1 inch of stem with a knife or garden shears. Lightly wipe off large clumps of dirt with your hand.

Never carry your squash or pumpkin by their stem as breaking them off often drastically reduces their storage ability. Also try to avoid handling them roughly to reduce bruising and nicks.

If a hard frost is imminent you should go ahead and harvest any squash left on the vine even if it’s not perfectly ready. Hard frosts can damage squash and make them rot. Just keep in mind that squash harvested early may not keep quite as long so it should be used first. Leaving a longer stem can help them finish maturing properly.
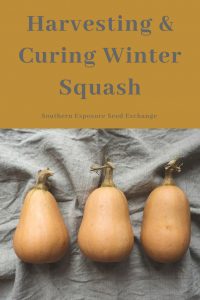
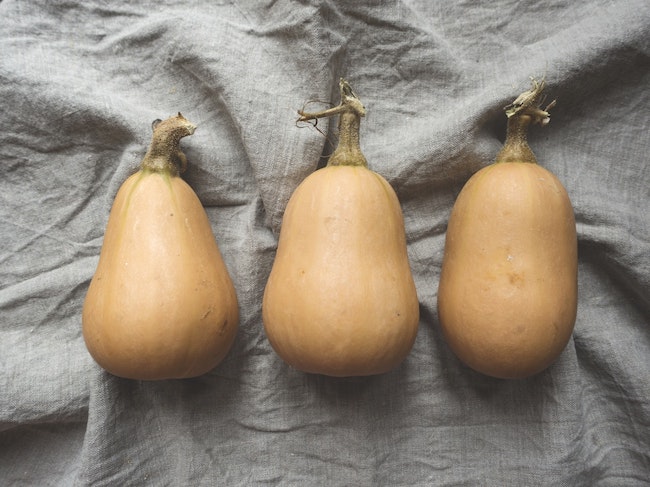
Curing

Before you can store your winter squash it needs to be cured for about 7-10 days depending upon the variety. The best way to cure squash is to lay it out on a dry surface with enough space for air to move around it. Every day or so your squash should be moved or turned over to a new position.

A picnic table in your yard will work if the weather’s still warm enough, a pallet in your hoop house, your kitchen table, or even sunny windowsill.

The curing process allows the skin to toughen up so that your squash will be ready for storage.

Storage

Winter squash is one of the lovely foods that takes little effort to store at home. Ideally you should find a dry place to store your squash where the temperature stays between 50°F and 68°F degrees.

You might find a place in a spare bedroom, office, under a bed, or in a coat closet. You should store your squash in a single layer and not touching. That way if one begins to rot it won’t effect the others.

While your squash is in storage you should be careful to check it at least once a week for soft spots or mold. Use any squash that are starting to go bad immediately.

DIY Pumpkin Puree & Pumpkin Spice Waffles

Connecticut Field Pumpkin

Whoever decided that pumpkin spice food is just for autumn got it wrong. Now is when I scrambling to pack all the winter squash and pumpkins we put up this summer into our meals. Before long it will be spring and as much as I love the stuff I don’t want the house to still be overflowing with winter squash. Come spring I’ll be ready for greens, snap peas, and rhubarb! So for now it’s pumpkin spice, tasy, warm, filling and sweet.

DIY Pumpkin Puree

***for those who are ready for the waffle recipe keep scrolling****

Any local foodie will tell you pumpkin puree doesn’t come in a can! It’s actually super easy to make and nearly any winter squash or pumpkin will do. If you’ve got a Waltham Butternut or Table Queen on hand there’s no need to go search the farmers market for a pie pumpkin.

Split your squash or pumpkin in half and scoop out all the seeds. Place the pumpkin opening down in a shallow baking pan with about 1 inch of water. This will keep it from drying out.

Bake at 350°F for 30 minutes to 2 hours or until tender depending on the size of your pumpkin.

*Optional: clean the seeds and bake in a single layer on a cookie sheet with a little vegetable oil and salt while your pumpkin is baking. Bake until golden brown. Alternatively save them for next year!

On to the good stuff.

Pumpkin Spice Waffles

These waffles are a great breakfast or treat on a cold winter days and they’re an awesome way to cook with local, healthy ingredients. I bet you can get all the veggie haters in your life to eat some winter squash hidden in these little gems.

Another great thing about these waffles is that the squash takes the place of the egg in the recipe so they’re great for people with allergies or those who are vegan. I promise you’ll love them even if you’re not!

These waffles are that perfect mixture of crispy on the outside and soft and fluffy on the inside.

Here’s what you’ll need:

  • 1 cup of flour (all purpose or whole wheat)
  • 1/2 tsp baking powder
  • 1/4 tsp baking soda
  • 1/2 tsp cinnamon
  • 1/8 tsp nutmeg
  • 1 TBS sugar
  • 1/2 cup of pumpkin puree
  • 6 TBS vegetable oil
  • 1 tsp vanilla extract
  • 1 cup milk (for dairy free replace with nut milk or water)

Option toppings:

  • maple syrup, butter, molasses, or powdered sugar

First combine all dry ingredients in a mixing bowl then add the pumpkin or squash puree, vanilla extract, and vegetable oil. Next, slowly stir in the milk. If you’re puree was watery you may need less of the milk. The batter should be easy to pour but not thin.

While you’re mixing up your batter you can pre-heat your waffle iron. A hot waffle iron makes better waffles that stick less.

Cook your waffle using the normal directions for your waffle iron and enjoy! Then promise your family you’ll make a double batch next time when they keep coming back for more.

Pin it for later.