Tag Archives: soil health

Can I Use Manure On My Garden?

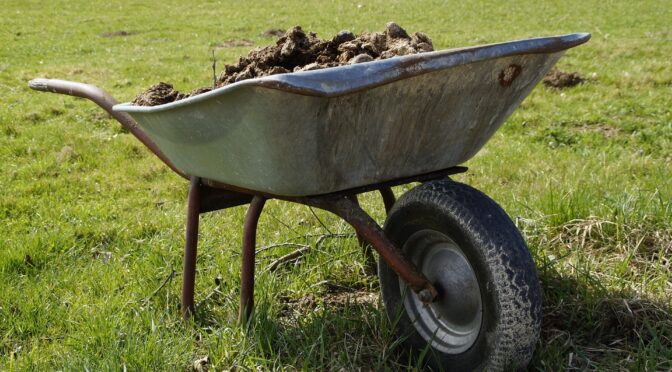
An abundant source of manure can seem like garden gold, especially for those moving away from commercial fertilizers. Manure provides important nutrients, improves texture, and increases soils’ water-holding capacity. However, like anything else in gardening, manure isn’t always a perfect solution. Here are a few things you should know if you’re considering using manure on your garden.

Using Manure Properly

Manure may be full of nutrients, but it can also contain bacteria. Some of the bacteria in manure can be transmitted to humans via vegetables if it’s not properly handled and applied to the garden. While many small gardeners feel perfectly safe using manure, especially from their own livestock, you should still generally avoid using fresh manure around crops that may come into contact with the soil.

If you’re looking for good guidelines, the USDA National Organic Program has standards for handling fresh manure. These are especially important if you sell or hope to sell some of your produce.

USDA National Organic Program (NOP) Standards

The NOP has specific rules for when growers may apply non-composted manure to their gardens.

If you’re using manure on crops with an edible portion that may come into contact with the soil, you must apply the fresh manure 120 days before harvest. This rule includes vegetables that come into direct contact with the soil, like carrots and melons, and those that may come into contact with it from irrigation or rain splash, including leafy greens, peas, and beans.

Fresh manure can be incorporated into the soil up to 90 days before harvest for crops that don’t have an edible portion that touches the soil, like tree fruits and sweet corn.

Note that the 90- and 120-day restrictions apply only to food crops; they do not apply to fiber crops, cover crops, or crops used as livestock feed.

Avoid Run-Off

When applying fresh manure to gardens, you also want to avoid run-off. Manure running into local streams, storm drains, and other waterways can lead to excessive amounts of nitrogen and other nutrients in the water, which may cause toxic algal blooms. To help prevent and control run-off, you can plant cover crops, better incorporate the manure into the soil, and create berms or swales.
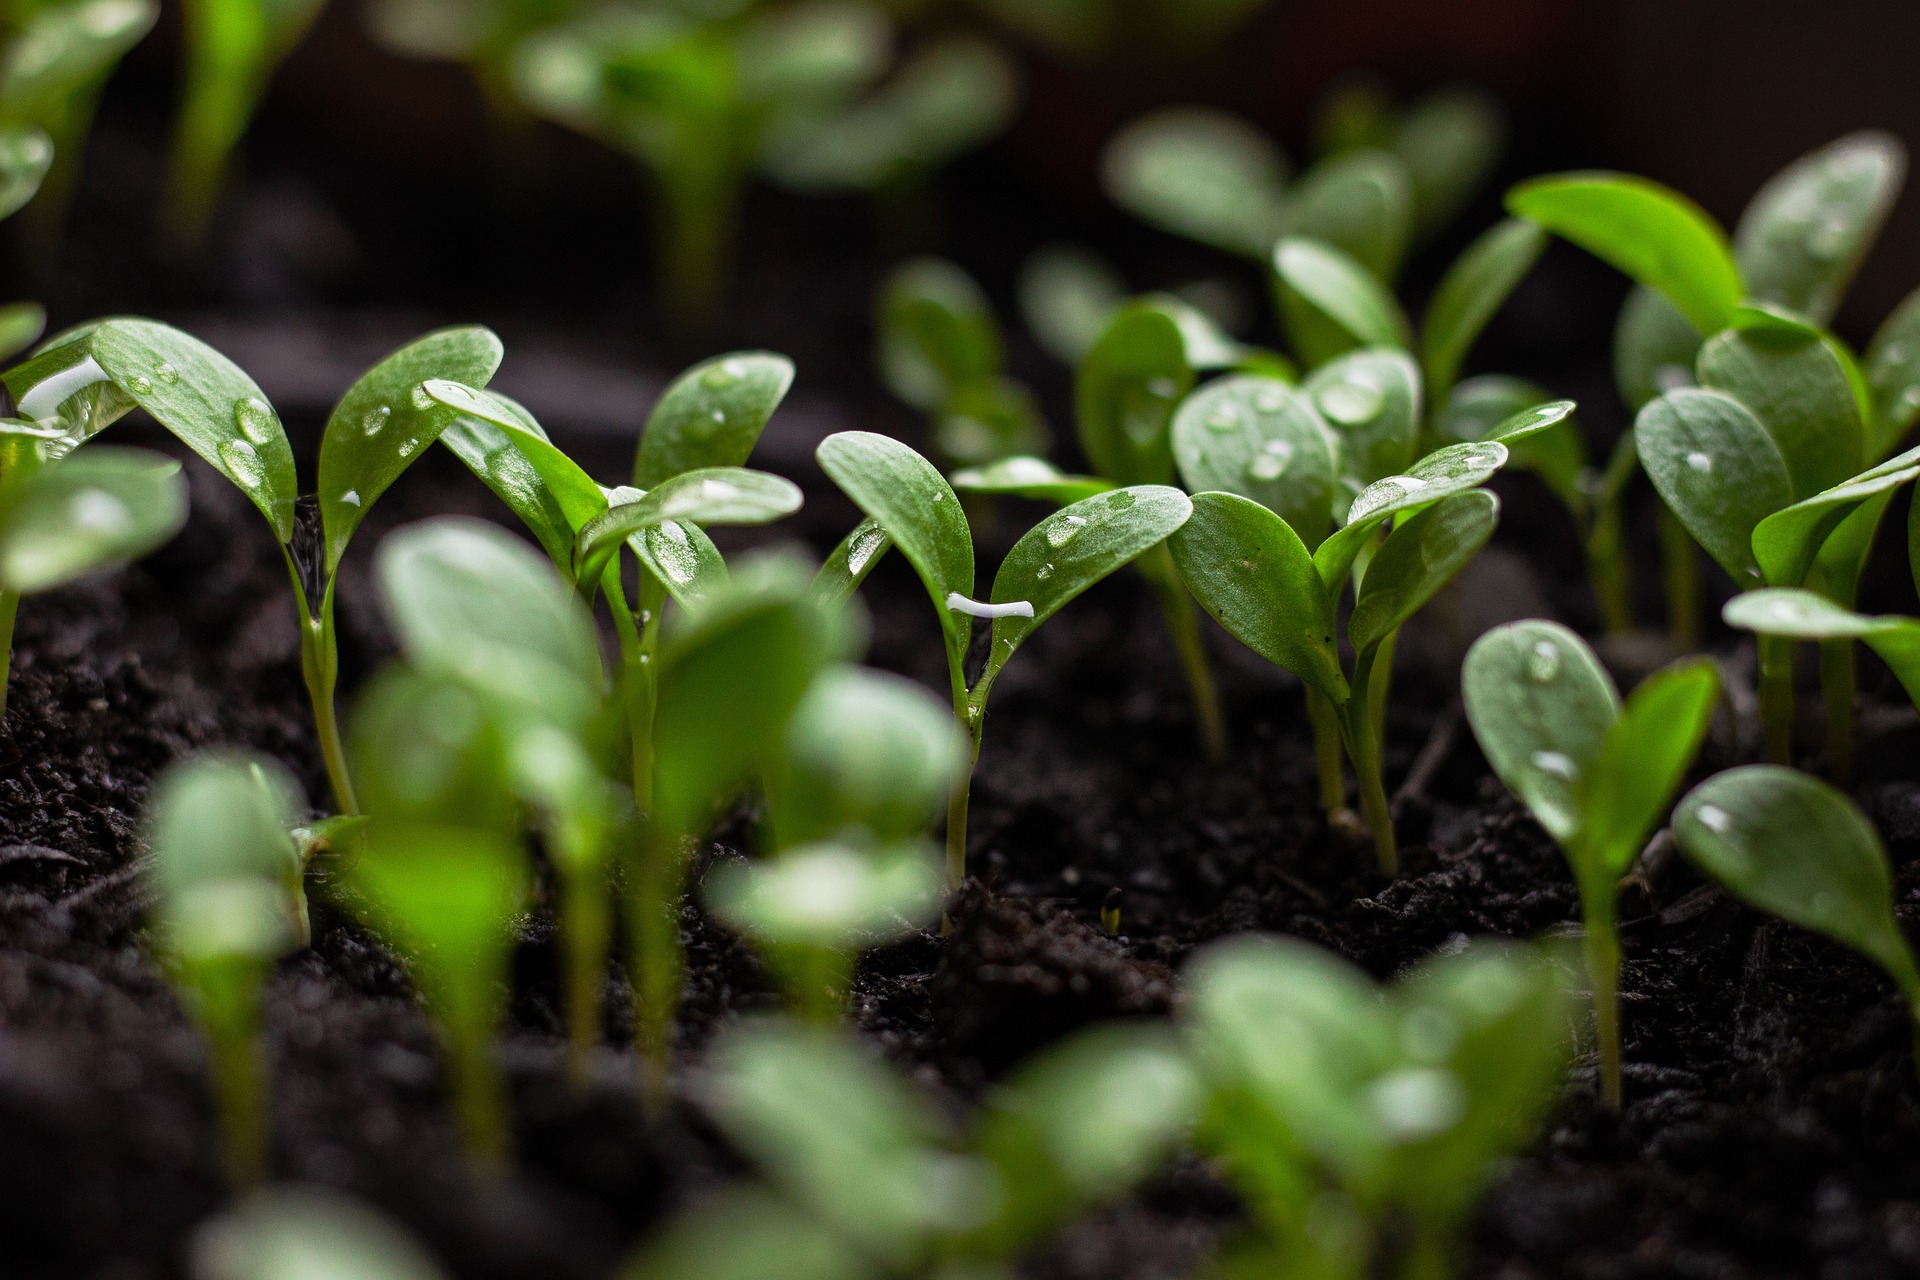
Composting Manure

Alternatively, you can compost your manure. To kill bacteria and pathogens in compost, you’ll need reasonably high composting temperatures, between 131-170°F (54-60°C), for several days. These temperatures will also kill parasites, weed seeds, and harmful fungi.

Herbicide Contaminated Manure

The widespread use of commercial herbicides has also presented another issue for gardeners. Manure from animals that have eaten hay or forage from fields that were treated with aminopyralid or related herbicides like clopyralid or picloram may be contaminated. Animals’ digestive systems do not filter these chemicals out. Therefore, adding their manure to gardens can severely damage legumes like beans and peas, solanaceous crops like tomatoes and peppers, and other broadleaf crops. You can check for herbicide residues at home with a bioassay test.
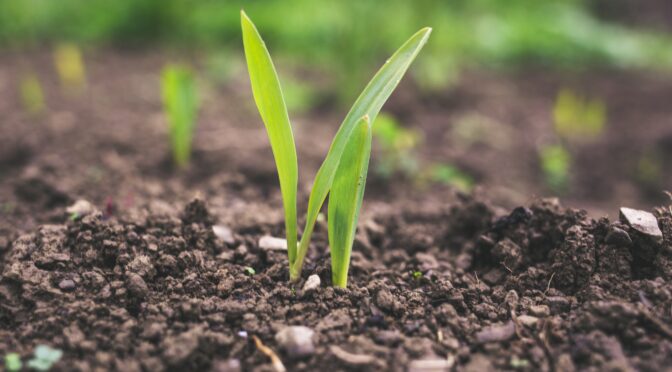
Seedlings (manure post)Bioassay Test

You’ll need 6 to 10 pots and seeds or seedlings to conduct a bioassay test. In its simplest form, you will check and see how seedlings grow in soil you know to be safe compared with how seedlings grow in soil mixed with the unknown manure.

Fill half of the pots with soil you know is good quality and free from herbicides, like soil from your own garden. Fill the other half of the pots with a one-to-one mixture of soil and manure. When you collect manure for this, take samples from different areas and depths in the pile and mix them together.

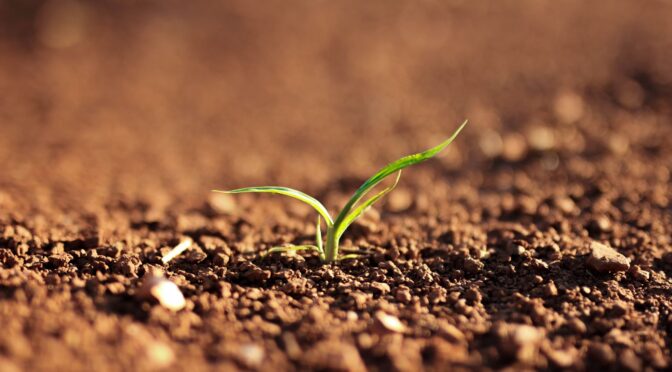
Then plant the same type of seed or transplant the same age and type of seedling in each pot. Observe their growth over the next three weeks. Make notes on the plant’s overall growth, including the leaves and roots. Watch for signs of stunted growth, discoloration, abnormal growth, curled leaves, root swelling, or stunting.

The North Carolina Extension Agency has further instructions for Bioassay tests and a helpful table covering some recommended bioassay species for residual herbicides and the expected injury symptoms.

Can I Use Pet Waste?

No, you should not use pet waste in the garden or compost it for use in the garden. Waste from cats and dogs may contain heavy metals, bacteria like E. Coli and Salmonella, as well as parasites like tapeworms and ringworms. 

If you need to get rid of pet waste, make a separate compost pile, and don’t use it on the garden.

If you have a pet rabbit, their waste is safe for the garden as long as you use compostable litter.

Can I Use Human Waste?

It sounds weird, as most of us in the United States have modern plumbing, but the idea of using human waste on crops isn’t new. Until about 400 years ago, adding human waste back to the soil was commonplace.

Today, this practice is mostly followed by off-grid and sustainability enthusiasts. If you’re interested in these topics, you may have heard of “The Humane Handbook,” written by Joseph Jenkins in 1995, which helped to make waste composting systems more popular.

If properly managed, human waste can be safely composted and used. That said, you’ll need to be set up for it. Even then, you should only use human waste when it’s fully composted and only use it around fruit trees and ornamental plantings.


Manure is a wonderful garden amendment when handled properly. If you want to use manure in your garden, follow these steps to ensure it doesn’t contaminate your garden with herbicides or bacteria.

Getting a Soil Test

Soil tests are a simple and accurate way to learn more about your garden soil and determine what amendments it needs. A detailed soil test, a little research, and an understanding of the results can drastically improve your yields and eliminate recurring issues in your garden.

Where to Get Soil Tested?

There are a few ways you can get a soil test. While you may find simple home test kits at your local hardware store, these generally aren’t as accurate or detailed as a professional test. 

Typically, you can get your soil tested through your county extension agency or agricultural college. Many extension agencies and state colleges offer residents free or cheap soil testing. They typically include some recommendations if amendments are needed. Private labs also provide these services, but they may not be as affordable for home gardeners as the other options.

How to Find Your County Extension

To find your county extension agency try browsing the listings of Pick Your Own. They list contact information for county extension agencies across the United States.

When to Sample

We recommend having your garden soil tested every one to two years. Orchard areas typically only need to be tested every three years.

Late summer and fall are ideal times to collect soil samples. This time of year will represent how the soil’s nutrient status affects crops. If needed, you can take soil samples in spring, but you should avoid collecting frozen or waterlogged samples as they may not mix well.

Don’t collect soil after adding lime or other amendments. It’s best to wait several months or even longer if the weather is dry until they’ve dispersed into the soil.

Depending on the lab you’re working with, and how busy they are, it may take several weeks to get the results from your sample. It’s best to send them in well before you need the results.

Where to Sample

You want to get a good picture of the soil throughout your garden, not just in one spot. To do this, you’ll create a composite sample to send in, made from samples taken throughout the garden. For small-scale home gardens, five to eight samples are generally adequate. 

If your garden appears to have distinct slopes and soil types, be sure to get a sample from each area. Avoid taking samples from sites that don’t represent your garden well. These may include garden edges and unique wet spots.

How to Take a Soil Sample

Take soil samples using a spade or auger and collect them in a clean container. How deep you should sample depends on your garden type. Aim for small uniform cores or thin slices starting at the soil surface. 

For traditional backyard gardens, sample to the tillage depth. For no-till gardens, take one sample from the top 1 inch of soil and then take a second sample from the same spot at a depth of one to six inches.

For areas you’d like to establish an orchard, take a surface sample from zero to six inches deep and a subsoil sample from six to twelve inches deep. In established orchards, scrape aside plants and organic matter and take a surface sample. 

Once you’ve collected your samples, gently crush them and remove any stones and roots. Then allow your soil sample to air dry. Spread it out on a clean surface in a shady spot and make sure it dries before mailing. Don’t heat your soil to dry it.

Your samples should be at least one cup of soil in a plastic bag. Depending on the agency or lab, they may have you use or provide a specific bag. Follow your extension agency or lab’s instructions for sending your sample. Be sure to include all necessary paperwork and your name and address. 


The gardening science can sometimes feel intimidating, but it doesn’t have to! Getting your soil tested is a simple way to learn how to amend and improve your soil correctly. Your soil test and advice from the local extension agency can help you build healthy soil and grow healthier, more productive plants.


Soil Texture: The Jar Test

It’s easy to see that great gardens come from healthy soil. However, it’s less easy to understand how to build healthy soil. There are micro and macronutrients to consider, acidity, cover cropping, the soil food web, and so much more. One way we can examine our soil and easily make adjustments is by understanding its texture. Soil texture determines how it “acts,” like when you’re trying to dig a new bed or get heavy rain. 

One of the easiest ways to examine your soil texture is to do the jar test or the mason jar test. 

The Jar Test

To complete this test, you’ll need some basic supplies; a ruler, permanent marker, water, soil samples from the root zones of your plants, and a clear jar for each sample. You don’t need to go crazy with samples, but it’s worth doing a couple, especially if you have a large garden or multiple. 

  1. Place your soil sample in the jar. It should be about 1/3 of the way full. 
  2. Fill the jar almost to the top with water.
  3. Shake thoroughly for a couple of minutes. 
  4. Place the jar aside until everything settles. This may take several hours.

When you return to your jar, you’ll immediately notice that it has separated into layers. The bottom layer will be sand. Sand particles are larger and heavier, so they settle out first. The layer above the sand will be silt with slightly larger particles, and the top layer will be clay with very fine particles. You may also see some organic matter floating at the top.

Jar Test for Soil Texture DiagramNow you can begin measuring. If it’s helpful, mark the edges of the layers with your marker. Then measure the total height (not including water) and the height of each layer. Once you’ve got these measurements, you can calculate the percentage of each.

% Sand = (height of sand / total height) x 100

% Silt= (height of silt / total height) x 100

% Clay = (height of clay / total height) x 100

Now you can use this handy chart from the USDA to find your soil type based on the percentages. 

Soil Texture Chart from USDAFor example, if you got 60% clay, 20% silt, and 20% sand; you have clay soils.

Let’s say you got 15% clay, 15% silt, and 70% sand; you have sandy loam soils.

You can also use the NRCS Soil Texture Calculator.

What Does My Soil Texture Mean?

Different soil types behave differently.

Clay Soils

Soils higher in clay tend to be high in nutrients and hold water well. Unfortunately, they can also be hard to dig in, too dense for large roots to grow, and tend to become waterlogged.

Sandy Soils

Sandy soils are very easy to dig in and allow for easy growth of large roots (think big carrots). They also drain well and warm up quickly in the spring. Unfortunately, sandy soil doesn’t hold nutrients or water well, meaning plants grown in them may suffer from nutrient deficiencies and drought.

Silty Soils

Silty soils are in between sand and clay. They tend to have more nutrients than sandy soils and hold water better but are still easier to cultivate and dig than clay soil. Unfortunately, silty soils compact easily and tend to form a crust. They also have poor water filtration. 

How Do I Change My Soil Texture?

Most of us would love it if we got ‘loam’ as a result, but it’s unlikely we will. Our region and the land’s history will largely determine the soil we get to begin working with. 

The best amendment for any soil type is organic matter. You can add organic matter to your soil through composting, cover cropping, mulching, and manures. 

Be careful if you decide to add other amendments like sand or gypsum. These can make soil problems worse when added incorrectly. 

There’s a lot to learn about soil, but understanding soil texture is an excellent start to improving your garden. Use the jar test to learn about your soil texture today!