
Onions are often touted as one of the easiest crops for beginners, but many folks need help for good production. Bulb onions can be a bit finicky, and if you don’t provide the correct conditions, your onions won’t bulb up properly. This quick-growing guide will get you on track for a big onion harvest, even if you’re a complete beginner.
Step One: Choose the Right Onions for Your Area
If you’ve browsed the bulb onions we carry, you’ve probably noticed that there are long-day (LD) and short-day (SD) onions. This designation is critical as it refers to the hours of daylight necessary to trigger the onions to bulb up.
Long-day onions need 14 to 15 hours of daylight to bulb, while short-day onions need 10 to 12 hours of daylight. For the LD types that we carry, you can plant them from Virginia northward. SD types can be spring or fall-planted in Virginia and fall-planted in the South.
 Step Two: Start Onions Early
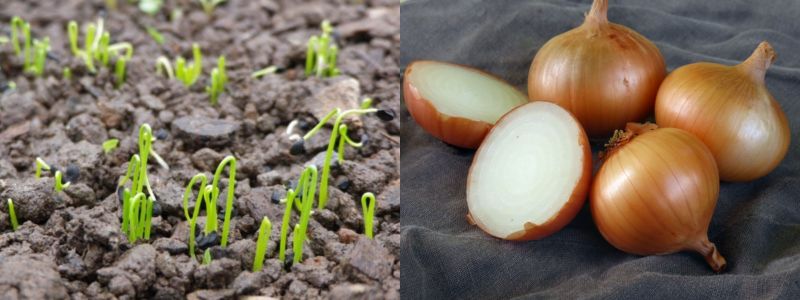
Bulb onions are one of the earliest crops we start at Southern Exposure. We begin tucking seeds into cold frames between September and January. You can also sow them in a greenhouse or indoors any time from mid-September through mid-March.
Just remember, earlier is better! Earlier sowing means larger bulbs because plants will get larger before the heat and lengthening days signal them to bulb up.
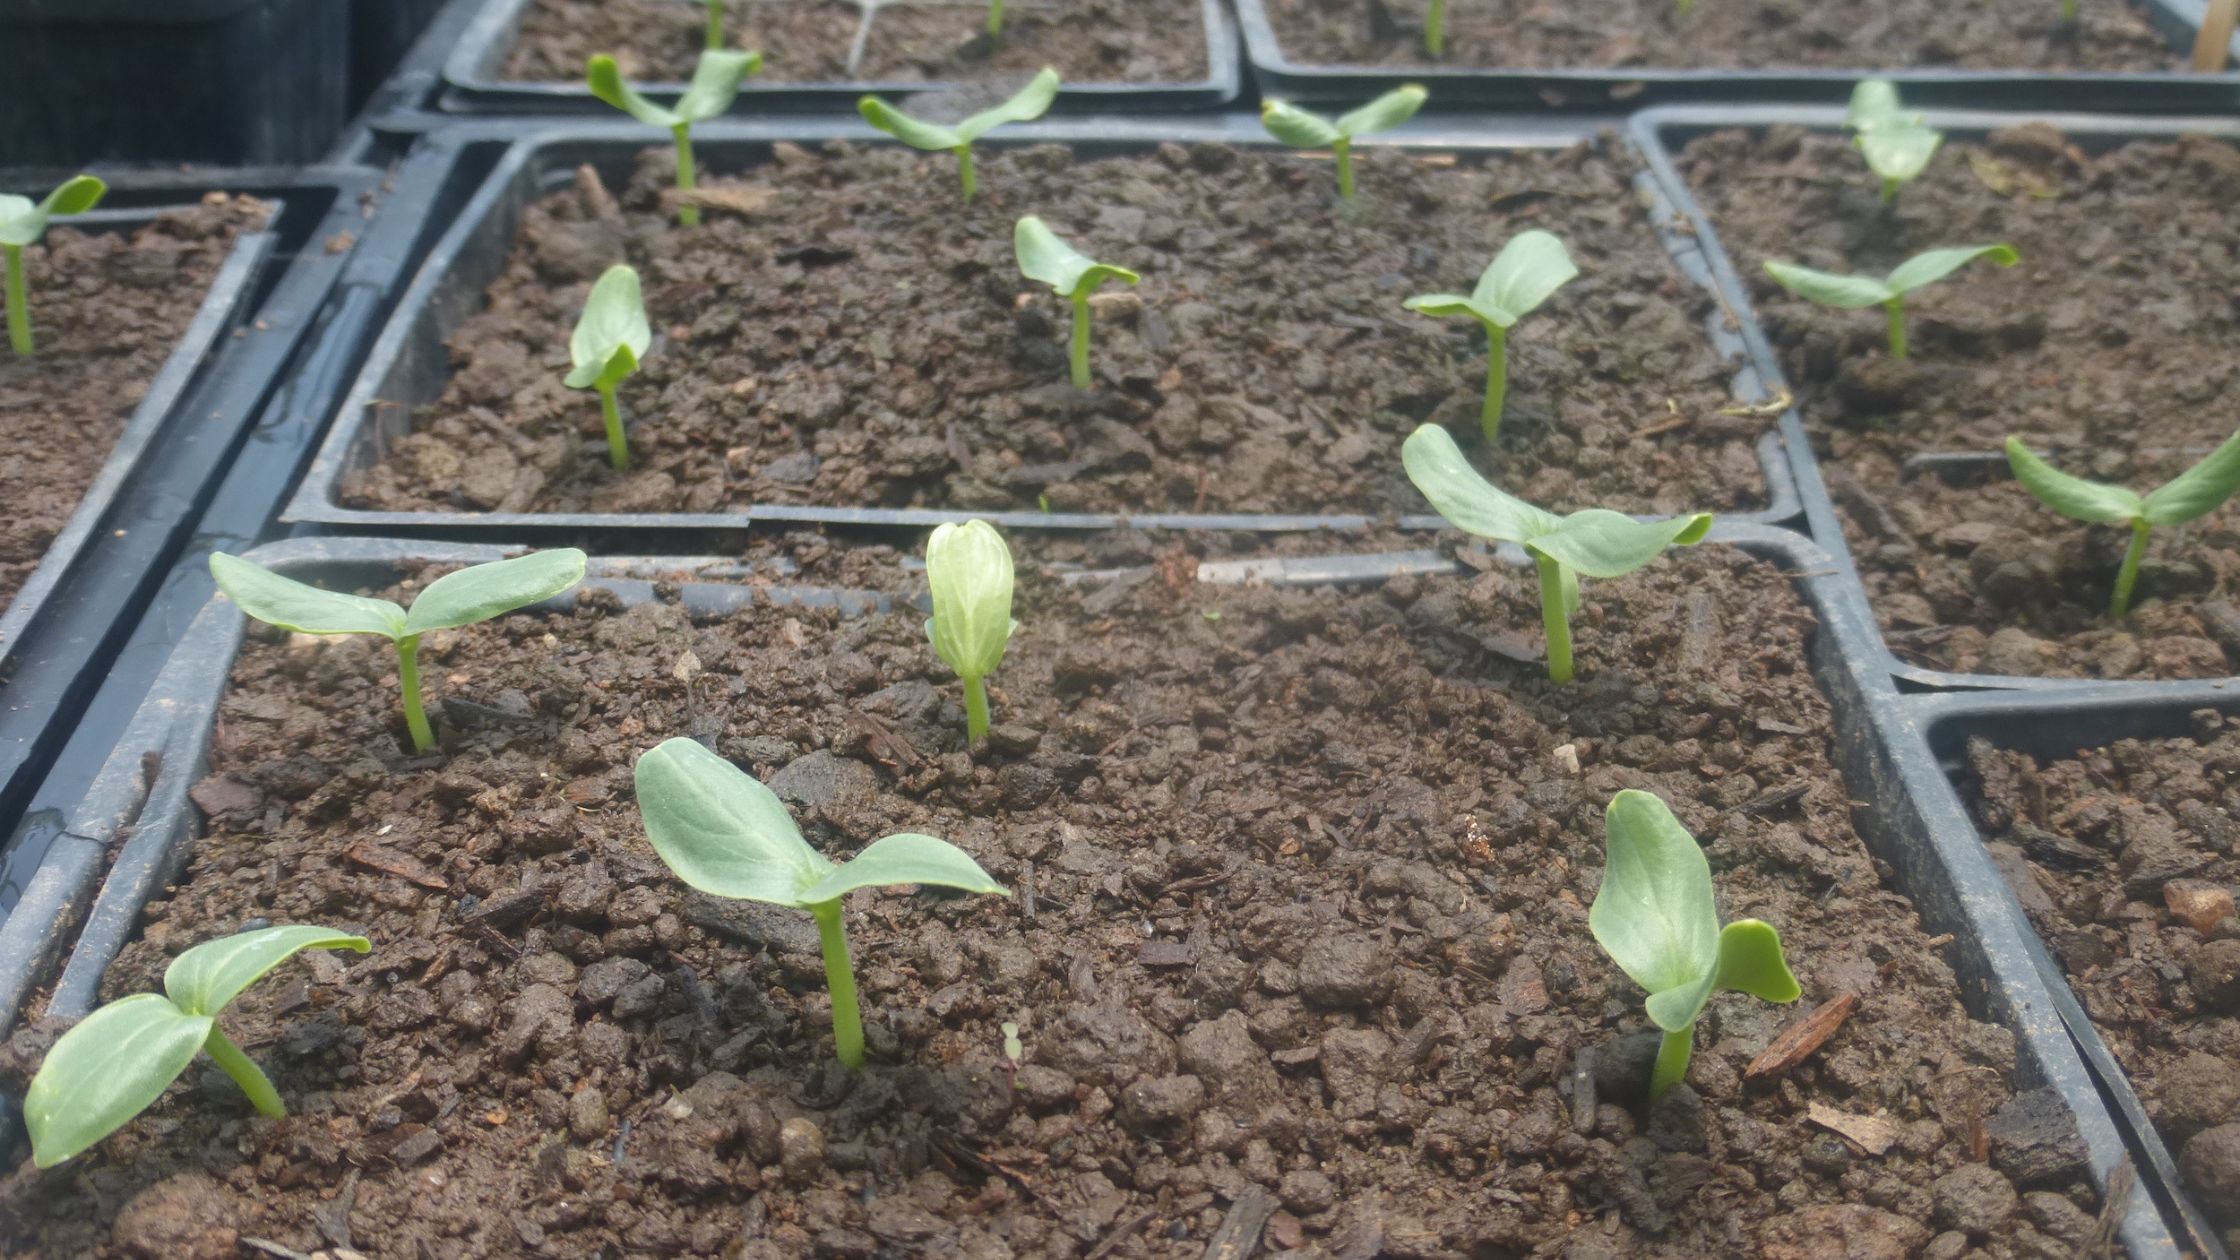
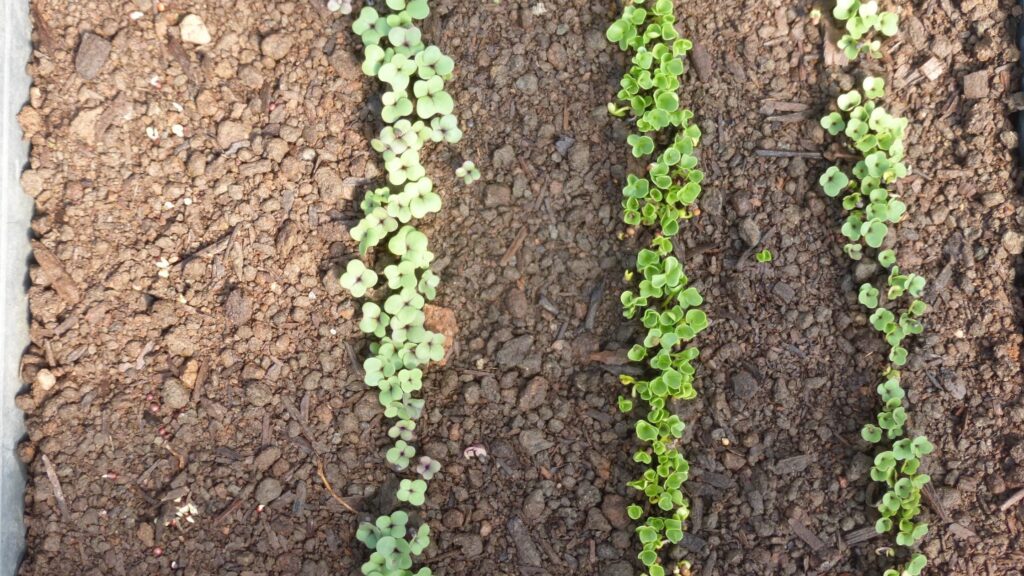
Onions should be sown about 1/4 inch deep in flats or trays. If you’re new to seed starting, check out this guest post, Starting Seedlings, by our friend Pam Dawling, author of Sustainable Market Farming.
Guest Blog Post: Starting Seedlings
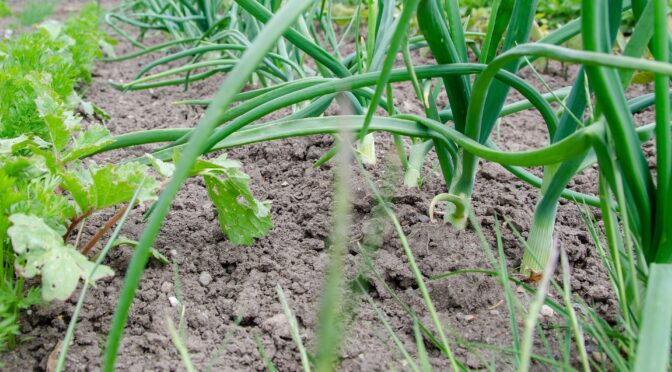
Step Three: Select a Good Location & Improve Your Soil
Onions grow best in bulbs with full sun and light, well-drained soil with a pH between 6-7. Soil that is too acidic or alkaline will cause slow growth and late maturity.
Onions are heavy feeders that require fertile soil with plenty of organic matter. Onions need abundant potassium and phosphorous for good bulb formation and plenty of nitrogen during active leaf growth.
To improve your bed for transplanting, remove all weed growth, loosen the soil with a broad fork, garden fork, or tiller, and add a few inches of finished compost.
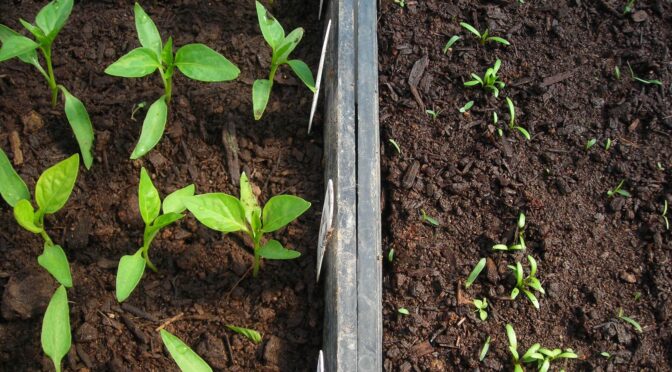
Step Four: Transplant Your Onions
Transplant your onions early. Onion seedlings are hardy to about 20 degrees F. Set them out in February or as soon as the soil can be worked in the spring.
Plant your onions 3 to 4 inches apart in rows 12 to 16 inches apart. Crowding can reduce production, particularly in poor soil. Refrain from pruning the tops, or your harvest will be significantly decreased.
 Step Five: Mulch them Well
Mulch around your onions with a thick layer of straw, old leaves, grass clippings, or other organic material. Mulch will help suppress weeds and aid in maintaining moisture and nutrient levels.
Step Six: Keep Up with Weeding
Yes, this is every gardener’s least favorite chore and seems like a no-brainer, but it is critical with onions! Experiments have shown that weeds can cause a 4% reduction in onion production in one day or a 50% reduction in yield in 2 weeks.
Onions have shallow roots, so you may need to weed them by hand. Cultivation between rows should be shallow.
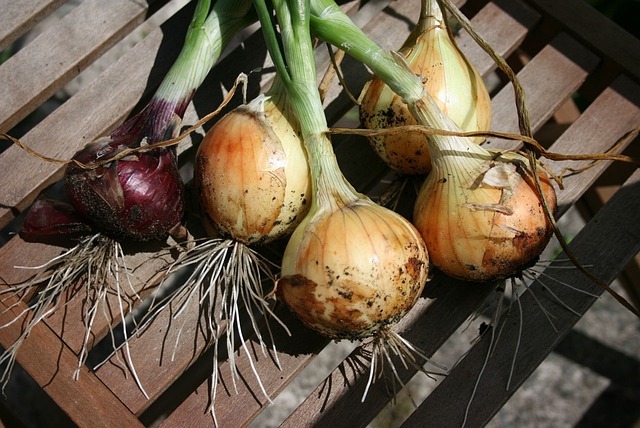
Step Seven: Harvest & Cure Your Onions
Harvest your onions when most of the tops have fallen over.
Some folks like to break the tops of their onions by hand to accelerate harvest. However, we’ve found that this harms the storage ability of some varieties and helps the storage ability of other varieties.
It’s best to harvest onions after a few days without rain so the soil isn’t muddy and difficult to work with. Pull your onions, using a garden fork if necessary, and cure them for 2 to 3 weeks until the necks have thoroughly dried.
Cure your onions somewhere with partial shade and good ventilation. After this period, you can clip the tops to within one inch of the bulb.
 Step Eight: Rotate Your Onions Next Season
As with all crops, onions are subject to specific pest and disease issues. To continue getting good production, it’s best to rotate your crops. We like to rotate onions on a three-year rotation and compost any onion residue to keep them pest and disease-free.
If onions have given you trouble in the past, following this guide can help ensure good production. Start your onions early, provide plenty of space and nutrients, keep them weeded, and harvest them properly. Happy gardening!
 Adjust Lighting
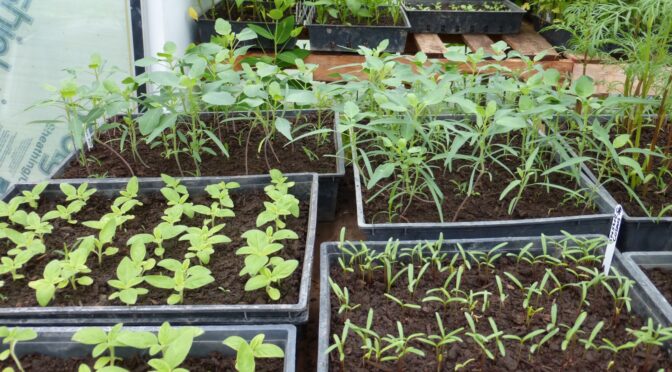
 Starting Indoors: The Basics