Tag Archives: pumpkin

How Long Will My Squash Last?

Winter squash and pumpkins are among the few foods you can harvest in July or August and eat in January. Before the advent of modern refrigeration, these squashes and pumpkins were an essential way that growers could put fresh, vitamin-rich food up for winter. Unlike most vegetables, which must be canned, dried, or frozen, properly storing winter squash and pumpkin is a fairly simple, low-effort process. Exactly how long they last depends on the variety and storage conditions you provide.

Squash Storage Period

While we love the flavor of all of the winter squash and pumpkin varieties that we offer, not all of them are equal in terms of their storage ability. 

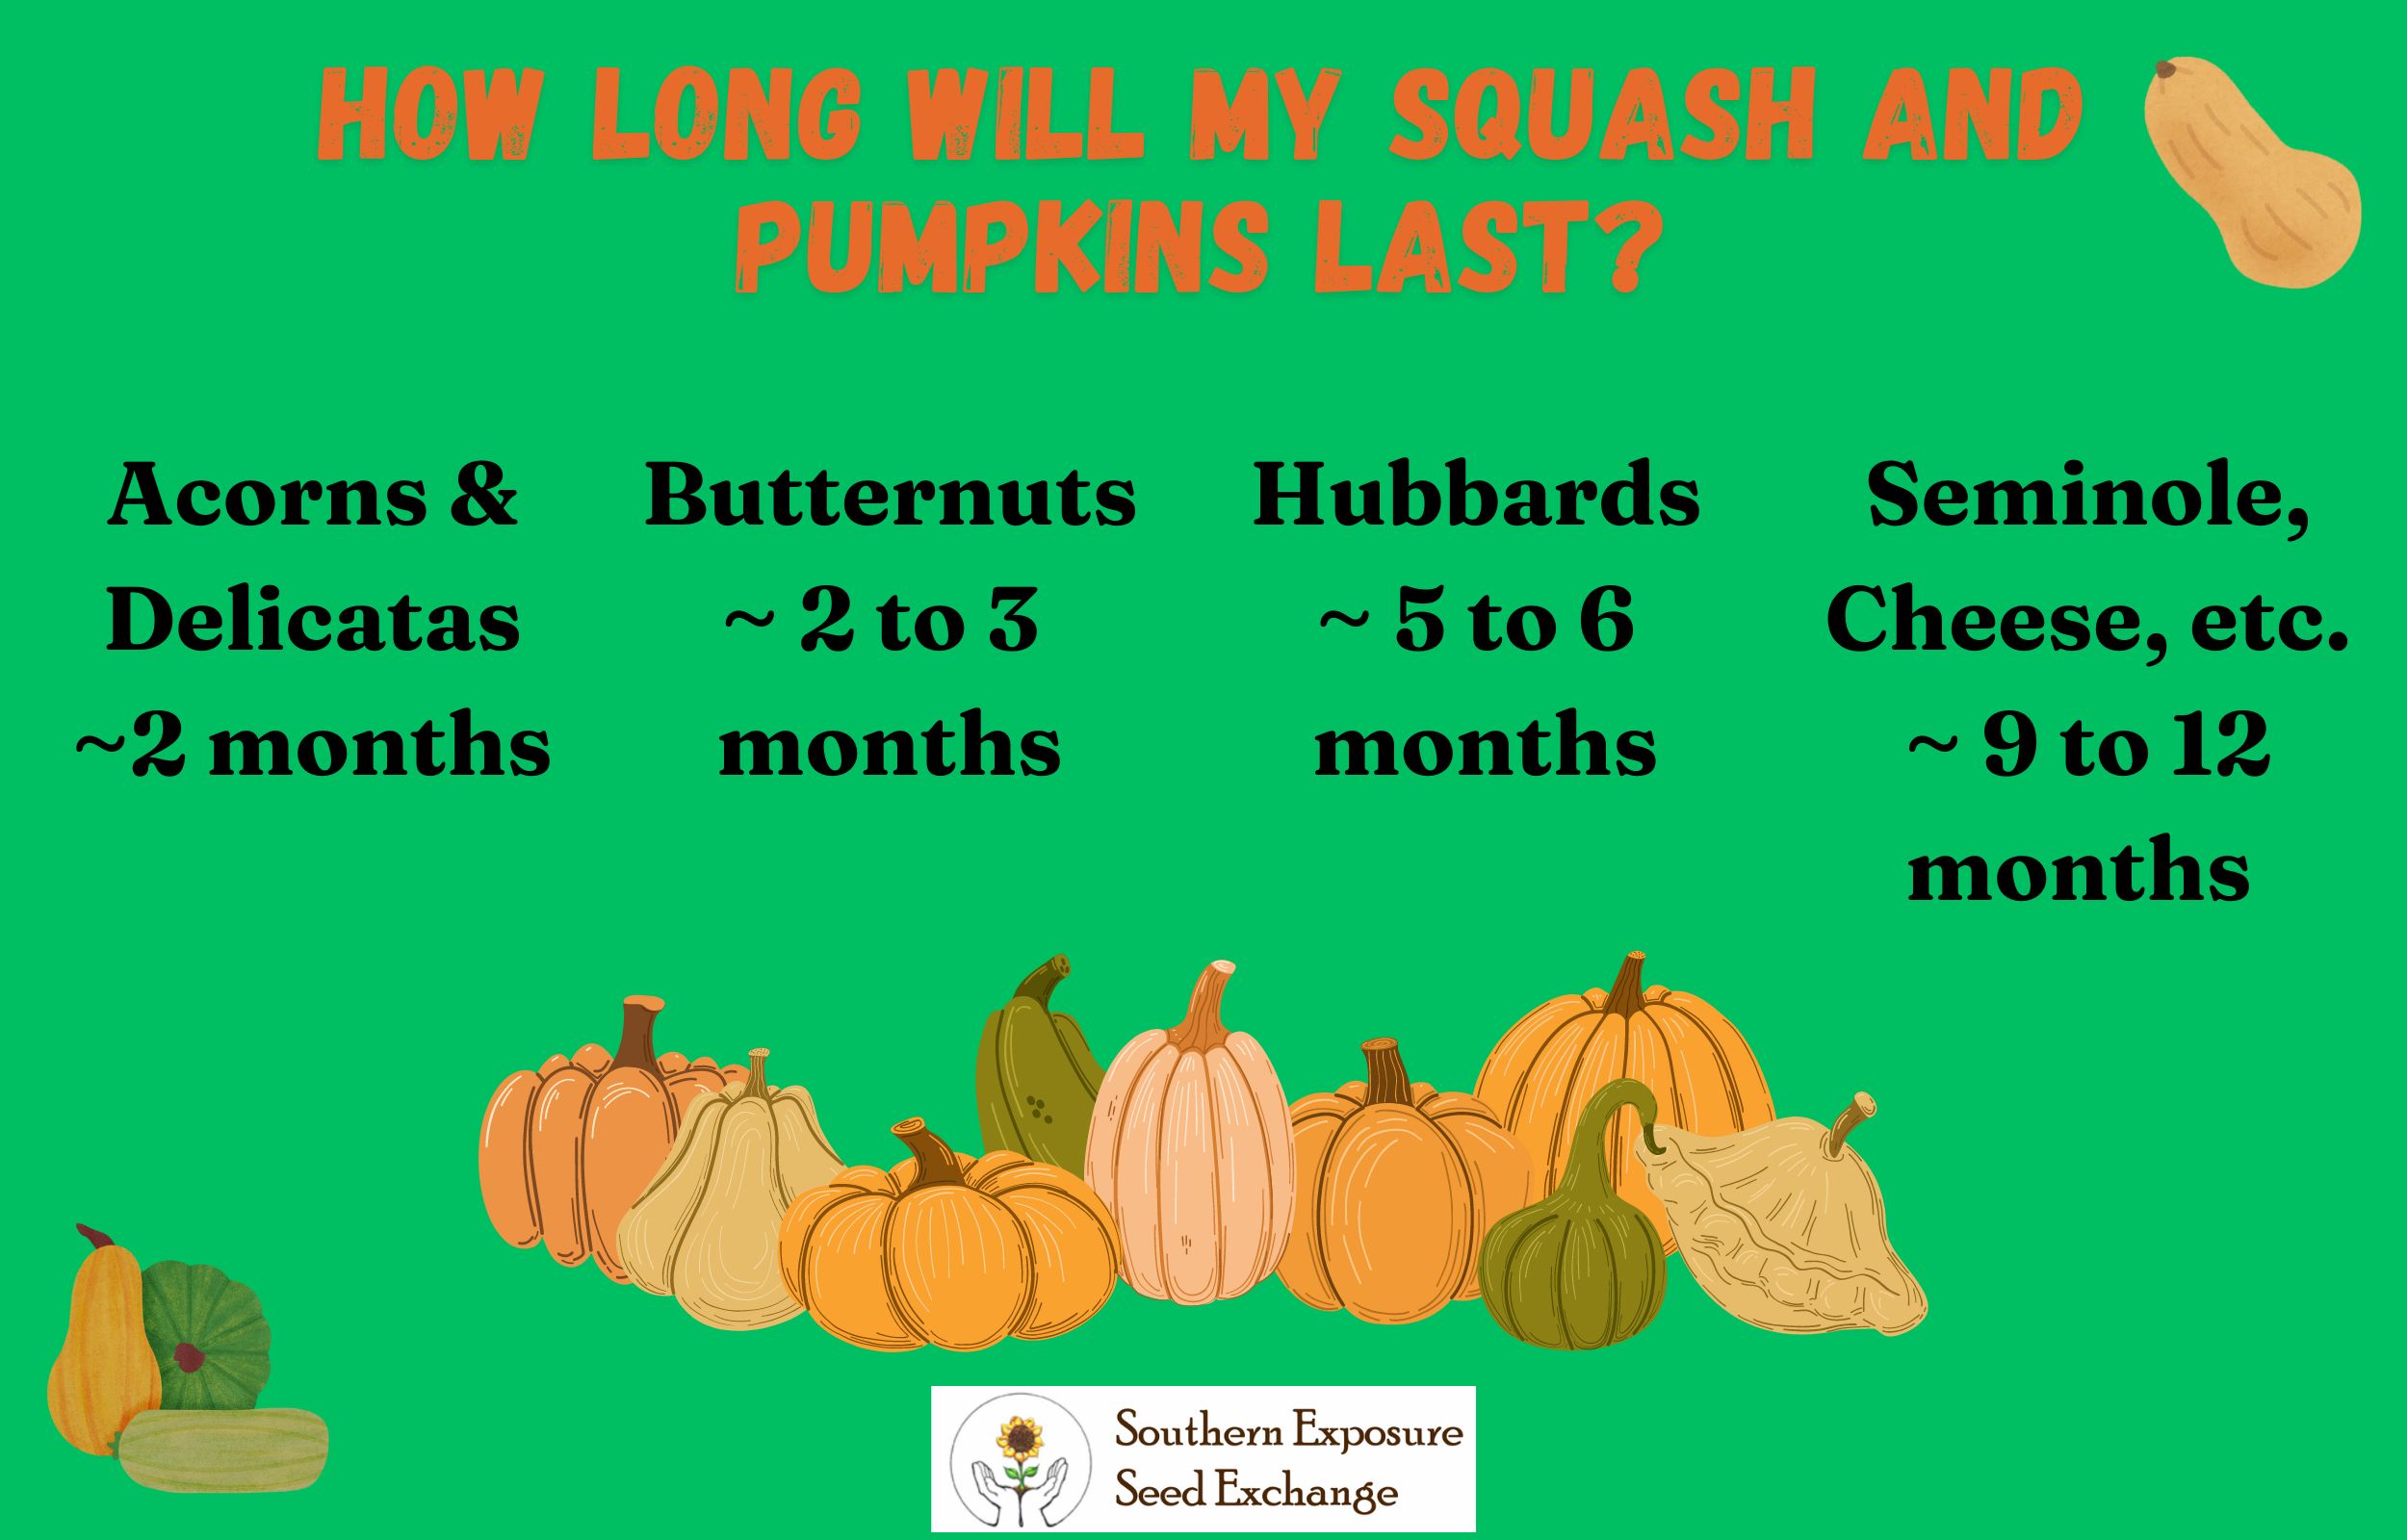
Generally speaking, acorn squash and delicata can last up to 2 months, butternuts 2-to-3 months, hubbarbs 5 to 6 months, and some specialty cultivars 9 months to a year.

These numbers may vary widely, depending on the specific variety and proper curing and storage. Just look at these as general guidelines. I’ve had butternuts store for 6 months, but that doesn’t mean they always do.
Thankfully, for many squashes, storage actually improves their flavor. Typically, we advise people to get vegetables from the garden to their plate as quickly as possible for the best flavor. Tender vegetables like sweet corn, broccoli, and peas begin converting sugars to starches as soon as you harvest them. 

The opposite is true with squashes, particularly those used for longer storage like Hubbards. These storage squashes convert starches to sugars once harvested and have the best flavor when they’ve been allowed to cure and store for at least a couple of weeks. 

Our Favorite Squashes for Longterm Storage

If the squash you grew doesn’t keep as well as you had hoped, you may want to add an excellent keeper to the plot next year. 

  • Seminole Pumpkin – 1 year
  • Tahitian Melon Winter Squash – 9+ months
  • Tan Cheese Pumpkin – 1 year
  • South Anna Butternut Winter Squash – 6+ months

Garden Planning for Winter Squash and Pumpkin Storage

Unfortunately, many gardeners’ favorite varieties, like Winter Luxury Pumpkin or Candystick Dessert Delicata Winter Squash, don’t keep as well as those mentioned above.

If you’re a fan of winter squash, one of my favorite ways to plant squash is to pick two or three cultivars with short-, medium-, and long-term storage ability. Rather than growing a big patch of one, plant a few of each. This will give you plenty of squash for hearty stews, curries, and baked goods over a longer period.

Winter Luxury Pie Pumpkin

My Squash Won’t Last Much Longer, What Do I Do?

If you have a lot of squash or pumpkin that you don’t think you can use up in time, I recommend freezing it. You can’t freeze squash raw; you need to cook it first.

My favorite method is to halve and bake winter squash and pumpkins, then scoop the soft, cooked flesh into freezer-proof containers, cool, and freeze. Alternatively, you can peel the squash or pumpkin and boil it until tender.

If you don’t have enough freezer space, pressure canning pumpkins and winter squash is another option. Keep in mind that you need a pressure canner; it’s a low-acid food that’s unsafe for water bath canning.

Drying winter squash and pumpkins also works, especially if you already own a dehydrator. Dried winter squash and pumpkins are wonderful for quick soups and camping trips.

There are plenty of great ways to use winter squash and pumpkins. Here are a few of my favorite recipes for using them up and preserving them:

Storage Quick Tips

Previously on the blog, we’ve covered exactly how to properly harvest, cure, and store winter squash and pumpkins. For this post, I’ll focus on a few key points:

  • If possible, allow winter squash and pumpkins to fully ripen on the vine before harvest (the stem should start developing wood-brown stripes near the fruit). This improves storage ability.
  • Harvest winter squash and pumpkins before your first frost.
  • Avoid storing squash near apples, pears, and tomatoes that put off ethylene (the ripening hormone).
  • Ideal storage conditions for winter squash and pumpkins are between 50 and 60°F, and humidity is 50 to 70%.

Winter squash and pumpkins are among the best storage crops. Choosing the right varieties and storing them properly can allow you to enjoy squash throughout the entire year! 

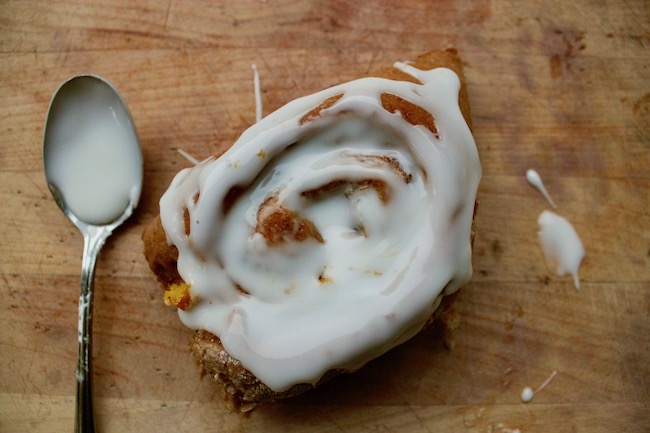
Pumpkin Spice Cinnamon Rolls

Even though the temperature isn’t really saying “fall is here” in our area the garden certainly is. We’ve been harvesting pumpkins, winter squash, and popcorn and sowing fall successions of beets, lettuce, and cabbage. With this and my love of all things autumn in mind I decided it’s time to bring out the fall recipes.

These cinnamon buns are a delicious way to start enjoying the autumn harvest without breaking out the pumpkin pie. They’re delicious and fairly easy to make.

Ingredients

Dough

  • 2 1/2-3 C all purpose flour
  • 2 TBS sugar
  • 1 tsp salt
  • 1 tsp cinnamon
  • 1/2 tsp ginger
  • 1/4 tsp allspice
  • 1/4 tsp nutmeg
  • 2 1/2 tsp yeast
  • 1/2 C water
  • 1/4 C milk
  • 3 TBS vegetable oil or butter
  • 1 TBS molasses
  • 1/4 C pumpkin puree

Filling

  • 3 TBS butter
  • 1 C pumpkin puree
  • 4-5 tsp cinnamon
  • 2 tsp ginger
  • 1 tsp nutmeg
  • 1 tsp allspice
  • 1/4-1/2 C brown sugar

Icing

  • 1 C powdered sugar
  • 1 tsp vanilla
  • 2-3 TBS milk

Never made your own pumpkin puree? Check out this post.

Directions

Raised rolls ready for the oven.

Preparing the dough.

To begin combine the milk, oil or butter, molasses, puree into a microwaveable bowl or small saucepan. Heat these ingredients until they’re quite warm but not hot.

In a separate bowl combine the sugar, spices, salt, and yeast. Once the liquid ingredients are warm pour them into the bowl as well. Stir until well mixed and then begin adding the flour a little bit at a time. As the dough gets hard to mix you can turn it out onto a well floured surface and knead it with your hands.

You’ll know you’ve added enough flour when the dough forms a nice ball and is tacky but not sticky. Now allow the dough to rest for about 5 minutes.

Next roll the dough into a rectangle. I generally roll the dough between 1/4-1/2 inch thick though you can change this to suit your preference.

Dough with butter, pumpkin, puree, and spices. Still needs sugar.

Filling

Now you can spread the filling. First soften or melt the butter and mix it with the pumpkin puree and spread this in a thin layer on the dough. Then sprinkle the spices (alternatively you can use a pre-made pumpkin spice mix) evenly over the dough. Do the same with the brown sugar. I rarely measure the spices or sugar and just go by eye.

Roll the dough into a long tube and slice it into 8-12 pieces and place them into a greased, 9×13 inch baking pan. Place the pan somewhere warm and let them raise for 2-3 hours until they have doubled in size.

Bake at 350°F for about 25 minutes until they’re golden brown.

Icing

To make icing combine the powdered sugar and vanilla and stir in the milk a tablespoon at a time until it reaches your desired thickness. Icing should be added after the cinnamon rolls cool.

DIY Pumpkin Puree & Pumpkin Spice Waffles

Connecticut Field Pumpkin

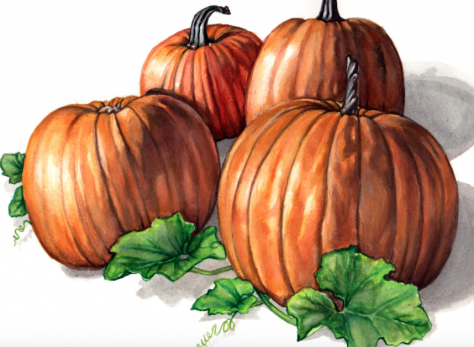
Whoever decided that pumpkin spice food is just for autumn got it wrong. Now is when I scrambling to pack all the winter squash and pumpkins we put up this summer into our meals. Before long it will be spring and as much as I love the stuff I don’t want the house to still be overflowing with winter squash. Come spring I’ll be ready for greens, snap peas, and rhubarb! So for now it’s pumpkin spice, tasy, warm, filling and sweet.

DIY Pumpkin Puree

***for those who are ready for the waffle recipe keep scrolling****

Any local foodie will tell you pumpkin puree doesn’t come in a can! It’s actually super easy to make and nearly any winter squash or pumpkin will do. If you’ve got a Waltham Butternut or Table Queen on hand there’s no need to go search the farmers market for a pie pumpkin.

Split your squash or pumpkin in half and scoop out all the seeds. Place the pumpkin opening down in a shallow baking pan with about 1 inch of water. This will keep it from drying out.

Bake at 350°F for 30 minutes to 2 hours or until tender depending on the size of your pumpkin.

*Optional: clean the seeds and bake in a single layer on a cookie sheet with a little vegetable oil and salt while your pumpkin is baking. Bake until golden brown. Alternatively save them for next year!

On to the good stuff.

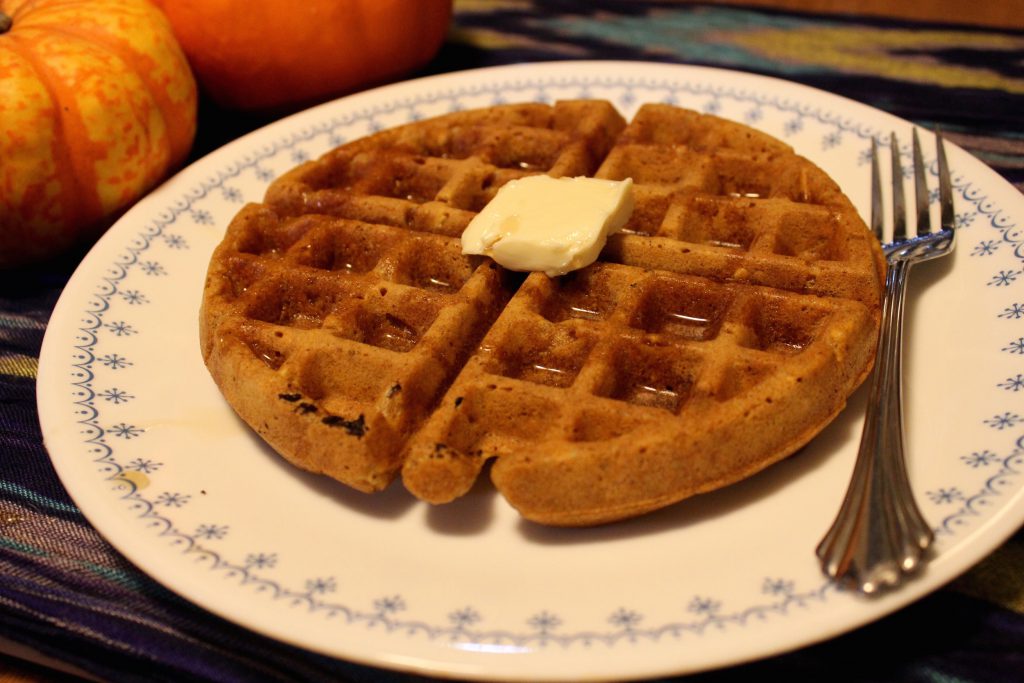
Pumpkin Spice Waffles

These waffles are a great breakfast or treat on a cold winter days and they’re an awesome way to cook with local, healthy ingredients. I bet you can get all the veggie haters in your life to eat some winter squash hidden in these little gems.

Another great thing about these waffles is that the squash takes the place of the egg in the recipe so they’re great for people with allergies or those who are vegan. I promise you’ll love them even if you’re not!

These waffles are that perfect mixture of crispy on the outside and soft and fluffy on the inside.

Here’s what you’ll need:

  • 1 cup of flour (all purpose or whole wheat)
  • 1/2 tsp baking powder
  • 1/4 tsp baking soda
  • 1/2 tsp cinnamon
  • 1/8 tsp nutmeg
  • 1 TBS sugar
  • 1/2 cup of pumpkin puree
  • 6 TBS vegetable oil
  • 1 tsp vanilla extract
  • 1 cup milk (for dairy free replace with nut milk or water)

Option toppings:

  • maple syrup, butter, molasses, or powdered sugar

First combine all dry ingredients in a mixing bowl then add the pumpkin or squash puree, vanilla extract, and vegetable oil. Next, slowly stir in the milk. If you’re puree was watery you may need less of the milk. The batter should be easy to pour but not thin.

While you’re mixing up your batter you can pre-heat your waffle iron. A hot waffle iron makes better waffles that stick less.

Cook your waffle using the normal directions for your waffle iron and enjoy! Then promise your family you’ll make a double batch next time when they keep coming back for more.

Pin it for later.