Tag Archives: potatoes

7 Tips for Growing Potatoes

Potatoes can be one of the easiest staple crops to grow, providing pounds of food for relatively little effort. Unfortunately, they can also have many problems! If you’ve struggled to grow large harvests of good-quality potatoes, you’re not alone. Thankfully, there are a few simple steps to take to have a more successful year. Here are our best tips for growing potatoes.

Always Rotate Your Potatoes & Nightshades

Unfortunately, potatoes are susceptible to a number of diseases, including the destructive pathogen Phytophthora infestans, which caused the late potato blight of the notorious potato famine.


One of the best ways to avoid this and other diseases is to always rotate your potato crops, ideally on a three to four-year rotation. This rotation should include all the other nightshades that could play host to the same diseases, including peppers, tomatoes, tomatillos, okra, and eggplants. Don’t plant any of these in the same bed for three to four years.

Water Consistently While Growing Potatoes


Many folks don’t irrigate potatoes even if they water their other crops. The assumption is that potatoes are a bit tougher. While they are in some ways, inconsistent watering can lead to decreased production and serious issues like hollow heart a type of cell death inside the tuber that creates a hollow in the center.


Potatoes should receive 1 to 2 inches of water or rain per week. This is crucial while they’re flowering and forming tubers. When the potato plants start to turn yellow and die back, you can discontinue watering to allow for a drier, easier harvest.
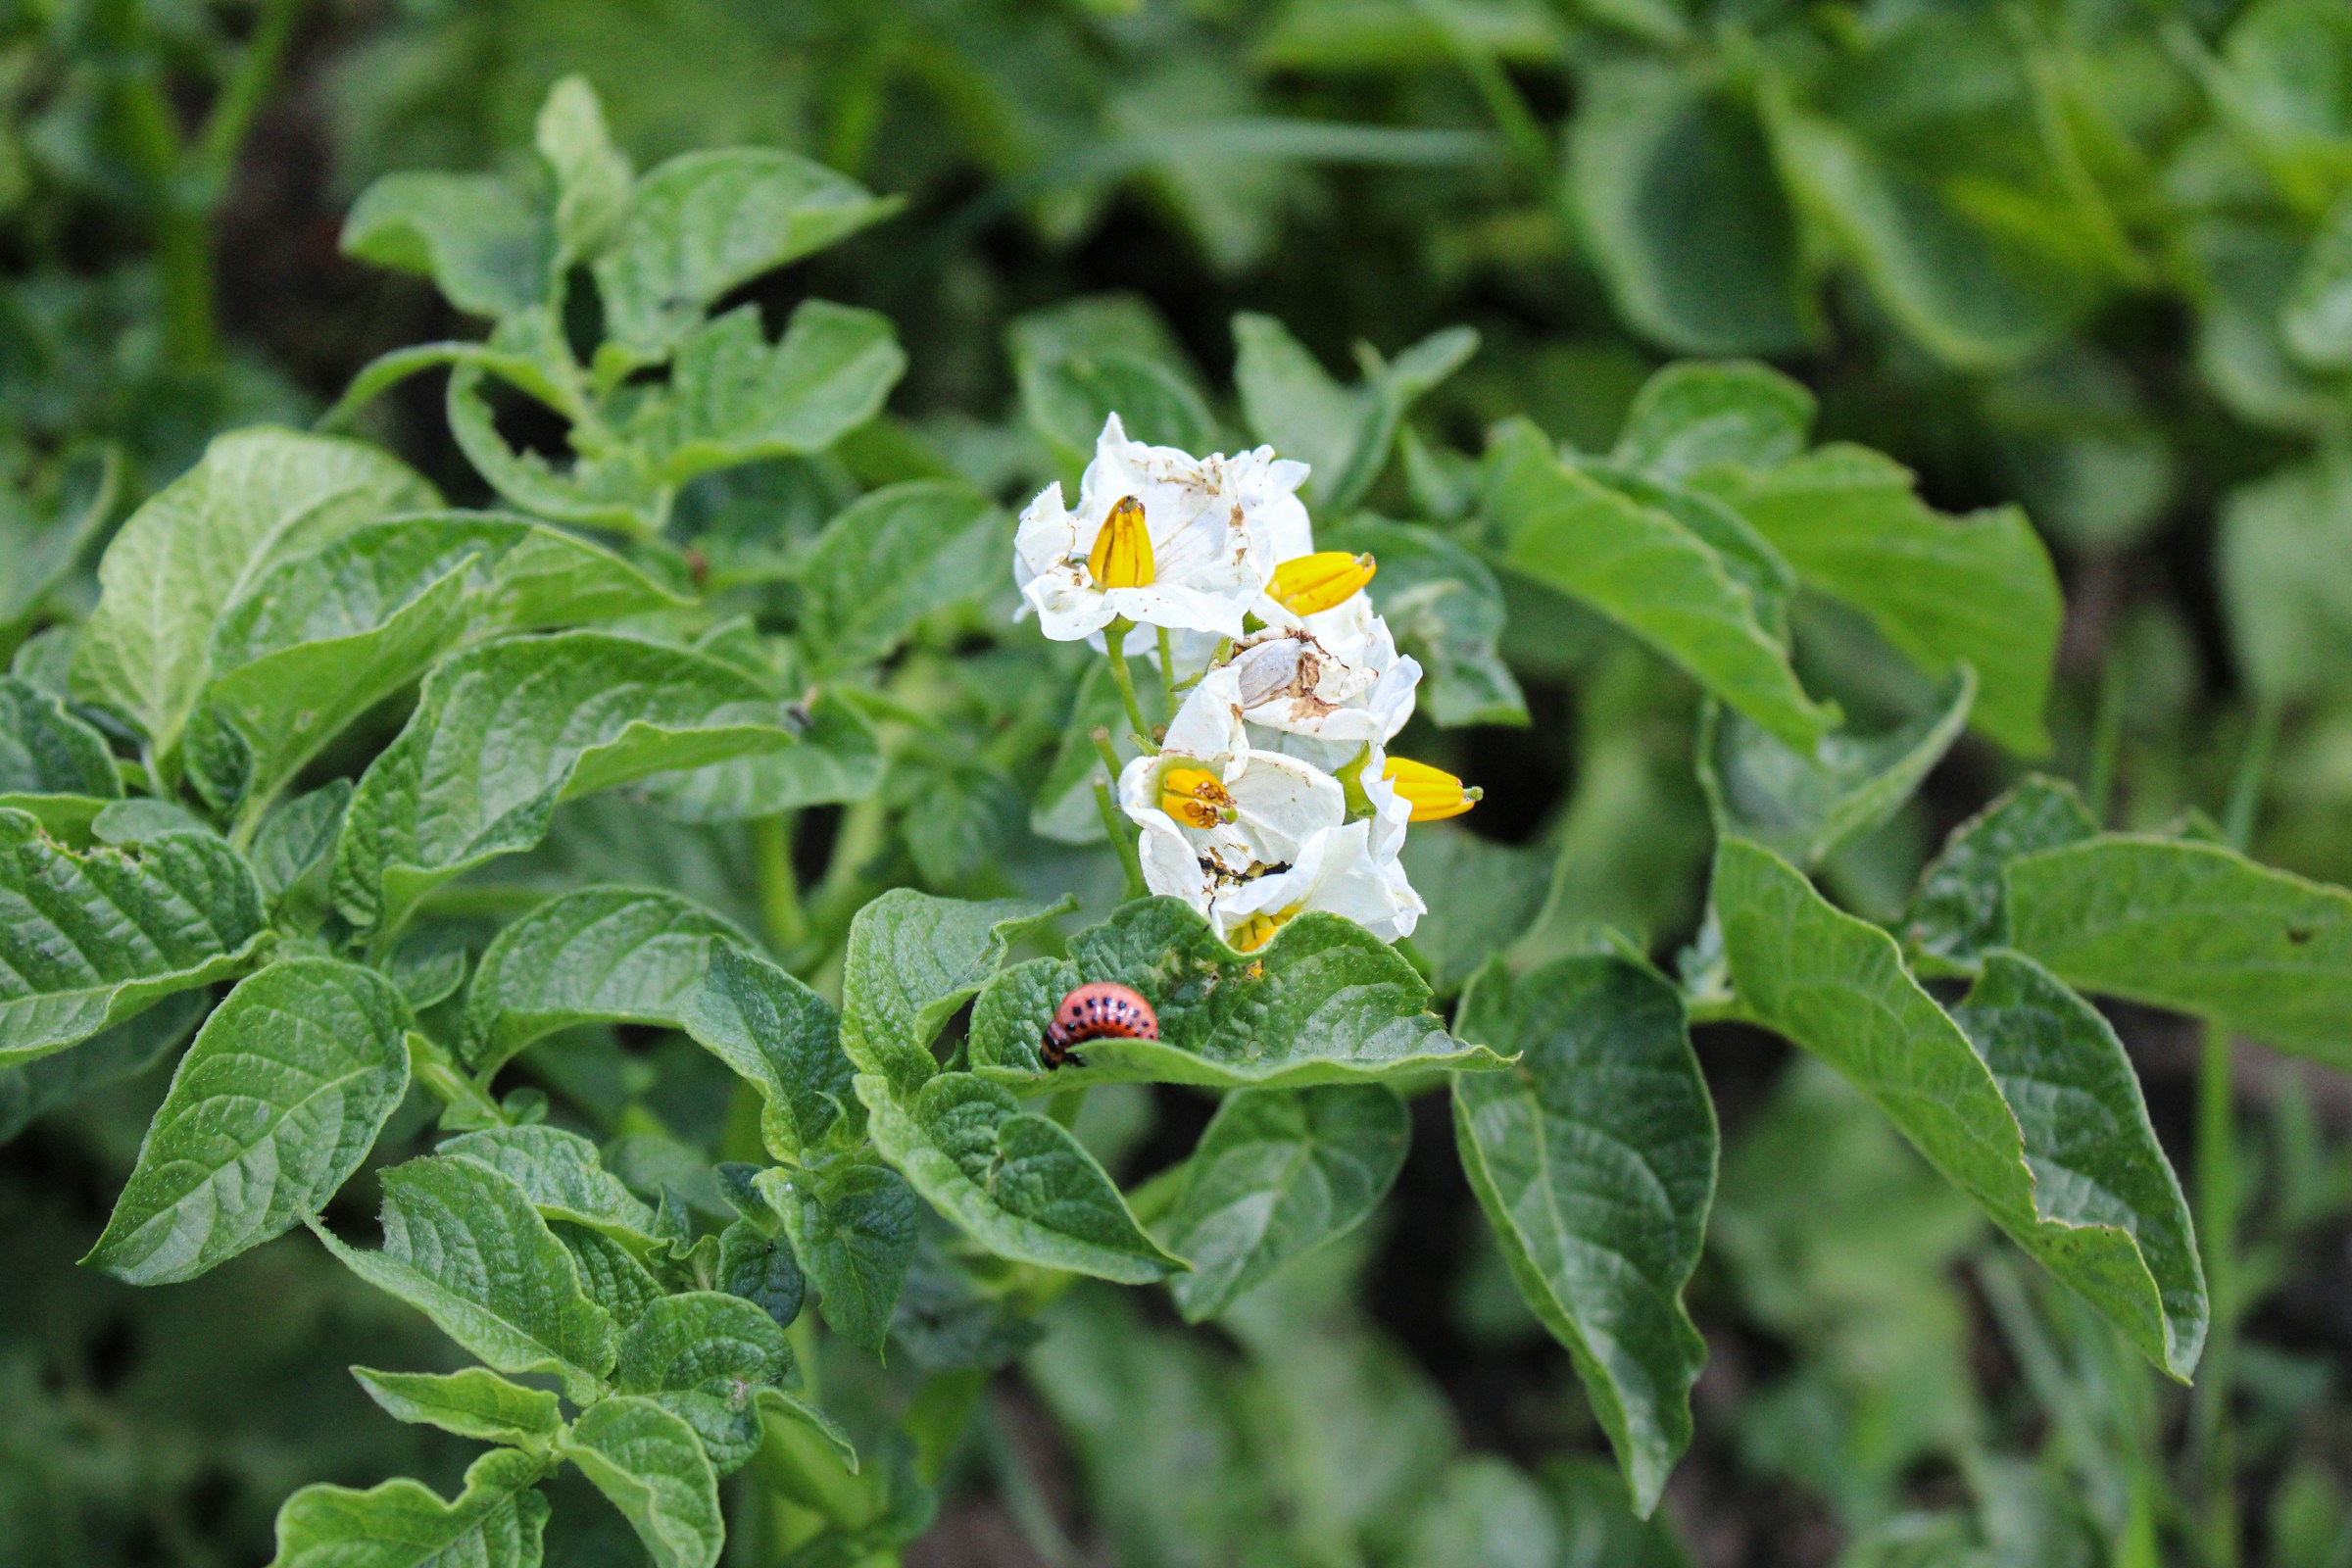
Flowering potato plant with potato beetle larvae

Watch for Potato Beetles


Colorado potato beetles (Leptinotarsa decemlineata) can be a major issue for many gardeners, defoliating entire plants. Unfortunately, they’re resistant to many pesticides, both organic and conventional. The best way to deal with them is to watch for them carefully and handpick them into a bucket of soap water. You can also smash the eggs and larvae.

Check out this helpful University of Minnesota Extension article to learn how to identify them in their different life stages.


Get Your Soil Tested

 for Growing Potatoes

Potatoes aren’t super picky, but they do perform best in specific soil conditions. Light, well-drained soil that’s rich in organic matter is ideal. They thrive in acidic soil when the pH is 4.8 – 5.5. Potatoes are more susceptible to scab in soil with a pH of 6.0 or higher.


Potatoes also need good levels of certain nutrients. To produce well, they need decent levels of nitrogen, potassium, and phosphorus. Low potassium levels can also contribute to issues like hollow heart. Adding good quality compost to your soil can help with these things, but it’s worth getting a soil test, especially if you’ve had problems in the past. 


Hill Up Your Potatoes When the Stems Reach 6 to 8 Inches Tall


Re-burying your potato stems may seem like an odd idea, especially if you’re new to gardening, but it is crucial for good potato harvests. Potatoes produce tubers along the stem; when you hill them up so that only the top leaves stick out of the soil, new potatoes form along the stem in the new section of soil.


Hilling potatoes also helps with weed and moisture control and minimizes greening on potatoes that may have been forming near the surface. It also helps keep the soil cooler in the heat of summer.
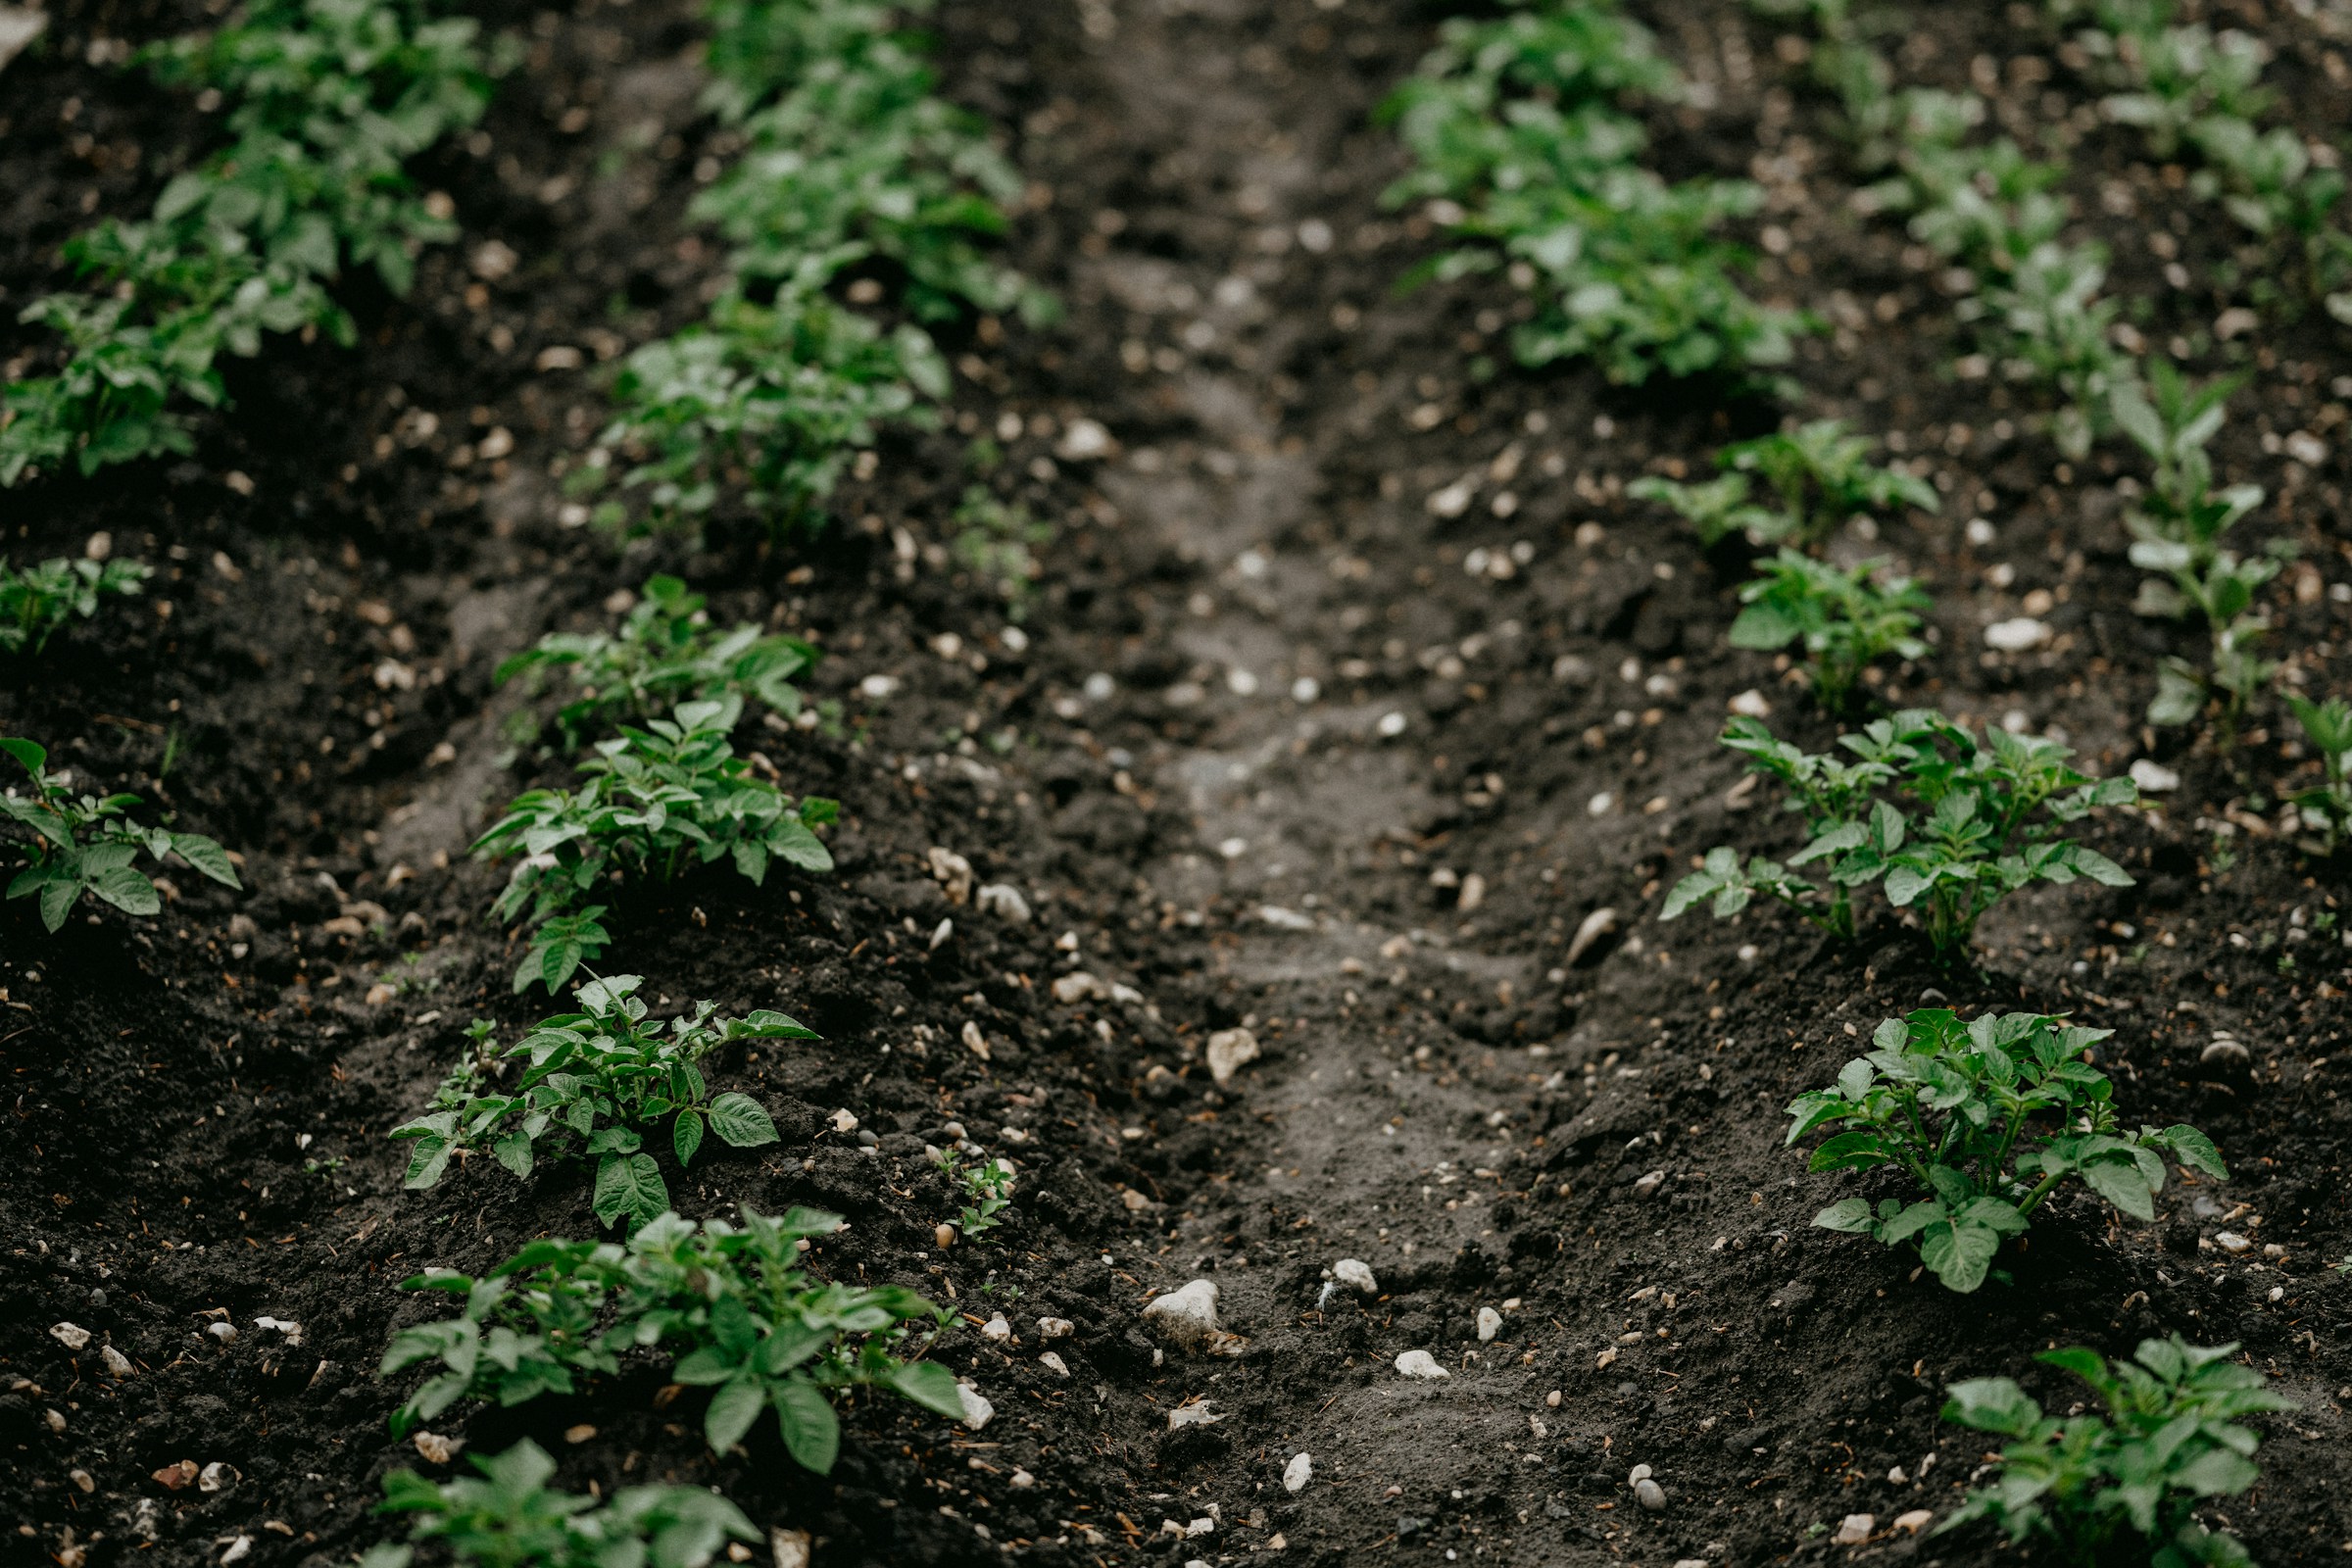
Rows of potato plants (growing potatoes)

Plant a Late Potato Crop for Storage


If you just grow a few potatoes for fresh eating, you can plant them in early spring. Many folks choose St. Patrick’s Day as the traditional spring planting day. However, if you want good storage potatoes, planting some late potatoes is a good idea. We usually plant a second batch in June. These late potatoes may have a lower yield but store better for winter eating.


Harvest, Cure, and Store Potatoes Properly


You can gently harvest a few fresh potatoes about 2 to 3 weeks after the plants flower. However, your main harvest should come 2 to 3 weeks after the plants have died back completely. This ensures they will keep well. Then, potatoes must be adequately cured before they can go into storage.


Visit our Harvesting and Curing Potatoes post for the full process.


There are many wonderful potato varieties available for the home garden, from tried-and-true favorites like Yukon Gold to newer varieties like the beautiful Adirondack Blue. These potatoes make excellent, productive staple crops, especially if you give them a little care. Follow these seven tips for growing potatoes to have a successful harvest this season.

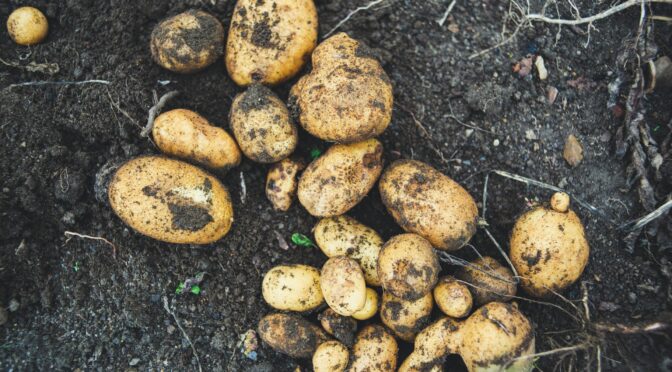
Harvesting and Curing Potatoes

If you grew up with a family garden, you might remember the joy of gathering up potatoes, like finding buried treasure right in the backyard. Even if you didn’t grow up with a garden, you’ll quickly see the joy in a potato harvest. There’s something magical about hoping for a good harvest and unearthing piles of tasty potatoes. However, it’s not as simple as just digging. There are a few key steps to take when harvesting and preparing your potatoes for storage.

Harvest Your Potatoes When the Plants Die

Harvest your potatoes after the plants turn yellow and brown and die back. This ensures that your potatoes are as large and mature as possible. It also improves their storage ability. The plants dying indicates to the potatoes that the growing season is over. 

Potatoes can tolerate a light frost, but it’s generally best to harvest them before your first hard frost is expected.

Don’t Leave Your Potatoes in the Sun

Leaving potatoes in the sun will cause them to turn green. Green potatoes taste bitter, and if you eat enough, it can cause upset stomach, vomiting, and diarrhea. If you have a potato with a green spot, you can trim it off, but if the whole potato is green, compost it.

Harvest Potatoes Carefully

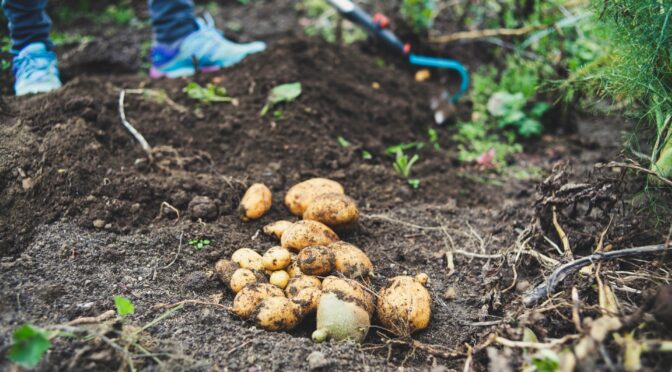
Usually, it’s easiest to lift potatoes from the ground with a garden fork. However, you must do your best to avoid damaging your potatoes. Any potatoes with cuts, insect damage, or bruises should be separated and used immediately or composted if necessary. 

Cure Your Potatoes

Potatoes can’t go straight into storage after harvest. You must cure your potatoes. Curing thickens the potatoes’ skins, allows minor cuts to heal, and slows their respiration (a process where they convert sugar and starches to carbon dioxide and water). 

In an ideal situation, it’s best to cure potatoes at 45 to 60 degrees Fahrenheit and high relative humidity (85 to 95 percent) for two weeks. However, most of us don’t have giant walk-ins or places we can control the temperature and humidity like that. Instead, spread your potatoes out somewhere in your home that’s cool, dark, and relatively moist. A basement, mudroom, outbuilding, or spare bedroom may work. 

Lay your potatoes out in a single layer with space around them. You don’t want them touching each other or piled up; plenty of airflow around them is critical. Leave them to cure for two weeks.

Sort Your Potatoes Again

Go through your potatoes once more before storage. Remove any that have shriveled or those with damage or bruising. One rotten potato can spoil your others in storage!

Store Your Potatoes

Potatoes store best in spaces that are cool, moist, and dark. In a perfect situation, we recommend storing them in a spot that stays between 40 to 45 degrees Fahrenheit with a relative humidity of 90 percent. However, we can’t all create perfect conditions, but you may have a space that would work well. A cool garage, basement, or second refrigerator can work as potato storage. Don’t store them anywhere that they could freeze.

If you keep your potatoes somewhere above 45 degrees Fahrenheit, they will probably start to sprout in just 2 to 3 months. If you store them in a space with temperatures below 40 degrees Fahrenheit, they may develop a sugary flavor. Placing them back at room temperature for a few days before use should correct this and make them starchy again.


Potatoes are an excellent staple crop for the home gardener. For relatively little effort, they can provide nourishing meals well into the winter months, but good harvesting, curing, and storage practices are essential! Follow these steps when harvesting your potatoes this fall.

6 Easy Steps to Save Seed Potatoes

If you’re starting to save some of your own seed this year, you might want to give potatoes a try! While they do take a bit of storage space, they’re pretty easy to save. Saving seed potatoes can also save you a lot of money on next year’s garden, especially if you generally rely on having potatoes shipped to you.

What About Disease?

Many people don’t save seed potatoes because of the fear of disease. Commercial producers almost exclusively rely on USDA-certified seed potatoes. However, on a home scale, you can easily mitigate the risk of diseases. Always rotate your potatoes and other members of the Solanacea or nightshade family (peppers, eggplants, tomatoes, tomatillos, and potatoes). Keep your potatoes well weeded and mulched and grow them in rich, well-draining soil. 

Selecting Seed Potatoes

While you can harvest potatoes early in the season for eating, you should harvest storage seed potatoes should when the plant dies back. The foliage dying back makes the potatoes go into dormancy. This will help them keep longer. Make sure you harvest them before you get any hard frosts.

When selecting individual potatoes to store, you want to focus on selecting healthy potatoes that are free from any signs of disease, blemishes, or bruises.

Note that some varieties store better than others, so if you struggled in the past you might want to try a variety like Yukon Gold that keeps well.

Curing 

Potatoes are one of those staple crops like winter squash that keep better when they’ve been cured. Take your freshly harvested potatoes and gently brush any loose dirt off. Don’t wash them! Lay them on newspaper in a single layer somewhere cool, dark, and well-ventilated for 10 to 14 days.

After your potatoes are cured they’ll have thicker skins, a little less moisture, and be ready to store! 

Proper Storage

Ideally, you should store you potatoes somewhere dark where temperatures remain between 35° and 40°F though they will still keep for several months at temperatures up to 50°F. Warmer temperatures or large fluctuations can cause potatoes to break dormancy and sprout early. 

Before packing your potatoes up, go through them one more time and remove any with damage. Gently rub off any large clumps of dirt you come across. Pack your potatoes in ventilated containers. Bushel baskets, root-storage bins, and perforated cardboard boxes work well for this. Cover your containers with cardboard or newspaper to keep out any light.

Don’t store potatoes with onions and fruit, which give off ethylene gas and can cause potatoes to sprout early.

Check On Your Potatoes

Check on your potatoes every couple of weeks. You want to remove any starting to rot or mold as soon as possible, so it doesn’t spread to the others. 

Get Ready to Plant

In the spring, you can plant any potatoes that have sprouted. It’s okay if they’re a bit wrinkly, but you don’t want to use any that appear to be rotting or unhealthy. To plant, cut potatoes into pieces no smaller than an egg with no fewer than two eyes.

Check out our Potato Growing Guide for further planting instructions.