Tag Archives: permaculture

Let’s Talk About Swales

Let’s talk about swales. These landscape features have become a quintessential part of permaculture. They’re touted for their productive ability; saving water and reducing erosion while providing a bounty. But do you really need a swale? 

Swales are basically ditches with mounded beds in front of them. They do work extremely well to prevent erosion and are the perfect way to turn hillsides into productive agricultural land. They’re also excellent for preventing water loss. Any rainwater will get caught in the ditch and be slowly absorbed over a long period rather than flowing downhill. This is a key feature for areas without frequent rainfall. 

However, if your property is mostly flat or you don’t see much runoff from your hillside you may not need a swale. Many people create swales only to be disappointed that they never see water in them. A simple hugelkultur mound can be a great alternative if you determine you don’t need a swale.

Contour Swales

While small swales can simply be placed perpendicular to the general slope of a hillside larger, longer swales should be constructed on contour. This simply means that the swale follows the hillside at a single elevation. This keeps it level, preventing water from flowing to one end or part of the swale. 

While some large projects are done with laser levels you can find a contour with a simple homemade A-frame level. This video is a great DIY tutorial on how to make one for cheap or free. 

Once you have a level you can use stakes to mark out your contour. 

Building a Swale

To begin building your swale start with the mound. It sounds backward but to start you should create a mound of organic material like sticks, leaves, compost, and even logs if your swale is going to be large. The mound is basically going to be a hugelkultur mound. Then you can dig the ditch behind it, using the soil that comes out of it to cover the mound. The ditch should be roughly 3 times as wide as it is deep.

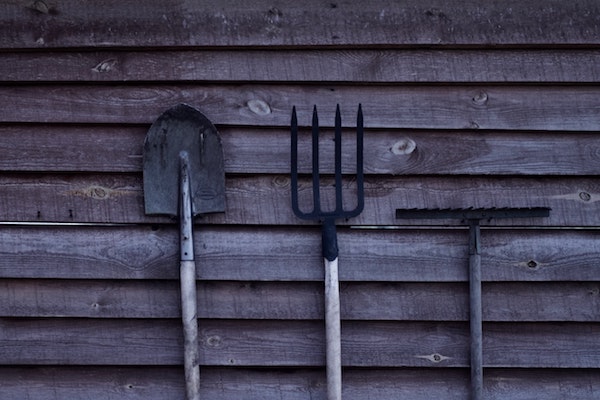
Small swales can be dug by hand with shovels and mattocks but larger swales are frequently created using large machinery. Before getting into creating larger swales it’s important to consider how beneficial they’ll be to your property. Starting with a hand-dug swale can be a good test run!

Planting a Swale

What you plant in your swale will largely depend on its size. Large swales are frequently printed with larger perennials like fruit trees. Fruit tree guilds are perfect for planting on swales! In any case, deep-rooted perennials are ideal plants for swales because they help to hold the mound in place. They also use water throughout the year preventing the mound from becoming overly saturated. However, annuals can also be planted in combination with perennials. Here are a few good options for swales:

  • Fruit trees: apple, peach, cherry, etc.
  • Comfrey
  • Strawberries
  • Rhubarb
  • Asparagus
  • Grapes
  • Perennial flowers: bee balm, coneflower, etc.
  • Chives
  • Berry bushes

Creating a swale is hard work. However, if you have erosion problems on your property a swale may be worth the investment. Follow this advice to create a productive swale of your own.

10 Ways to Use Permaculture Principles in Your Garden

Odds are you’ve probably heard of permaculture but do you really understand what it is? Often thought of as merely gardening methods, permaculture actually reaches beyond techniques like hugelkultur beds and fruit tree guilds. Bill Mollison one of the founders of permaculture defined it as, 

“The conscious design and maintenance of agriculturally productive systems which have the diversity, stability, and resilience of natural ecosystems. It is the harmonious integration of the landscape with people providing their food, energy, shelter and other material and non-material needs in a sustainable way.”

Permaculture may not be the perfect solution for everyone but its teachings certainly have value. A great way to get started with permaculture is to learn about the principles and ethics of permaculture and try to apply them to your garden. 

Permaculture Principles

  1. Observe and interact
  2. Catch and store energy
  3. Obtain a yield
  4. Apply self regulation and accept feedback
  5. Use and value renewable resources 
  6. Produce no waste
  7. Design from patterns to details
  8. Integrate rather than segregate
  9. Use slow and small solutions
  10. Use and value diversity
  11. Use edges and value the marginal
  12. Creatively use and respond to change

Permaculture Ethics

There are also three ethics: earth care, people care, and fair share. These ethics can be kept in mind when making decisions to create a sustainable garden.

Here are a few ways you can use permaculture principles and ethics in your garden.
Save Seeds

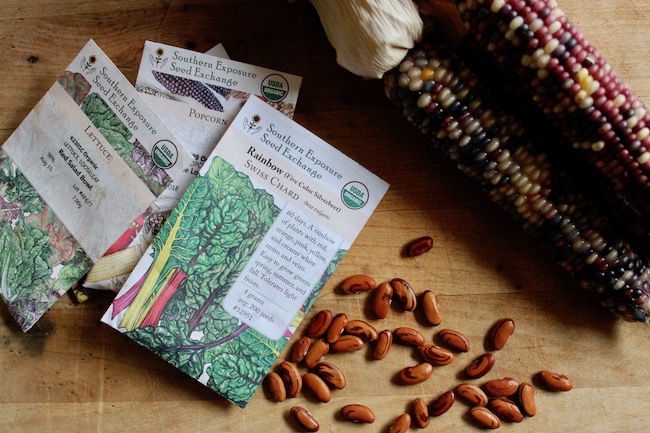
Seed saving is a great way to take your gardening a step further. It increases your self-reliance and the resiliency of your garden. It allows you to play a role in preserving heirlooms and biodiversity for future generations. 

When you save seeds you deepen your understanding of the natural world. You learn that beets are biennial, melon varieties have to isolated at least 1/8 mile for home use, and that garlic must be properly cured. You’ll get to know your plants better and appreciate your garden all the more. 

If you’re nearby, SESE’s Ira Wallace will be at the Allegheny Mountain Institute hosting a seed saving workshop on July 3rd.

Compost

No matter where you live you can compost. If you live in an apartment you can look into vermicomposting or you might be able to join a community composting organization. If you have a yard you can set up your own compost bin. There are many easy DIY tutorials online.

Composting can significantly reduce the amount of waste headed for landfills and help add nutrients back to your garden. If you live rurally and are feeling extra adventurous you can try using a composting toilet which helps save water too!

Reduce Plastic

If you pay attention to environmental news or science you’re probably bombarded with the rather frightening statistics about plastic. Scientists have discovered micro-plastics in Arctic ice and according to National Geographic approximately 18 billion pounds of plastic ends up in the ocean every year!

You might be wondering what this has to do with gardening but somewhat surprisingly agriculture is now heavily dependent on disposable plastic. From seed trays to hoop-house covers and product packaging, it has become so prevalent there’s a name for it: plasticulture. 

Growing food at home can help reduce food packaging especially if you opt to preserve you harvest in re-usable containers, canning jars, or silicone bags. Take it a step further and take plastic out of your garden too. Check out our post 7 Ways to Start Seeds Without Plastic, to learn about alternatives to plastic seed trays.

Create an Efficient Property

Using permaculture zones to design your property, even if you just have a small suburban backyard, can help you make the most of your space. Check out Property Planning with Permaculture Zones.
Feed Some Friends

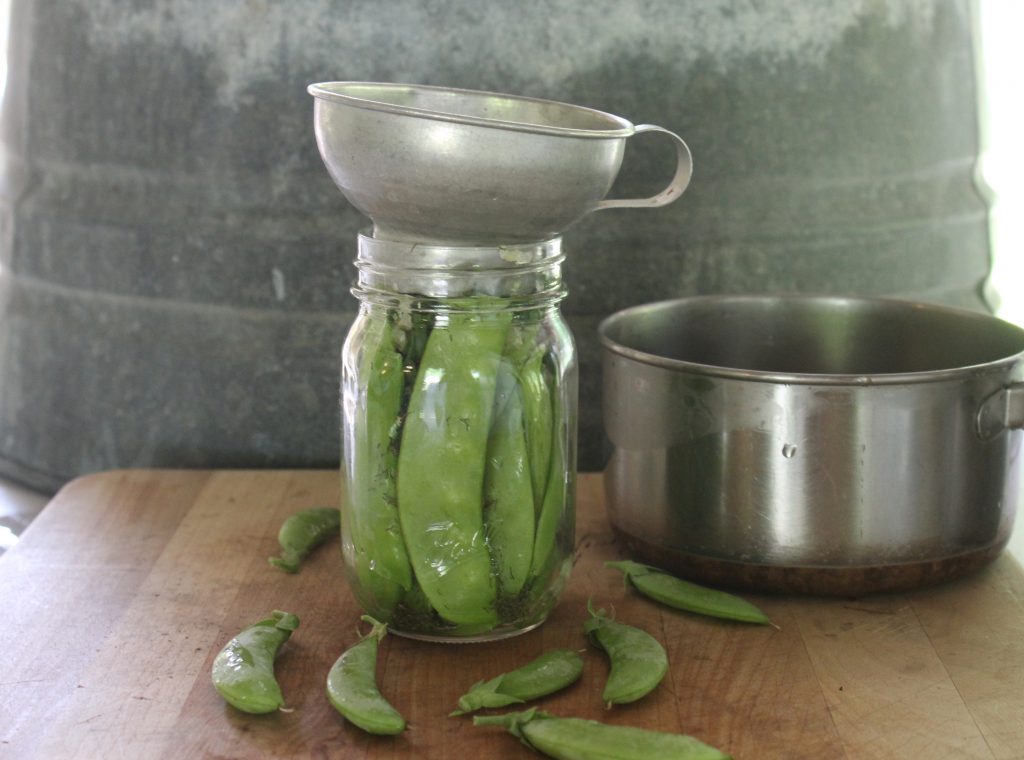
Throw a garden party this summer! Share your harvest or get together for some harvesting, shelling, or canning. Put down your phones and connect with people. Sow the seeds (pun intended) of gardening and love for fresh meals in others. 

Install a Rain Barrel

Catching and storing water improves your self-reliance and helps the environment. If you have a filter or are willing to install a rainwater system you can use rainwater for household use. Even if you just want to set up a simple DIY barrel you can use rainwater to water your garden.

Collecting and using this water prevents stormwater run-off that otherwise can lead to excessive nutrient loads in local watersheds. These nutrients can cause algae blooms, harmful to both human and marine life. 

Be sure to check local regulations before installing a rain barrel. 
Grow Storage/Staple Crops

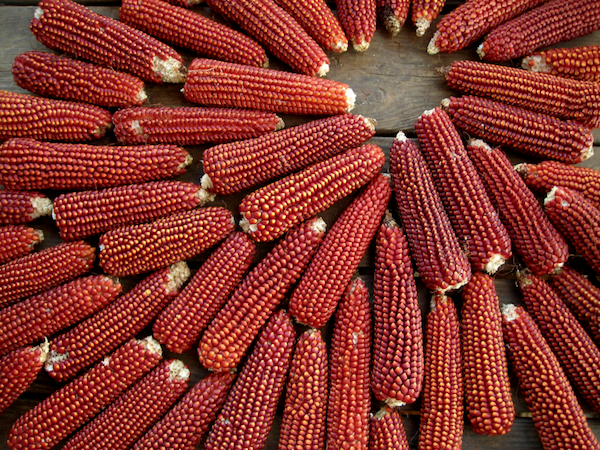
Even many small plots have room for a few storage crops like flour corn, dry beans, and sweet potatoes. Growing these simple foods can keep your pantry full and reduce your reliance on the grocery store. You’ll learn about the bounty your land can produce and how to create from scratch meals with staples. You’ll reduce your food miles, bills, and might get a little healthier too.

Teach Others

If you have the opportunity, pass on your skills. Get your children, grandchildren, or nephews and nieces involved in the garden. Share seeds and wisdom with a curious neighbor. Offer to teach a class at a community center or school. These moments will connect you with your community and inspire others. 
Learn Something New

No one is too old or too good at gardening to learn something new. Consider signing up for a local gardening, preserving, or permaculture class. You can also watch a documentary or read a book. Facebook can wait!

Plant Perennials

Perennial crops like asparagus, rhubarb, berry bushes, and fruit and nut trees all require a larger up-front investment than annual plants. Almost all perennials require a least a year or two to get established (if not more) before you’ll see any harvest. They also frequently cost more to purchase. However, perennials are worth the wait. 

Many will thrive in areas ill-suited for annual crops and help you achieve a larger harvest. Perennials are also an excellent way to diversify your crops and land use. Many like will also create habitat for local wildlife as well.  

These simple steps can have a big impact. As you work on your garden consider the permaculture principles and ethics to live a more sustainable life closer to nature.
DIY Insect Hotel

Insect hotels are an easy way to create habitat for beneficial insects in or near your garden. It’s basically the same concept as a bird house but for bugs instead. You can make yours to help attract solitary bees, wasps, predatory beetles, lacewings, hoverflies and more. These insects play an important role in your garden’s ecosystem, pollinating plants, and feeding on pests. 

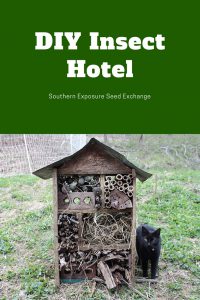
To get started I’ll discuss the insect hotel I made as an example. It is made entirely from scrap and natural materials. The outside is scrap plywood and tin and the compartments are filled with bamboo, a log with drilled holes, pine cones, sticks, bark, hay, and bricks. What you make yours from is up to you. You can utilize what you have to create something fairly rustic like I did or get real fancy.

Materials

The bamboo and logs with drilled holes were added with solitary bees and wasps in mind. They both use or create holes, frequently in woody material, to lay their eggs. Predatory beetles and hoverflies can find places to hide and over winter among the pine cones, sticks, and bark. The hay provides good habitat for lacewings and the bricks add larger holes for spiders and other insects to use.

The most important part is add a mix of materials. Think about all the crevices and spaces you normally find insects in and mimic these in your design. If you’d like to attract a specific insect to your garden you can also search for its habitat preferences. Does it like cool damp places close to the ground? Or sunny, dry places up high?

It’s okay if your insect hotel is completely different from the one I created. Just as there’s a wide variety of insects that could use a helping hand there’s a wide variety of habitats you can use your insect hotel to create. A quick Pinterest or Google image search will turn up hundreds of inspiring ideas to help you create something that fits your needs. People have made giant insect towers from stacked pallets and little painted boxes that hang on the wall or fence. You can use hollow logs, stacked cinder blocks, or old terra-cotta pots to stuff with material. 

Construction

To put mine together I measured and then cut the plywood using a circular saw. From there I screwed the plywood together to form a box using some screws leftover from another project. Then I decided to add more plywood to create small compartments or shelves so I could easily add different types of material. I found a perfect size scrap piece of tin that I hand for the roof and screwed that on as well. I haven’t yet, but I need to staple on some scrap chicken wire I have to hold in loose materials like the pine cones. This will also allow me to stuff the materials in tighter.

If you don’t have access to power tools think about ready made containers you could use rather than building a box like I did. Maybe you have an old wooden crate handy or could use an old pot, block, or hollow log like I mentioned above.

Tips

There are a few general ideas that can help you make the most of your insect hotel. First while some insects like damp conditions you might still consider putting something that sheds water on the top. That way your materials will last longer and even if it sits directly on the ground you can keep the upper layers dry for certain species. 

Secondly it’s best to use compostable or recyclable materials. Your insect hotel probably won’t last forever. Building one that can easily be recycled or returned to the earth at the end of it’s use is good planning. Just because straws and pvc pipe have the same shape as bamboo doesn’t mean that they’re good alternatives. 

Consider your hotel’s location carefully. If you have a small space you might have limited choices. However if possible it’s best to place your hotel where it’s sheltered from some of the prevailing winds. If you like bees you may also want to look for a sunny location as they rely heavily on the sun for warmth.  

Lastly don’t stop with just your insect hotel’s structure include some “landscaping” for it too. Insects are more likely to utilize your hotel if you add features around it they like. You can plant a flower mix around it, add a lot of mulch to that area of your garden, let the nearby grass grow tall, or add a place for them to access water.

Insect hotels are a great weekend project. They’re a quick and easy way to help your garden and the natural world. They’re also an excellent project to get kids involved with. Remember that you can make an insect hotel with anything you have on hand, there’s no right or wrong way to make one, and even if it comes out a little wonky it’s okay. The bugs don’t care if you measured everything perfectly!

Pin it for later.