Tag Archives: onions

How to Grow Onions

Onions are often touted as one of the easiest crops for beginners, but many folks need help for good production. Bulb onions can be a bit finicky, and if you don’t provide the correct conditions, your onions won’t bulb up properly. This quick-growing guide will get you on track for a big onion harvest, even if you’re a complete beginner.

Step One: Choose the Right Onions for Your Area

If you’ve browsed the bulb onions we carry, you’ve probably noticed that there are long-day (LD) and short-day (SD) onions. This designation is critical as it refers to the hours of daylight necessary to trigger the onions to bulb up.

Long-day onions need 14 to 15 hours of daylight to bulb, while short-day onions need 10 to 12 hours of daylight. For the LD types that we carry, you can plant them from Virginia northward. SD types can be spring or fall-planted in Virginia and fall-planted in the South.
Step Two: Start Onions Early

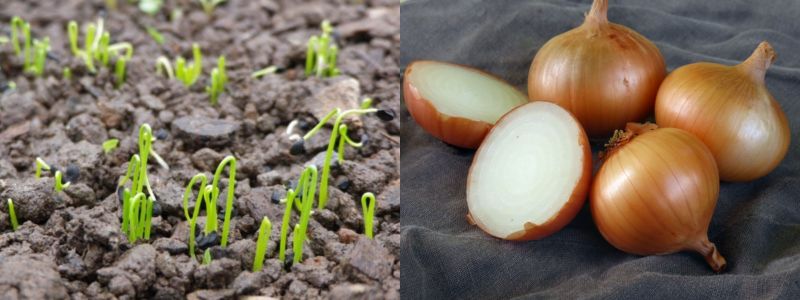
Bulb onions are one of the earliest crops we start at Southern Exposure. We begin tucking seeds into cold frames between September and January. You can also sow them in a greenhouse or indoors any time from mid-September through mid-March.

Just remember, earlier is better! Earlier sowing means larger bulbs because plants will get larger before the heat and lengthening days signal them to bulb up. 

Onions should be sown about 1/4 inch deep in flats or trays. If you’re new to seed starting, check out this guest post, Starting Seedlings, by our friend Pam Dawling, author of Sustainable Market Farming.

Guest Blog Post: Starting Seedlings

Step Three: Select a Good Location & Improve Your Soil

Onions grow best in bulbs with full sun and light, well-drained soil with a pH between 6-7. Soil that is too acidic or alkaline will cause slow growth and late maturity.

Onions are heavy feeders that require fertile soil with plenty of organic matter. Onions need abundant potassium and phosphorous for good bulb formation and plenty of nitrogen during active leaf growth.

To improve your bed for transplanting, remove all weed growth, loosen the soil with a broad fork, garden fork, or tiller, and add a few inches of finished compost.

Step Four: Transplant Your Onions

Transplant your onions early. Onion seedlings are hardy to about 20 degrees F. Set them out in February or as soon as the soil can be worked in the spring.

Plant your onions 3 to 4 inches apart in rows 12 to 16 inches apart. Crowding can reduce production, particularly in poor soil. Refrain from pruning the tops, or your harvest will be significantly decreased.
Step Five: Mulch them Well

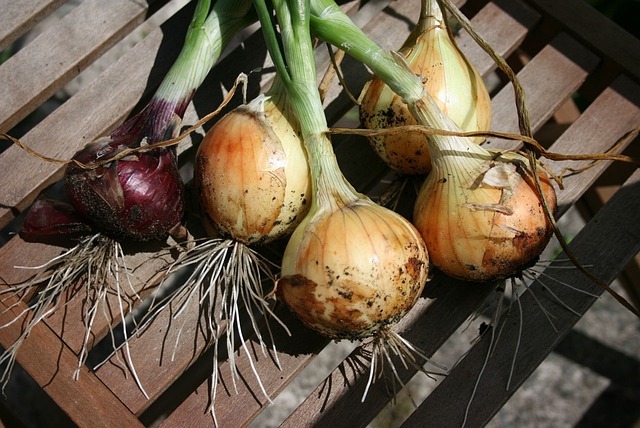
Mulch around your onions with a thick layer of straw, old leaves, grass clippings, or other organic material. Mulch will help suppress weeds and aid in maintaining moisture and nutrient levels.

Step Six: Keep Up with Weeding

Yes, this is every gardener’s least favorite chore and seems like a no-brainer, but it is critical with onions! Experiments have shown that weeds can cause a 4% reduction in onion production in one day or a 50% reduction in yield in 2 weeks.

Onions have shallow roots, so you may need to weed them by hand. Cultivation between rows should be shallow. 

Step Seven: Harvest & Cure Your Onions

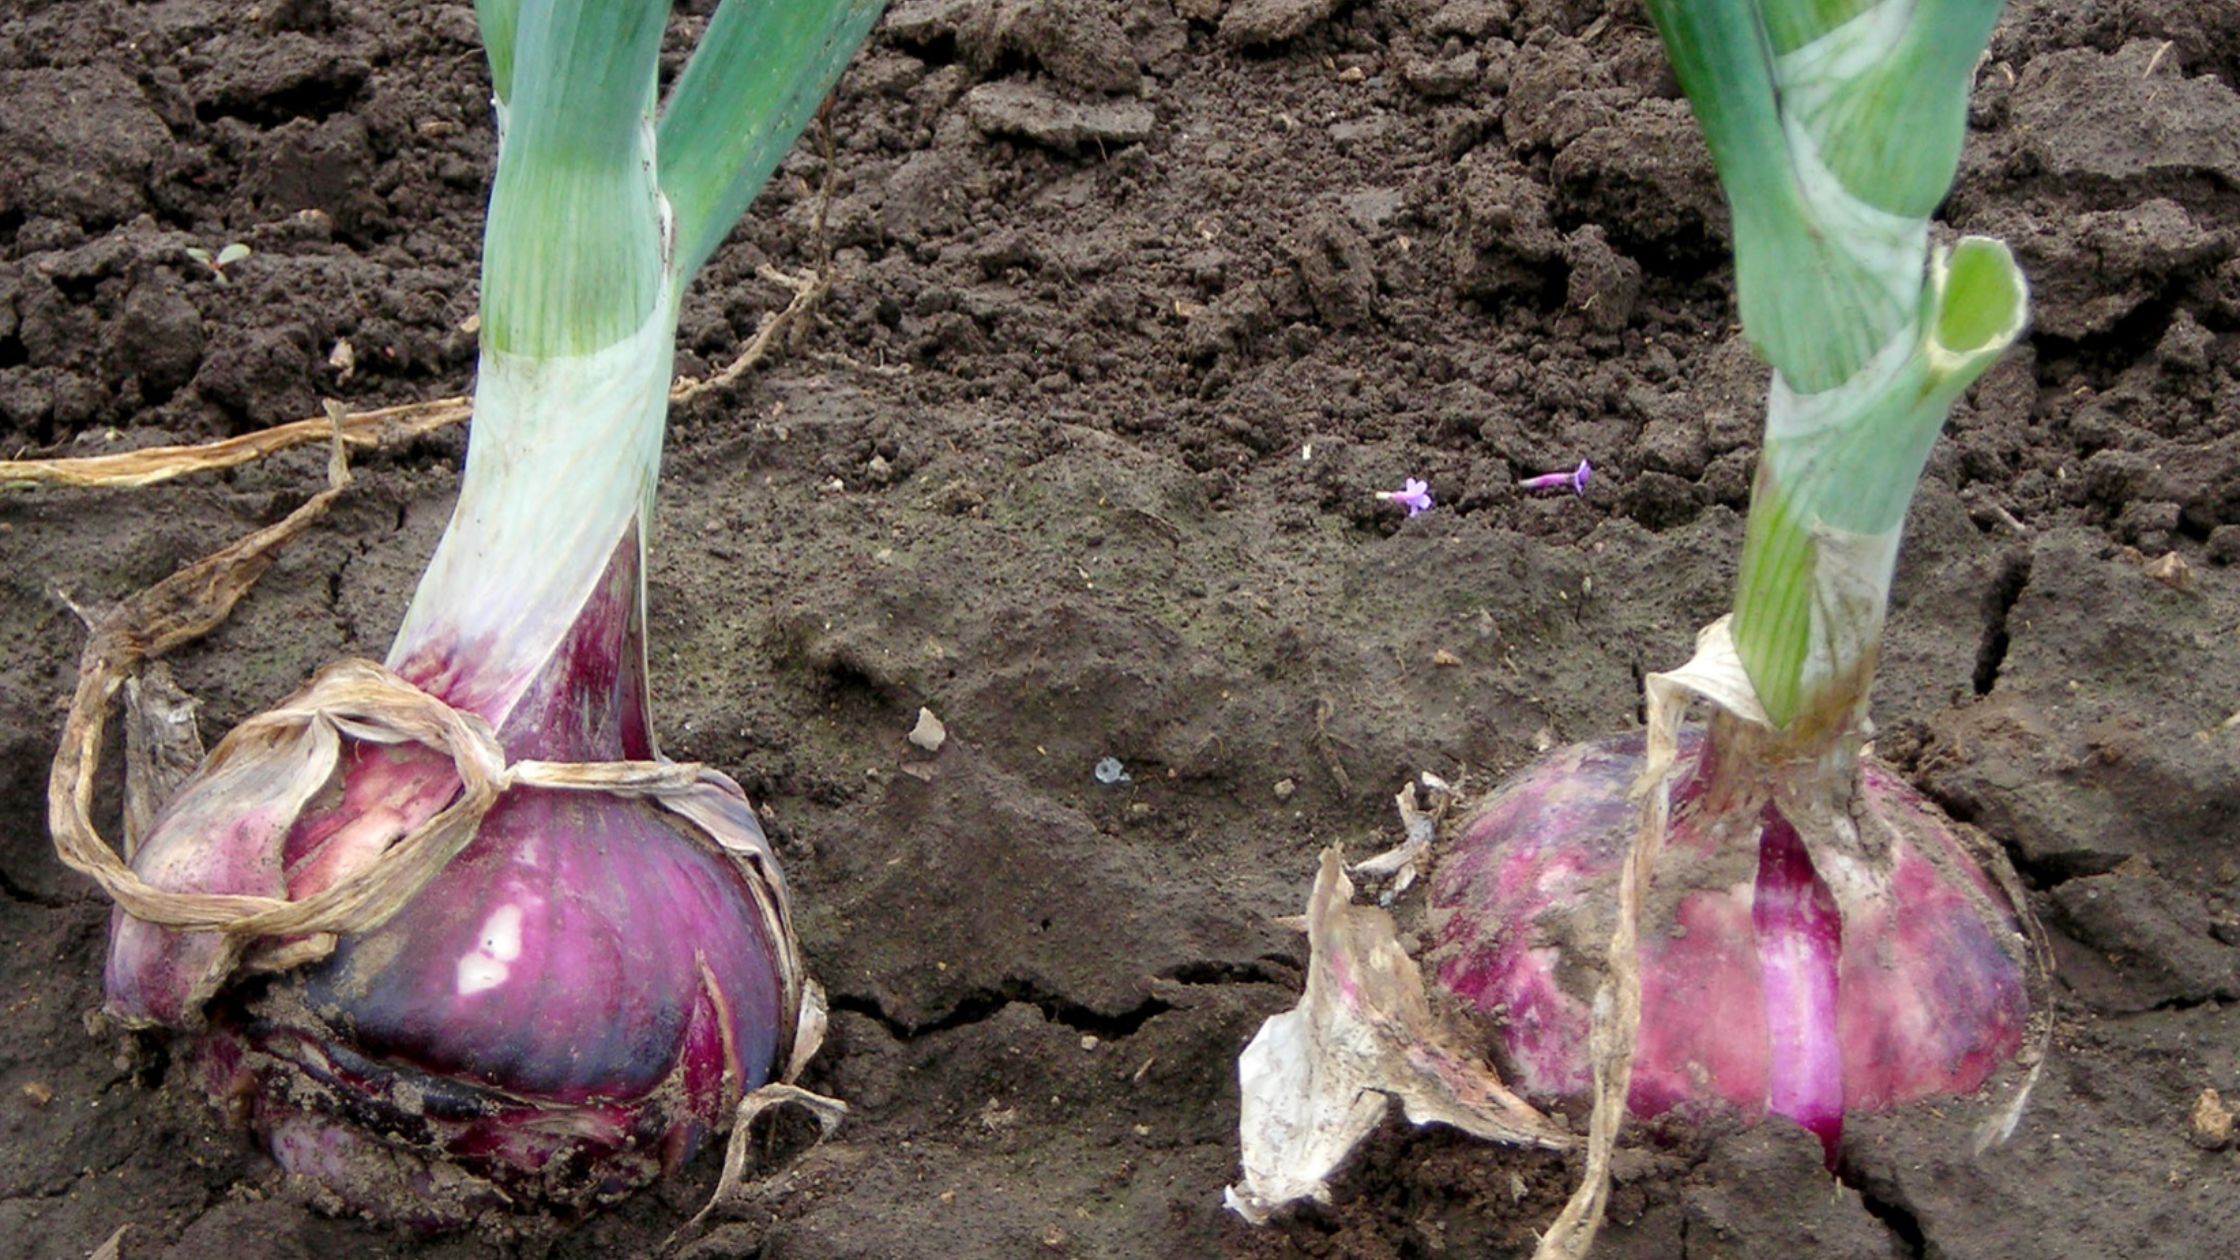
Harvest your onions when most of the tops have fallen over.

Some folks like to break the tops of their onions by hand to accelerate harvest. However, we’ve found that this harms the storage ability of some varieties and helps the storage ability of other varieties.

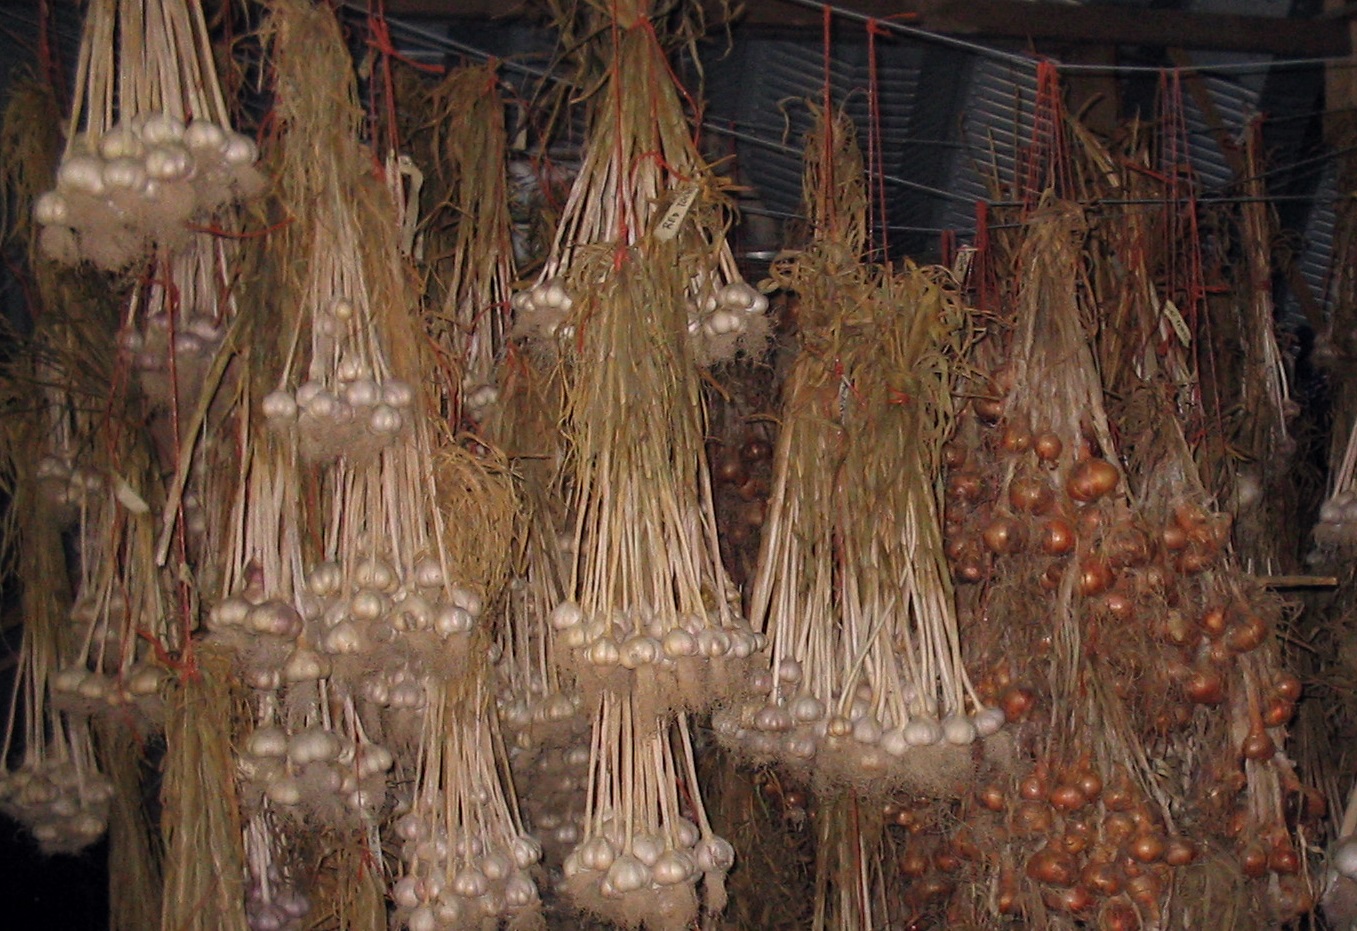
It’s best to harvest onions after a few days without rain so the soil isn’t muddy and difficult to work with. Pull your onions, using a garden fork if necessary, and cure them for 2 to 3 weeks until the necks have thoroughly dried. 

Cure your onions somewhere with partial shade and good ventilation. After this period, you can clip the tops to within one inch of the bulb. 
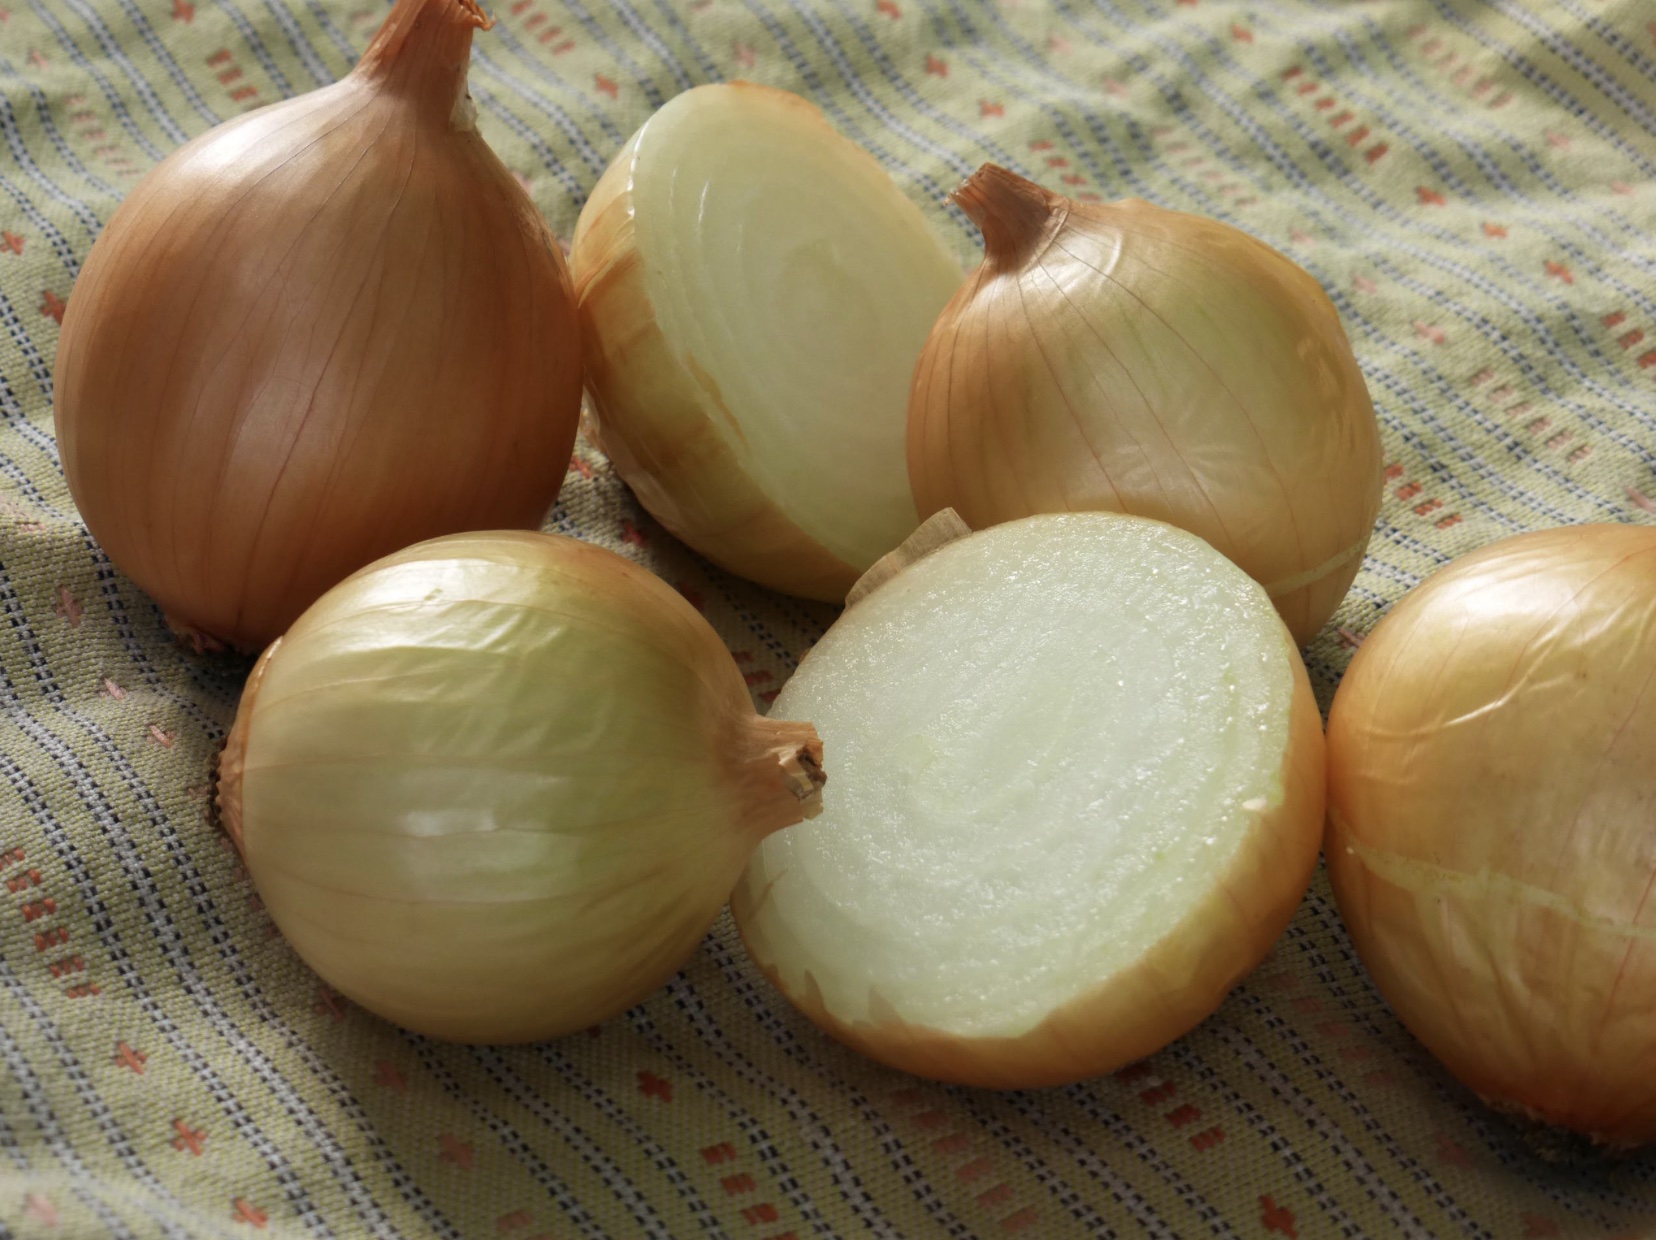
Texas Early Grano OnionsStep Eight: Rotate Your Onions Next Season

As with all crops, onions are subject to specific pest and disease issues. To continue getting good production, it’s best to rotate your crops. We like to rotate onions on a three-year rotation and compost any onion residue to keep them pest and disease-free. 

If onions have given you trouble in the past, following this guide can help ensure good production. Start your onions early, provide plenty of space and nutrients, keep them weeded, and harvest them properly. Happy gardening!

Awesome Alliums: Tips for Onions, Garlic, Leeks

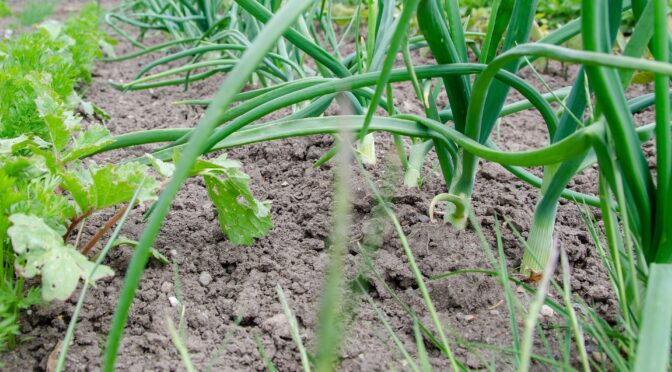
Alliums are tasty, versatile crops, including leeks, bulb onions, shallots, perennial onions, bunching onions, ramps, and garlic, that are key ingredients in a wide range of cuisines and recipes. While they aren’t difficult to grow, getting good production can be tricky. Here are a few good tips for onions, garlic, and leeks. 

Choose the Correct Variety for Your Area

Alliums can be a bit fickle about where they grow. Onions require certain lengths of daylight to bulb up properly, garlic needs specific temperatures, and leeks can require a long growing period. Choosing a Variety appropriate to your area is the only way you’ll have success.

Bulb Onions

We carry long-day (LD) and short-day (SD) type onions at SESE. You may also see intermediate-day or day-neutral onions available at other places. 

Long-day types begin to form bulbs when the day length is between 14 and 16 hours. Plant long-day type onions in the spring from Virginia northward. Note that not all long-day types can bulb up as far South as Virginia, but ours can.

Short-day types begin to form bulbs when the day length is between 10 and 12 hours. Short-day types can be spring or fall-planted in Virginia and fall-planted in the South. If started in a greenhouse or in the fall and kept refrigerated as sets, short-day onions can be grown in small bulbs in the North.

Intermediate-day or day-neutral onions are ideal for gardeners that live right on the edge, usually in zones 5 and 6. They aren’t daylight dependent and will produce well in almost any area.

Looking at day length isn’t necessary for bunching or perennial onions.

Garlic Drying in the Barn after Harvest

Garlic

At SESE, we carry four types of garlic; hardneck, softneck, Asiatic & turban, and elephant garlic.

Hardneck or rocambole garlic is better adapted to cooler climates and performs best from Virginia northward. It has become more popular recently because it produces flower stalks or scapes that can be cut and eaten before the garlic is ready to harvest. Hardneck garlic varieties have a diverse range of flavors.

On the other hand, softneck garlic does best in warmer climates and is more domesticated than hardneck garlic. It doesn’t produce scapes. However, the lack of scapes makes it easy to braid softneck garlic. It also stores incredibly well and typically has higher yields. 

Asiatic and Asiatic Turban garlic are tentatively identified as an artichoke subtype. Unlike most artichoke types, the stems are hardneck; however, in warm climates, they may revert to softneck. 

Though elephant garlic isn’t true garlic, it is cultivated in the same way. It has a milder flavor than other garlic, making it perfect for raw use. It’s also excellent steamed with other vegetables. 

Leeks

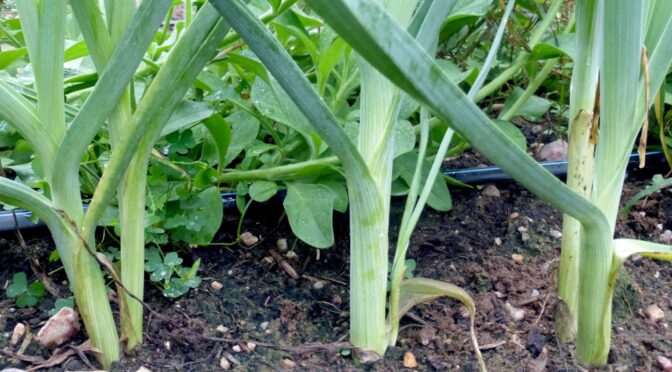
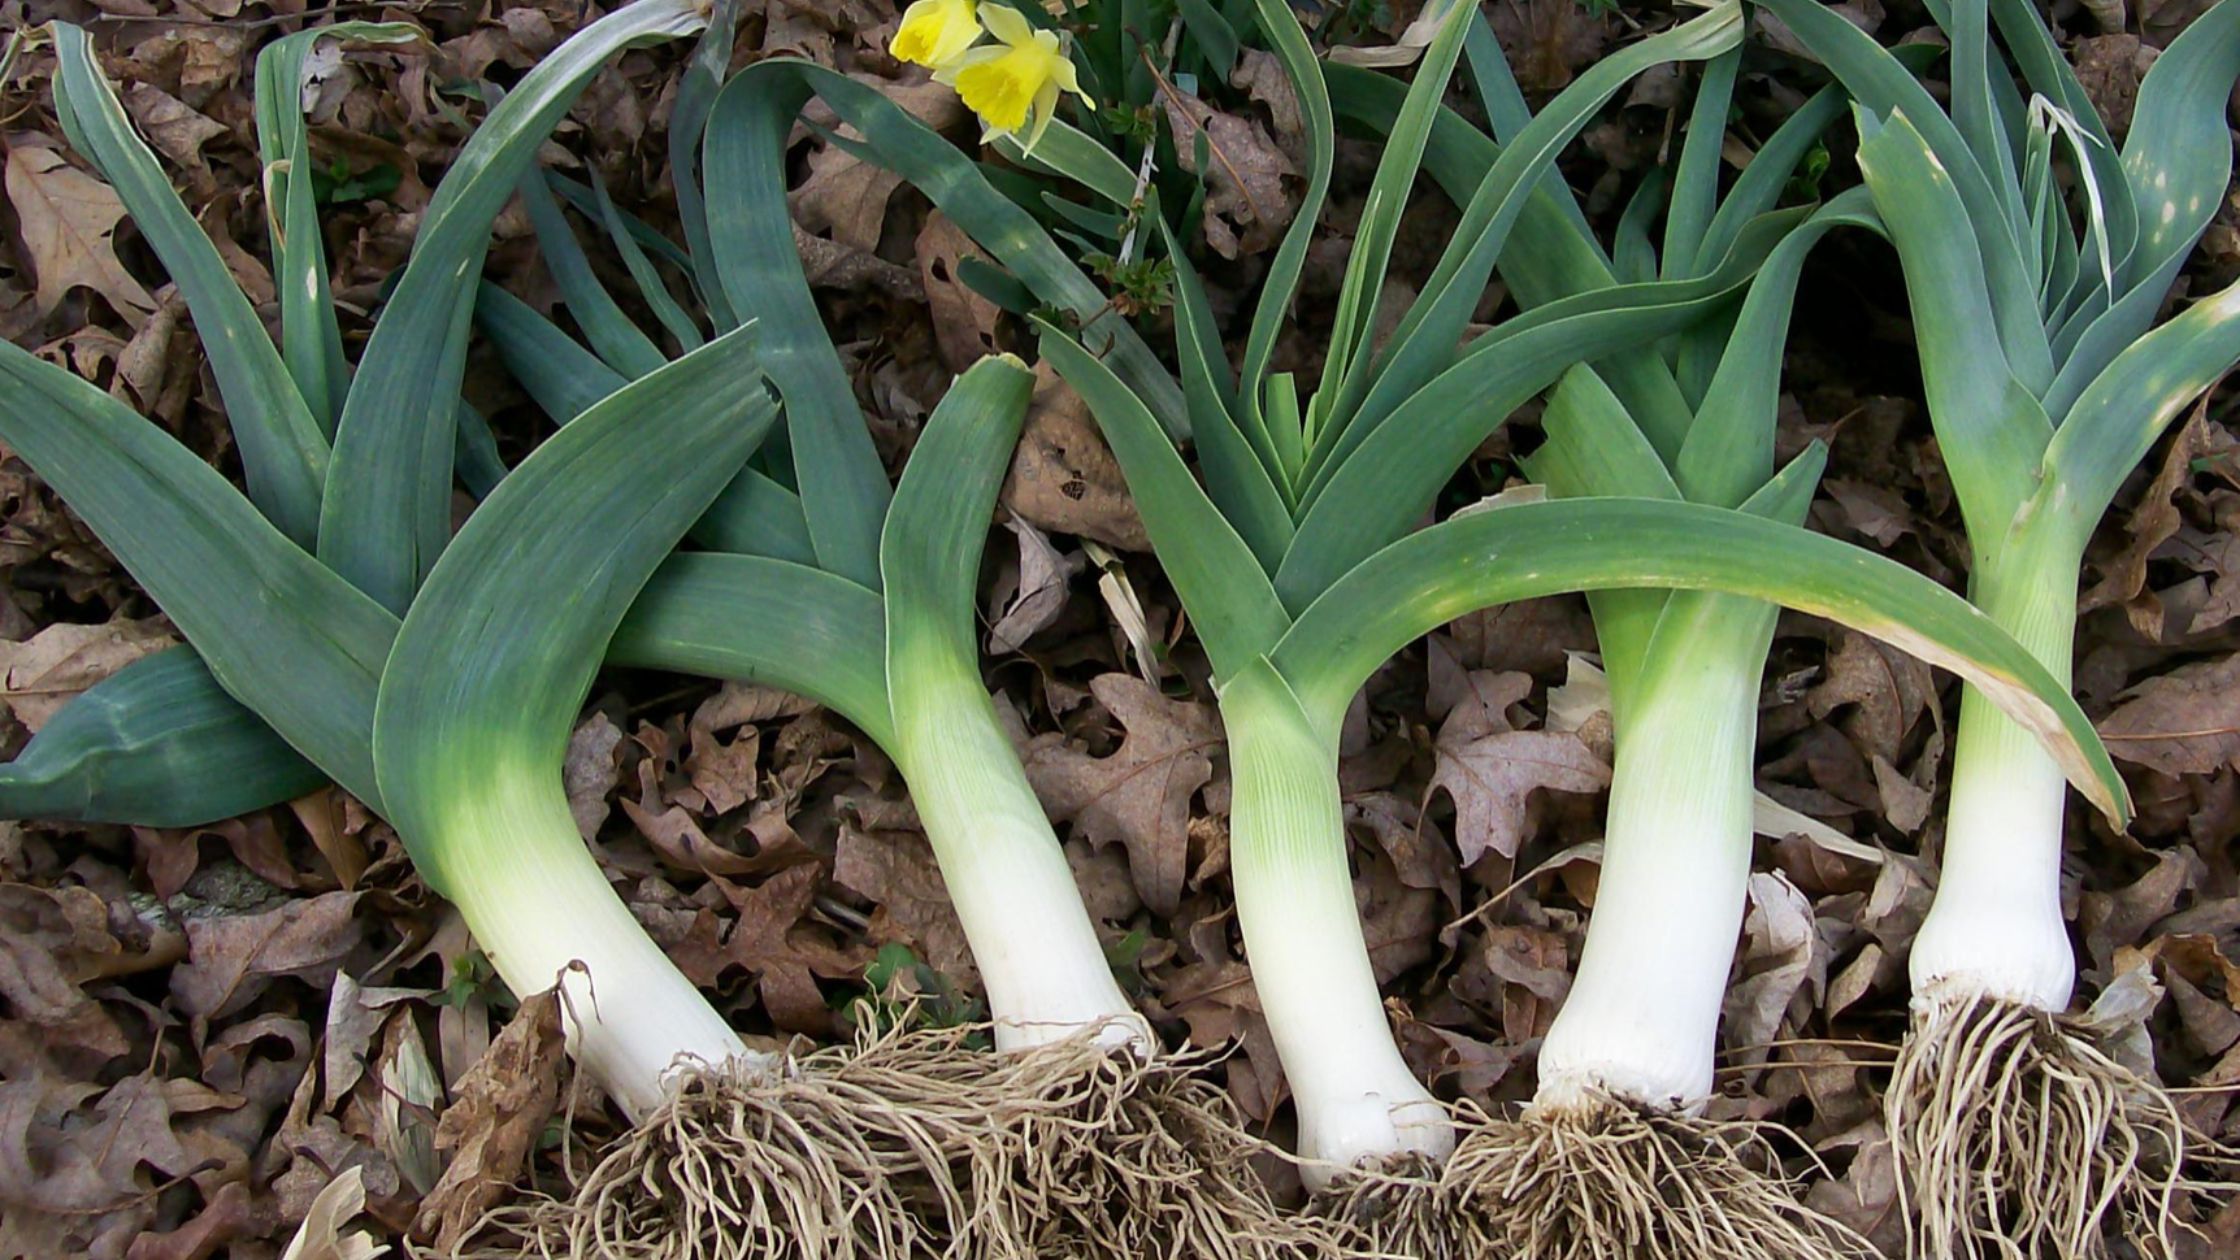
Leeks aren’t divided into specific categories like onions and garlic. They’re very similar to growing onions and, in some ways, are a bit easier. However, you want to consider each variety’s days to maturity, your climate or growing zone, and when you want to plant them. Leeks may vary widely in days to maturity from the 130 of American Flag (Broad London) Leeks to the 75 days of King Richard Leeks.

Water Management

Alliums don’t like soggy feet but produce better when kept consistently watered. Especially for large bulb onion varieties, regularly watering or using a drip irrigation system on a timer can significantly improve your yields.

Weed Pressure

Alliums do not tolerate weed pressure well. Onions, leeks, garlic, and other alliums can easily be overwhelmed by heavy weed growth and fail to produce well. We recommend spacing allium rows so you can easily weed between them with a stirrup hoe, wheel hoe, or similar tool while the weeds are still small.

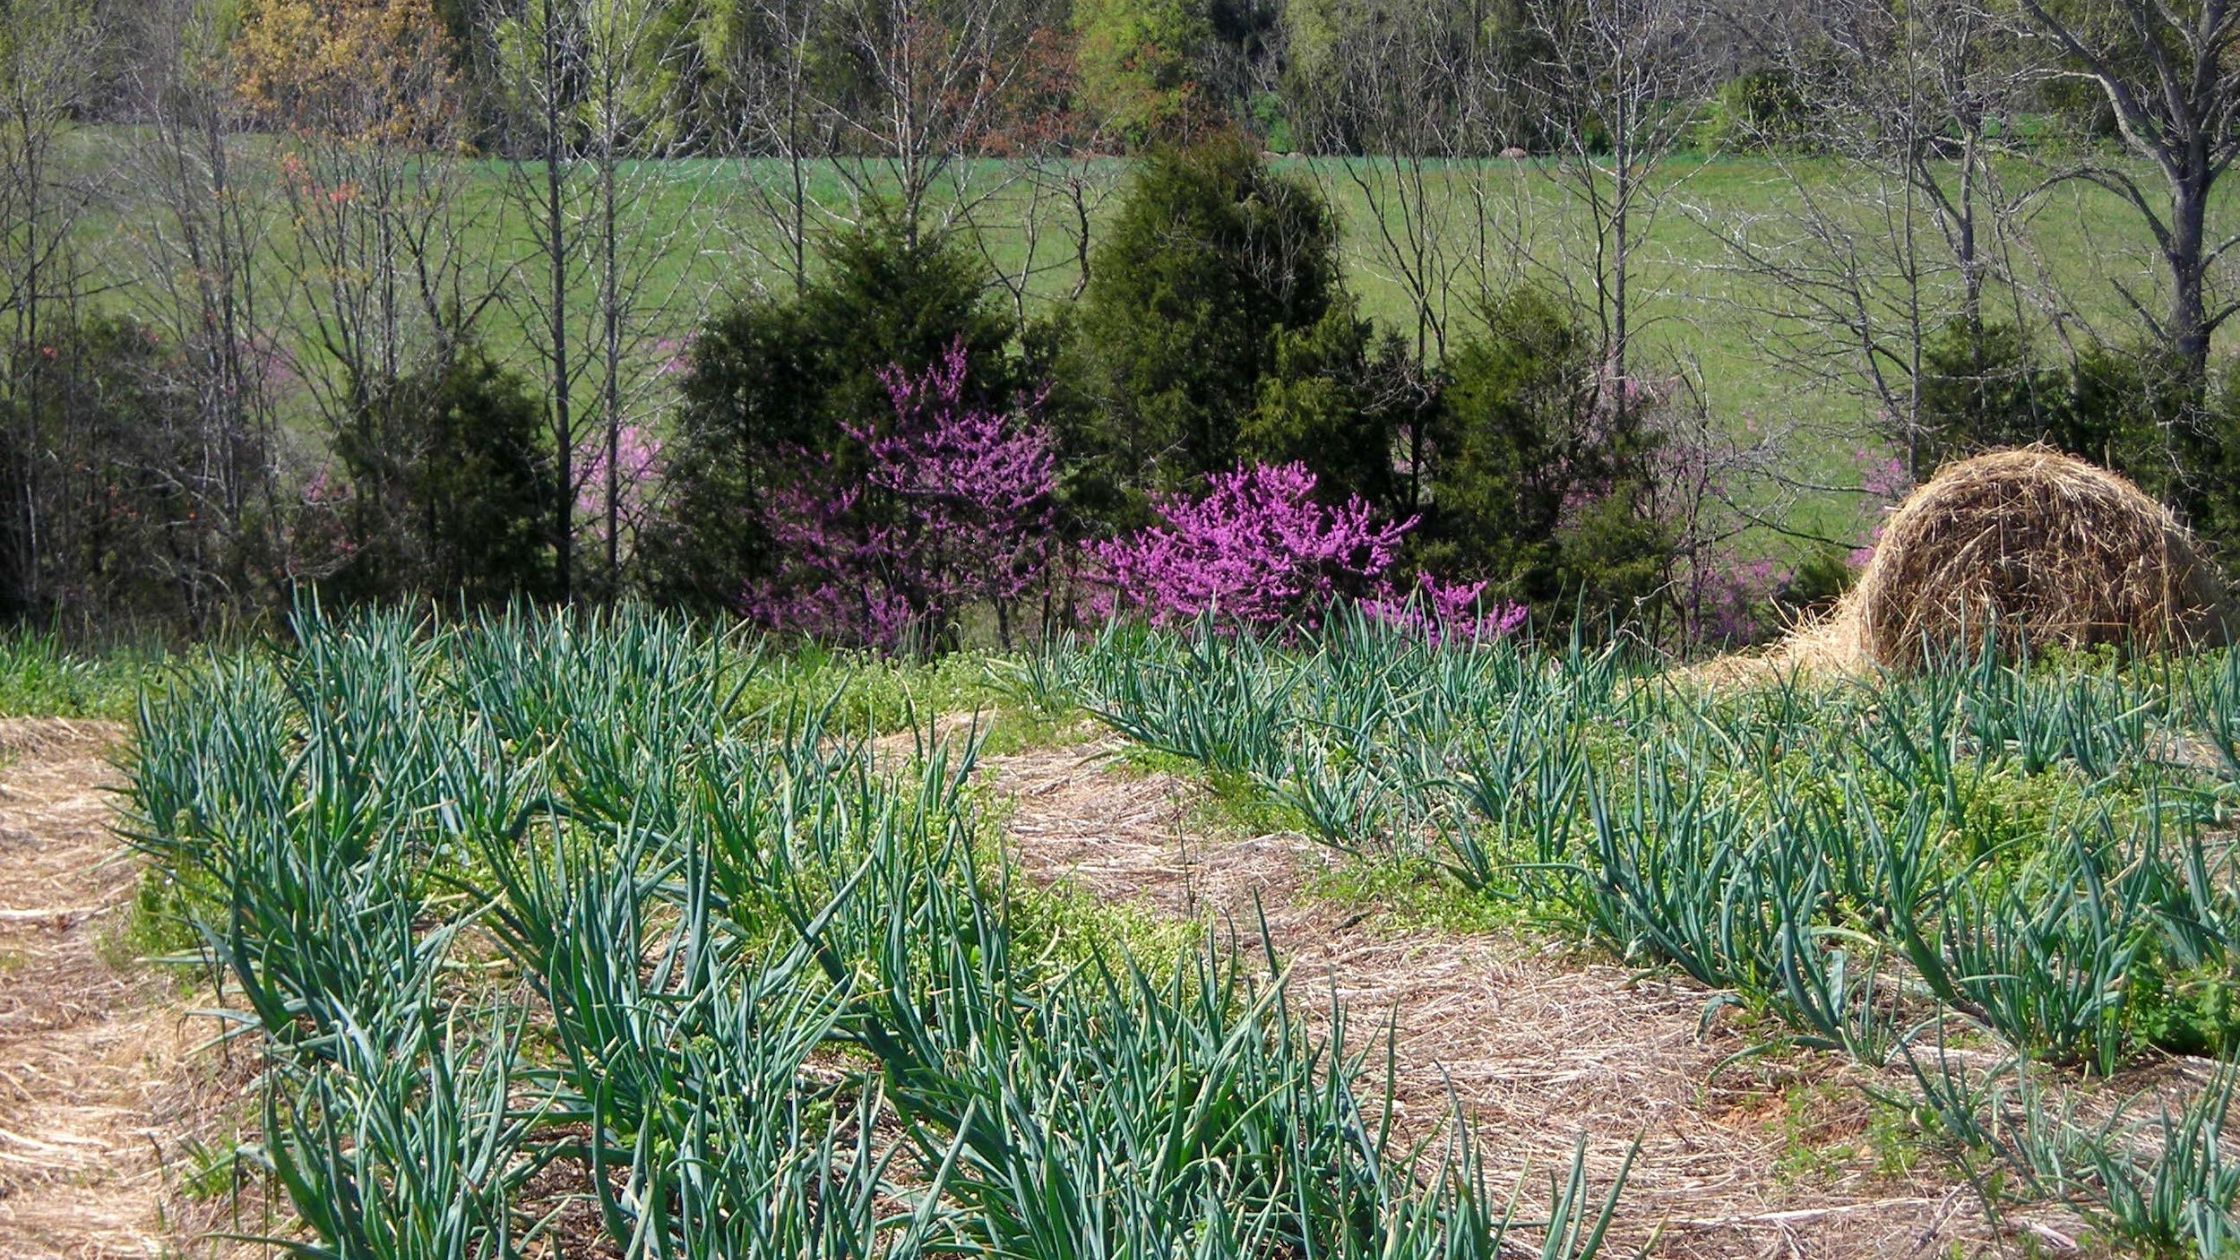
Alliums growing in spring garden with hay mulch

Mulch

We recommend using a good layer of mulch for all allium crops as it helps with the above issues. Mulch will help keep the soil cool and moist and suppress weeds. If you have a wet season, you may want to pull the mulch back a week or two before harvesting garlic and onions to allow the bulbs and soil to dry a bit for harvest.

Invest in a Sturdy Garden Fork

It can be tempting to pull alliums from the soil by their tops without digging them. While this may work perfectly fine if you have nice fluffy soil, loosening the soil with a garden fork can be helpful for other gardeners. Trying to pull alliums without the help of a fork can break the stems, cause damage, and may lead to a shorter storage period. 

Alliums are valuable crops in the garden and kitchen but can be tricky to grow. Follow these tips for onions, leeks, and garlic for a productive year.

Incredible Perennial Onions

Though many people know that allium family is quite large and diverse perennial onions are still frequently overlooked. Today’s gardeners plant a diverse array of ornamental allium flowers, chives, garlic, and onion varieties but the perennial onion is largely neglected and underrated. These amazing crops have a lot of benefits and deserve a spot in your garden.
History

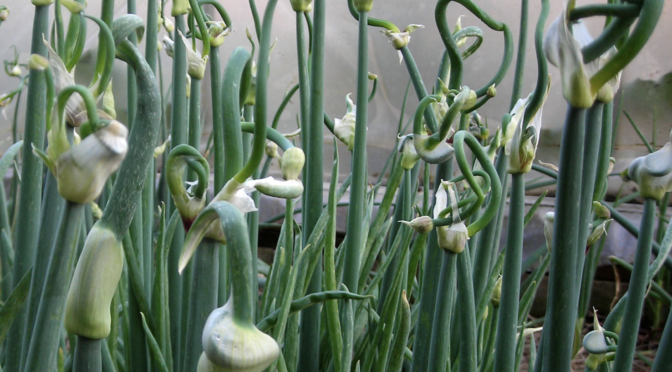
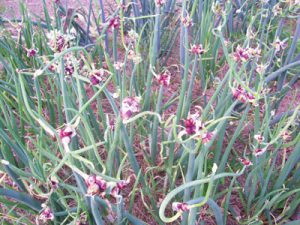
Egyptian Walking Onions (Tree Onions)

Little is known about the history of walking onions up until 1790 when they began appearing in records about English and American gardens. Where they originated from is still somewhat a mystery. While some varieties are often referred to as Egyptian onions or Egyptian walking onions they aren’t actually from Egypt. Some believe that this name originated in England as a marketing gimmick.

Though no recorded evidence has been found some wild onions that are similar to the walking onion have been found in Asia. Our modern Egyptian walking onion varieties could have been crossed from one of these.

Potato & Multiplier Onions 

The potato onion is closely related to the shallot. Like the walking onion they aren’t largely referenced until the 1790s when they gain popularity in English and American gardens. Shallots on the other hand, have been recorded in use for centuries and date back to Roman times.

Southern Exposure’s yellow potato onion variety is an heirloom that dates back to prior to 1790.

Both the potato and walking onions saw widespread use in colonial America. They were often easy to grow in conditions that were less than ideal and easy to keep year after year. Sadly these perennial onions fell out of favor during the 20th century. People chose to grow more seed onions as onion seeds and sets became more widely available.

Benefits

  • They are not as readily bothered by the onion fly as are seed onions.
  • Once you have enough potato onions or shallots you need not buy seeds or sets again.
  • Some types of multiplier onions are in demand as gourmet items in restaurants.
  • Potato onions and many shallots store well, and can withstand subfreezing temperatures in every area of the continental U.S. when properly planted.
  • Perennial onions may be easier for you to grow. While some gardeners find seed onions to be an easy, productive crop others struggle with them. If you’re having a hard time with seed onions perennial onions are worth a shot.

Learn More

If you’d like to learn more about perennial onions and heirloom garlic a good place to start is the workshop being held at Forest Green Farm in Louisa, VA on September 20th.

Central Virginia Master Gardener and owner/worker of Southern Exposure Seed Exchange, Ira Wallace joins forces with Forrest Green Farm owner Krista Rahm for a hands-on event dedicated to learning everything you’ll need to know about adding heirloom garlic and perennial onion varieties to your garden. Participants take home samples and must-try recipes!

You can learn more about this event and purchase tickets here: http://www.heritageharvestfestival.com/events/garden-garlic-at-forrest-green-farm/