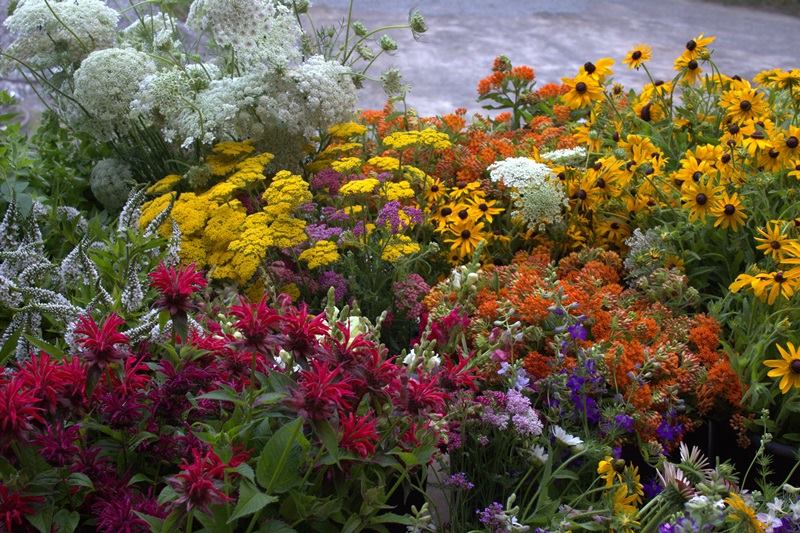
We’ve been getting more and more interest in native seeds, and with good reason! Native plants help support pollinators and native wildlife, control erosion, reduce irrigation needs, and eliminate the need for pesticides and fertilizers. We’ve been slowly adding more native varieties to our offerings at Southern Exposure, but this process isn’t always simple. Many native varieties are tricky to grow from seed, making them challenging for us to maintain and challenging for our customers to grow. Thankfully, we have found some varieties that work well for us and methods to help them thrive. Here are some of the native seeds we carry and tips to help you get them started in your garden.
Native Seeds at Southern Exposure Seed Exchange
Here are some varieties we carry at Southern Exposure that are native to North America.
- Anise-Hyssop (Licorice Mint)
- Lemon Bergamot
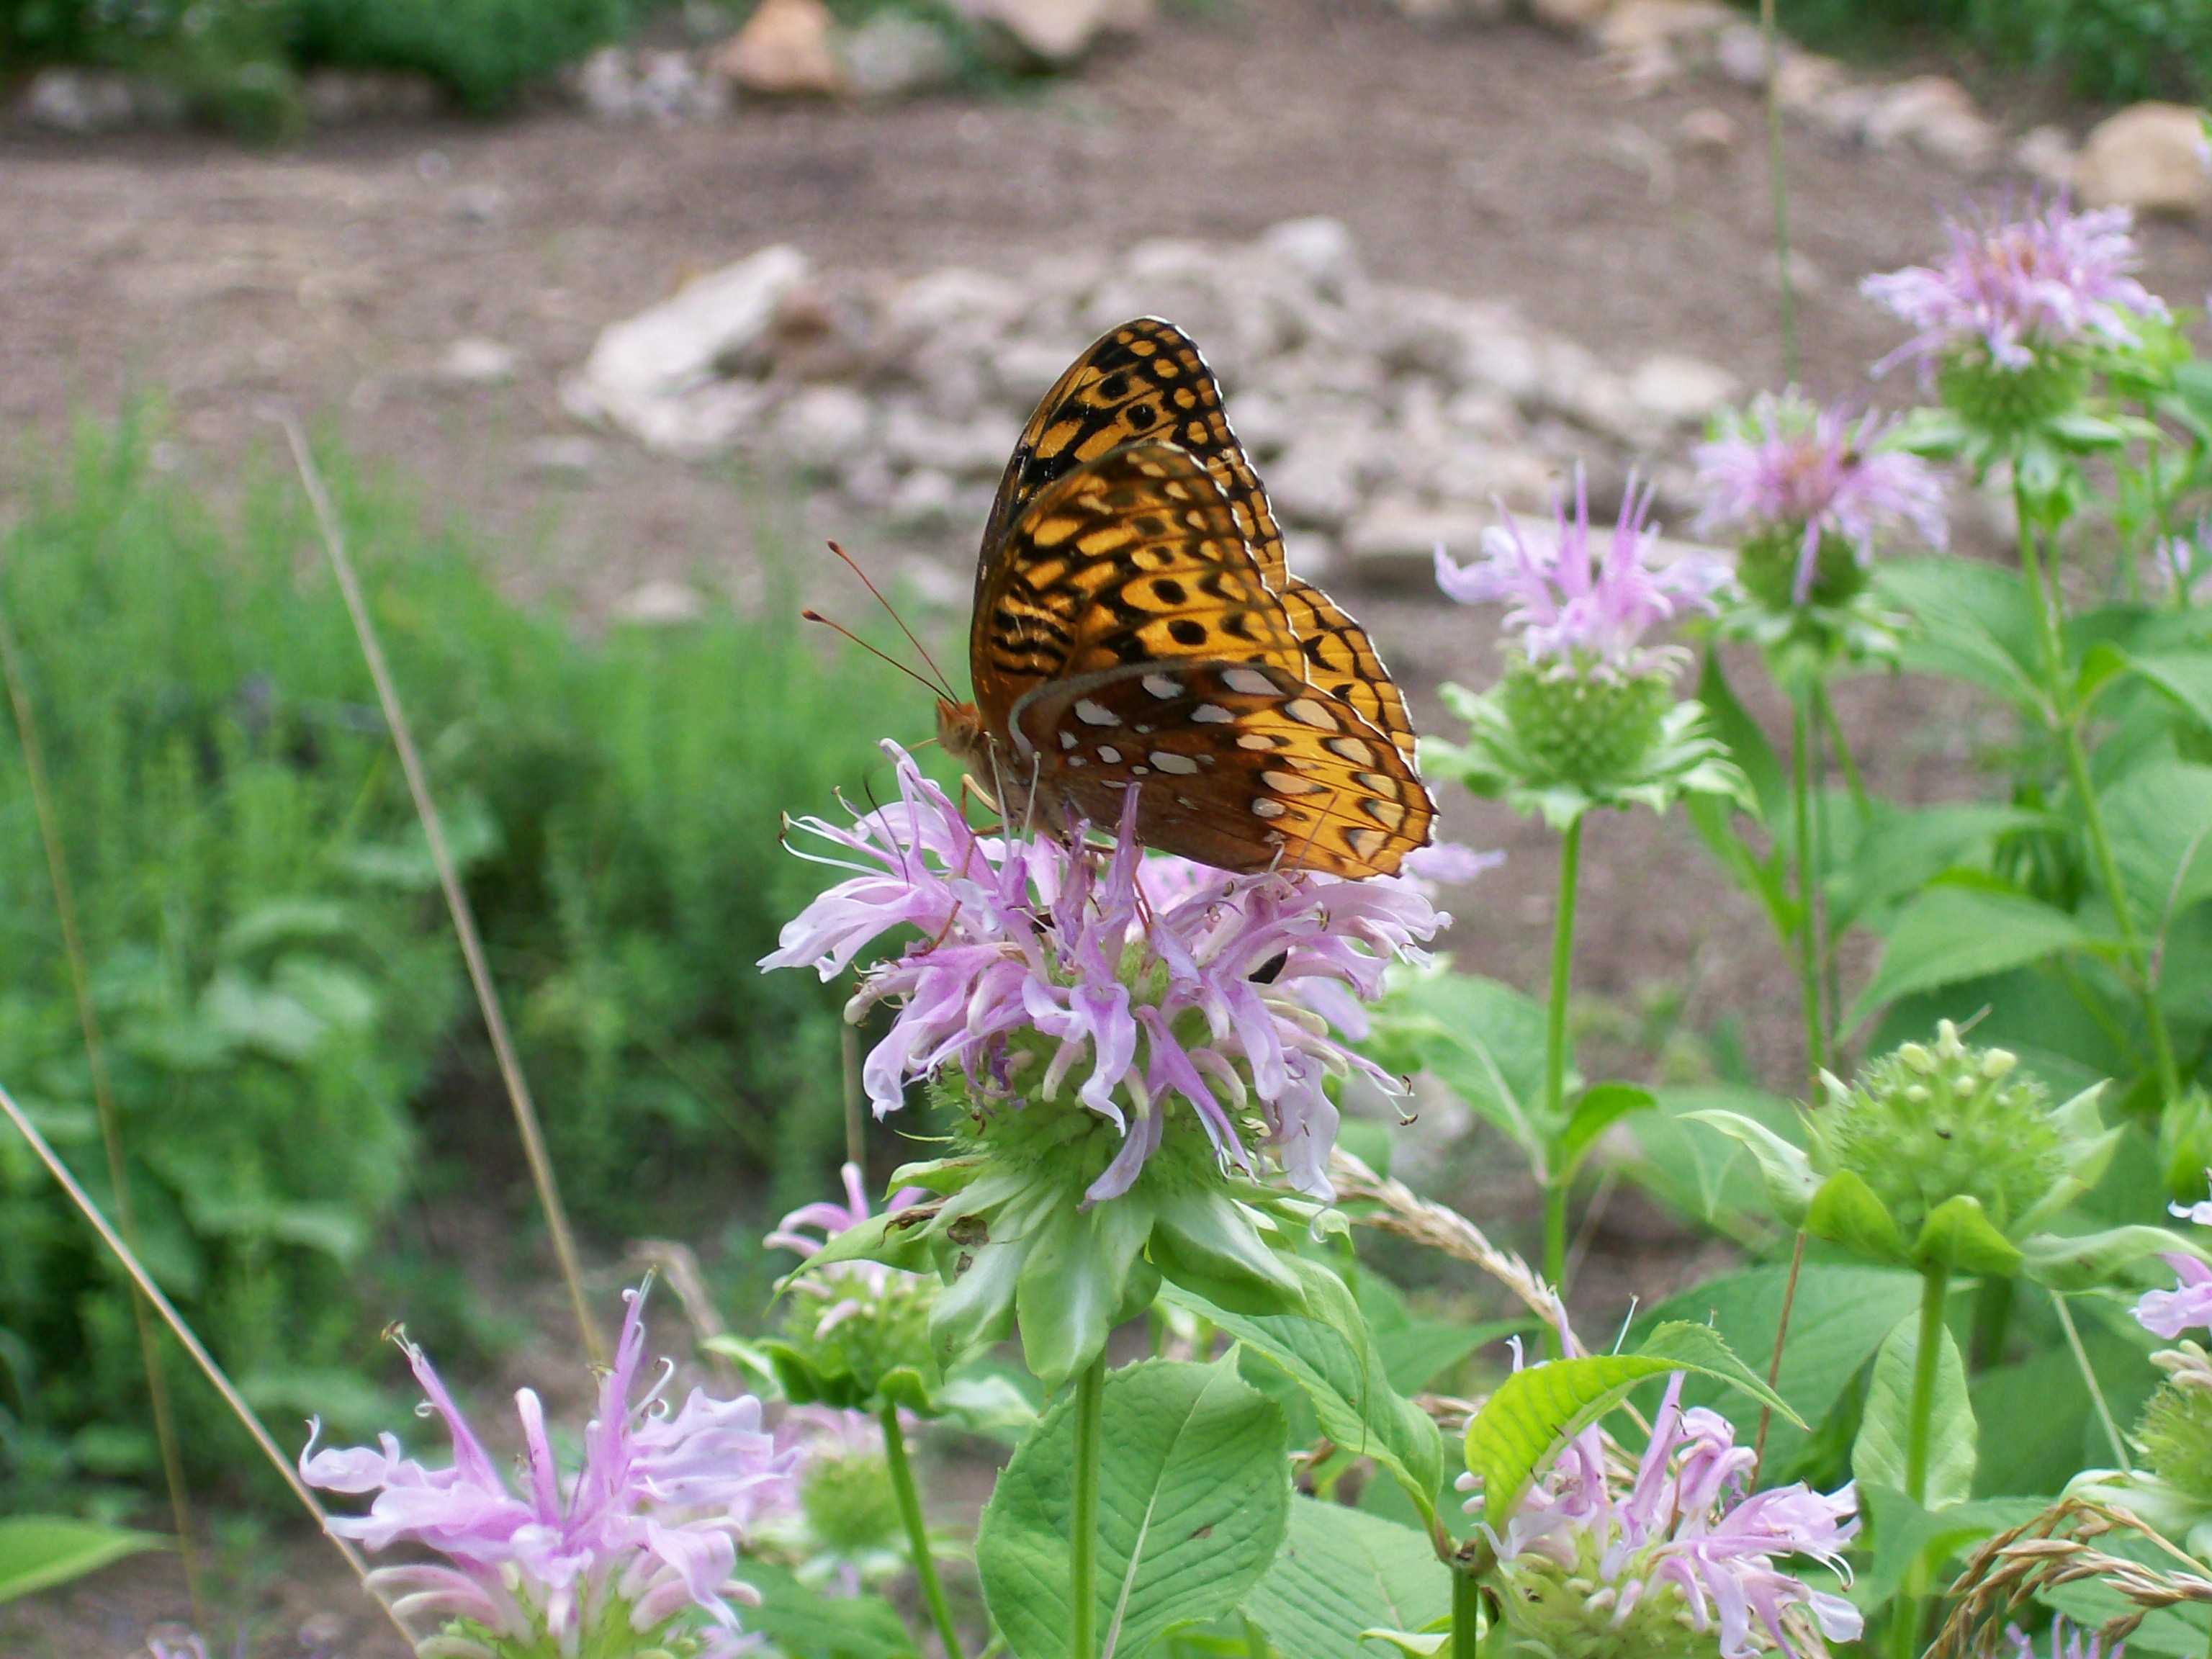
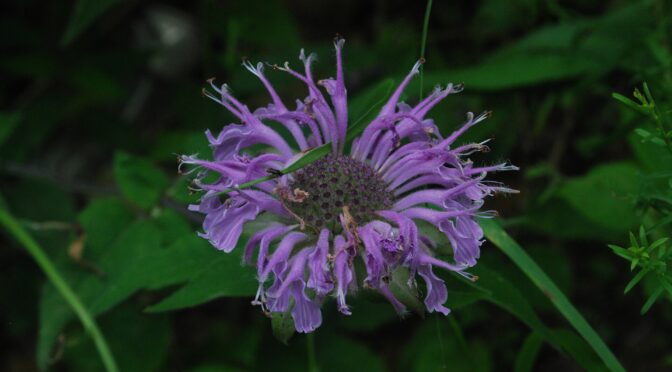
- Wild Bergamot
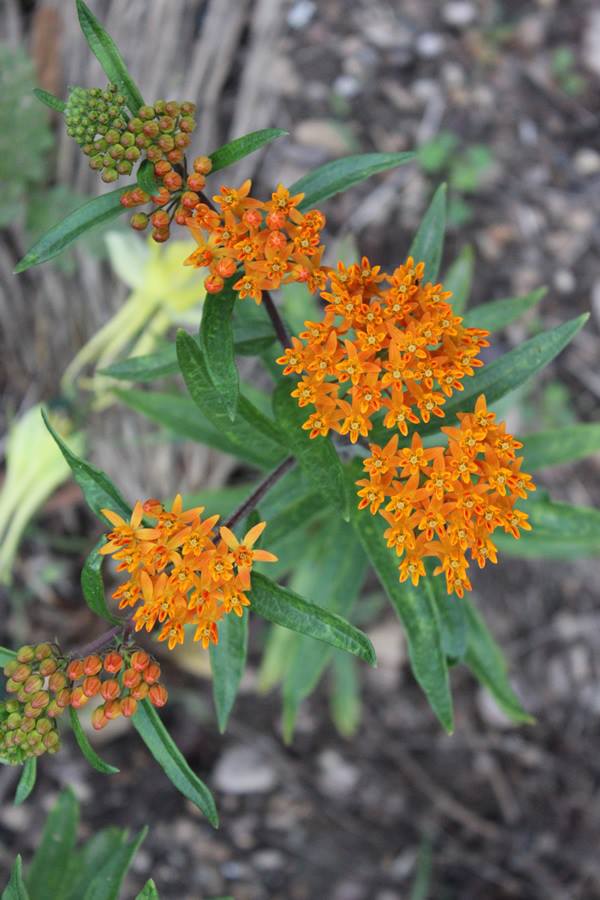
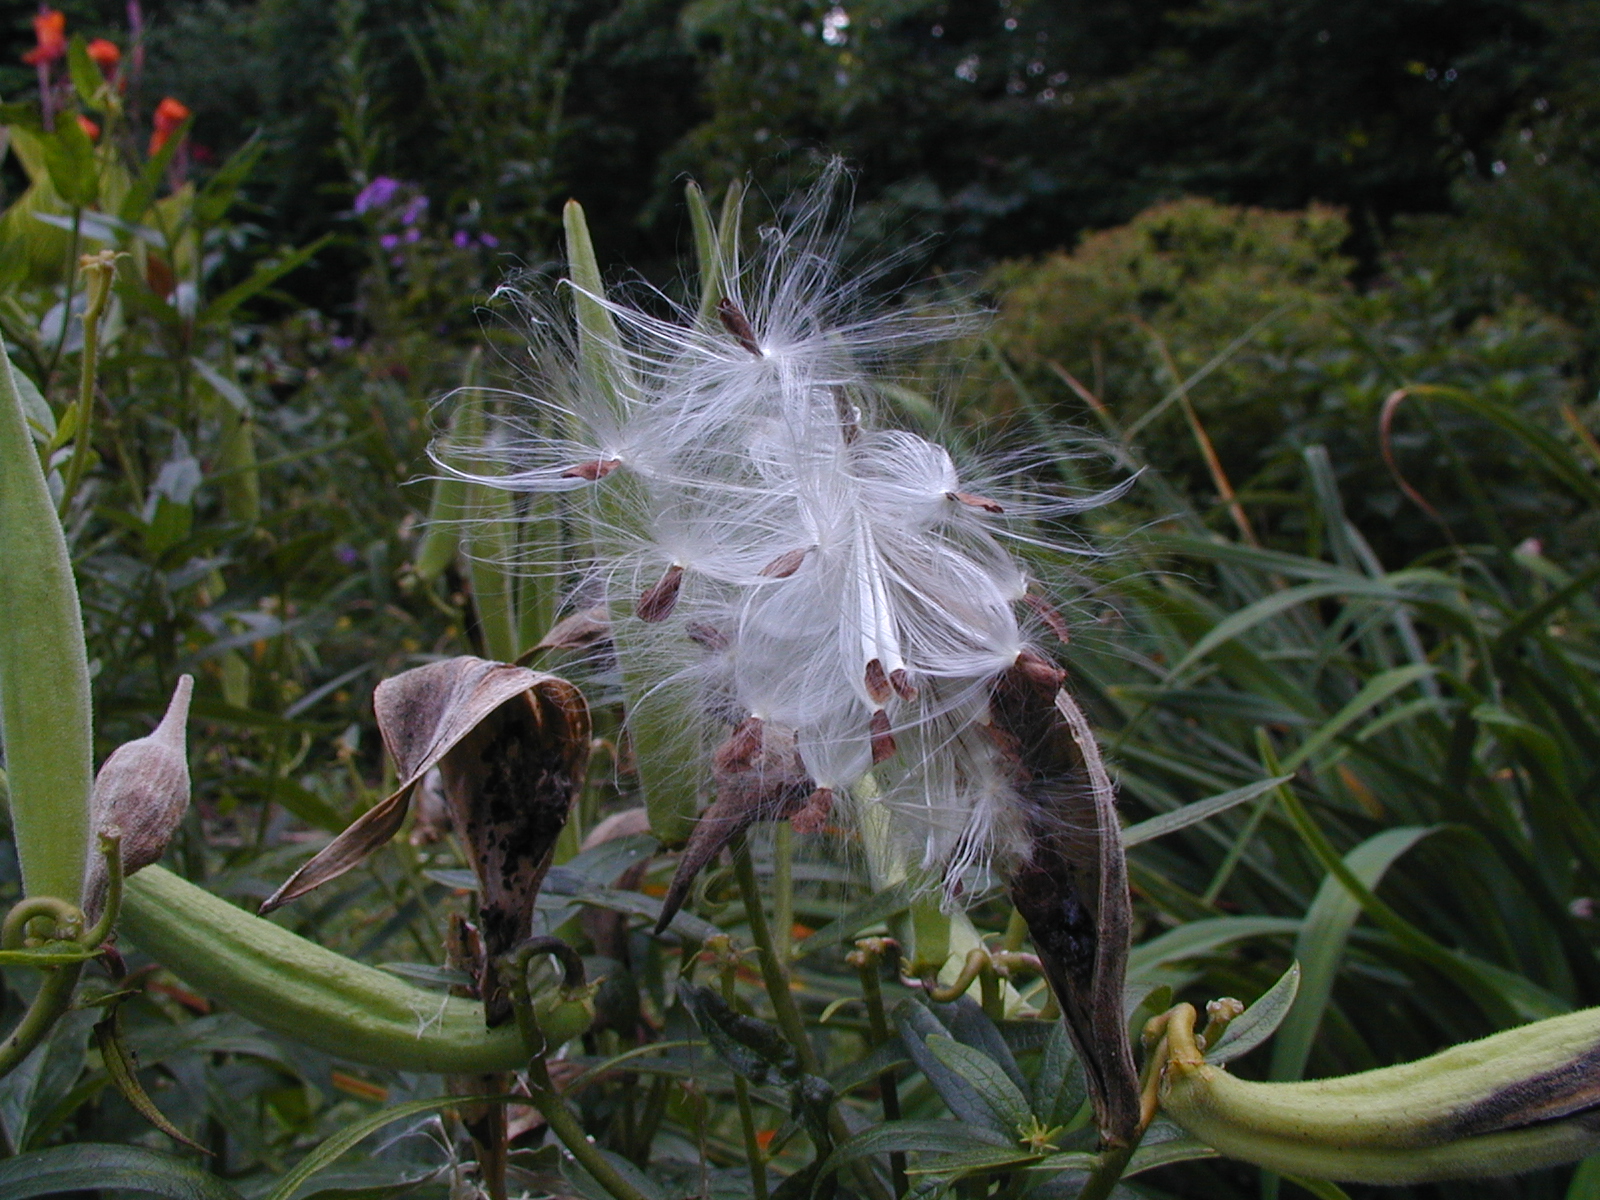
- Butterfly Weed
- Dyer’s Coreopsis
- Echinacea Angustifolia (Narrow-Leaved Coneflower)
- Echinacea Pallida (Pale Purple Coneflower)
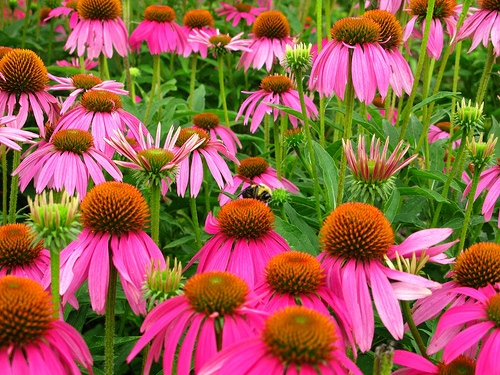
- Echinacea Purpurea (Purple Coneflower)
- Ginseng*
- Goldenseal*
- Jewels of Opar (Fame Flower)
- Short-Toothed Mountain Mint
- Red Drummond Phlox
- Purple Lovegrass
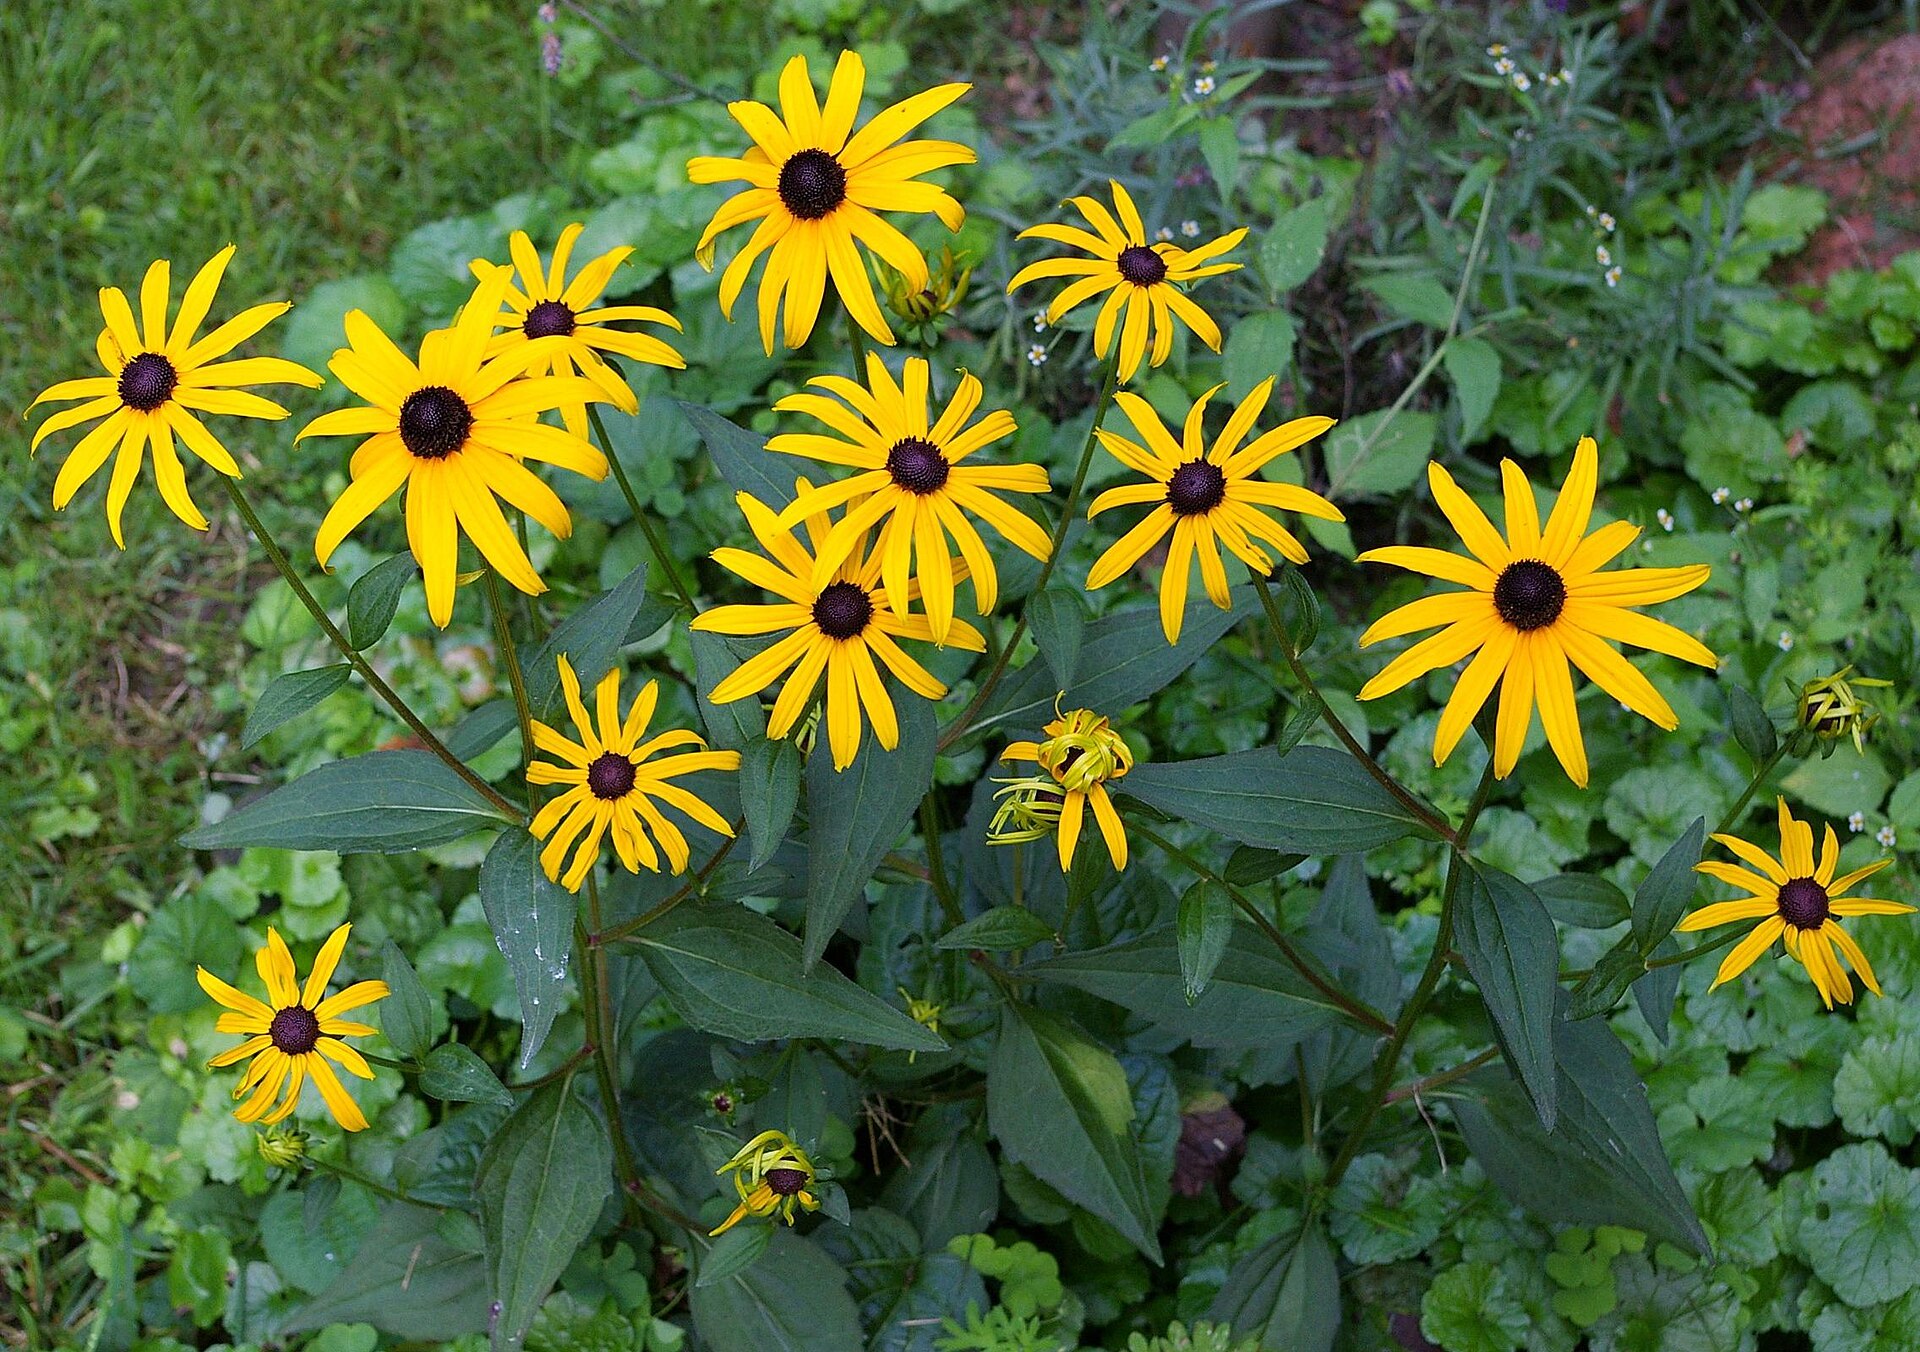
- Black-Eyed Susan Rudbeckia
- Cherokee NF Ecotype Rudbeckia
- Goldsturm Rudbeckia
- Scarlet Sage
- Silverleaf Sunflower
- Yarrow
*Ginseng and goldenseal are available as rhizomes.
Native is relative to your location. While a few of these grow throughout the United States, many had a much more limited range. For example, Lemon Bergamot is native to the Appalachians, while Echinacea Angustifolia is native to the dry prairies of the central Midwest.
Follow the Seed Starting Instructions Carefully
Most native varieties are more complex to start from seed than the vegetables we carry. Without proper care, they may have low germination rates, so it’s critical to follow seed-starting instructions carefully. We’ll discuss a couple of methods you may need below.
Stratify Seeds if Necessary
Many native seeds have a hard seed coat. In nature, the plant drops the seed in the fall, and then the seed coat slowly breaks down during the freeze and thaw cycles of winter. After the coat breaks down, the seed can germinate in spring.
Gardeners can mimic this process using a method called cold stratification. Basically, you sow seeds indoors and then place them in a refrigerator for 2 to 4 months. See our full guide to cold stratification.
Try Sowing Outdoors in the Fall
You can also sow many seeds outdoors in the fall. If you live in an area with cold, moist conditions, your seeds will naturally go through the stratification process. This works well with many flowers like coreopsis, echinacea, and butterfly weed.
Scarify Seeds if Necessary
Some native species with a hard seed coat require weakening of the seed coat in order to germinate. Usually, these are large-seeded varieties, like those in the legume family.
To scarify the seeds, rub them between medium-grit sandpaper. You just want to abrade the seeds a bit, but don’t crush them. Alternatively, for very large seeds, you can use a knife to nick the seed coat.
If your variety requires both scarification and stratification, scarify the seeds first.
Surface Sow Small Seeds
Many varieties with tiny seeds require light to germinate. Always double-check specific instructions, but for most tiny seeds, you just want to gently press them into the surface of the soil. If you’re starting them indoors, make sure they’re under lights right away.
Don’t let the seeds dry out. If you’re growing them in trays or containers, you can bottom water them to avoid disturbing the delicate seeds. You can also gently spray them with a plant mister.
Soak Large Seeds Before Planting
Soaking large-seeded varieties can help you get a jump on the germination process. Try soaking them overnight before planting. This helps to soften the hard seed coats and hydrate the seed embryos.
Remove Grass and Other Weeds from Your Planting Site
As rugged as native plants are, they can still have trouble competing with common grass and weed species found in our lawns, especially when they’re small. It’s best to remove any grass and weeds from your planting site before getting started. You can use tilling, solarization with tarps, or a combination of methods to achieve a blank slate to begin your native garden.
Provide Consistent Moisture During the First Year for Perennials
While many native perennials are drought-tolerant once established, it’s best to provide consistent moisture when the plants are young to help them get established. While nature isn’t always so kind, we want as many of our plants to succeed as possible. During the first year, try to keep soil should be moist but not soggy.
See your specific variety to learn more about its requirements. Some prefer more moisture than others.
Avoid Unnecessary Fertilizer and Amendments
Most native species aren’t adapted to rich garden soil. In fact, some hardy species will put on extensive foliar growth at the expense of root and stem growth in nitrogen-rich soil. This can cause weak plants that lodge in high winds. Over-fertilizing may also negatively impact flowering and seed production.
Don’t Over-Mulch
Mulch can be a great thing. It helps to keep soil moist and prevent weeds, but with natives, you can have too much of a good thing. Thick mulch can hold too much moisture and cause root crowns to rot. It can also prevent native, ground-nesting bees from accessing the soil.
When using a mulch, opt for a natural mulch that will break down quickly like compost, well-rotted manure, shredded leaves, or pine needles. Use two inches or less around native plants. Once they’re established, many native plants don’t need mulch at all, they’ll spread and cover the soil themselves.
Native plants offer many benefits, but they can be tricky to grow from seed. Using these techniques can help ensure your native garden is a success.