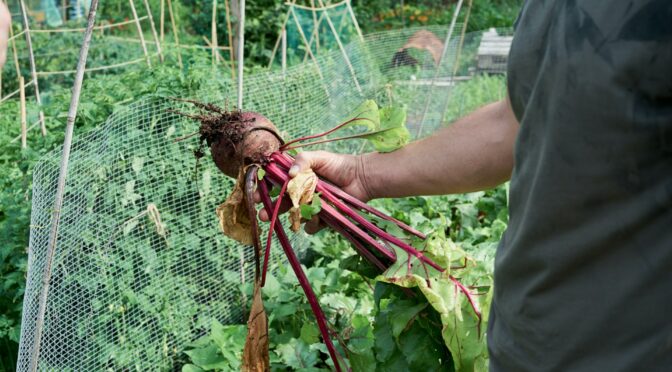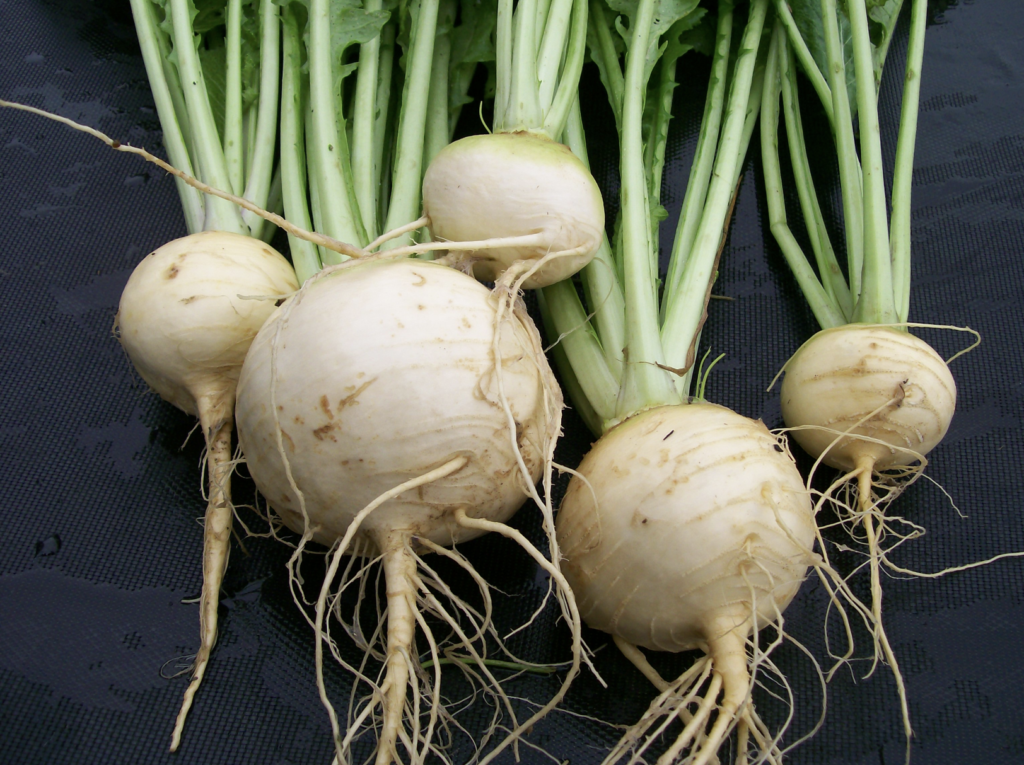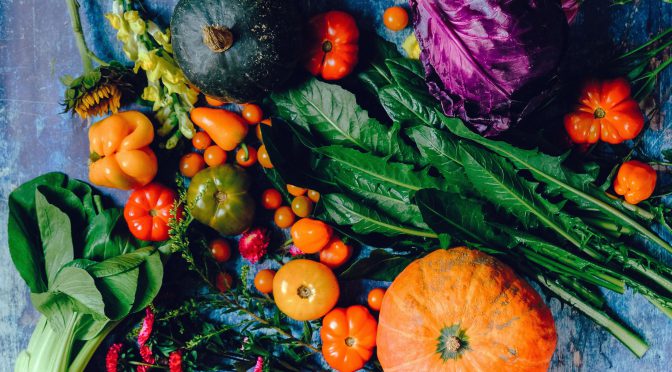
Even a small home garden can produce a bounty of food. While this is a wonderful thing, it can be a bit overwhelming. Beyond trying to eat plenty of fresh produce each meal and sharing with friends and family, most gardeners preserve some of the food that they grow. Especially, if you’re new to gardening, food preservation can be intimidating.
Questions like what’s the difference between water bath and pressure canning, how long do you have to blanch green beans, and what the heck is fermentation are all easy to answer, if you know where to look. Here are some great resources to answer all your home food preservation questions.
Food Preservation Websites
") Ball Mason Jars
Ball Mason Jars
Ball Mason Jars have long been experts on all things American food preservation, especially canning. Get started with their Canning & Preserving 101 page and find in depth instructions and recipes to help you safely put up the harvest for months to come.
Food in Jars
From spicy winter squash soup to nasturtium seed capers and cherry jam, the Food in Jars blog is full of helpful and exciting recipes to fill your pantry.
National Center for Home Food Preservation
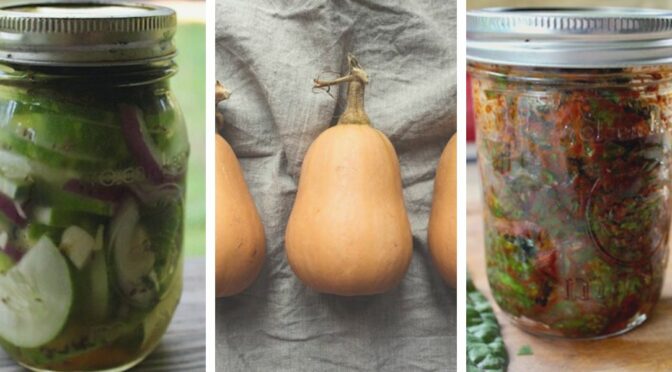
The National Center for Home Food Preservation website now features easy to follow guides and recipes for a wide array of foods and techniques. Learn to can, pickle, freeze, dry, cure, smoke, ferment, and store your harvest safely and easily at home.
Canning Across America
Canning Across America is a “nationwide, ad hoc collective of cooks, gardeners and food lovers committed to the revival of the lost art of “putting by” food.” They have plenty of recipes, guides, and answers to FAQs to help you feel comfortable putting up food.
Food Preservation Books
Wild Fermentation by Sandor Katz
") If you’ve been interested in food preservation or local food for very long, you’ve probably heard of Sandor Katz. He’s well known for popularizing home fermentation and has taught workshops across the US. His book Wild Fermentation, includes about 100 home recipes for fermenting vegetables, beans (ie. Miso), dairy, vegan alternatives, and sourdough and other grain ferments.
If you’ve been interested in food preservation or local food for very long, you’ve probably heard of Sandor Katz. He’s well known for popularizing home fermentation and has taught workshops across the US. His book Wild Fermentation, includes about 100 home recipes for fermenting vegetables, beans (ie. Miso), dairy, vegan alternatives, and sourdough and other grain ferments.
Ball Complete Book of Home Preserving
We already mentioned the Ball Jars website, but their home preserving book is worth it’s own mention. It has over 400 recipes for classic favorites and
Root Cellaring by Mike & Nancy Bubel
It wasn’t that long ago that most families stored fresh produce in root cellars. Learn how to build your own and store various crops using the naturally stable temperature with the Bubel’s book, Root Cellaring.
Putting Up: A Year-Round Guide to Canning in the Southern Tradition by Steve Dowdney
This guide provides 65 hand recipes, safety tips, and resources. Author Steve Dowdney also provides “stories and vignettes of a long gone agrarian south that filled the author’s youth and still fills his heart and memory.”
Put ’em Up!: A Comprehensive Home Preserving Guide for the Creative Cook, from Drying and Freezing to Canning and Pickling by Sherri Brooks Vinton
The simple instructions and 175 recipes found in Put ‘em Up! Will help you use your fresh produce and fill your pantry. Learn to can, freeze, air-dry, oven-dry, pickle, and refrigerate food.
Your Local Agricultural Extension Office
Local Extension agencies typically have a plethora of home gardening and food preservation resources. They’re often connected with a local university and stay up date on the latest safe techniques.
Find an Extension Office Near your zip code here.
Food preservation doesn’t have to be scary! These home food preservation resources are great places for new and seasoned gardeners alike to find recipes, instructions, and helpful tips to put up their harvest.