
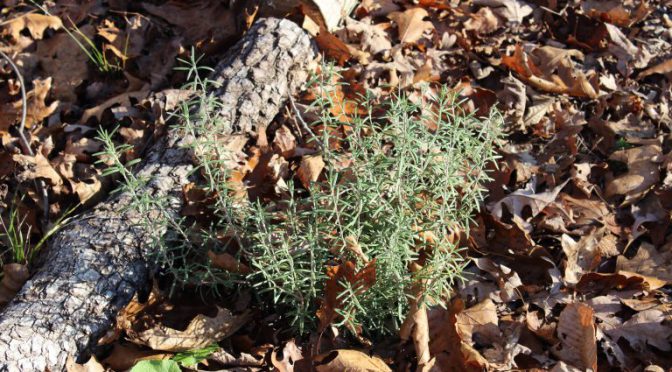
There are many benefits to using mulch in your garden. It helps suppress weeds, provides habitat for beneficial organisms, and prevents erosion. Fall is a great time to employ mulch in your garden because it can help protect your plants and soil during the winter. It will also slowly break down adding organic material for the following season.
Create Simple Food Storage
In much of the southeast, it’s possible to store root crops right in the garden for at least part of the winter. Covering crops like storage carrots, turnips, rutabagas, radishes, and beets with a thick layer of mulch can provide them with a buffer of protection from freezing temperatures. They can be harvested as needed.
This strategy won’t work if you live somewhere the ground freezes.
Cover Open Soil
It’s best to never have open soil in your garden. Open soil is more susceptible to erosion and is a poor habitat for beneficial insects, bacteria, and fungi. If you didn’t get a chance to get a fall cover crop in, mulch is a good choice.
Protect Perennials
Perennials like strawberries, asparagus, rhubarb, and even chives benefit from being mulched in for the winter. It provides a buffer from temperature extremes and can prevent soil from heaving which can damage plants’ roots.
Avoid piling mulch too high around fruit trees though as this can create a place for rodents to gnaw on the tree’s bark.
Keep Crops Weed Free
While there are certainly fewer weeds to worry about in the winter, it’s easy to let them get ahead of you in the spring. Keeping the weeds down with mulch can make it easier to get crops in the ground in spring and eliminate the need for tilling.
It’s also important to keep perennial onions, shallots, and garlic mulched and weed-free. Competing with weeds for space, light, and nutrients can result in smaller bulbs.
What Mulch to Use
There are a number of mulches that are appropriate for fall gardening and many of them can be found for cheap or free. One of our favorites is old leaves. You can also use:
- hay
- pine needles
- straw
- shredded newspaper
- wood chips
- sawdust
Avoid using plastic, stones, or dyed mulches like certain wood chips and bark mulch.
Learn more about choosing the best mulch for your garden here.
When to Remove Mulch
In much of your garden, you can let the mulch break down naturally. However, there are a few places to pull it back in the spring. First, make sure to uncover perennials like strawberries and rhubarb (leave it around them though just not on top) as soon as the danger of a hard frost has passed. You’ll also need to pull it back to seed or transplant annuals.
Additionally, if you grow garlic it’s helpful to remove the mulch around it and stop watering about two weeks before you plan to harvest. This gives the garlic a chance to dry out and begin curing before harvest.

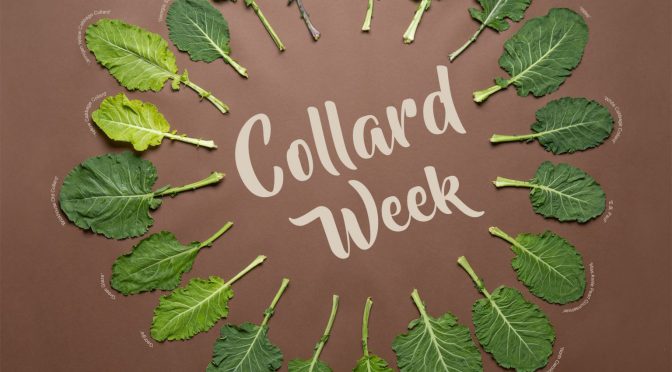
 Monday, December 14, 1 PM – Michael Twitty presents the History and Significance of Collards in the South
 Tuesday, December 15, 1 PM [Part I] – Ira Wallace & Co. present Results and Updates from the 2020 HEIRLOOM COLLARDS TRIAL
 Tuesday, December 15, 1 PM [Part II] – Jon Jackson leads a Collard Trial Farm Tour of Comfort Farms
 Wednesday, December 16, 1 PM – Amirah Mitchell presents Saving Seeds and Growing Community
 Thursday, December 17, 1 PM – Ashleigh Shanti presents Cooking with Collards