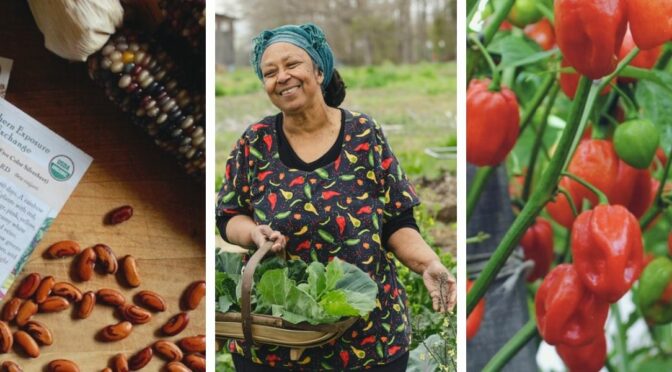
We’re excited to announce that Southern Exposure’s Ira Wallace will be giving a couple of talks this fall! For those new to Southern Exposure who don’t know Ira, she’s the guiding spirit behind Southern Exposure Seed Exchange; she’s been providing farmers and gardeners with high-quality, heirloom seed for decades. She supports food sovereignty and everyone’s right to save seed and is the author of an invaluable garden guidebook, The Timber Press Guide to Vegetable Gardening in the Southeast.
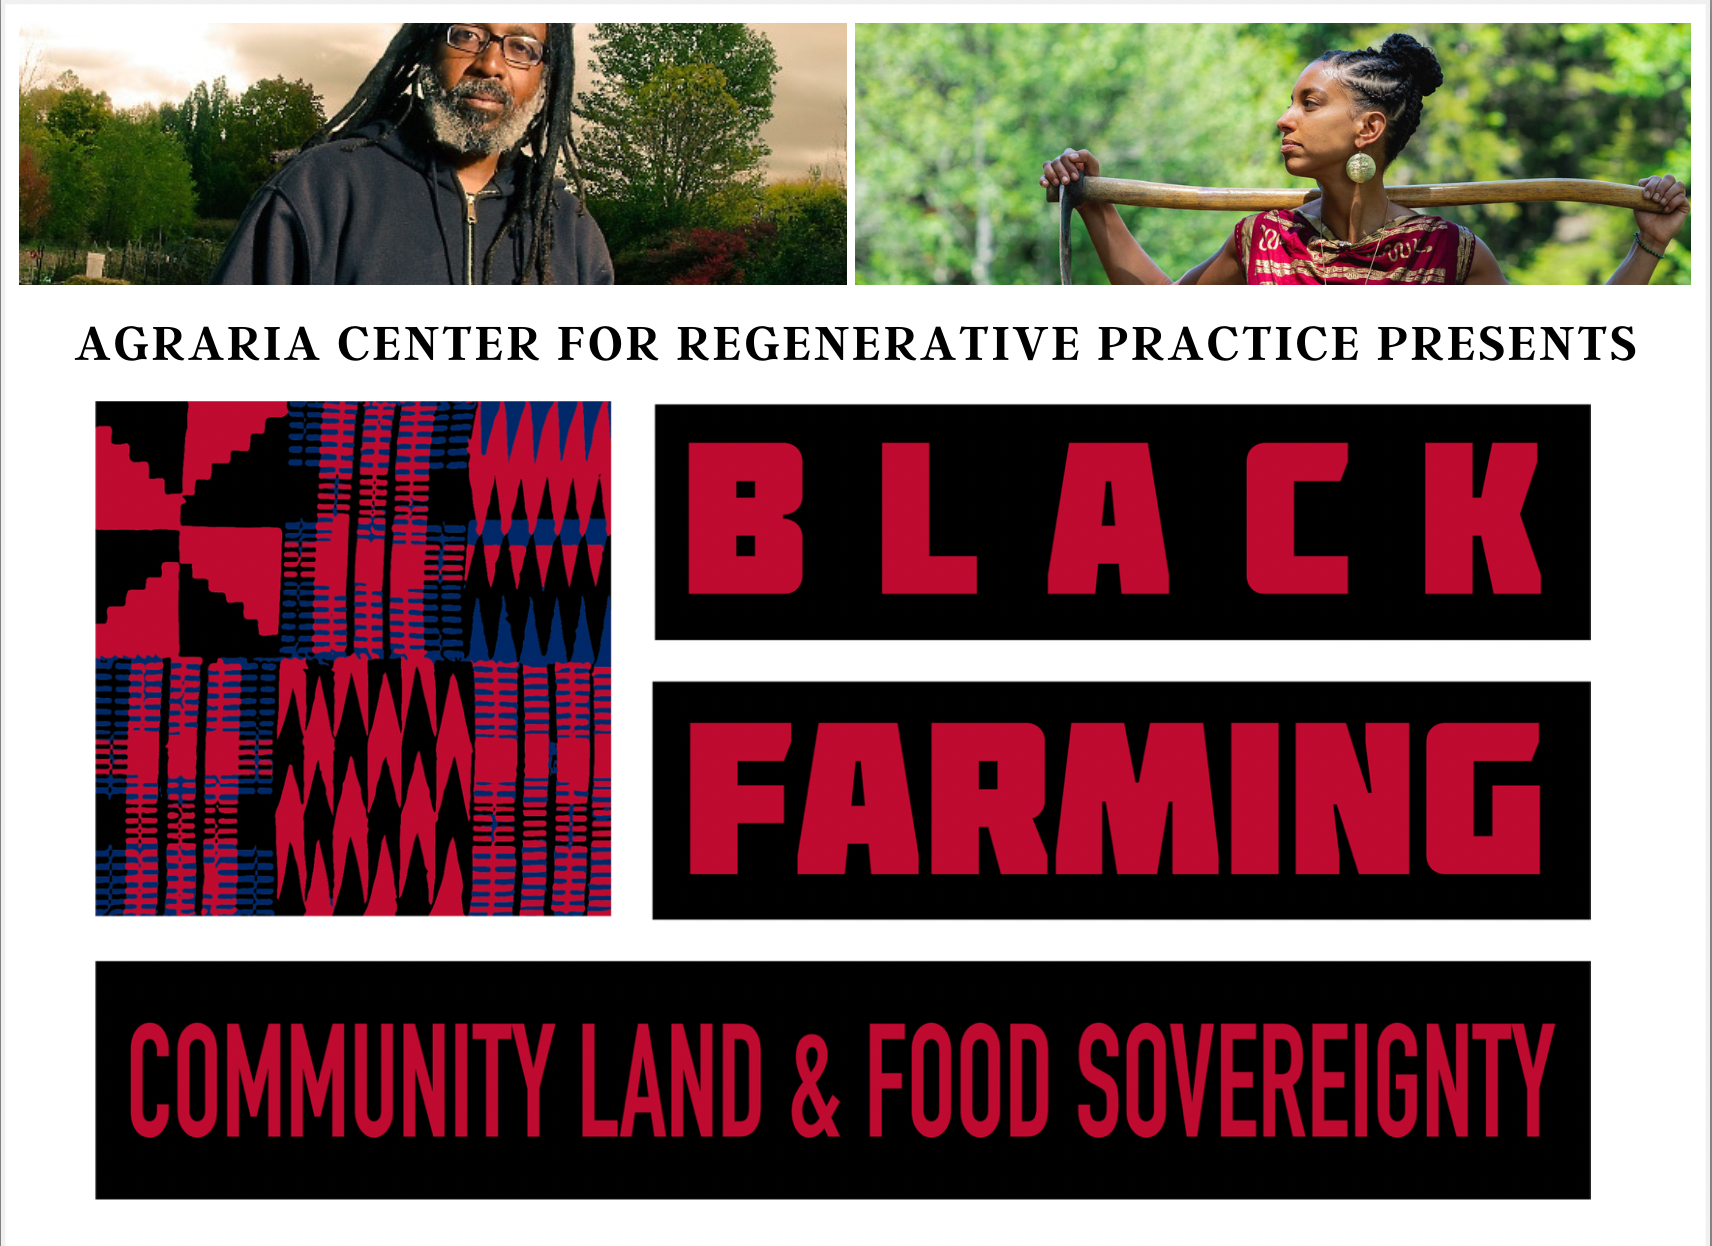
Black Farming: Community Land & Food Sovereignty Conference
The first event will be keynote remarks for the Black Farming: Community Land & Food Sovereignty Conference on September 11, 2021, at 3:00 pm. The conference will also feature other fantastic keynote speakers, including Dr. Jessica Gordon Nembhard, Leah Penniman, and Malik Yakini.
This year’s conference will focus on looking at the economic impacts and the power of the cooperative business model, emphasizing the power of growing your own food, from seed saving to community gardening, and celebrating the contributions of our black and underrepresented food and farming community.
The entire conference is a combination of virtual and live events on September 10th and 11th. You can find the full schedule, more information, and register for the conference here.
2021 American Community Gardening Association Conference
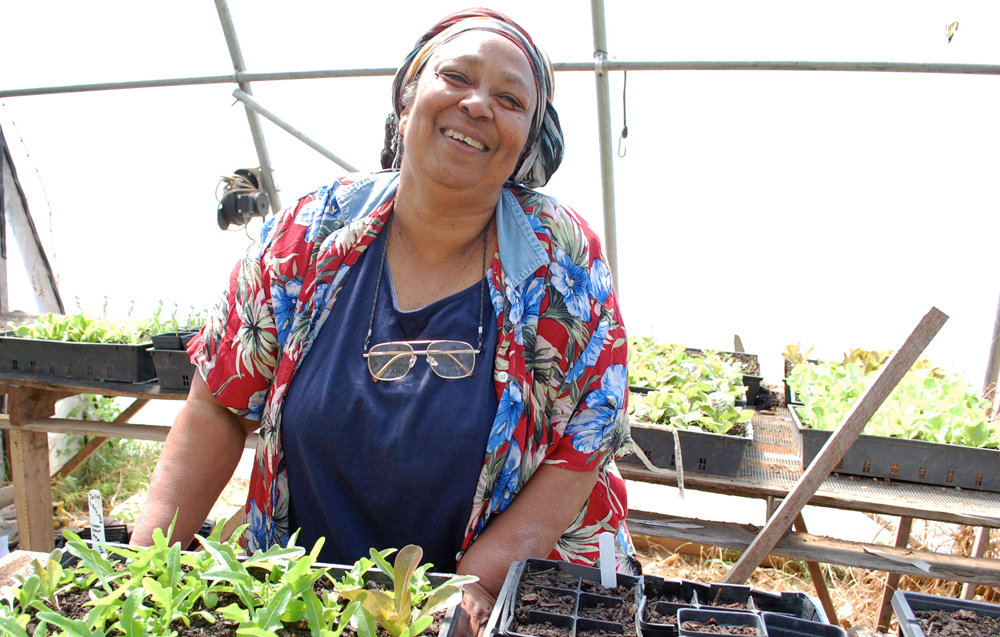
Later in the month, Ira will be a keynote speaker for the American Community Gardening Association Conference. She’ll be discussing Seed keeping: An Everyday Act of Resistance on Friday, September 23, 12:30 – 1:30.
She’ll discuss the importance of seed keeping to preserving cultural heritage with examples of historic varieties as well as the wealth of heirloom varieties from the African Diaspora, especially in the US and Caribbean. She’ll also touch on her work with Acorn Community Farm and Southern Exposure Seed Exchange which she says are her “legacy to young farmers looking for ways to do well doing good work.”
“Black and brown people are integral to the story of food and farming in this country. Learn how including them in our gardens through seed saving, storytelling about seeds, the traditions they represent, the taste they evoke, and the people who created great varieties can be an everyday act of resistance.” – Ira Wallace
The whole conference themed Gardening in Challenging Times will take place September 23 – 25, 2021, in Hampton, VA. It will feature more than 30 workshops where you can learn about community gardening with fellow gardeners, organizers, and sponsors from across the US.
You can find more information and register for the conference here.
Be sure to join us at one of these incredible conferences this fall! They’re an excellent way to connect with the gardening community and sharpen your gardening skills!