Herbalism is a wonderful way to explore cultural traditions and history. It can also help you support a healthy lifestyle and improve your knowledge of plants. Maybe this year you started your first herb garden, planting some easy-to-grow herbs, or perhaps you’ve been practicing herbalist for years crafting teas, tinctures, and other natural products to promote wellness. Wherever you are on your journey, adding a few unusual medicinal herbs to your herb garden can be fun. While most of these plants have been used in herbal medicine for a long time, they tend to be less common in modern gardens.
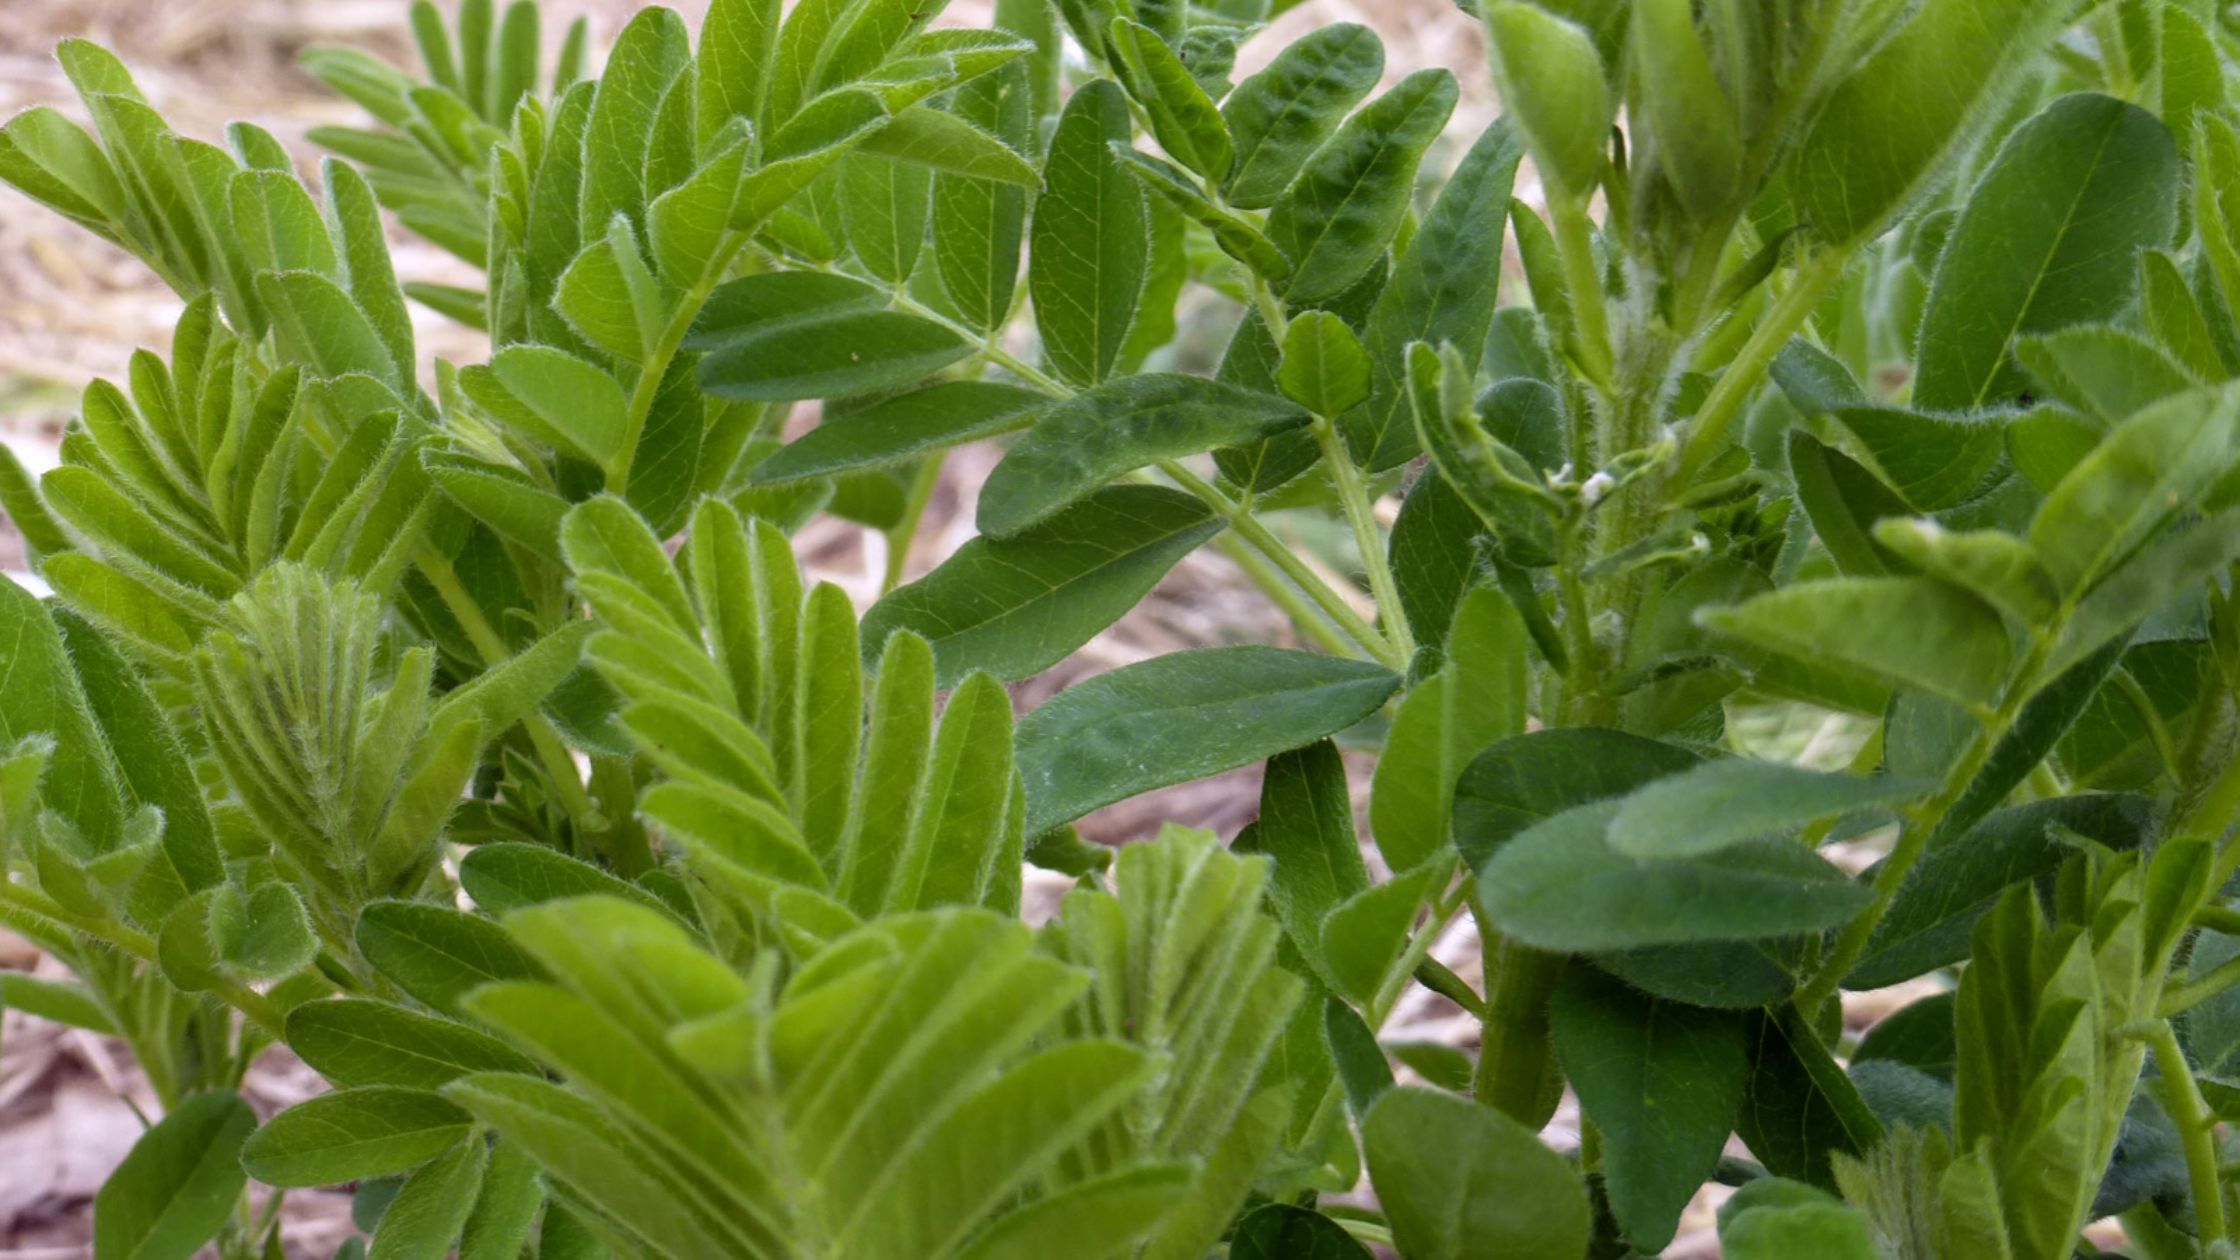 Astragalus (Astragalus membranaceus)
Also known as Chinese Milk Vetch or Huang Qi, Astragalus is a traditional Chinese herb that herbalists have used since ancient times to increase and tonify qi. Herbalists believe the plant to be an adaptogen and deep immune system activator.
Astragalus is a perennial legume with a spreading, reclining growth habit. It does best in a sunny location with well-drained, fairly dry soil. The foliage dies back each fall and regrows in the spring. For best results, soak your Astragalus seeds overnight before planting.
Typically herbalists harvest a portion of the roots when the plant is well established and at least four or five years old. Wash, cut up, and dry your roots for use in teas, tinctures, and other preparations. Dried roots may also be powdered.
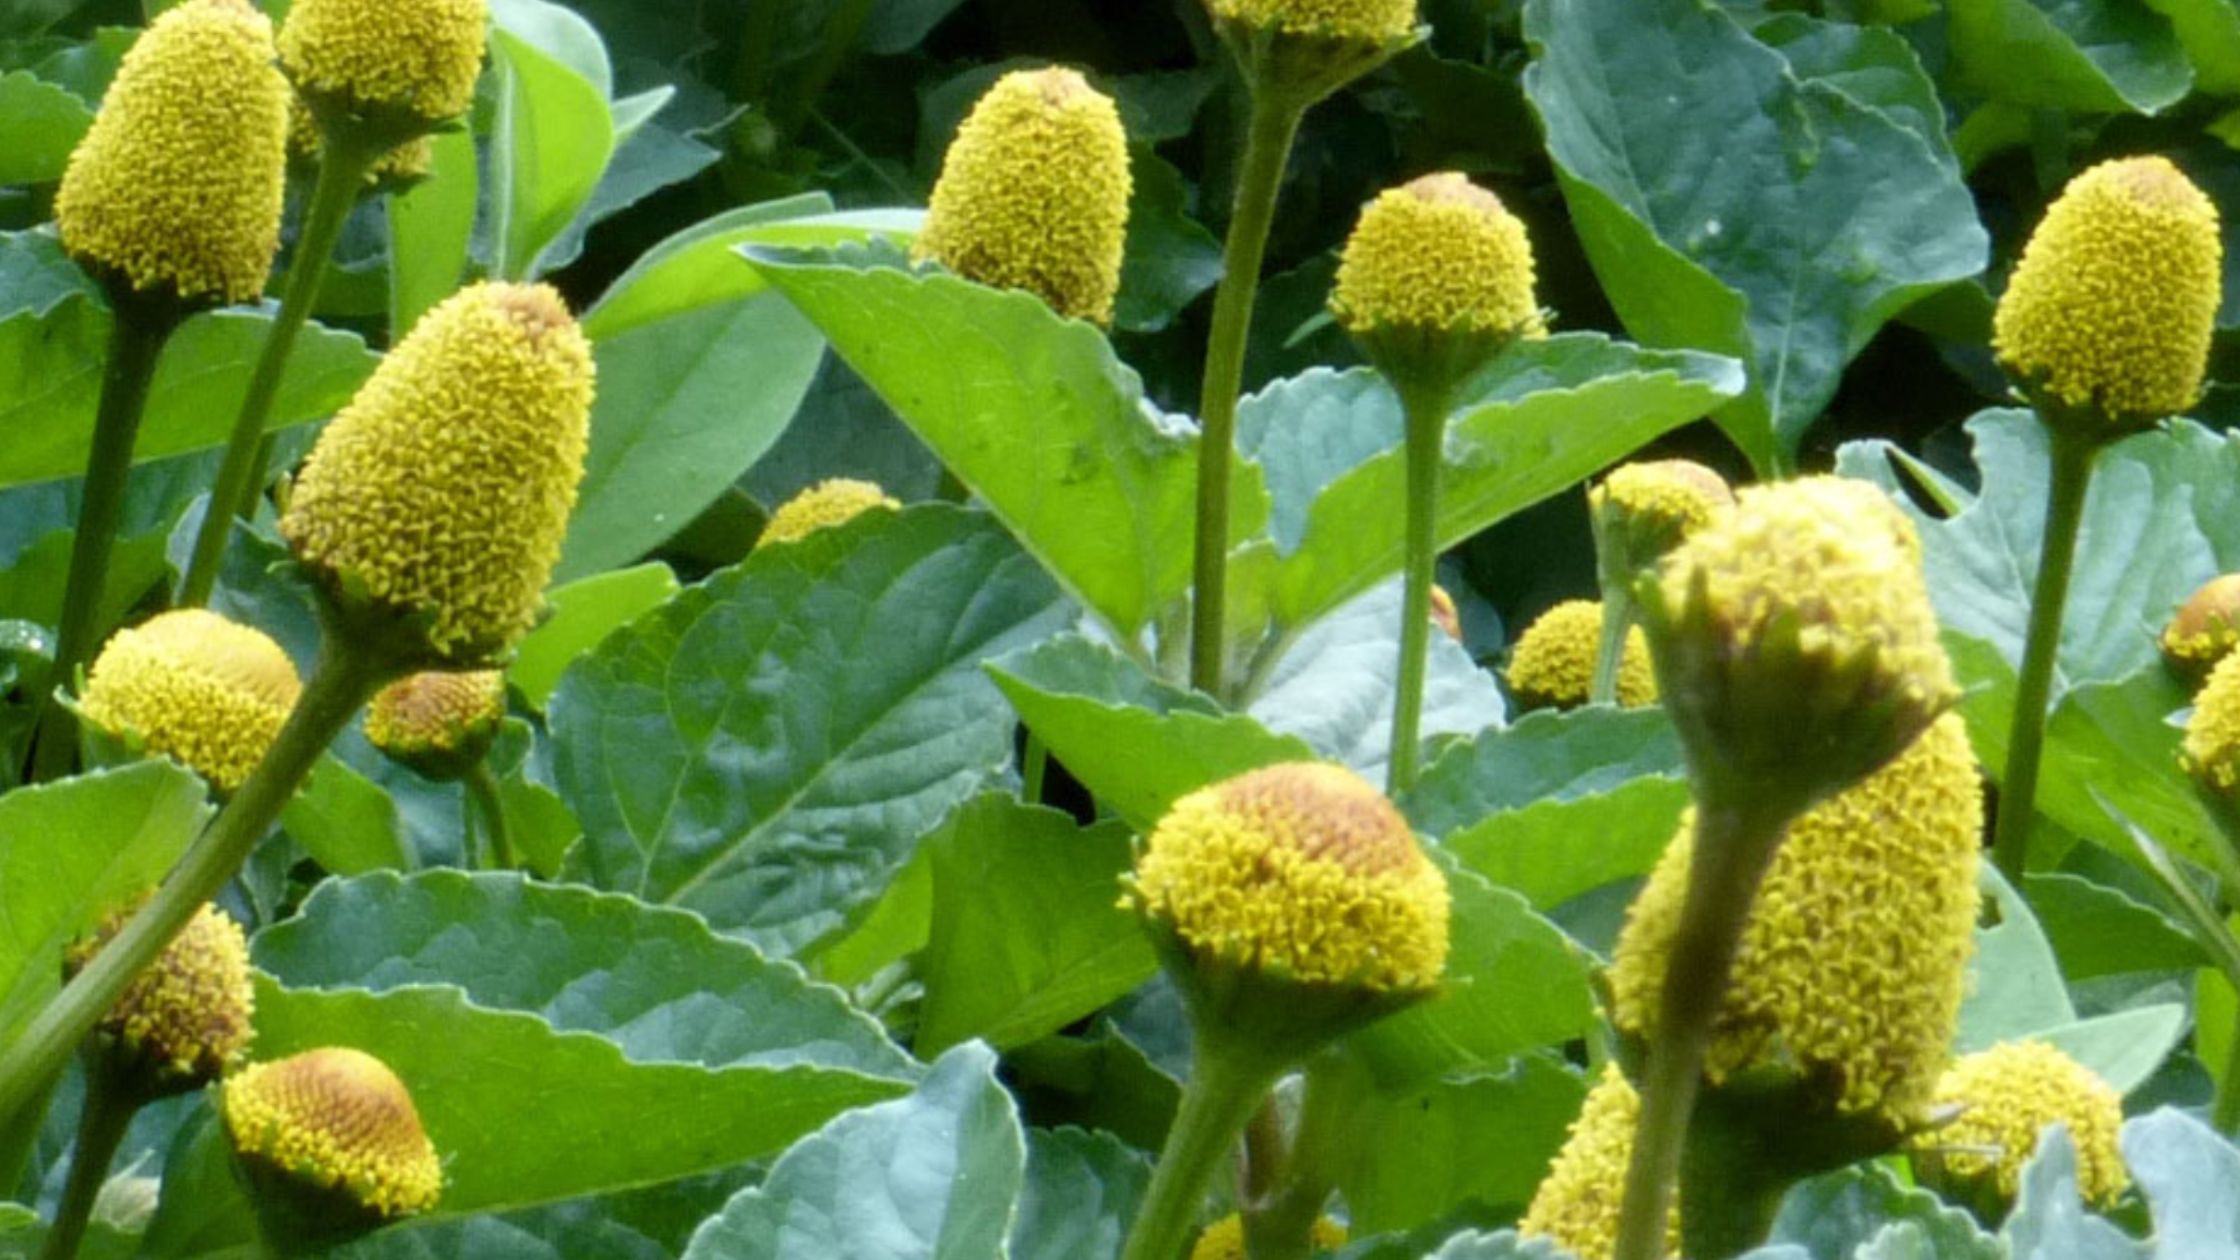 Spilanthes (Acmella oleracea)
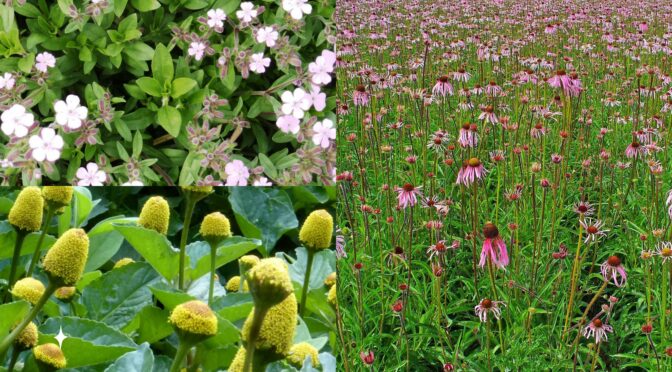
This unique, vibrant flower is widely used and known by many names. You may have heard it called eyeball plant, buzz buttons, or toothache plant. When eaten raw, edible leaves and flowers cause a tingling sensation in the mouth. Practitioners of Ayurveda, traditional Chinese medicine, and western folk medicine have used Spilanthes for various ailments, including upper respiratory illnesses, minor pain, and various mouth and dental issues.
Spilanthes is a beautiful, low-growing, spreading plant. The cone or hive-shaped flowers are composed of hundreds of tiny yellow, red, and orange-hued flowers. These cones are often compared to eyeballs giving the plant one of its common names. Here in Virginia and farther north, it is grown as an annual but is a tender perennial in warm climates. It prefers areas with full sun, and the seeds require light to germinate.
This exciting plant adds a unique flavor to soups, sauces, sorbets, cocktails, and salads. You may use it fresh or dried in teas and external applications.
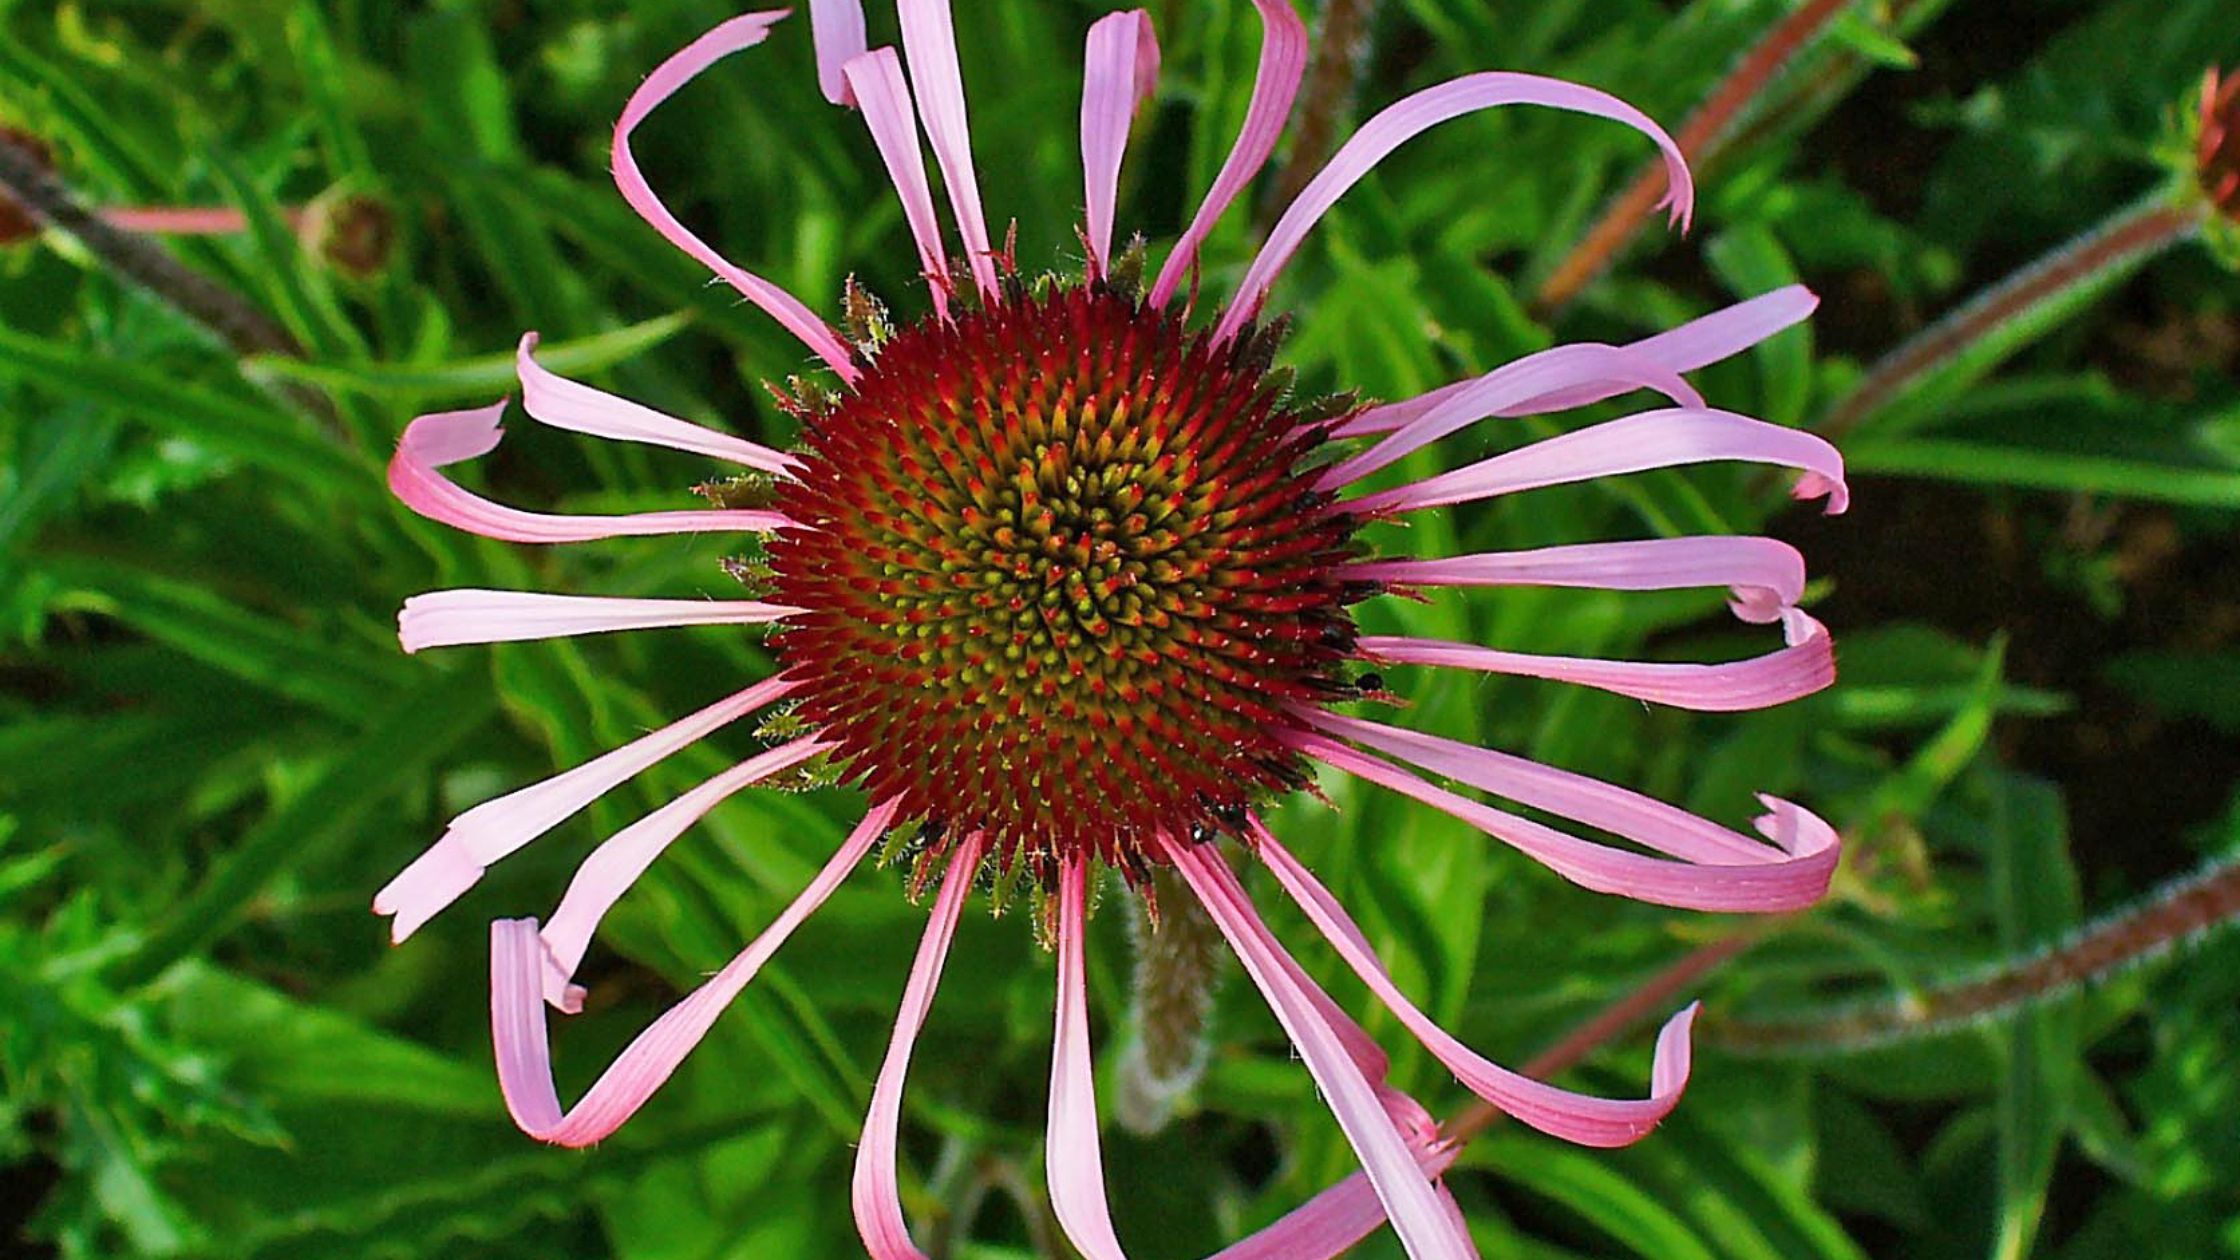
Pale Purple Coneflower (Echinacea Pallida)
Echinacea or coneflower, is one of the more commonly known medicinal plants today. You can probably even find it in immune-boosting teas and supplements at your local grocery store. However, most of these are one species, Echinacea purpurea. While I love Echinacea purpurea, it is just one of the ten species of Echinacea, all of which are medicinally important.
All species of Echinacea are frequently used to boost the immune system. Several pharmacological studies have demonstrated immuno-stimulant, bacteriostatic, and anti-viral activity.
Native to open woods and rocky prairies from northeastern Texas to central Illinois, Echinacea pallida flowers typically feature rosy purple long, dropping petals and a purple-brown flower disc. Occasionally, flowers may be pink, purple, or white. This drought-tolerant plant has long, narrow leaves and grows 18 to 36 inches tall.
Echinacea pallida can be a bit more tricky to start from seed than its more common counterpart, Echinacea purpurea. You need to stratify the seed for 60 days at 40°F. Then you can start it indoors and transplant or direct seed it in an area that receives full sun. It’s perennial in zones 3 through 9.
All parts of the echinacea plant can be used in herbal preparations. Wait until the plant is well-established before harvesting leaves. Wait until the plant is at least three years old to harvest roots.
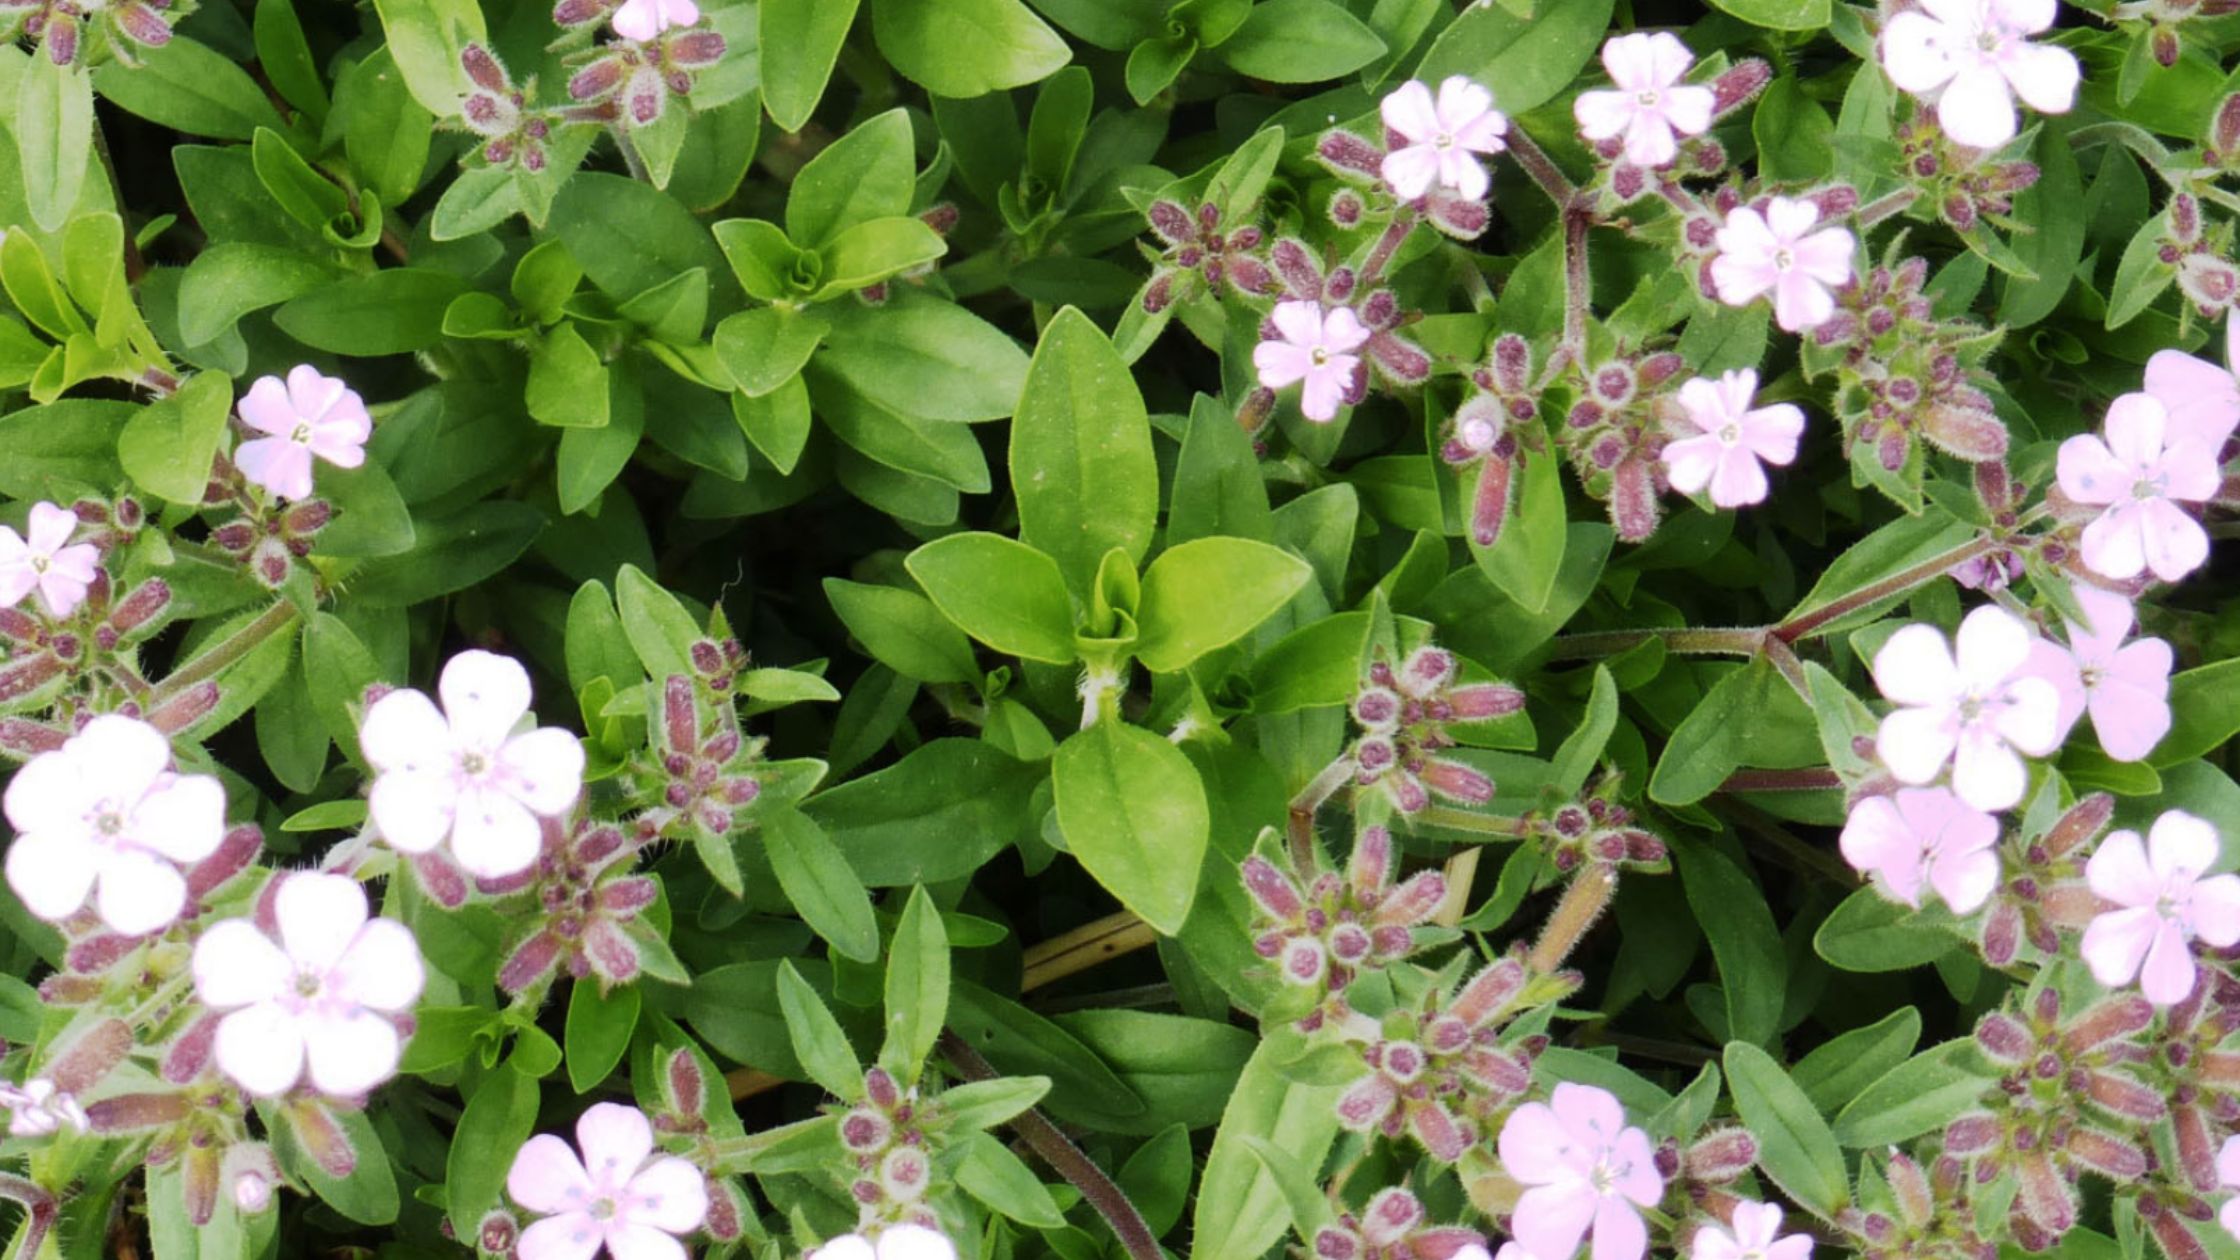 Soapwort (Saponaria officinalis)
Soapwort is a non-native herb brought from Europe and is naturalized in much of the United States. It’s a valuable herb because the plant contains natural saponins and produces a lather when soaked or heated in water. It’s terrific for making a non-irritating skin cleanser, shampoo, or soap for delicate fabrics.
More tolerant than some herbs, soapwort will thrive in full sun to partial shade with moist to slightly dry soil. The seeds require light to germinate and can be transplanted or direct seeded. Soapwort is perennial in zones 3 through 10 and may spread.
Wait to harvest soapwort until it’s at least a year old and you have an established patch. For the highest saponin content, harvest the leaves and blooms when the plants are in full flower. They may regrow and bloom again that season. Harvest roots in the fall.
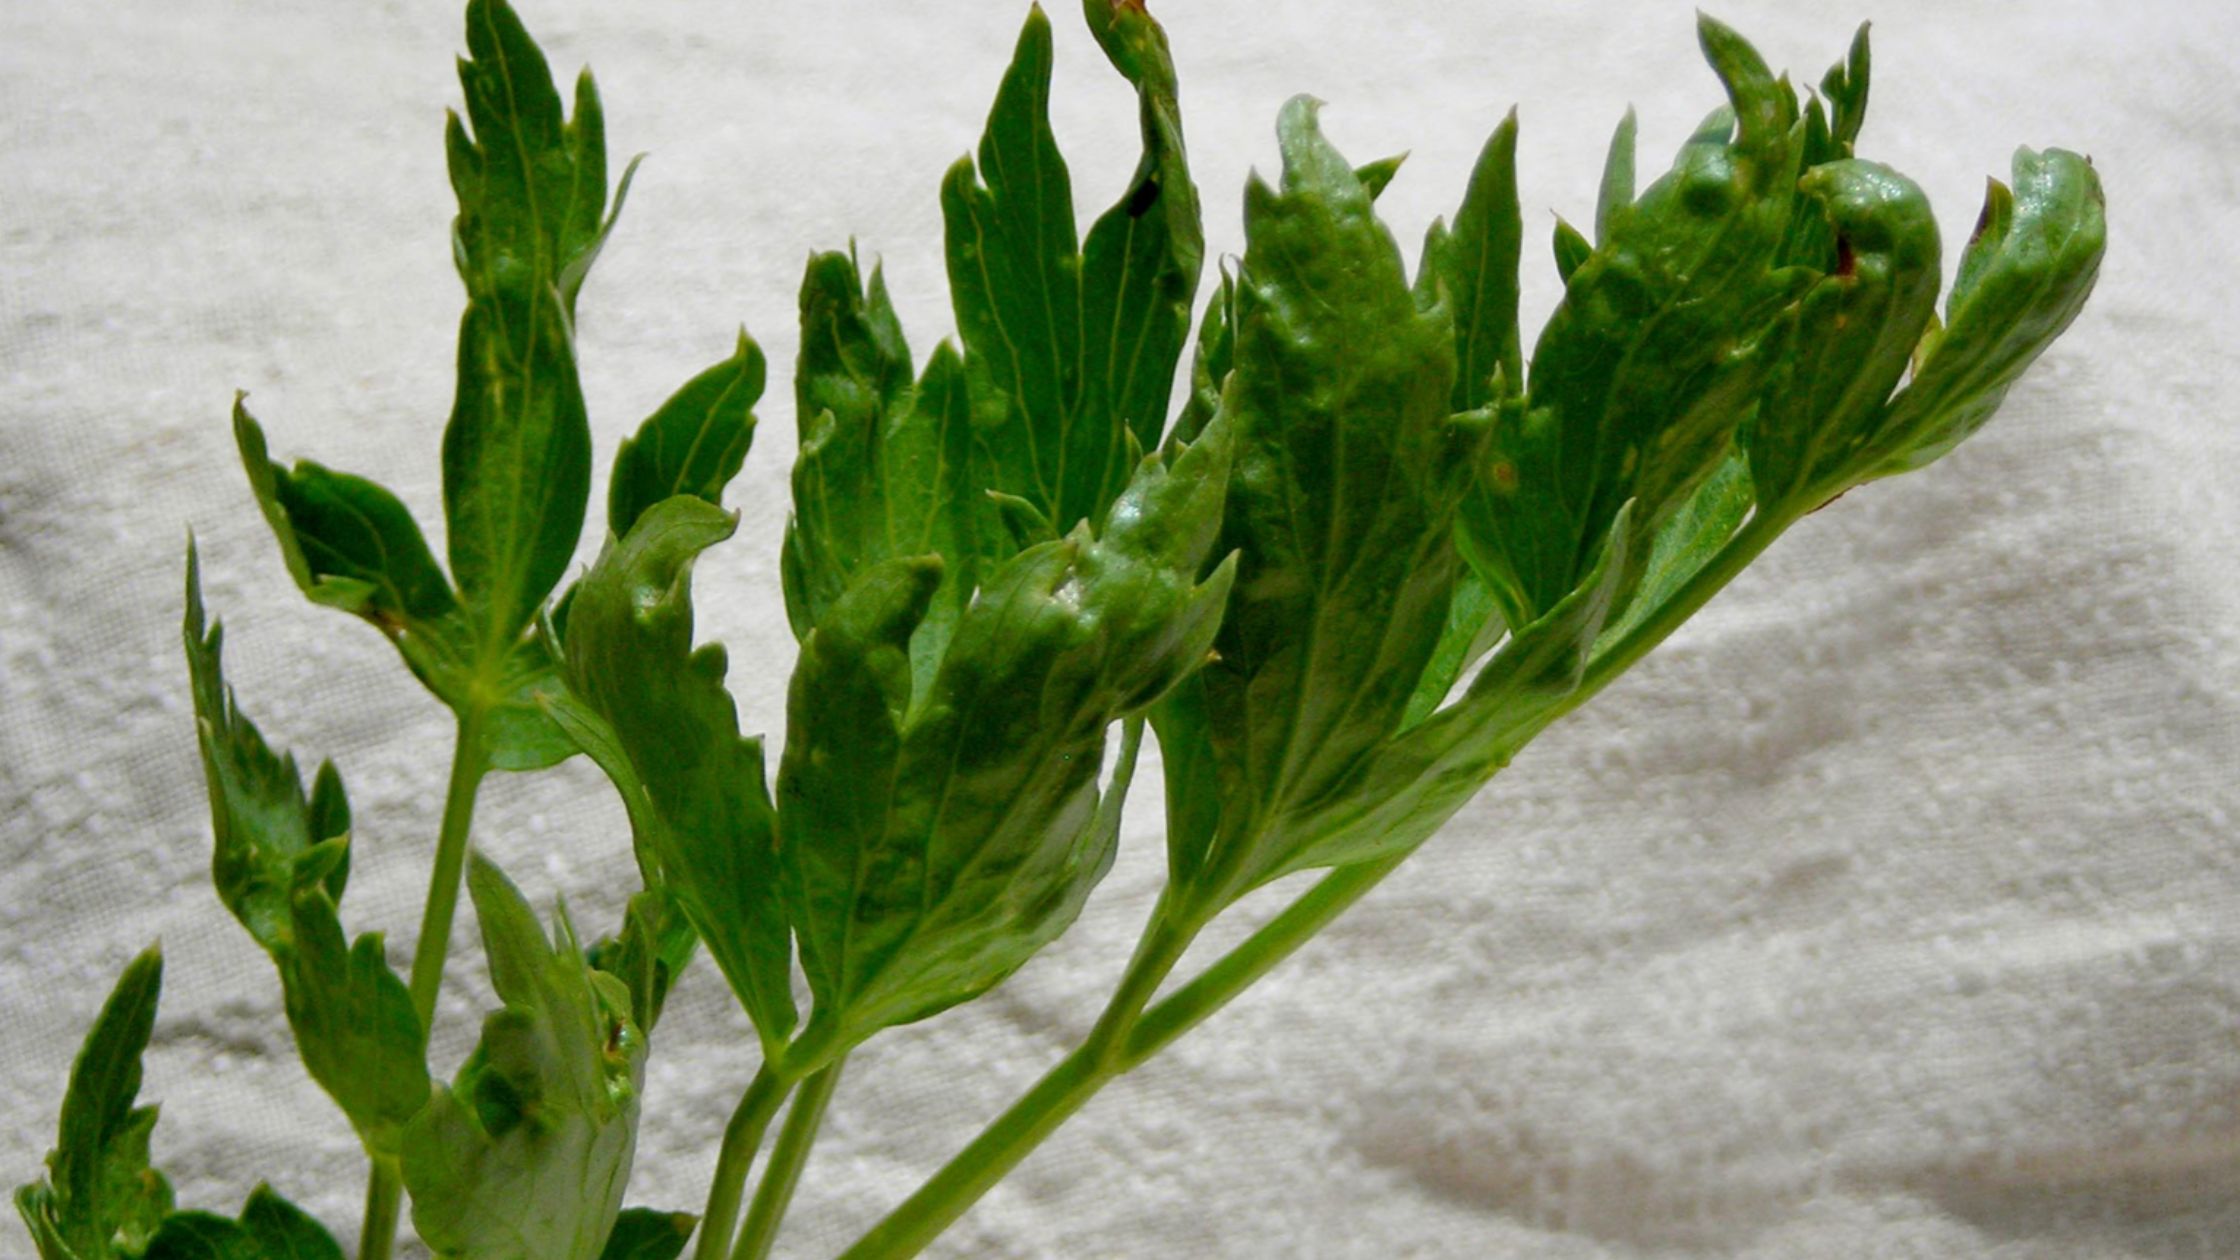 Lovage (Levisticum officinale)
While not widely used today in the US, lovage would’ve been common in many medicinal and kitchen gardens of medieval Europe. The ancient Greeks were probably the first herbalists to employ lovage, chewing the leaves to relieve gas and aid digestion. Throughout time it became more popular for its medicinal and culinary uses. In the kitchen, it’s used as a salad green or in the same fashion as celery. In modern herbalism, tea is often made from lovage for its carminative or diuretic effects.
Lovage doesn’t always germinate well, so be sure to sow extra. Start your lovage indoors. The seeds require darkness to germinate. It will tolerate full sun to partial shade and is perennial in zones 3 through 10.
The leaves, stems, roots, and seeds of lovage are all useful. Once lovage is established, you can pinch off the leaves and stems and use them as needed. Harvest seeds in the fall when they mature, and harvest some of the roots in the fall from plants that are two to three years old.
An herb garden should be as unique as the gardener. When you’re planning your garden this winter, consider your goals and your needs, and always consider trying something new. Hopefully, one of these unusual medicinal herbs will find a place in your garden and bring you wellness and joy in the coming season!

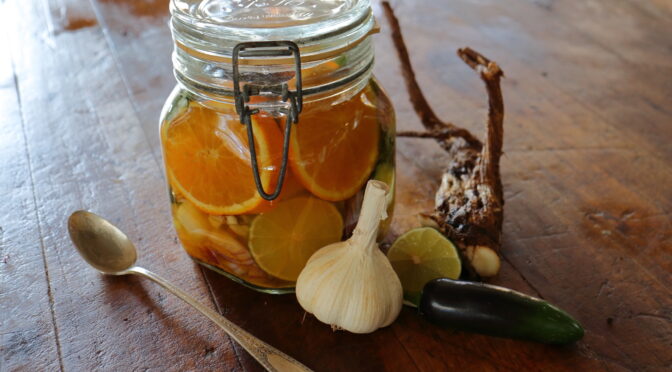
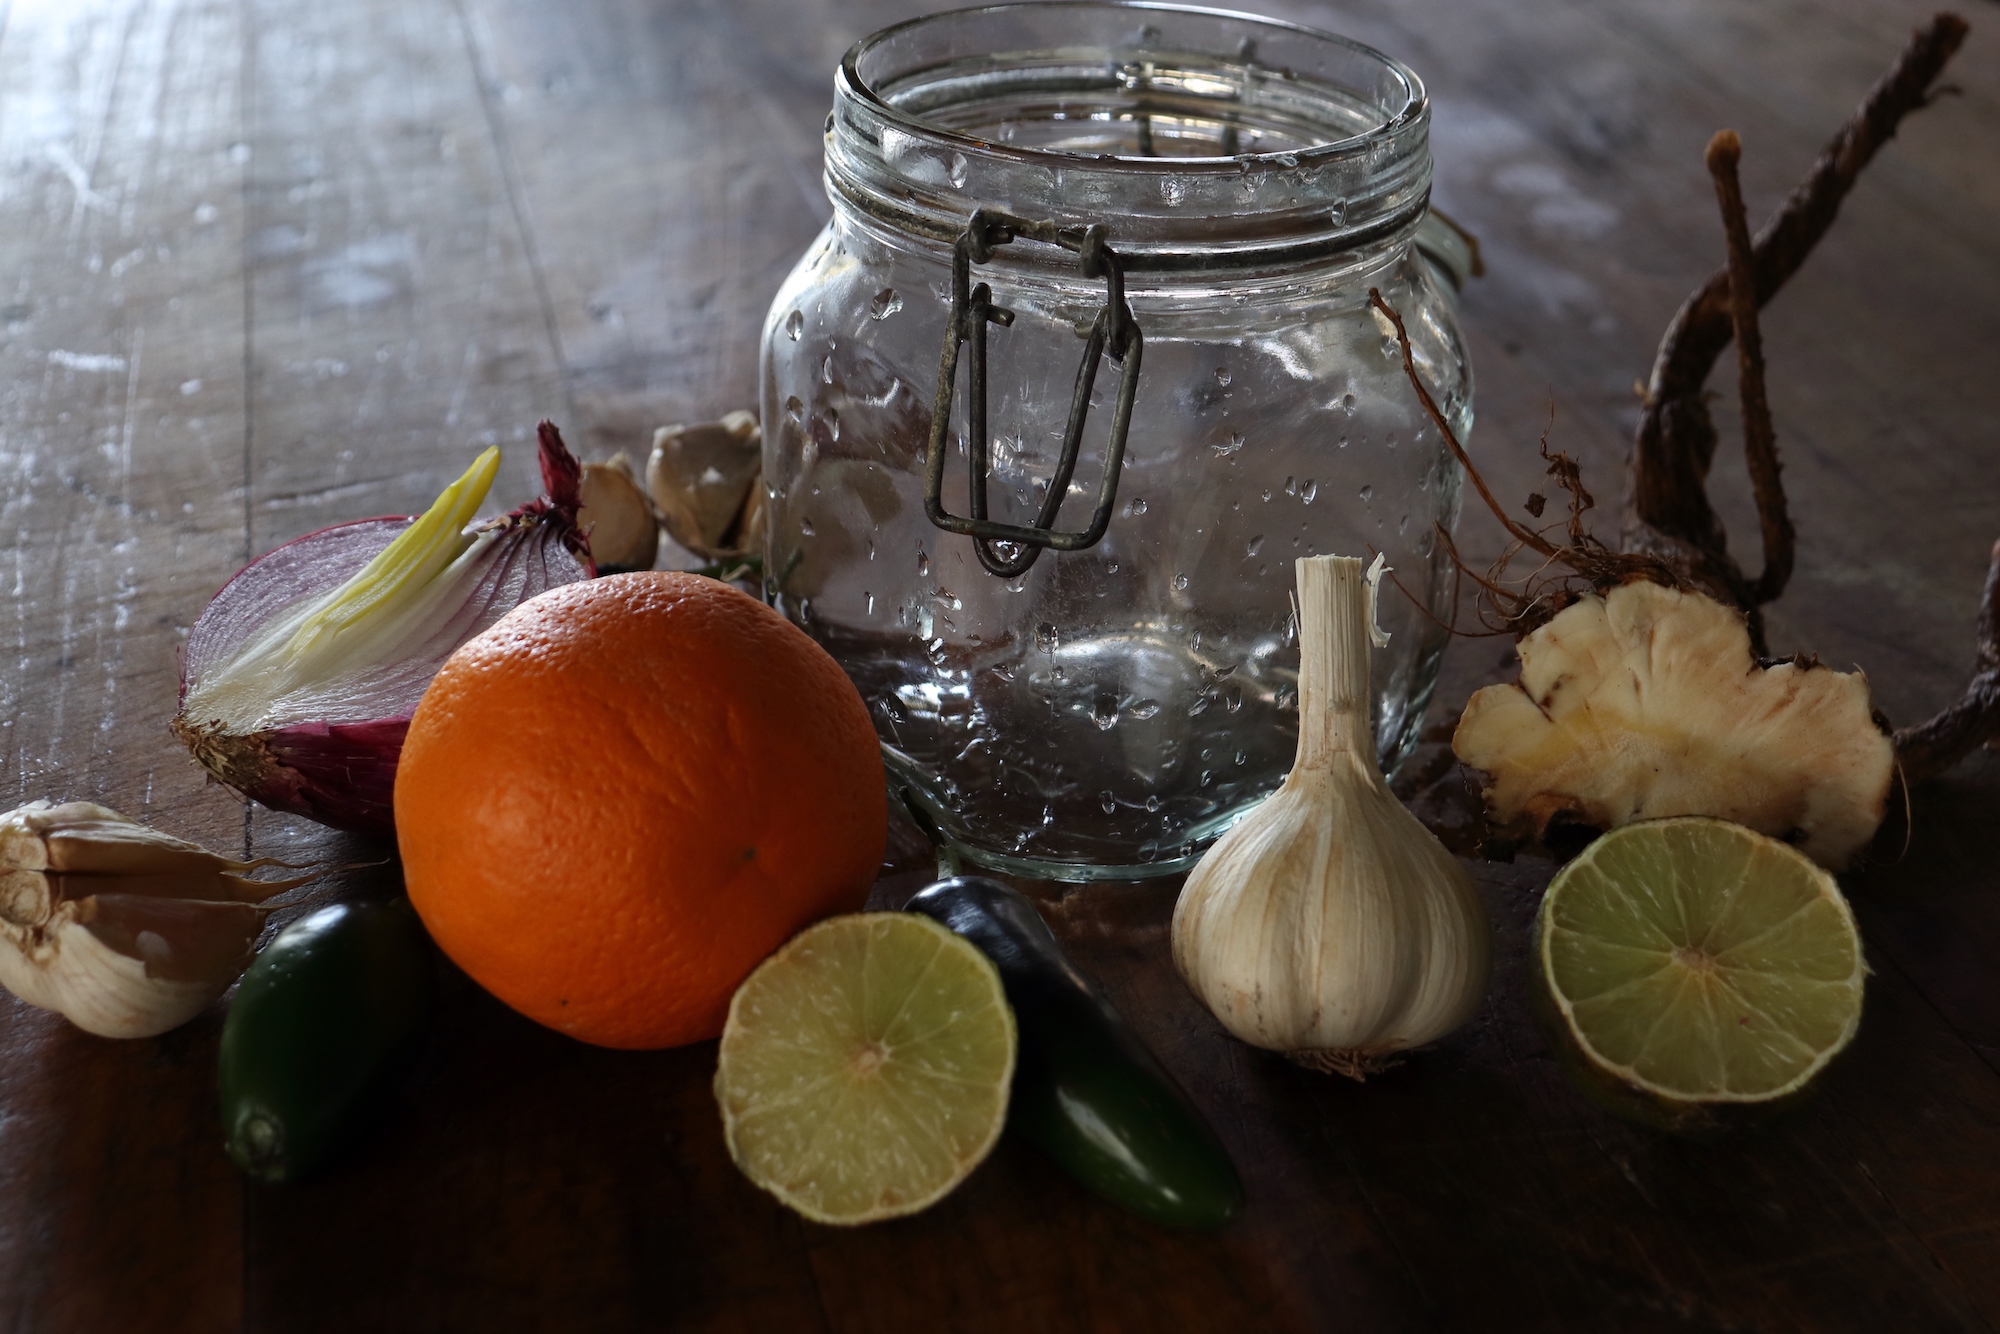 What Do You Need to Make Fire Cider?
 Connect with Your Local Master Gardener’s Program