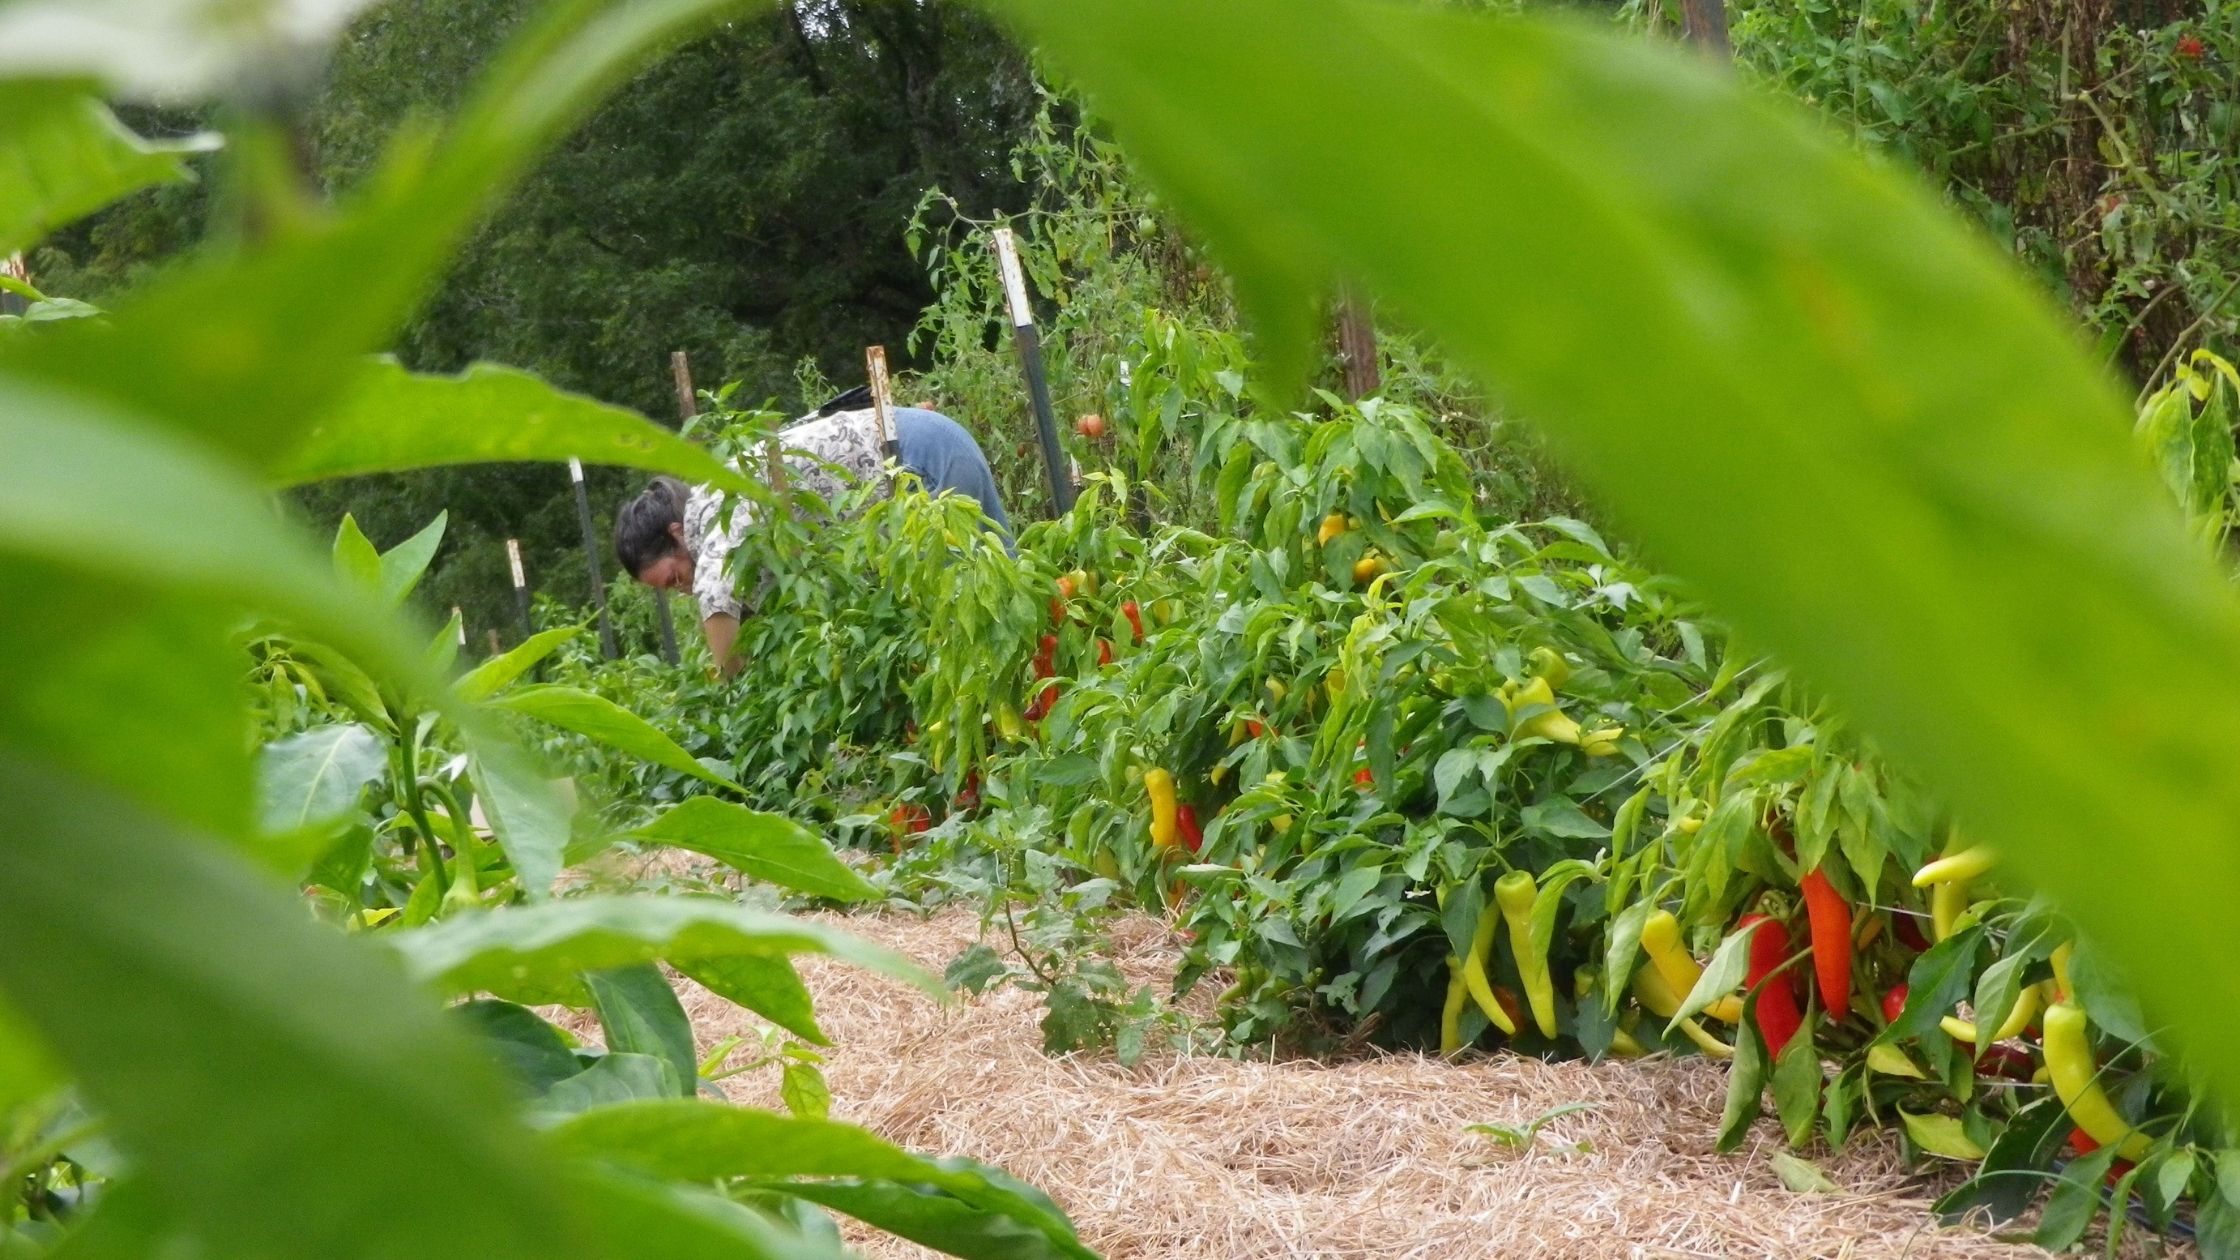
Many gardeners are getting large pepper harvests in August. Maybe you grew jalapeños or sweet bananas and are pickling them, or Aji Dulce spice peppers and are drying them, and perhaps you’re freezing Carolina wonders. Whatever the case, you might also want to save pepper seed. It’s a simple process. Peppers are an excellent crop for beginner seed savers.
Consider Isolation Distances
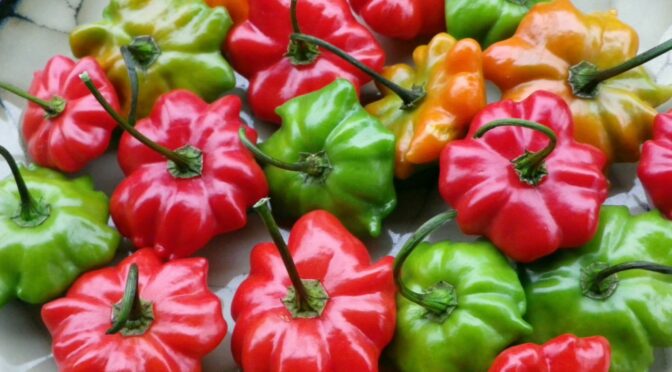
Peppers will sometimes cross-pollinate. Meaning that if you want to save seed from a Brazilian Starfish (pitanga) hot pepper (pictured above) and have it produce the same peppers next year, you need to keep them isolated from the other peppers in your garden.
We recommend you isolate sweet varieties by 150 feet and hot and sweet varieties by 300 feet. Another technique you may want to try is hand pollination. You can keep your peppers from crossing by covering blossoms with pollination bags and then hand pollinating them, ensuring they are only pollinated with the peppers you wish.
Of course, we have also discussed promiscuous pollination’s advantages on the blog. No law says you can’t save seed from peppers that weren’t perfectly isolated. You may end up with peppers that display little change from their parent, or you could end up with a fantastic cross between those Brazilian Starfish and the habaneros in the bed next door, but that’s part of the fun!
 Consider Population Size
You can get viable seeds from a single pepper plant. However, to preserve genetic diversity and a variety for years to come, you should aim to save seeds from 5 to 20 plants each year.
Harvest the Peppers When Fully Mature
Harvesting to save seed isn’t the same as harvesting to eat or preserve. You want your peppers to mature fully, which may be about two weeks after you usually harvest. They should be fully ripe in color, either red, purple, or yellow, depending on the variety, and beginning to soften.
If frost threatens before the peppers appear to be fully mature, pull the whole plant. Shake the dirt off the roots and hang your plant upside down in a cool, dry location. A garage or outbuilding may be suitable for this. Most of the peppers will finish maturing.
Process
Work in an area with good ventilation. Especially if you’re dealing with very hot varieties, it may be best to wear gloves to process your peppers and avoid touching your hands and face. If you’re doing a lot of peppers, it may also be necessary to work in a dust mask or respirator.
One of the easiest ways to access the pepper seeds is to cut around the top and pull it out, using the stem as a handle. Then you can gently scrape off the seeds with a knife or your fingers. Rinse your pepper seeds and remove any unwanted material.
If you’re working bare-handed, wash well with soap and warm water.
Dry
Next, dry your seeds on paper, paper towels, coffee filters, or dehydrator screens (don’t put them in the dehydrator). They will need to dry for several days out of direct sunlight. When they’re fully dry, you should be able to snap one in half with your fingers. If it isn’t dry, it will bend instead of easily snapping.
Store Properly
Once completely dry, store pepper seeds in an airtight container out of direct sunlight. If stored properly, they should easily last for three years, giving you many future pepper harvests!
Saving pepper seed is easy! Follow these steps and have quality, viable seeds to start your crop next spring.