Tomatoes are a big highlight of the summer garden. Their stunning colors and incredible, complex flavors make them a hit with the whole family, especially cherry tomatoes. They’re fun for kids and adults alike to grow, pick, and eat.
How to Grow Cherry Tomatoes From Seed
Even if you’re new to gardening, cherry tomatoes are a great plant to start from seed. You’ll need to start your seeds indoors about six weeks before your last expected frost date for best results.
Plant your seeds 1/4 inch deep in shallow flats filled with quality potting mix. Maintain soil temperature between 75-85° F for good germination.
When the seedlings have produced several leaves, transplant them into 3-inch pots to promote root growth. After transplanting, keep seedlings at a lower temperature at night, 50-60° F, to encourage earlier flowering in some varieties. Day temperatures should rise to 75-85° F to promote rapid growth.
Expose plants to light and air currents to harden the plants and to encourage stockiness. Water sparingly, but do not allow the growth to be checked. Fertilize with complete, soluble fertilizer or fish emulsion if leaves become yellow or purple. Keep phosphorous levels high. Too much nitrogen will delay fruiting.
Growing Cherry Tomatoes in the Garden
Tomatoes should be planted out after your last frost date when the average soil temperature has reached 60-65° F. Tomatoes need plenty of space to grow. Staked plants should be about 24 inches apart, and caged plants should be 36 to 48 inches apart. Rows should be 60 inches apart. This spacing helps ensure they receive adequate light, airflow, nutrients, and moisture.
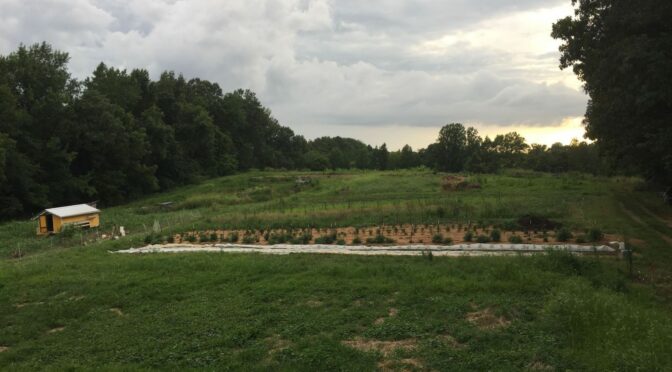
Select an area for tomatoes that receives full sun or as close to it as possible. To avoid soil-borne diseases, don’t plant them anywhere you’ve grown tomatoes in the last four years. Tomatoes thrive in rich, well-drained soil. Consider adding a couple of inches of finished compost and broad-forking your plot before planting if needed.
When you plant your tomatoes, you want to plant them deeply. Dig a hole deep enough that about 2/3 of the stem is covered, even if you have to remove some lower branches. This buried stem will send out roots giving your tomato a better start.
Keeping the soil consistently moist is key to good tomato production. It should be moist but not saturated. Mulch around the base of your plants and water regularly.
Don’t wait for tomato plants to begin to sprawl to trellis them. Set up stakes or trellises early. These make harvesting cherry tomatoes much easier!
How to Grow Cherry Tomatoes in Containers
Cherry tomatoes are perfect for gardeners with limited space too! They can thrive in containers on sunny porches, patios, and even driveways with just a bit of care and knowledge.
The first thing you need to do is ensure you have an appropriate place. Tomatoes should be grown in spots where they’ll receive at least 6 hours of sunlight per day. You’ll also want to consider how far the location is from a water source because your plant will need to be watered fairly often at the height of summer.
Then, select an appropriate container. You’ll want to find a pot that’s at least 5 gallons. Know that the smaller the pot you choose, the more often you’ll need to water and feed your plant. Except for fabric containers, you’ll need to find a container with drainage holes or drill some yourself. Cherry tomatoes can be grown in plastic, terracotta, or ceramic pots. Note that black plastic pots may be detrimental to plant growth in the deep south as they can make the soil temperatures high.
Your cherry tomato is going to need some support. This can be as simple as using cloth strips to tie them to your porch railing or driving a metal t-post in behind your pot to use as a stake.
Don’t let your potted cherry tomatoes dry out completely. Keep the soil moist but not saturated by watering regularly. You should also consider feeding them with a water-soluble fertilizer like liquid kelp a few times throughout the season, especially if they develop signs of a nutrient deficiency.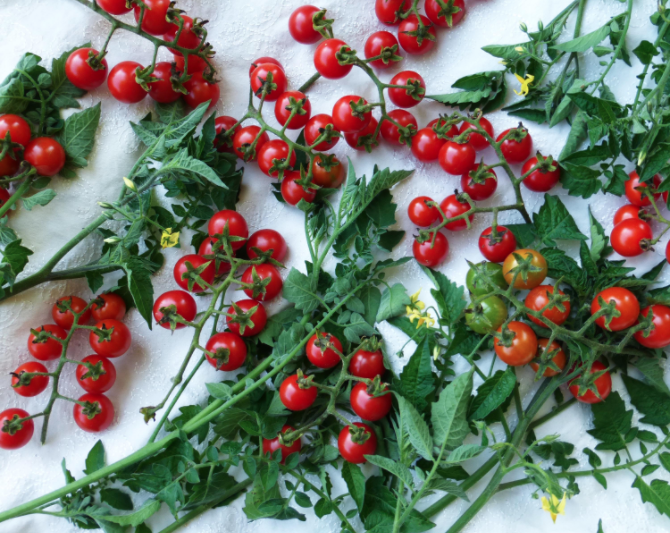
Grow a Rainbow
Red
- Matt’s Wild Cherry Tomato
- Amy’s Sugar Gem Tomato
- Principe Borghese Tomato
- Red Cherry Tomato (Old Fashioned Red)
- Red Currant Tomato
- Red Pisa Date Cherry Tomato
- Sugar Cherry Tomato
Yellow
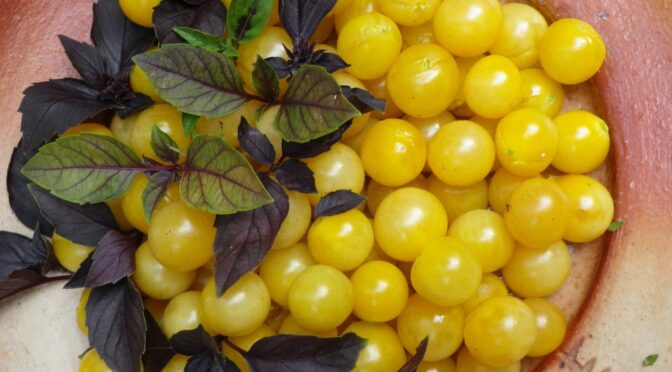
- Coyote Cherry Tomato (featured image)
- Dr. Carolyn Tomato
- Lollipop Tomato
- Yellow Centiflor Cherry Tomato
Black/Purple
Pink
Multicolor
Green
What to Do With Cherry Tomatoes
There’s nothing better than a cherry tomato popped in your mouth on a stroll through the garden still sun-warmed off the vine. However, cherry tomatoes are super prolific! Here are a few ideas to make sure you can put all those cherries to good use.