Each winter gardeners dream of spring, tucking seeds into the soil indoors where they’re safe from winter’s chill. Most of garden seeds like tomatoes, zinnias, cabbage, and basil all benefit from relatively warm soil conditions. But, there are some seeds that actually require cold temperatures to germinate. This is when gardeners must use a method called cold stratification.
What is Cold Stratification?
Cold stratification is a seed starting technique where the gardener exposes the seeds to cold, moist conditions to mimic natural conditions. For some species, these conditions are necessary for the seed to break dormancy.
Seeds that require cold stratification typically have a hard seed coating. In a natural setting, the frosts, snow, low temperatures, and rain of winter break down the coating.
 What Seeds Require Cold Stratification
While you can simply plunk many annual vegetable, flower, and herb seeds straight into warm soil in the spring, some varieties, especially native perennials, need or benefit from cold stratification.
Some species like Butterfly Weed will germinate without cold stratification. However, they may have a lower germination rate and germinate more slowly. Others, like the Yellow Coneflower, require cold stratification. I have marked those species that require cold stratification to break dormancy with a “*.”
- Butterfly Weed
- Milkweed*
- Narrow-Leaved Coneflower (Echinacea Angustifolia)*
- Pale Purple Coneflower (Echinacea Pallida)*
- Yellow Coneflower (Echinacea Paradoxa)*
- Purple Coneflower (Echinacea Purpurea)
- Lupine
- St. John’s Wort
- Asparagus
- Rudbeckia
- Catnip
- Soapwort
- Perennial Sunflowers
- Larkspur
- Violas
- Coreopsis
- Anise-Hyssop
This list includes many of the common plants that benefit from cold stratification but isn’t comprehensive. Always check on your specific variety’s needs.
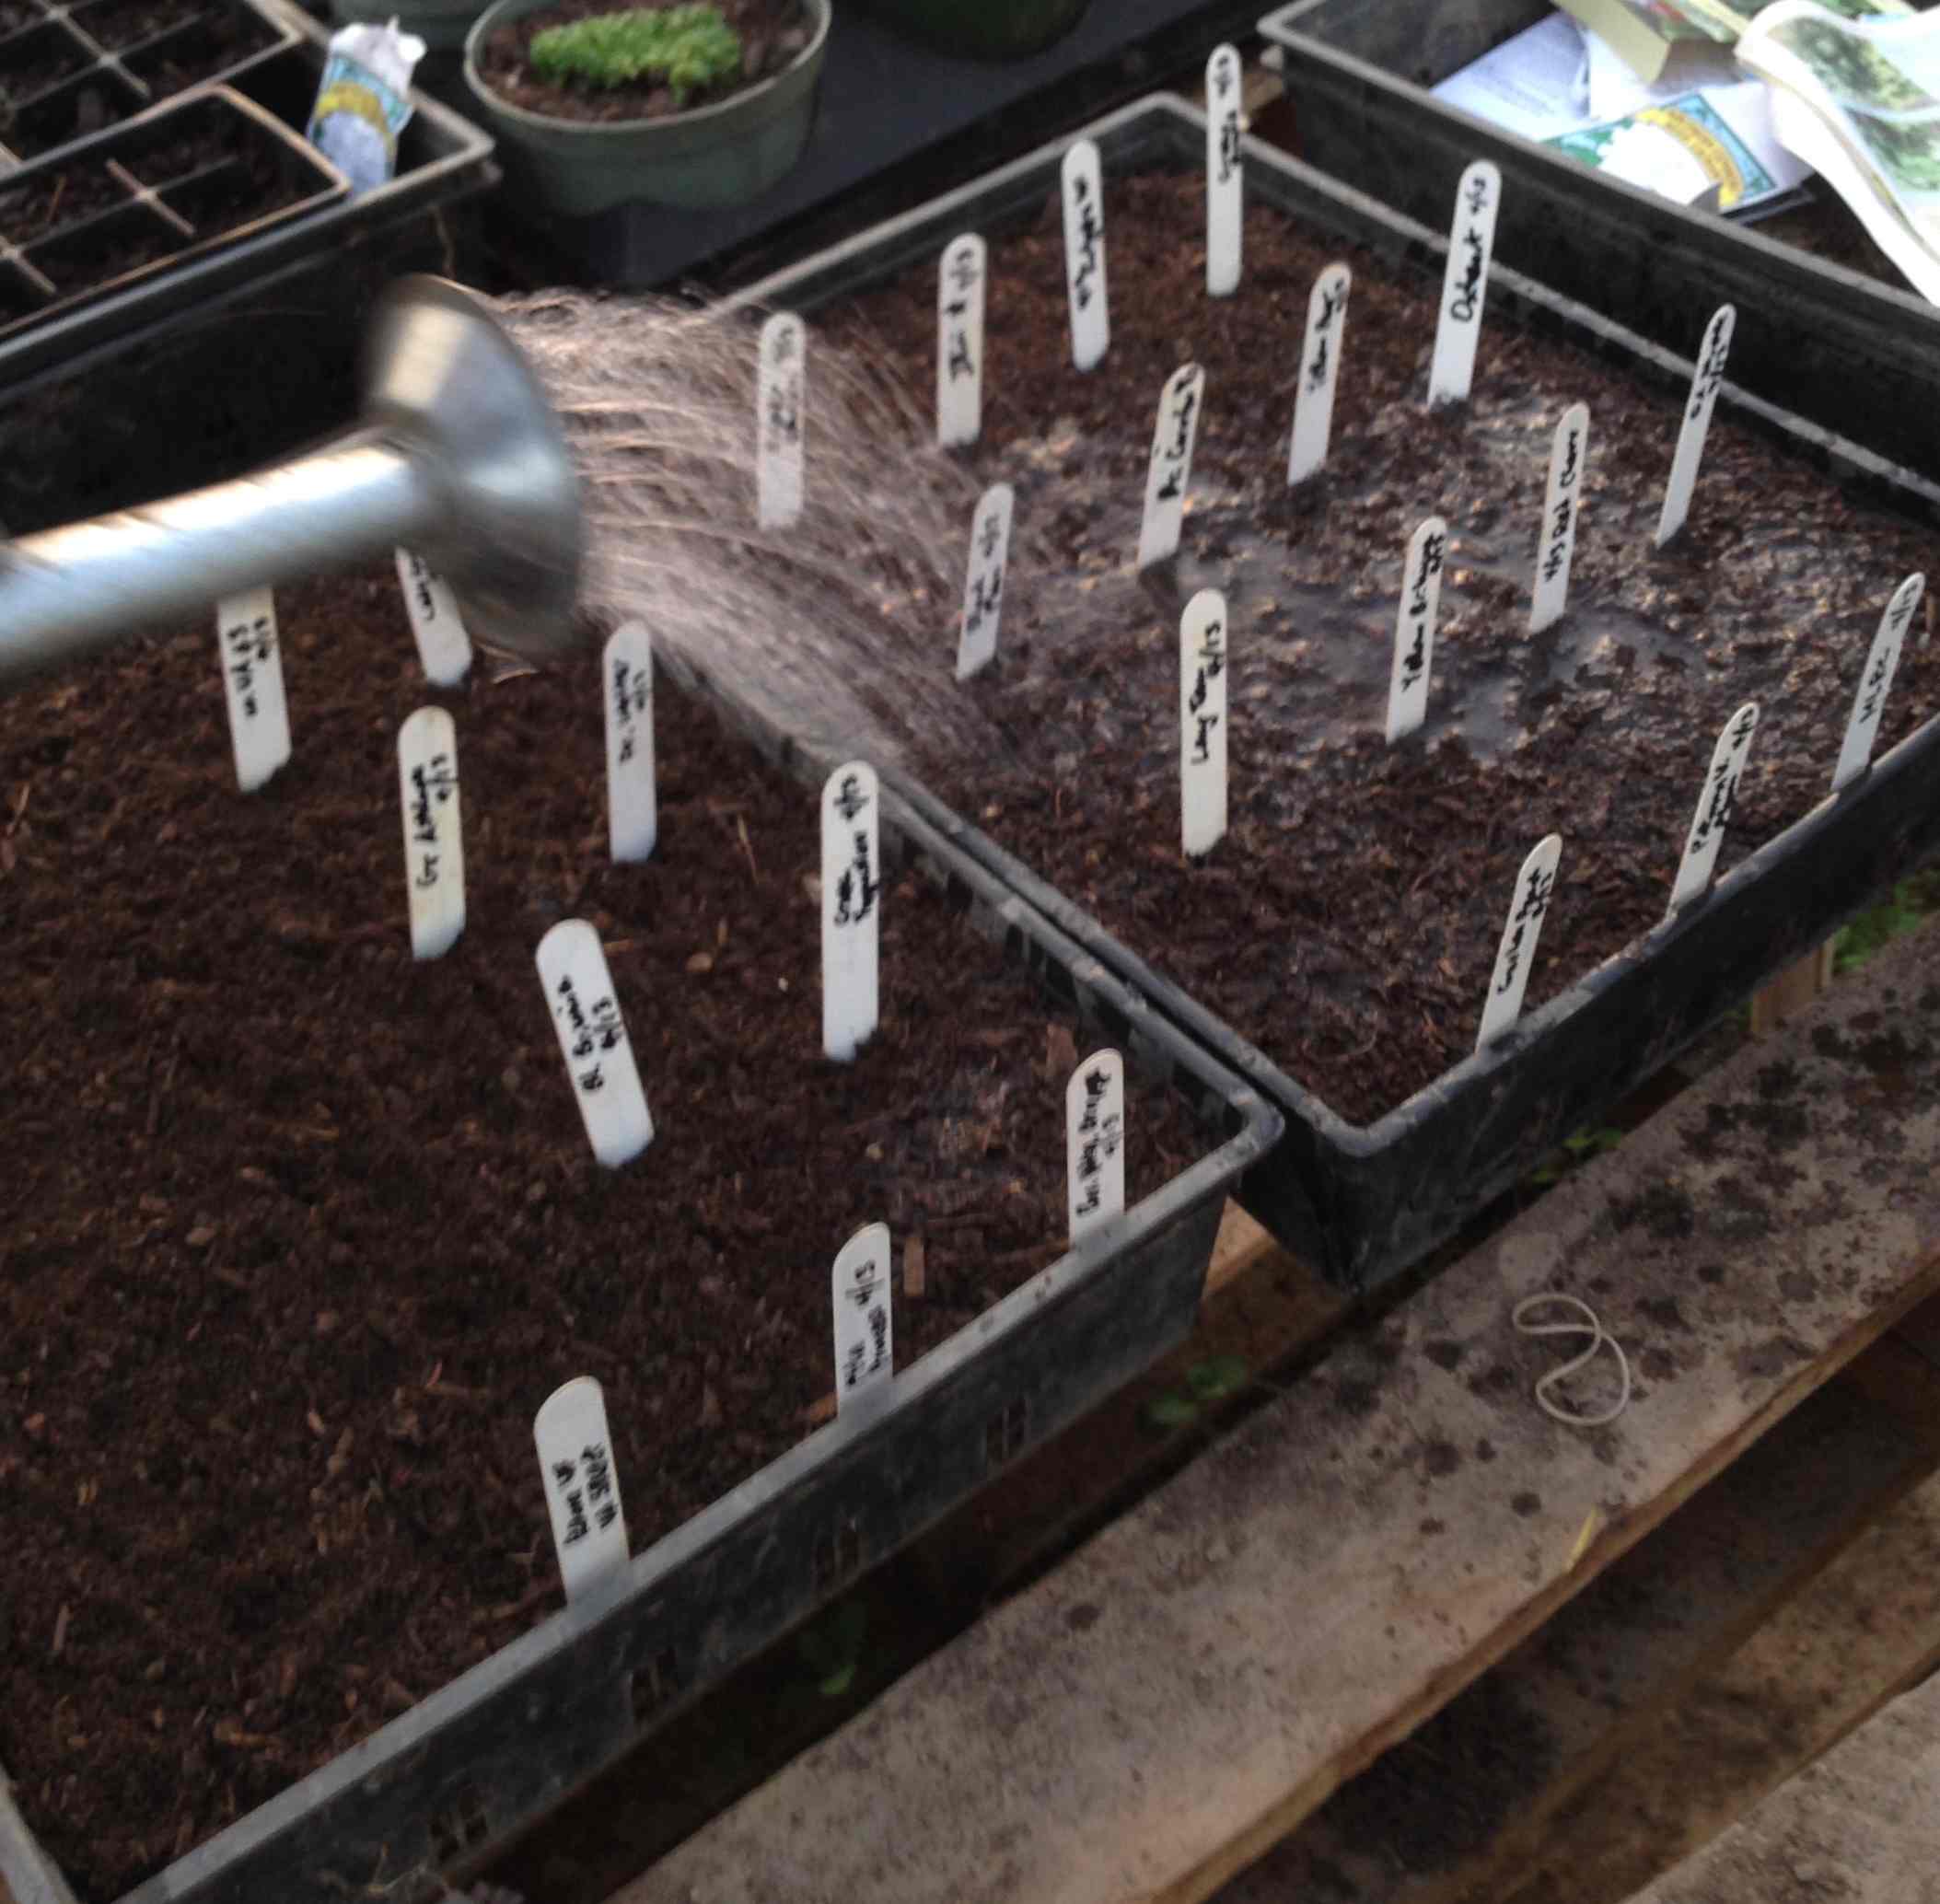
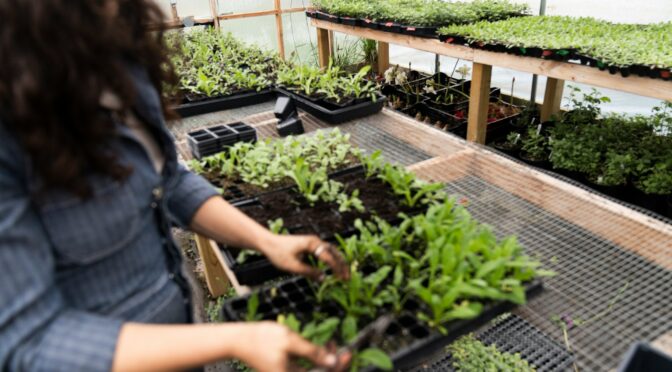
How to Cold Stratify Seeds
There are several techniques for cold stratifying seeds, but we like to keep it as simple as possible at SESE. However, these seeds will still need to be started far in advance of your typical crops. While a few species will germinate after just 3 weeks of cold stratification, most need 2 to 4 months before they break dormancy.
To stratify seeds indoors, sow them as directed in pots or flats, and then place them in the refrigerator for 2 to 4 months. Keep the soil moist during this period. If you have access to a cold frame or hoop house, you can also set your pots or flats into it for the winter.
Some native perennials may still have relatively low germination rates, even after cold stratification.
That’s what makes them sow tricky to grow. Thankfully, once established, they will often self sow or you can divide them after a couple of years.
Cold Stratification Alternative: Direct Sow Fall Planting
If cold stratification doesn’t sound like a fun project for you, there is an easy alternative, direct sowing in fall. As long as you live in a region where the winters naturally provide moist, cold conditions, the stratification process will happen over the winter.
In a previous post, Spring Flowers: Fall Sowing, we discuss how to use this technique and what flowers grow well using this method. Some flowers, like Dara, will grow well when fall sown even if they don’t require cold stratification.
Generally, we recommend fall sowing any of your seeds about 4 to 6 weeks before your first expected frost date.

 What are the Different Plant Families?
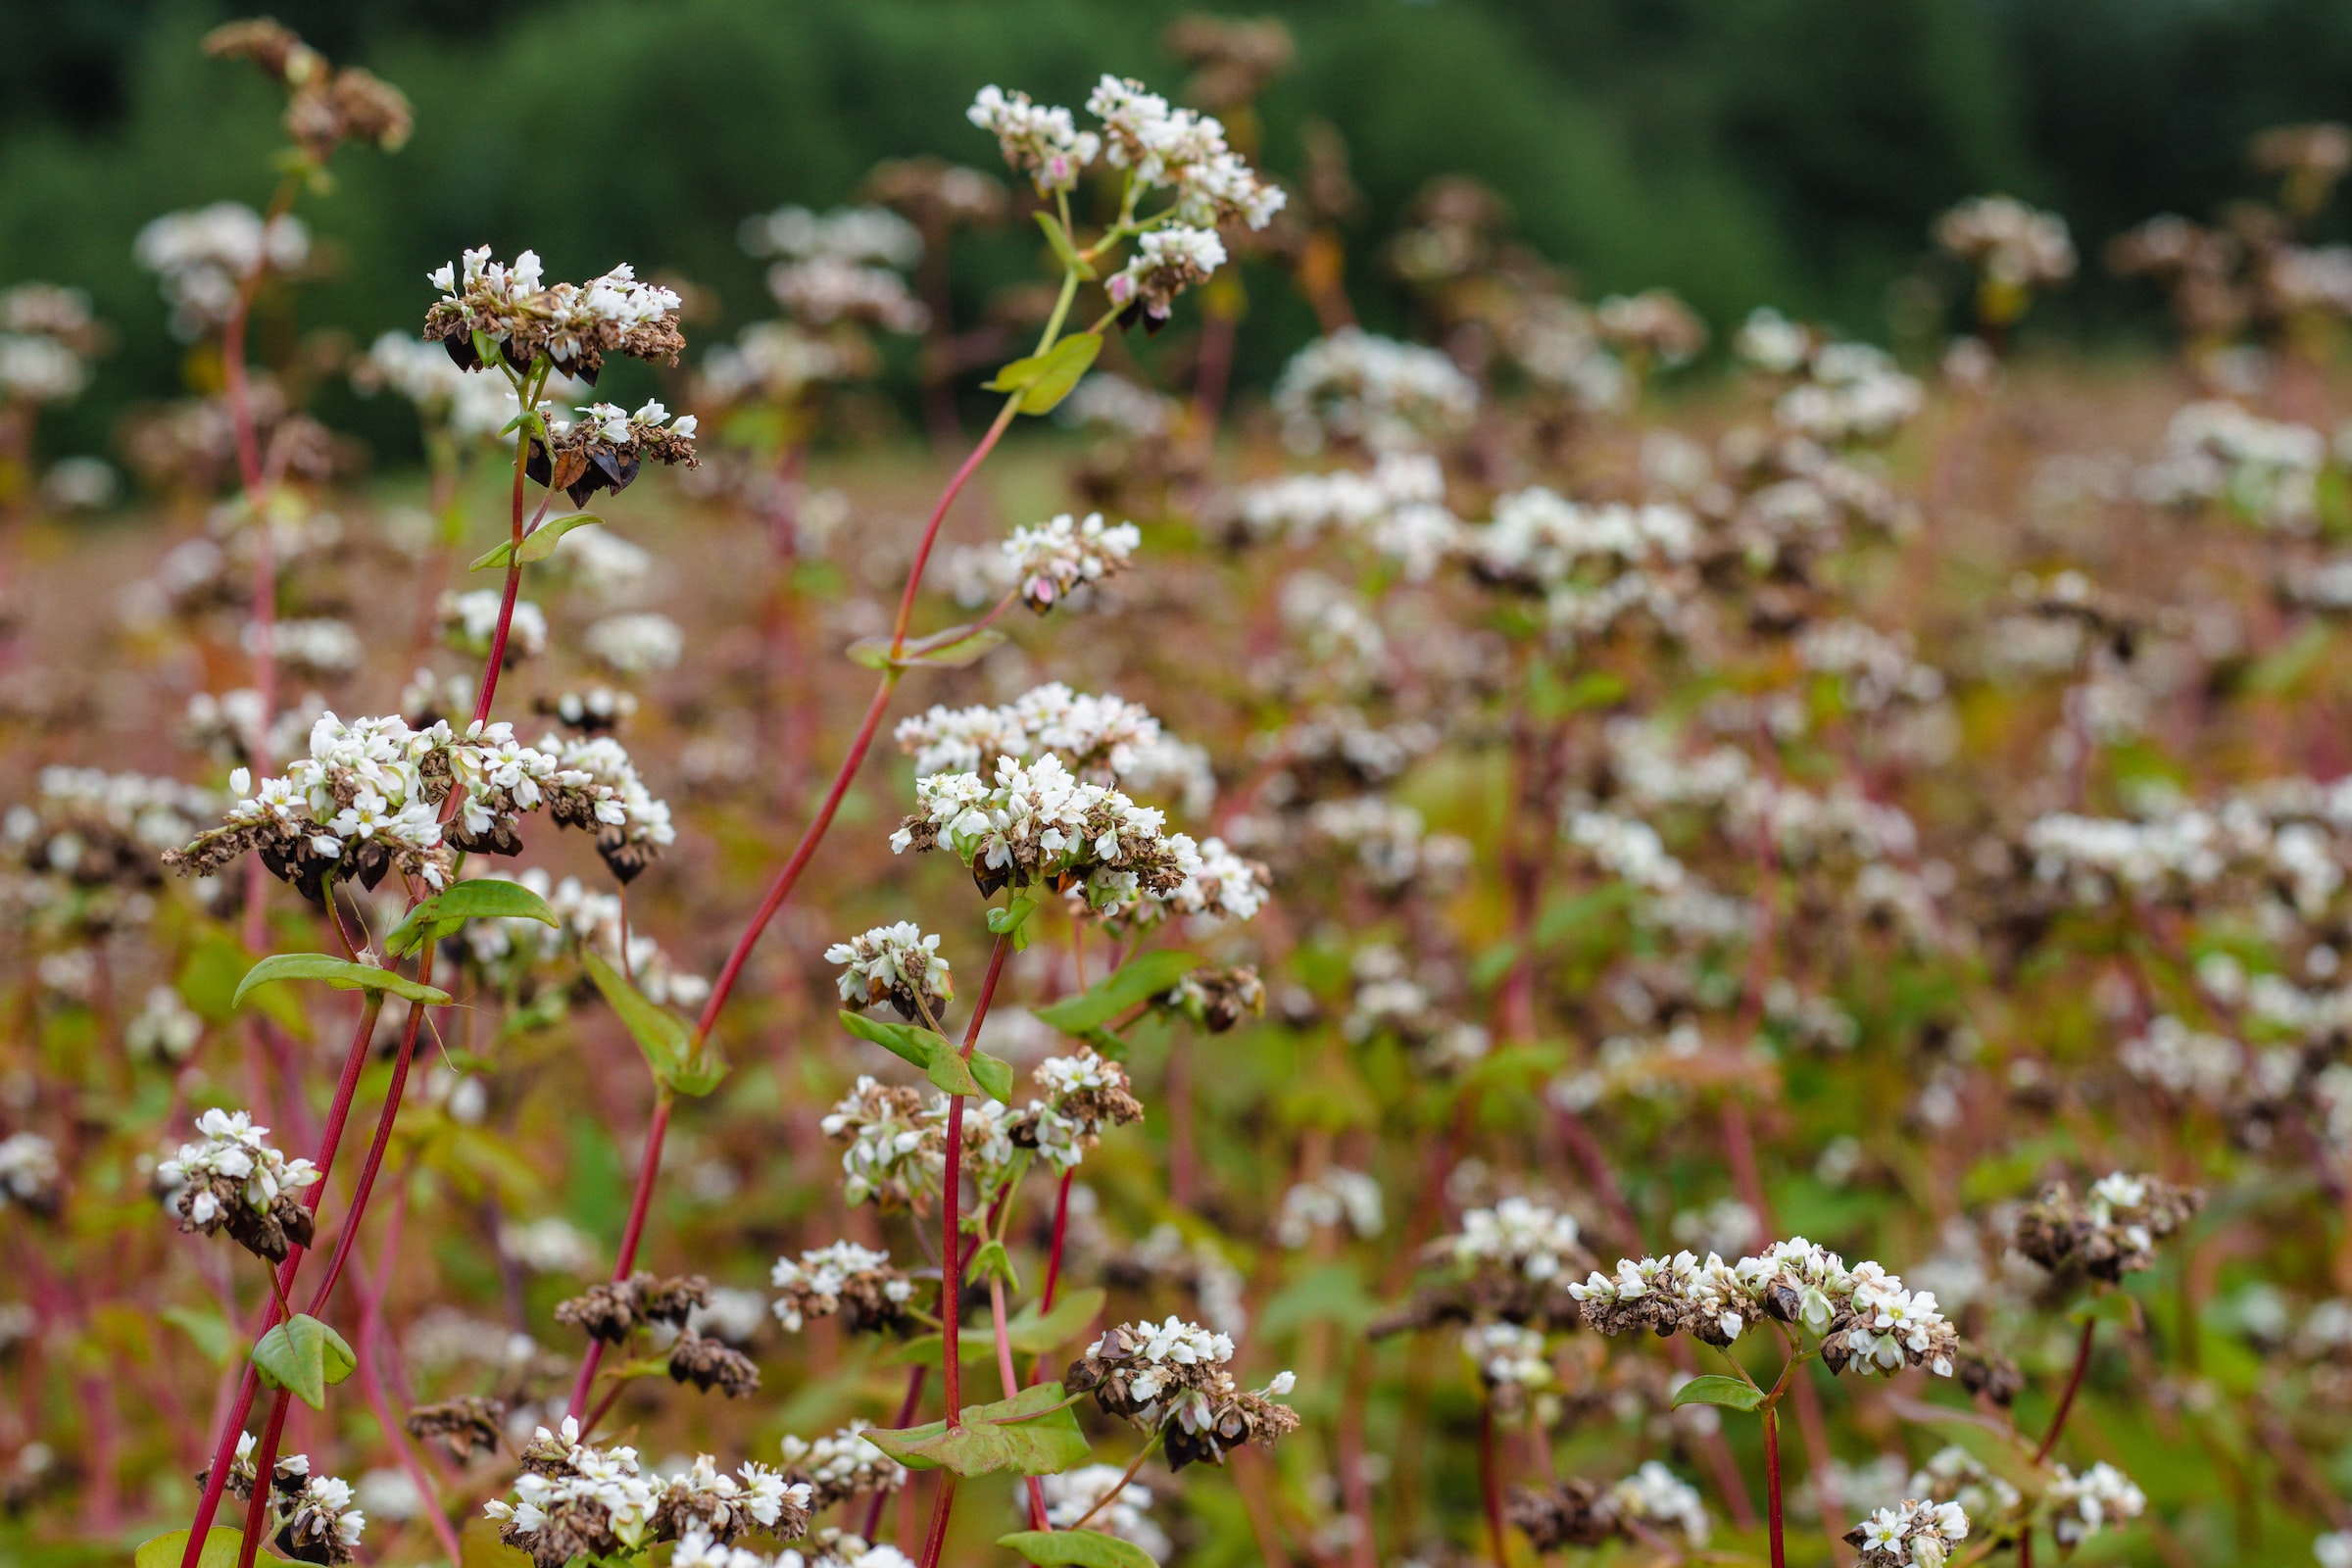 Other Considerations
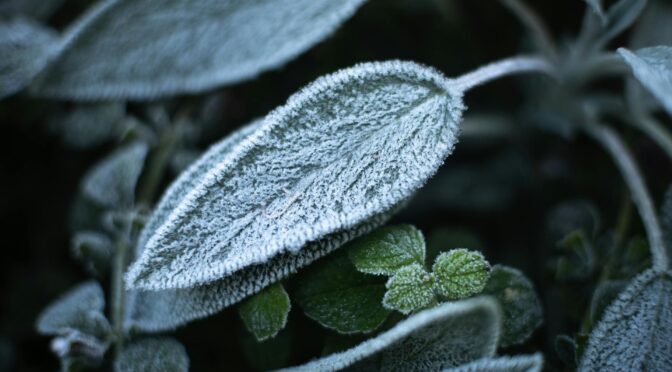
 Organize and Check Seeds
 Order Seeds
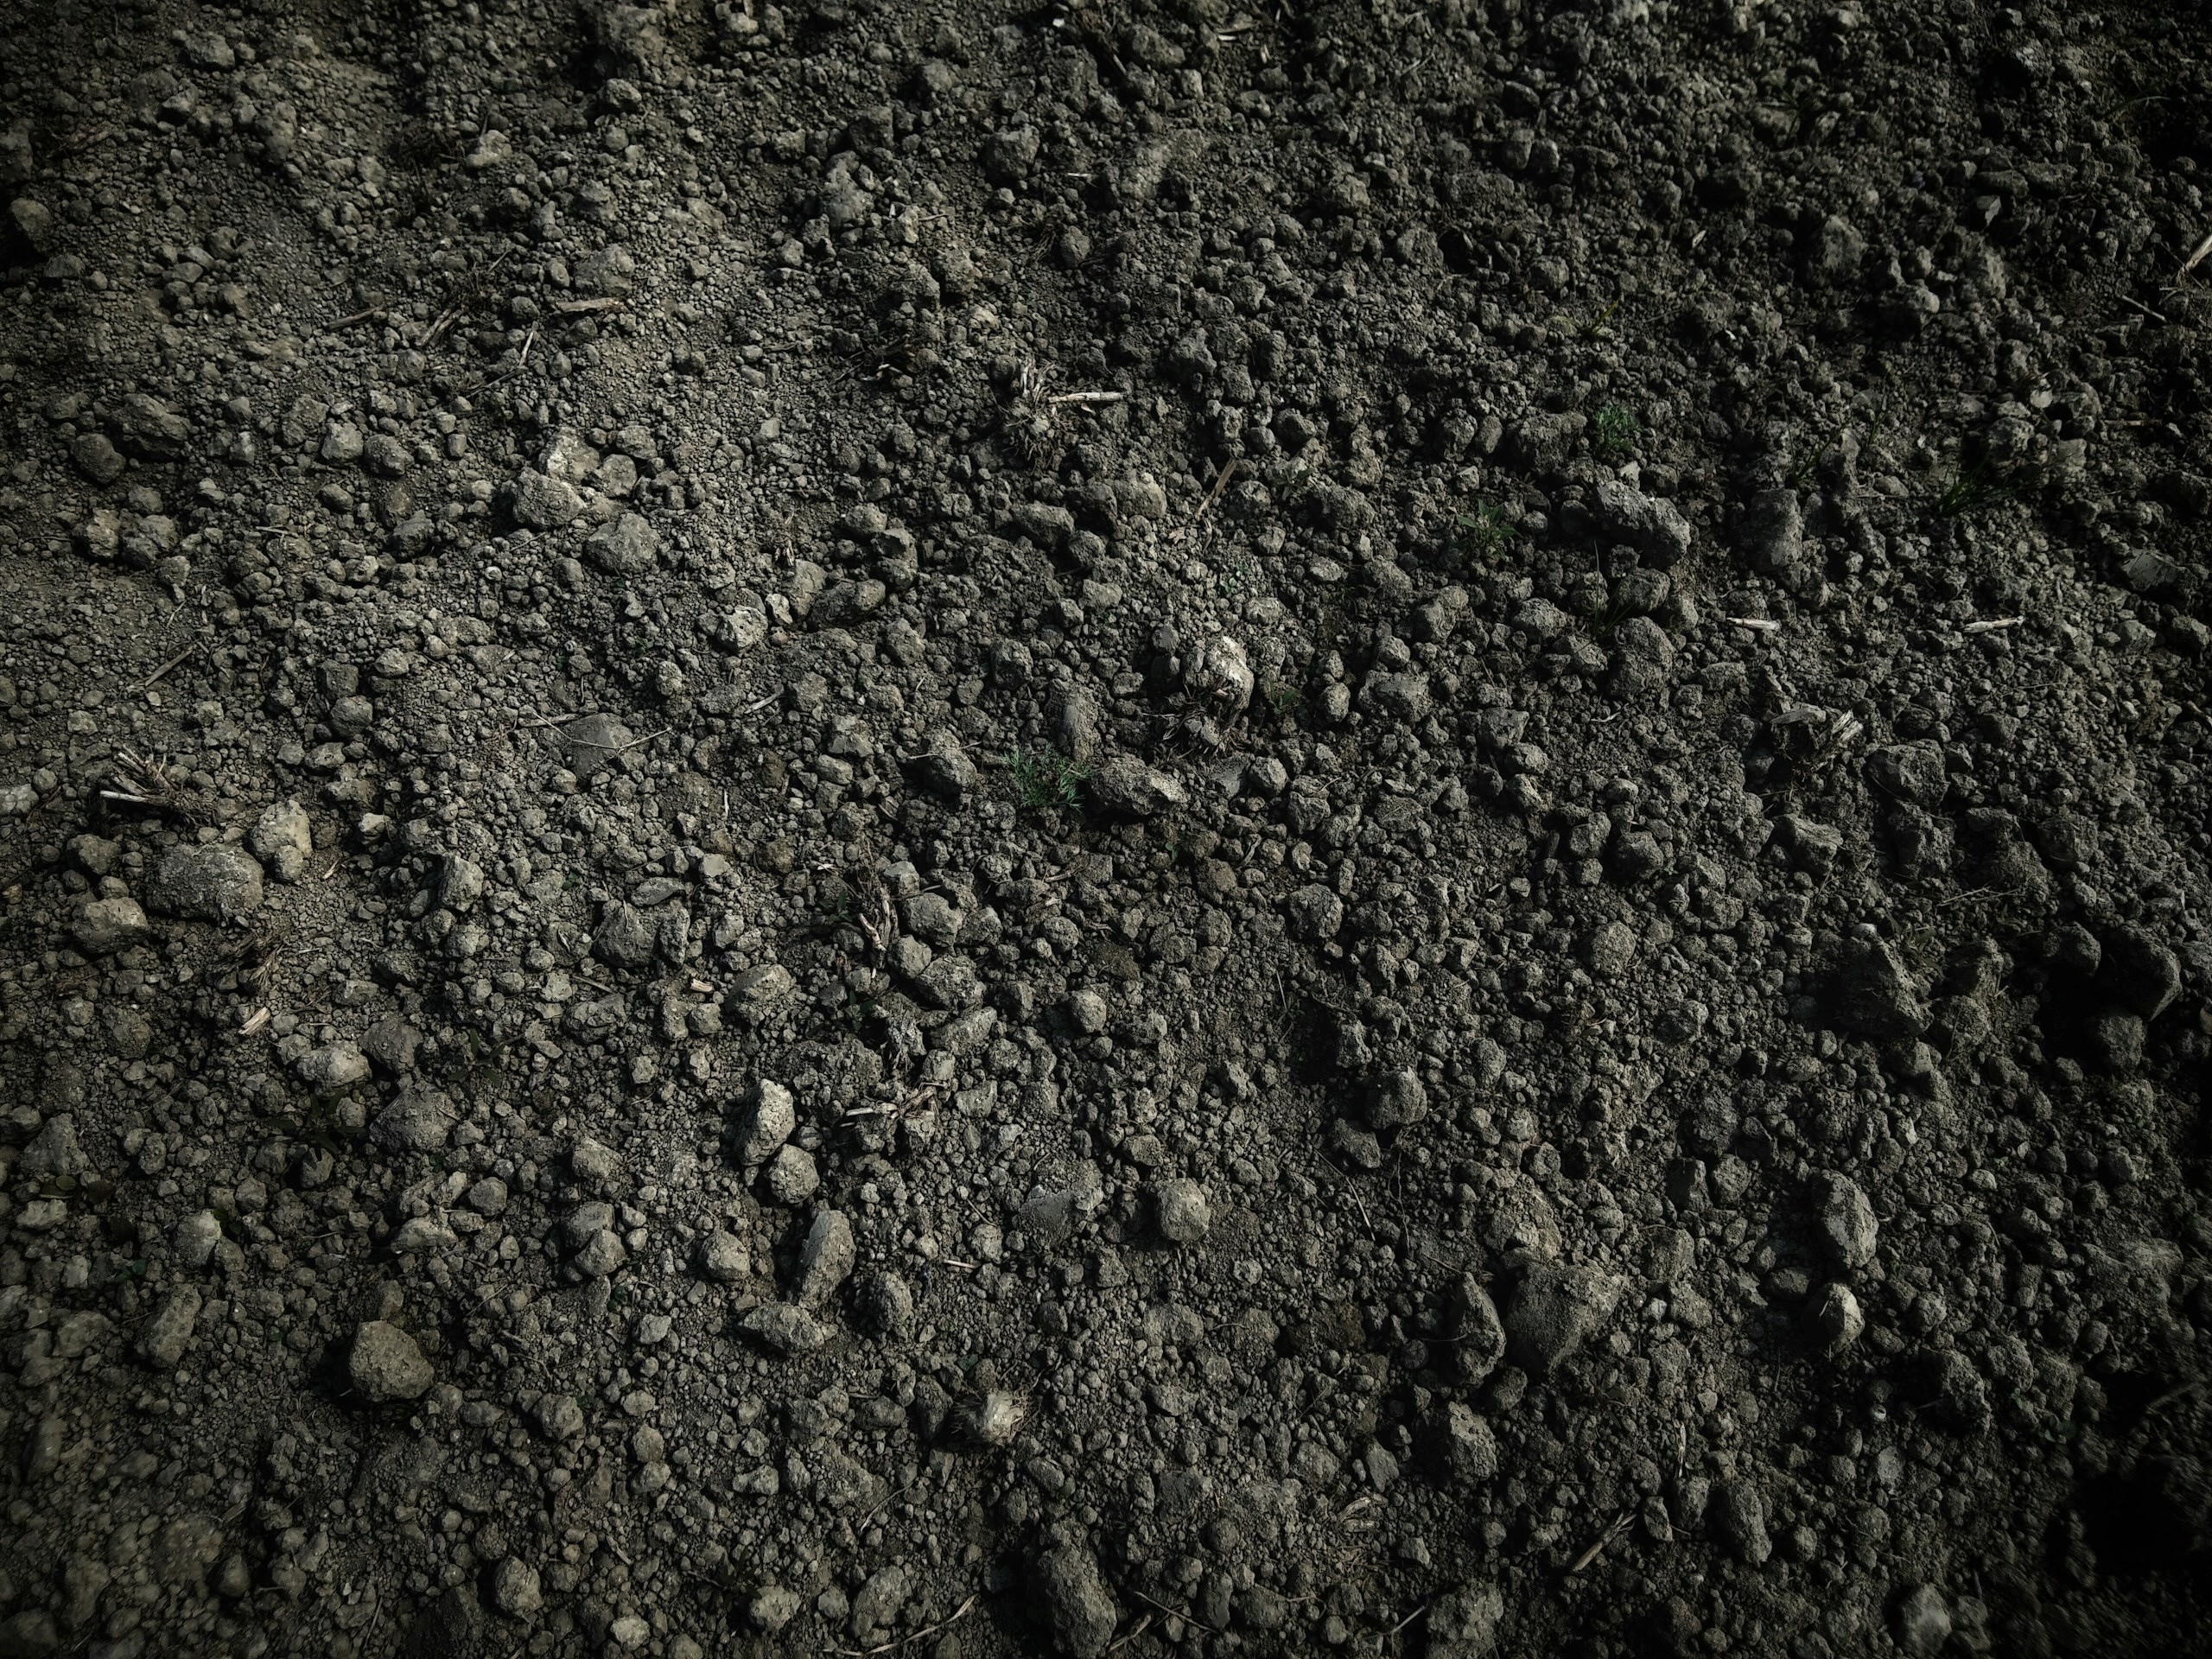 Build Healthy Soil