
Potatoes can be one of the easiest staple crops to grow, providing pounds of food for relatively little effort. Unfortunately, they can also have many problems! If you’ve struggled to grow large harvests of good-quality potatoes, you’re not alone. Thankfully, there are a few simple steps to take to have a more successful year. Here are our best tips for growing potatoes.
Always Rotate Your Potatoes & Nightshades
Unfortunately, potatoes are susceptible to a number of diseases, including the destructive pathogen Phytophthora infestans, which caused the late potato blight of the notorious potato famine.
One of the best ways to avoid this and other diseases is to always rotate your potato crops, ideally on a three to four-year rotation. This rotation should include all the other nightshades that could play host to the same diseases, including peppers, tomatoes, tomatillos, okra, and eggplants. Don’t plant any of these in the same bed for three to four years.
Water Consistently While Growing Potatoes
Many folks don’t irrigate potatoes even if they water their other crops. The assumption is that potatoes are a bit tougher. While they are in some ways, inconsistent watering can lead to decreased production and serious issues like hollow heart a type of cell death inside the tuber that creates a hollow in the center.
Potatoes should receive 1 to 2 inches of water or rain per week. This is crucial while they’re flowering and forming tubers. When the potato plants start to turn yellow and die back, you can discontinue watering to allow for a drier, easier harvest.
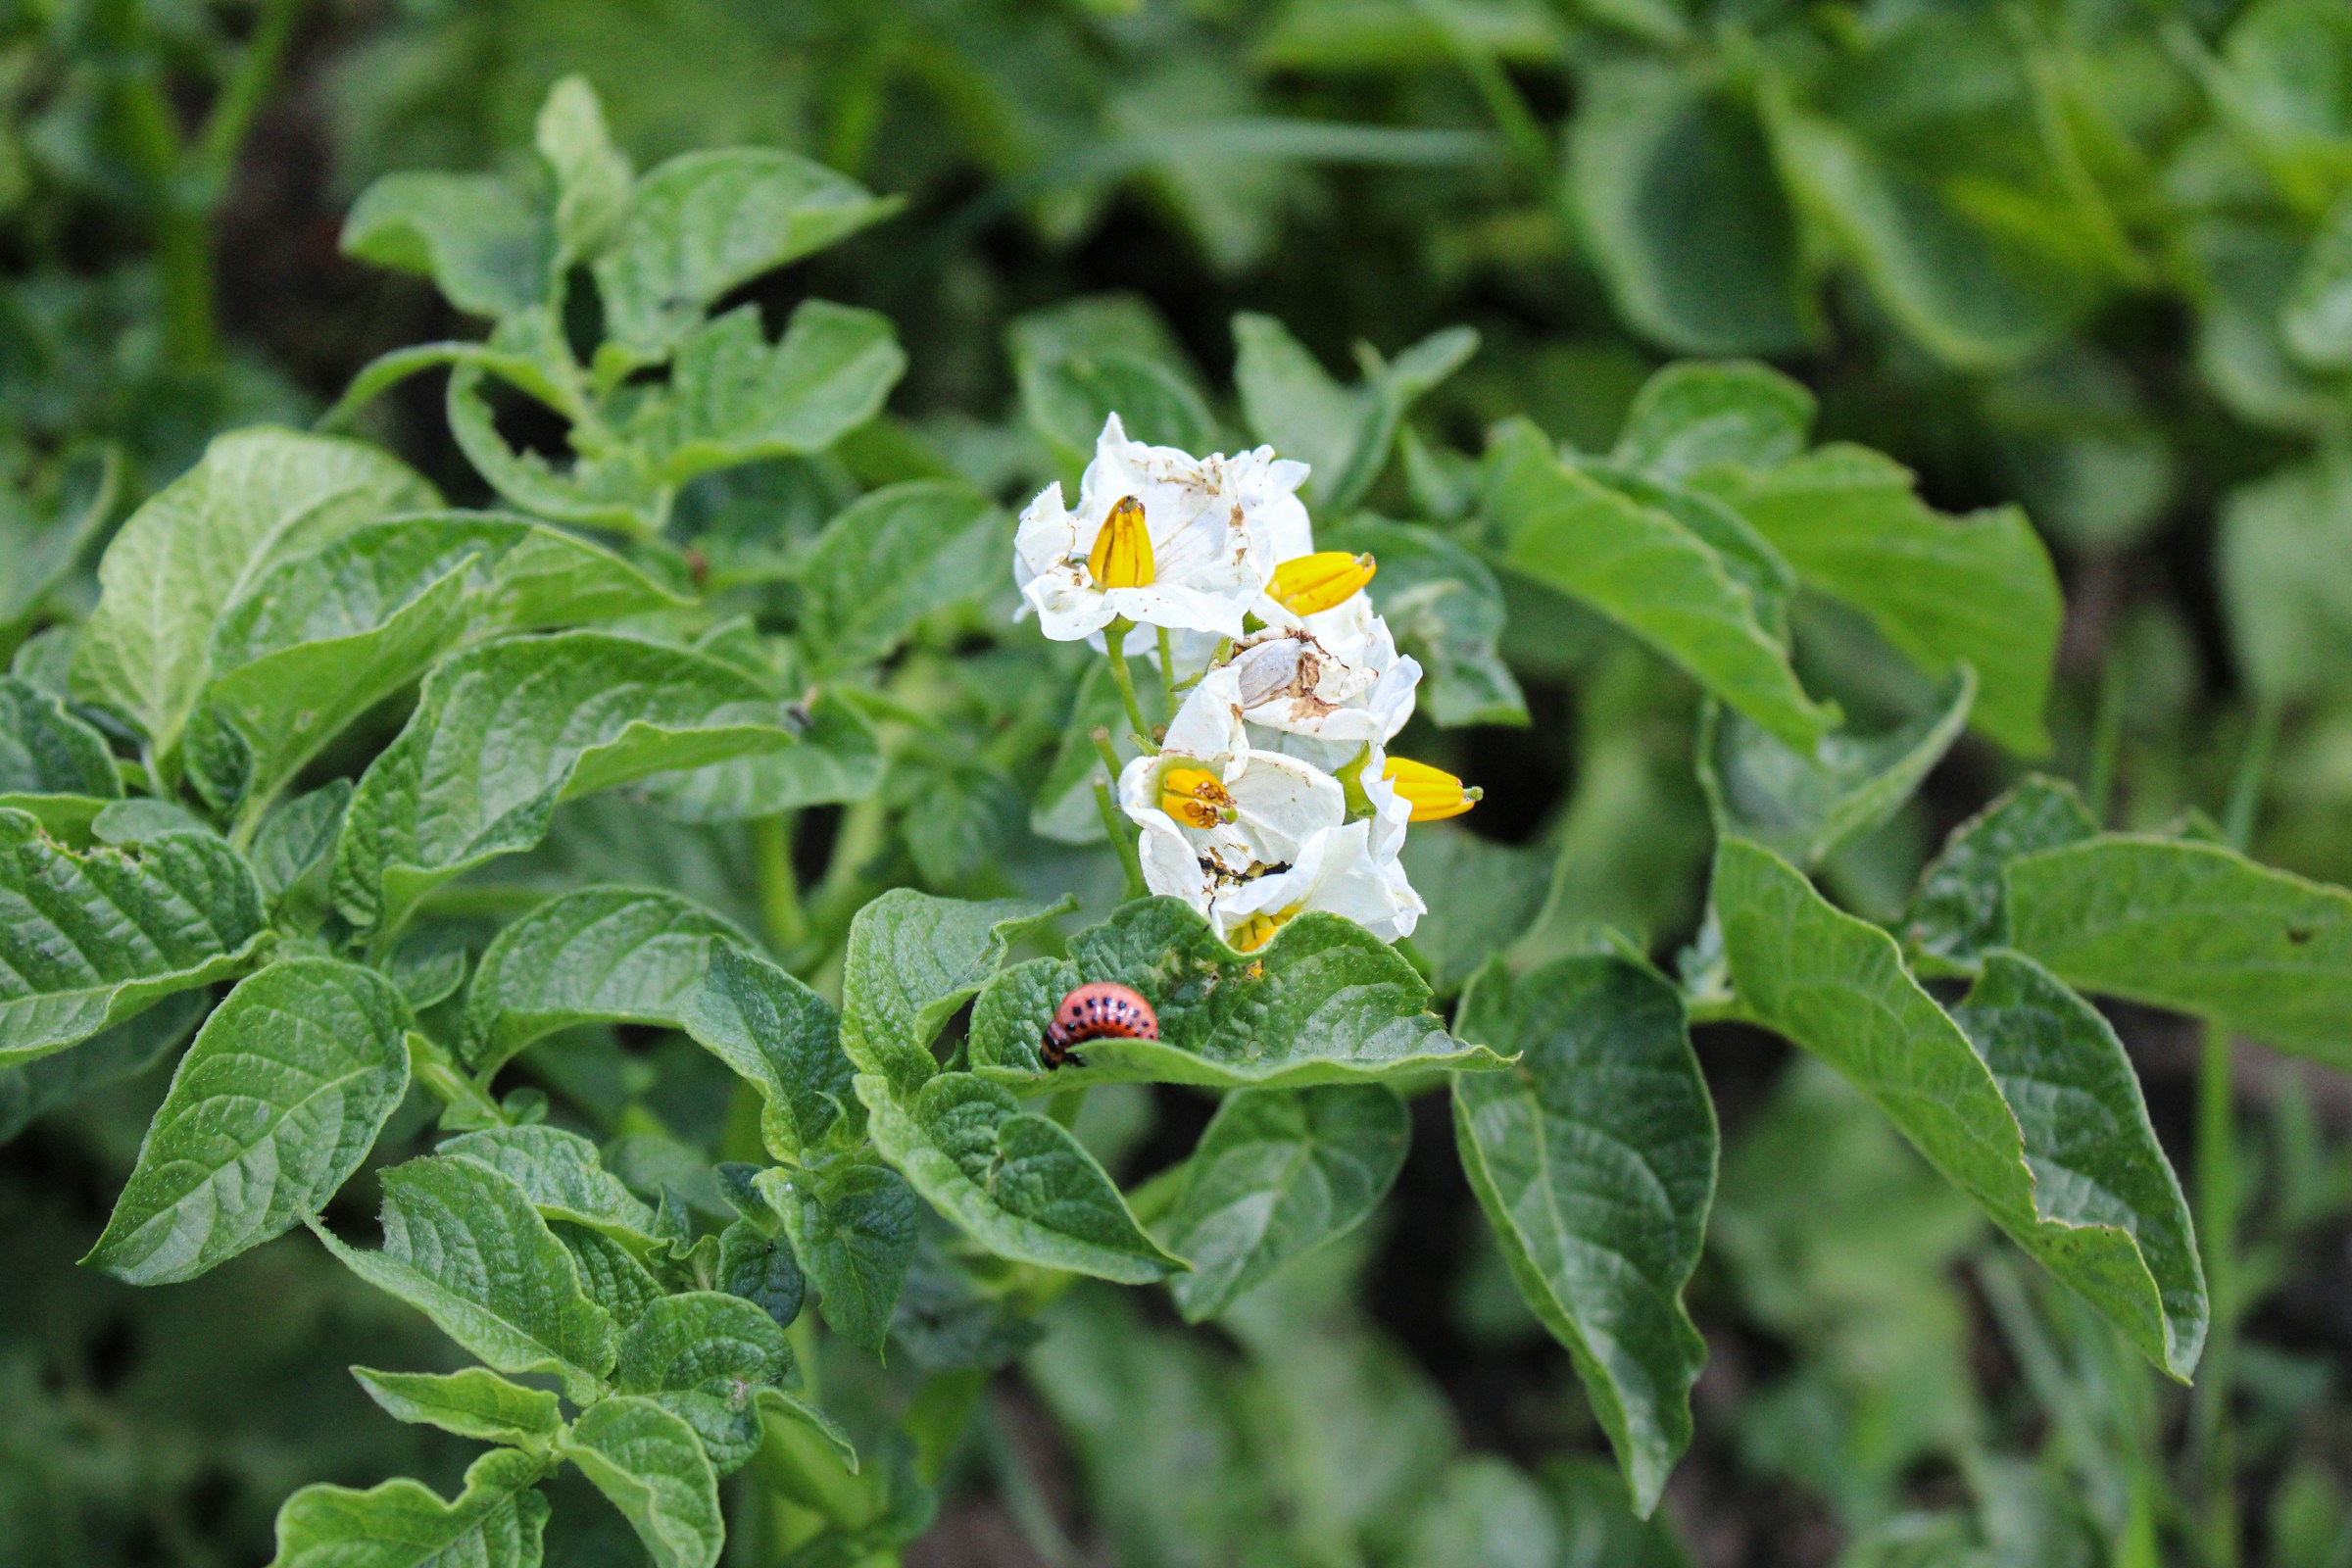
Watch for Potato Beetles
Colorado potato beetles (Leptinotarsa decemlineata) can be a major issue for many gardeners, defoliating entire plants. Unfortunately, they’re resistant to many pesticides, both organic and conventional. The best way to deal with them is to watch for them carefully and handpick them into a bucket of soap water. You can also smash the eggs and larvae.
Check out this helpful University of Minnesota Extension article to learn how to identify them in their different life stages.
Get Your Soil Tested for Growing Potatoes
Potatoes aren’t super picky, but they do perform best in specific soil conditions. Light, well-drained soil that’s rich in organic matter is ideal. They thrive in acidic soil when the pH is 4.8 – 5.5. Potatoes are more susceptible to scab in soil with a pH of 6.0 or higher.
Potatoes also need good levels of certain nutrients. To produce well, they need decent levels of nitrogen, potassium, and phosphorus. Low potassium levels can also contribute to issues like hollow heart. Adding good quality compost to your soil can help with these things, but it’s worth getting a soil test, especially if you’ve had problems in the past.
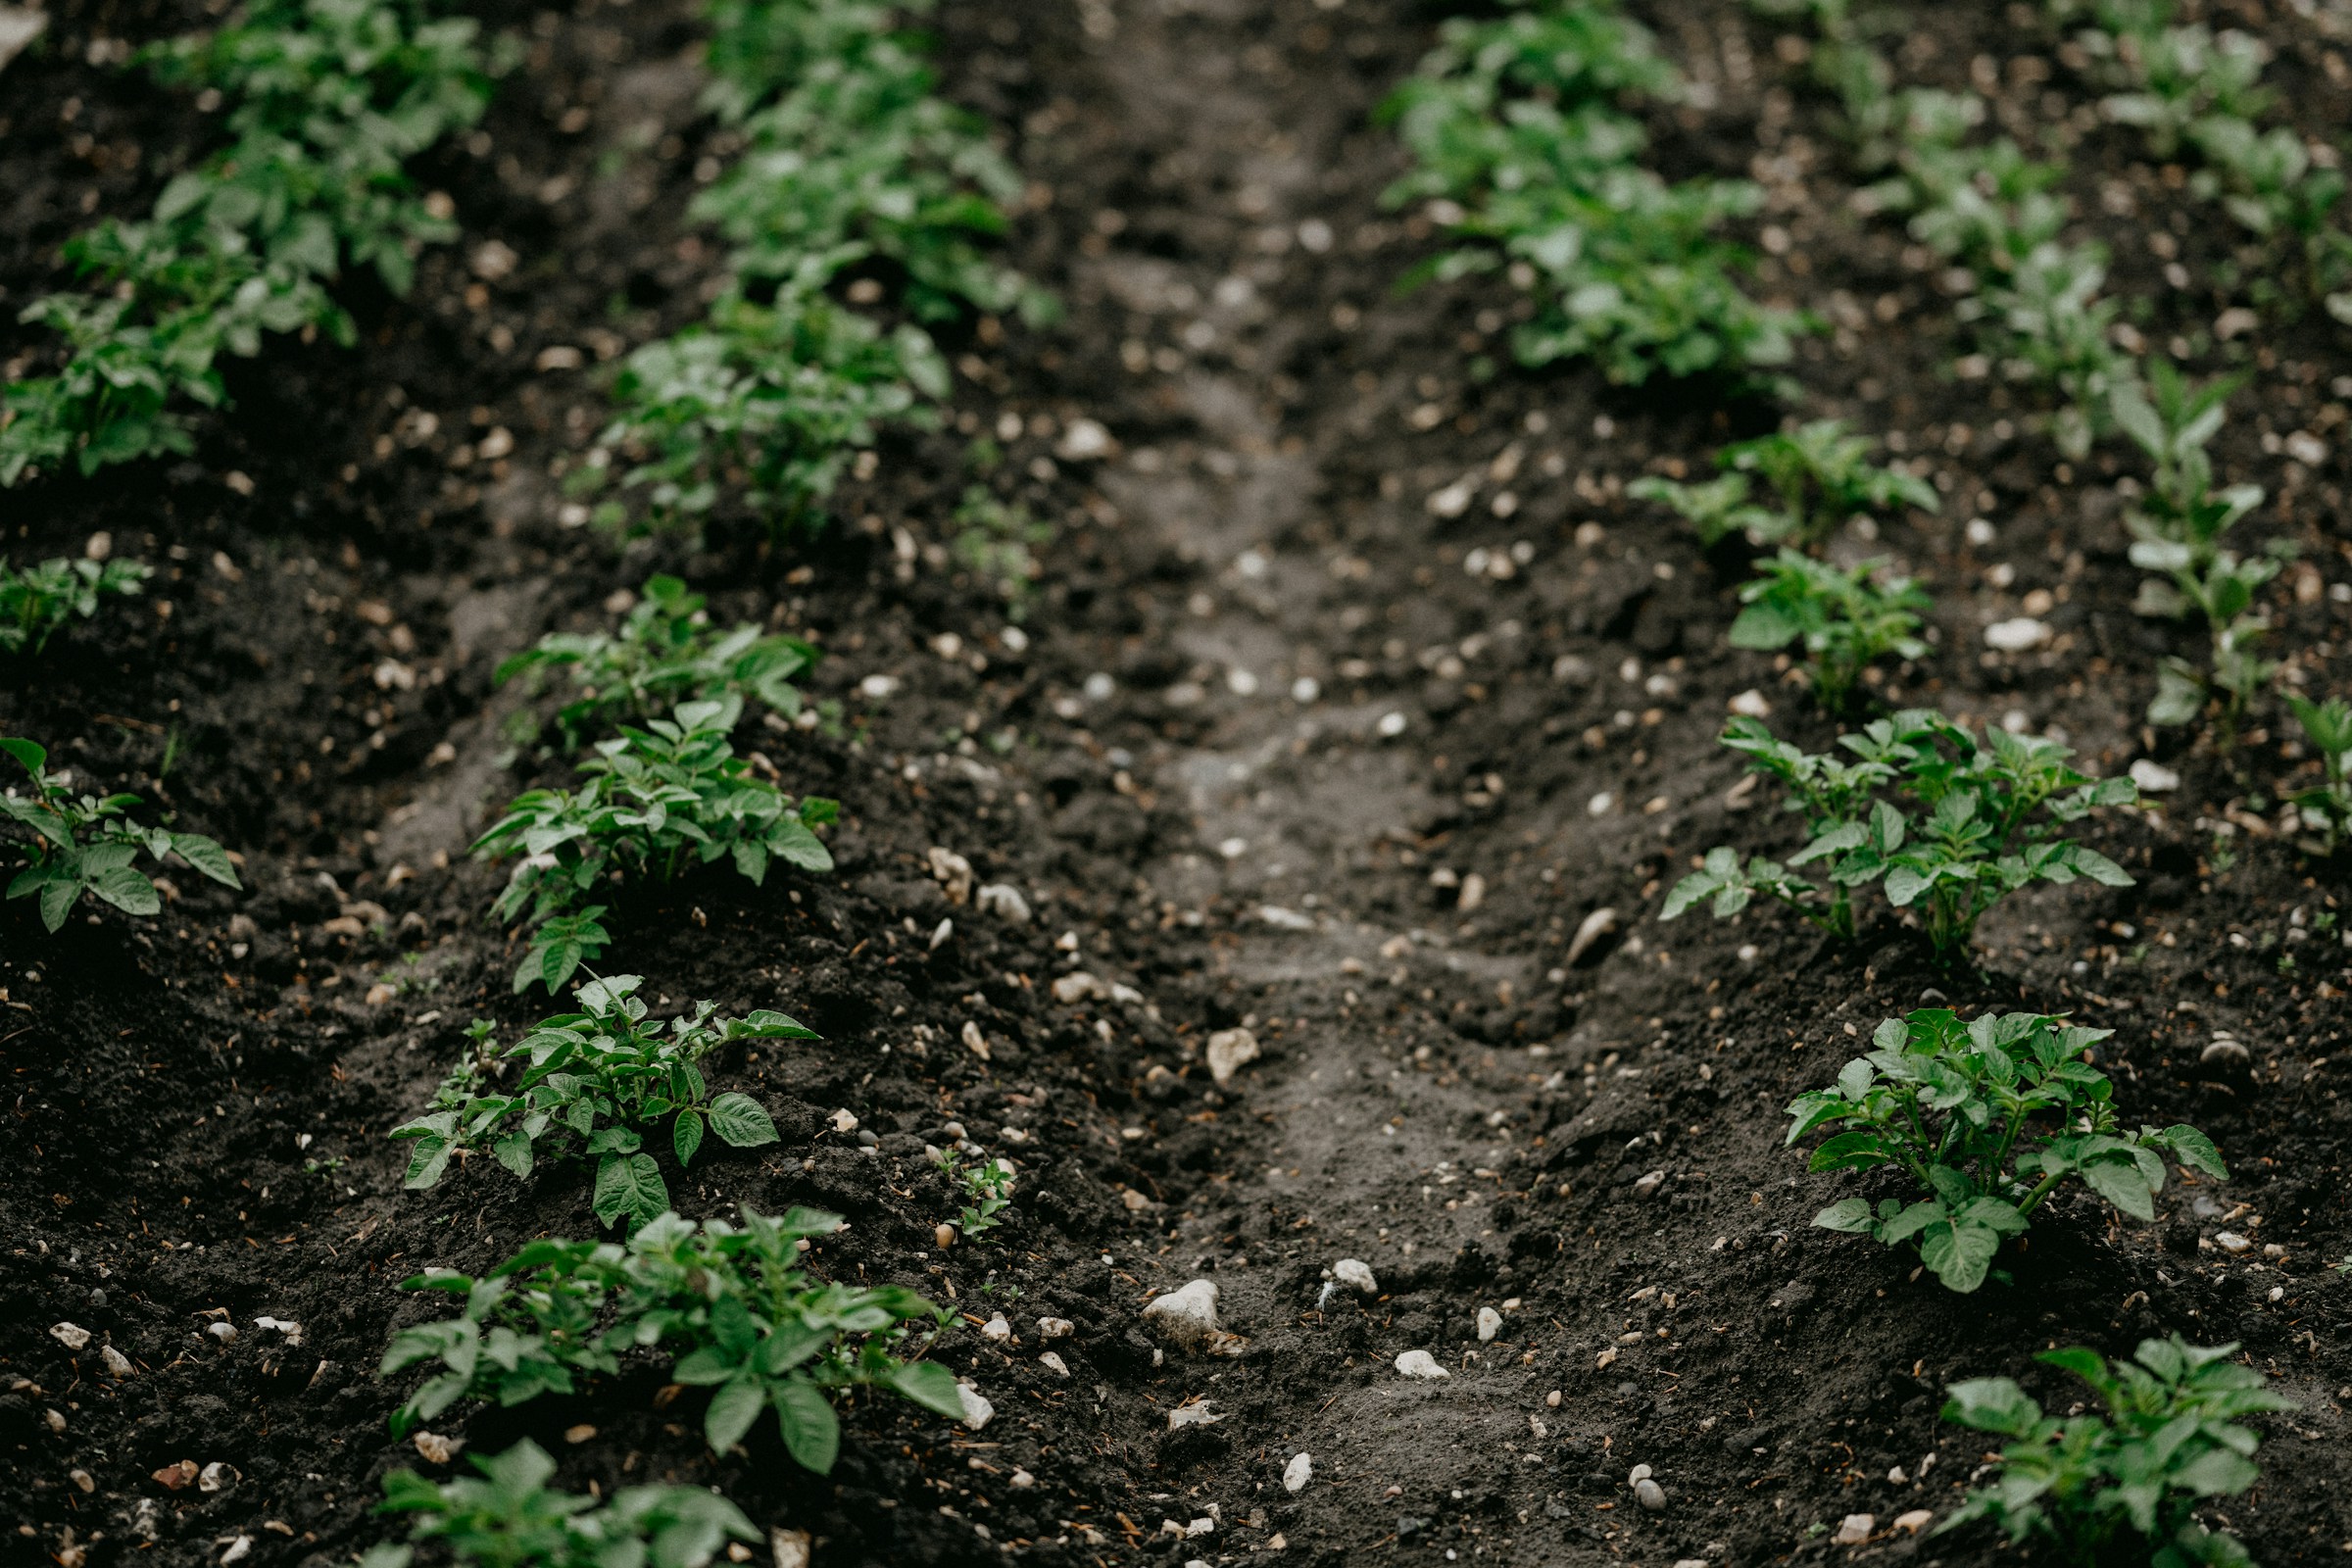
Hill Up Your Potatoes When the Stems Reach 6 to 8 Inches Tall
Re-burying your potato stems may seem like an odd idea, especially if you’re new to gardening, but it is crucial for good potato harvests. Potatoes produce tubers along the stem; when you hill them up so that only the top leaves stick out of the soil, new potatoes form along the stem in the new section of soil.
Hilling potatoes also helps with weed and moisture control and minimizes greening on potatoes that may have been forming near the surface. It also helps keep the soil cooler in the heat of summer.
Plant a Late Potato Crop for Storage
If you just grow a few potatoes for fresh eating, you can plant them in early spring. Many folks choose St. Patrick’s Day as the traditional spring planting day. However, if you want good storage potatoes, planting some late potatoes is a good idea. We usually plant a second batch in June. These late potatoes may have a lower yield but store better for winter eating.
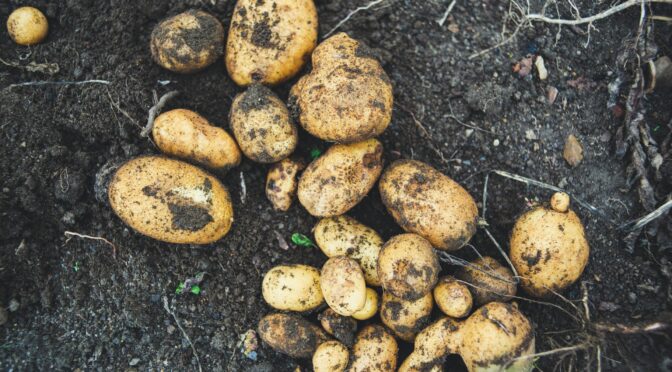
Harvest, Cure, and Store Potatoes Properly
You can gently harvest a few fresh potatoes about 2 to 3 weeks after the plants flower. However, your main harvest should come 2 to 3 weeks after the plants have died back completely. This ensures they will keep well. Then, potatoes must be adequately cured before they can go into storage.
Visit our Harvesting and Curing Potatoes post for the full process.
There are many wonderful potato varieties available for the home garden, from tried-and-true favorites like Yukon Gold to newer varieties like the beautiful Adirondack Blue. These potatoes make excellent, productive staple crops, especially if you give them a little care. Follow these seven tips for growing potatoes to have a successful harvest this season.
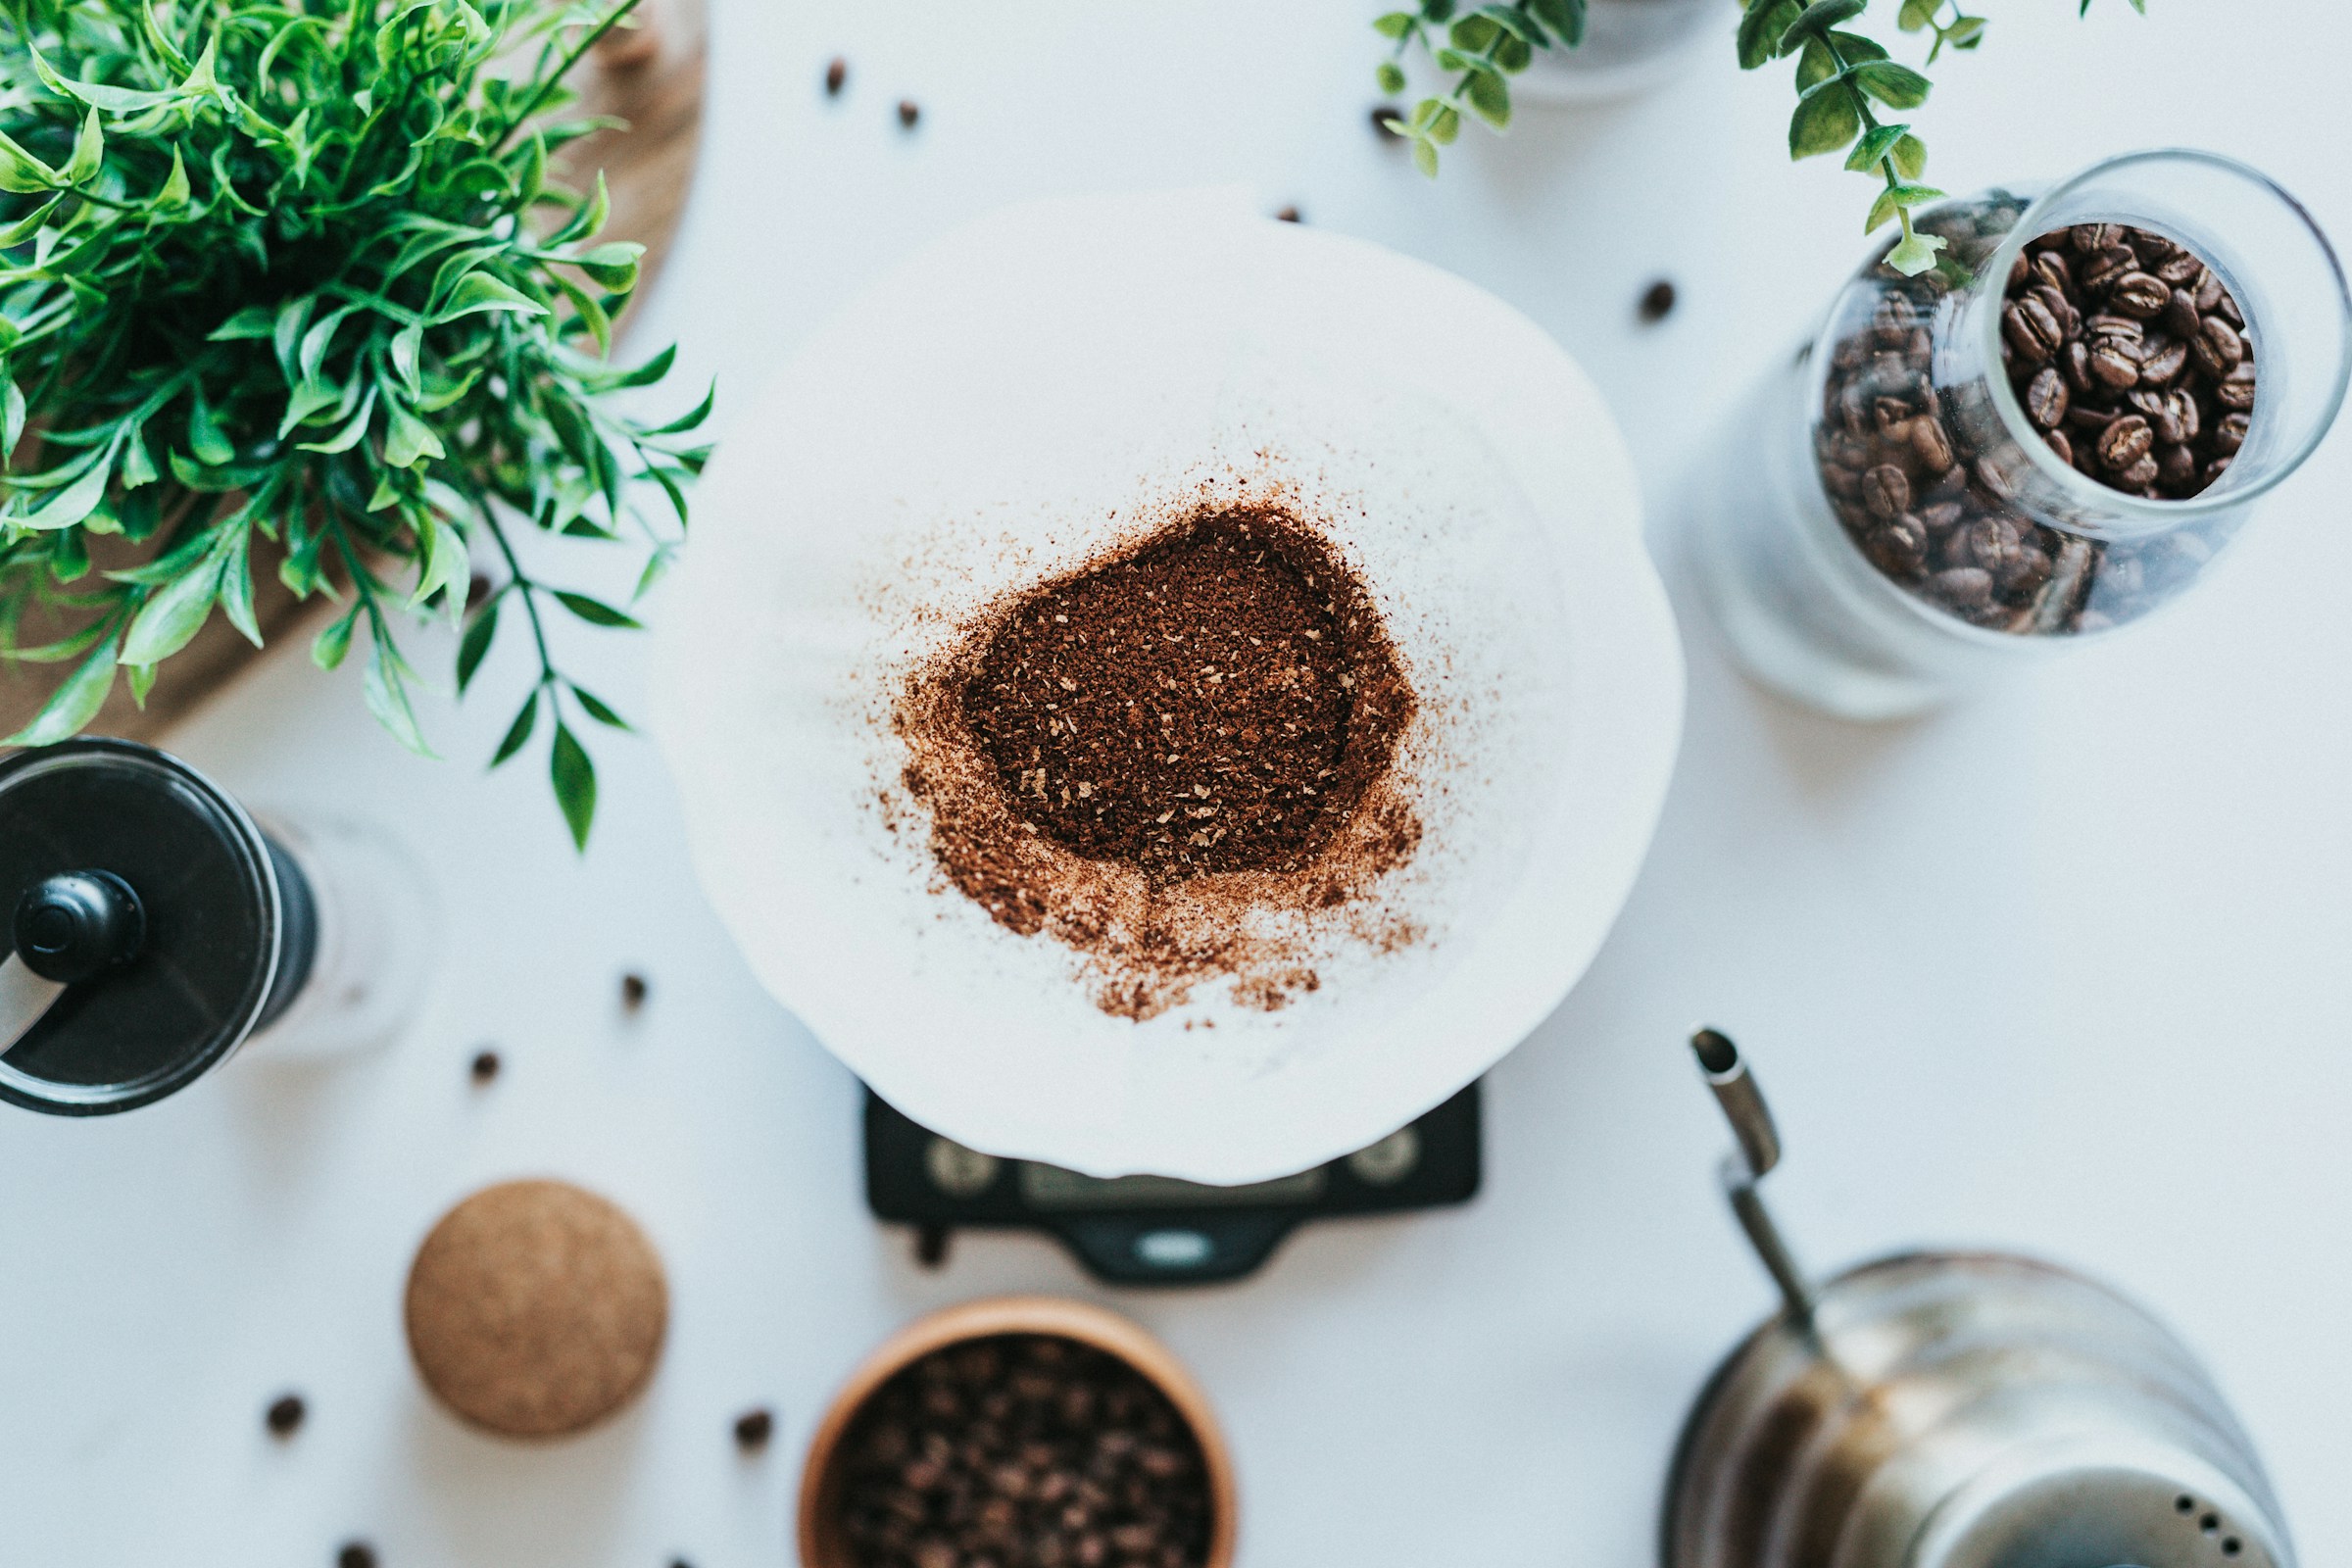 Use Coffee Grounds to Lower Your Soil pH
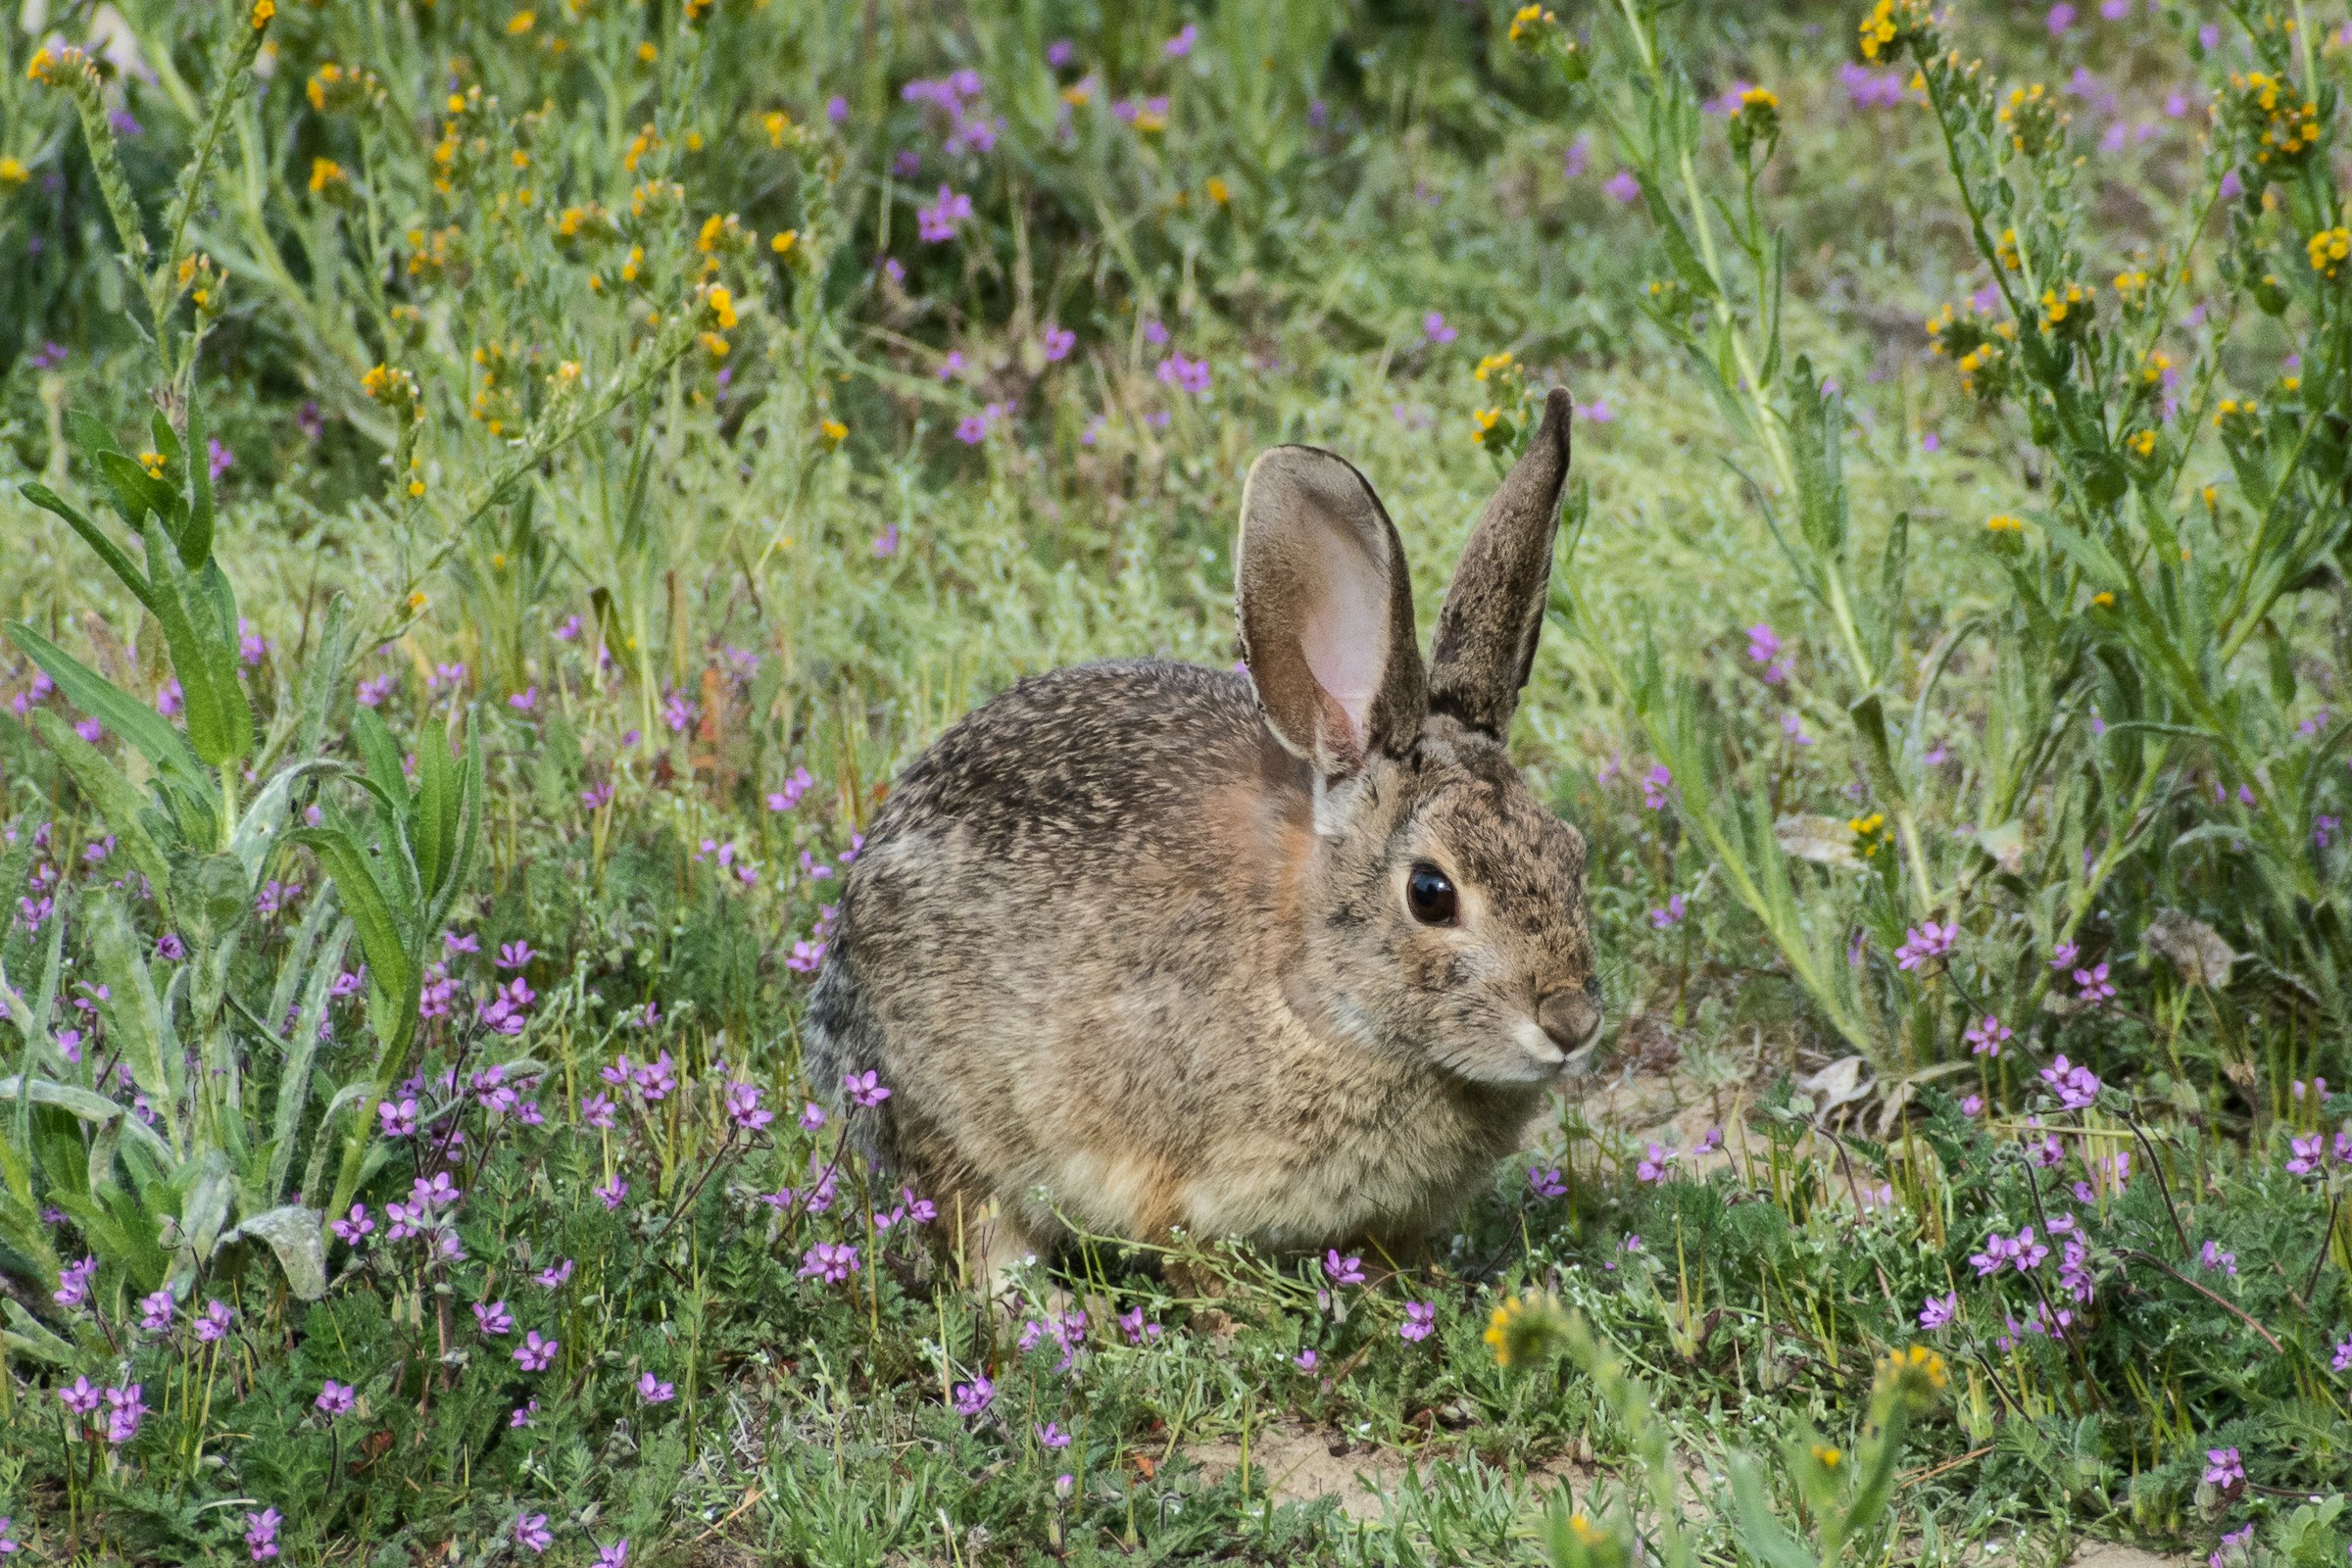 Small Mammal Fencing