
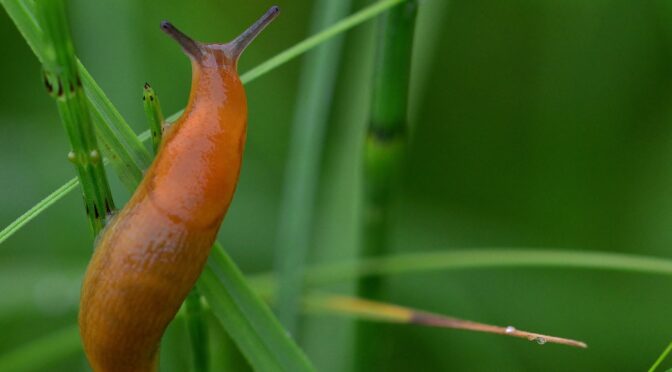
Many of our customers occasionally struggle with pests. Unfortunately, they’re a part of gardening! One common issue we see, especially in spring and early summer, is slug damage. These slimy little creatures are active at night and during cool temperatures, snacking on your plants, especially young, tender foliage. They can take out entire seedlings or reduce your harvest from tasty crops like tomatoes and strawberries. Learn how to identify and combat a slug problem with organic methods.
Signs of Slugs
- Shiny slime trails across leaves and the ground.
- Irregularly shaped holes in leaves, flowers, and fruit.
- Look for slugs at night or on rainy days.
- Look for slugs under lower leaves, boards, and other cool, moist shelters.
Deter Slugs
Slugs thrive under certain conditions. To prevent them from becoming an issue, avoid making your garden an attractive habitat for them.
Here are some ways to deter them:
- Prune lower branches and foliage to encourage air circulation and sunlight.
- Stake plants like tomatoes to encourage air circulation and keep fruit off the ground.
- Divide or thin plants to encourage air circulation and sunlight.
- Remove natural mulch, like old leaves, at least temporarily.
- Add compost to beds, improve soil, and improve drainage to help combat wet conditions over time.
- Remove places where slugs could hide, like containers, flats, stones, boards, etc.
- Use water-wise gardening techniques like drip irrigation or soaker hoses to minimize excess moisture.
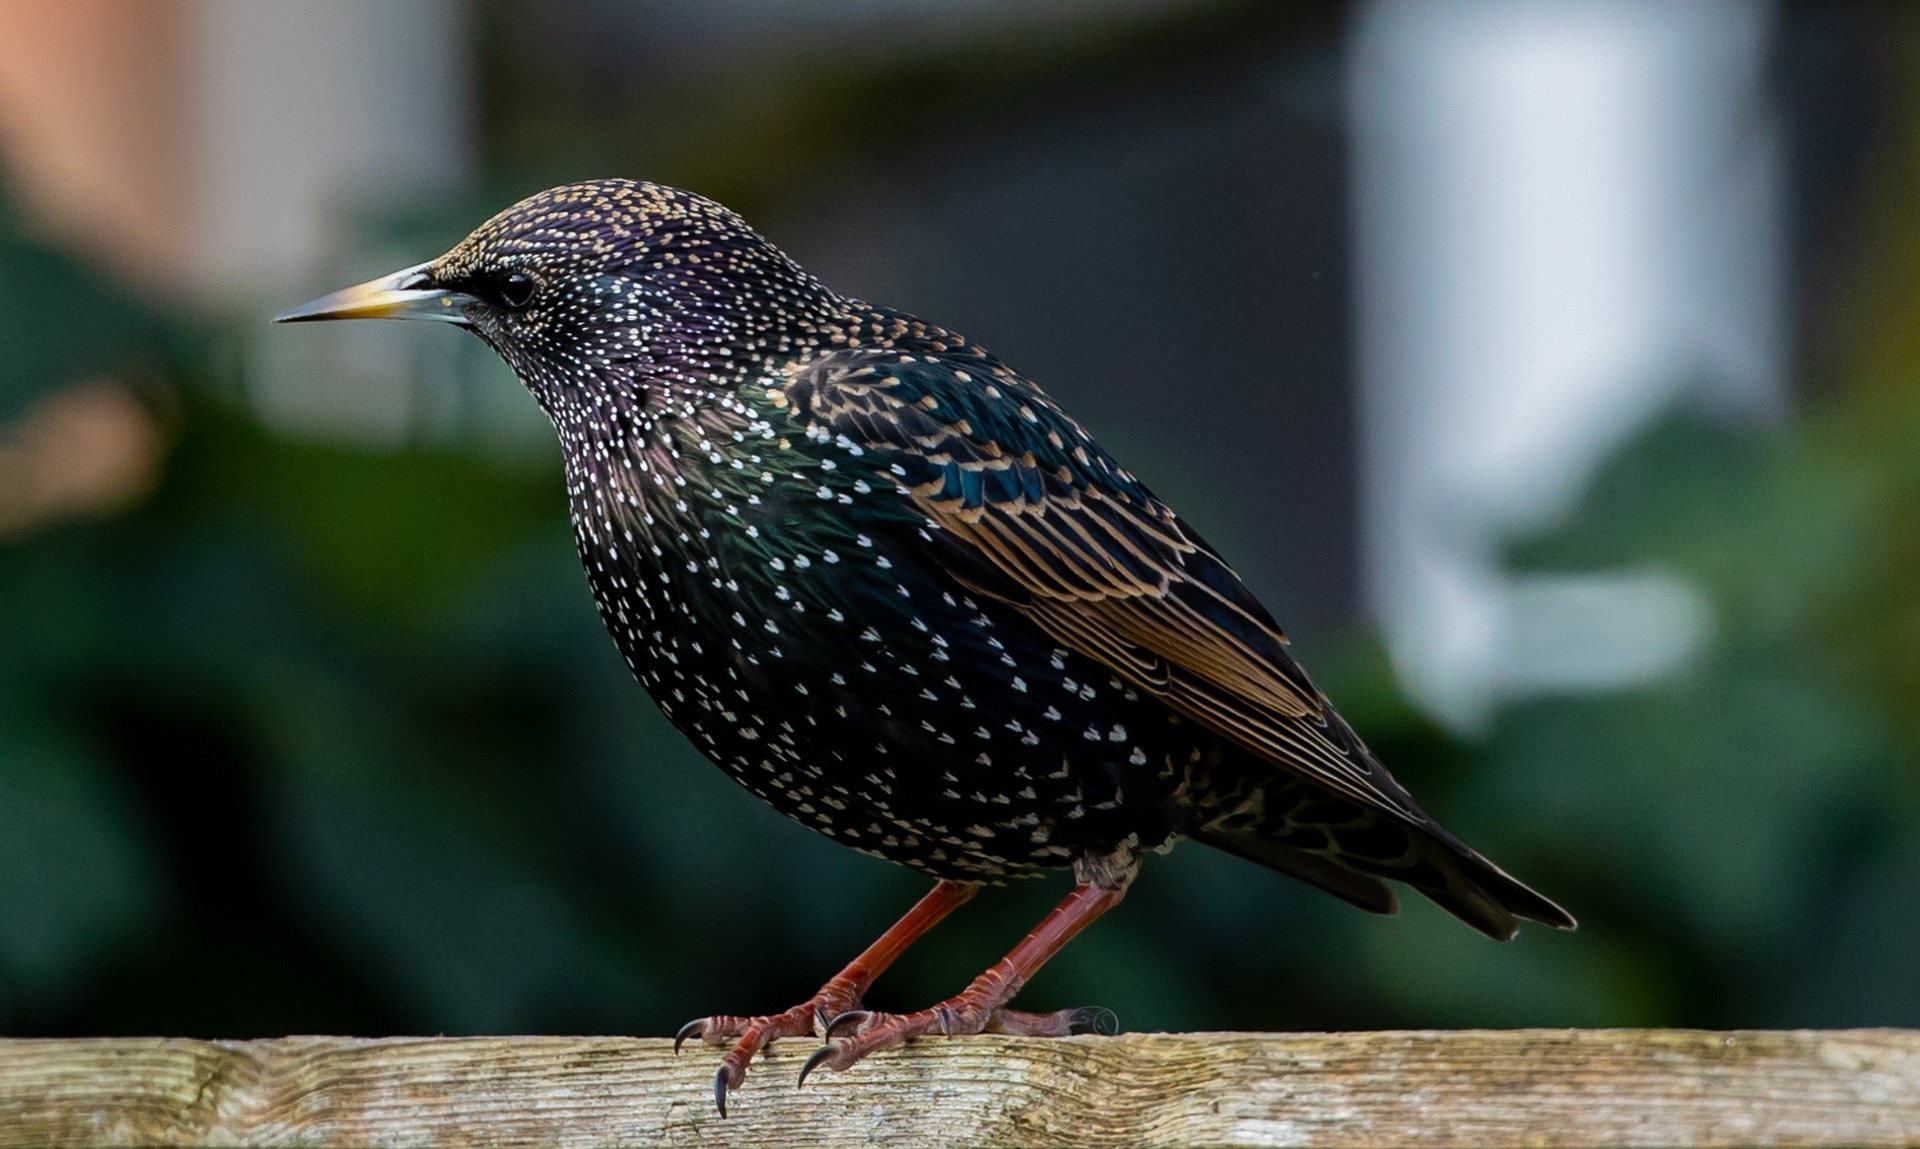
Attract Predators
In the long term, attracting slug predators can also be an effective way to manage slugs. We think they look a little slimy, but many creatures, such as slugs, beetles, toads, turtles, snakes, ducks, and certain songbirds, find them to be a tasty treat. Providing habitats for these animals within your garden can encourage them to stay and eliminate slug populations.
Handpick or Trap Slugs
One of the simplest ways to get rid of slugs is to handpick them. Put on some garden gloves and head out at night with a flashlight for a bit of slug hunting. Then, crush the slugs or toss them into a bucket of soapy water.
While we previously mentioned getting rid of slug homes like boards, you could add them to make the perfect trap. Each morning, flip your board and kill any slugs you find.
Another classic method for dealing with slugs is the good old-fashioned beer trap. Take small containers or dishes and bury them a bit in the garden so the top is level with the ground. Then, fill them with beer or a water and yeast mixture. The slugs will be attracted to the beer or yeast mixture, fall in, and drown. If you have a serious problem, you may need to put out a good number of traps and change them daily.
Organic Slug Baits & Deterents
Coating plants with a heavy dusting of diatomaceous earth can help keep slugs at bay. However, it must be reapplied frequently and isn’t always a great long-term solution.
Copper foil or bands are another effective slug deterrent. While they can easily be affixed to a single raised bed, they may not be an efficient choice for large gardens.
You can also purchase organic baits like Sluggo, which is OMRI-certified. If you want to use slug bait, this is a good option because it’s safe for pets and non-toxic. It’s made from iron phosphate.
Many other slug baits are toxic to other animals, including pets and young children. Always select and use garden products carefully.
We always aim to work with nature to create beautiful, bountiful gardens. Unfortunately, pests will always be an occasional issue in any garden, whether organic or conventional. Thankfully, slugs are a relatively easy pest to deal with, and you can use these simple strategies to deter and eliminate them.
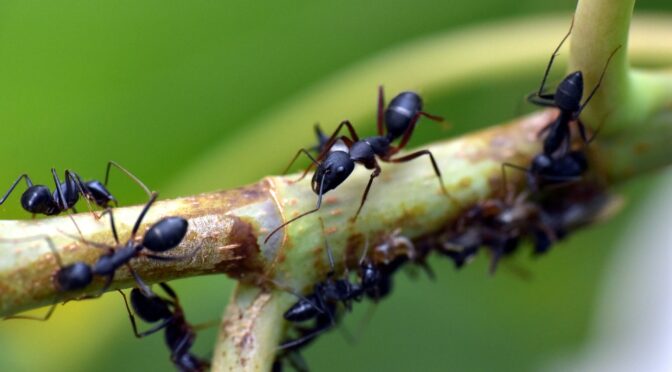
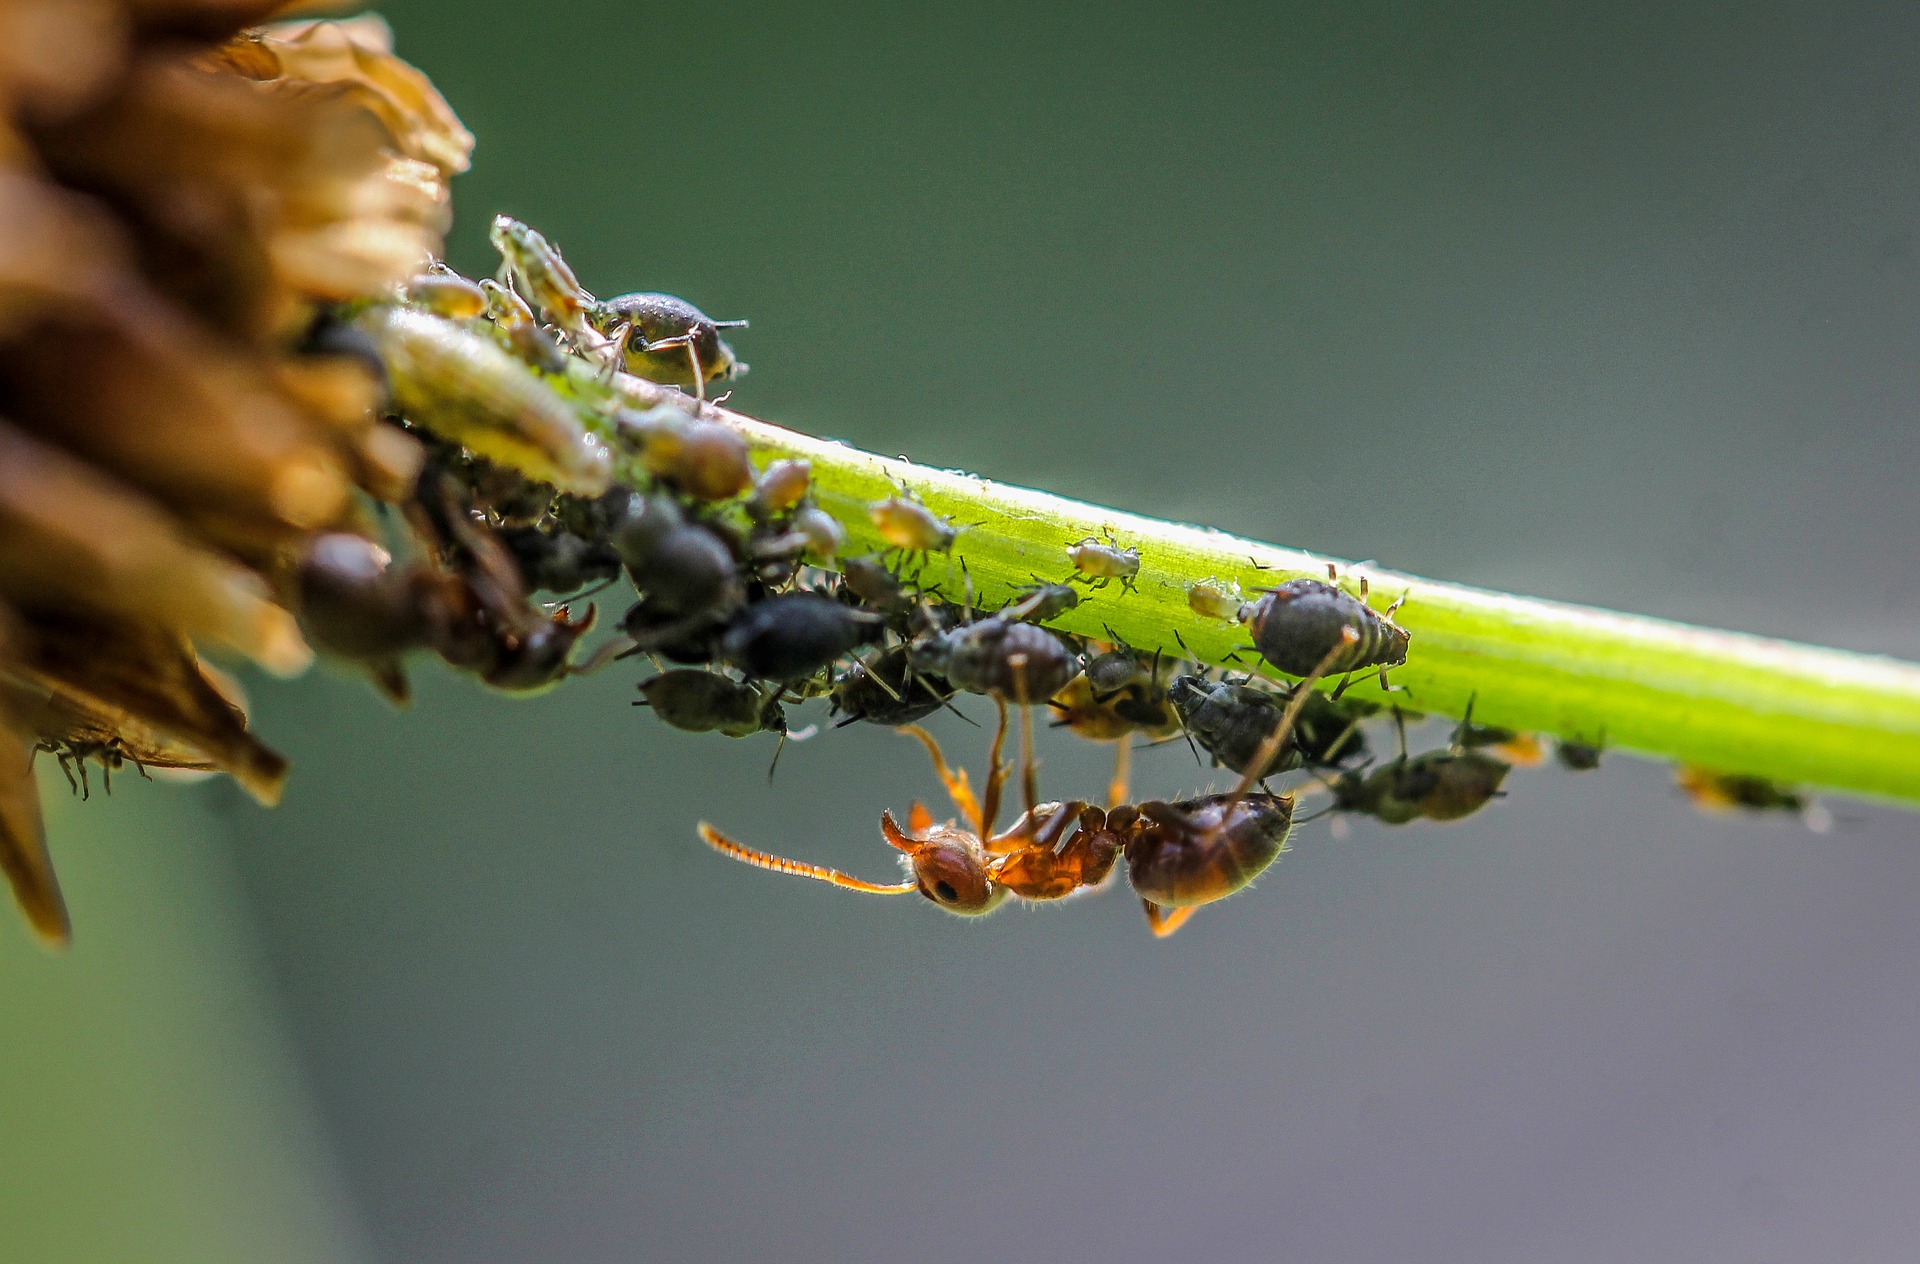 Farming Aphids, Scale Insects, and Mealybugs
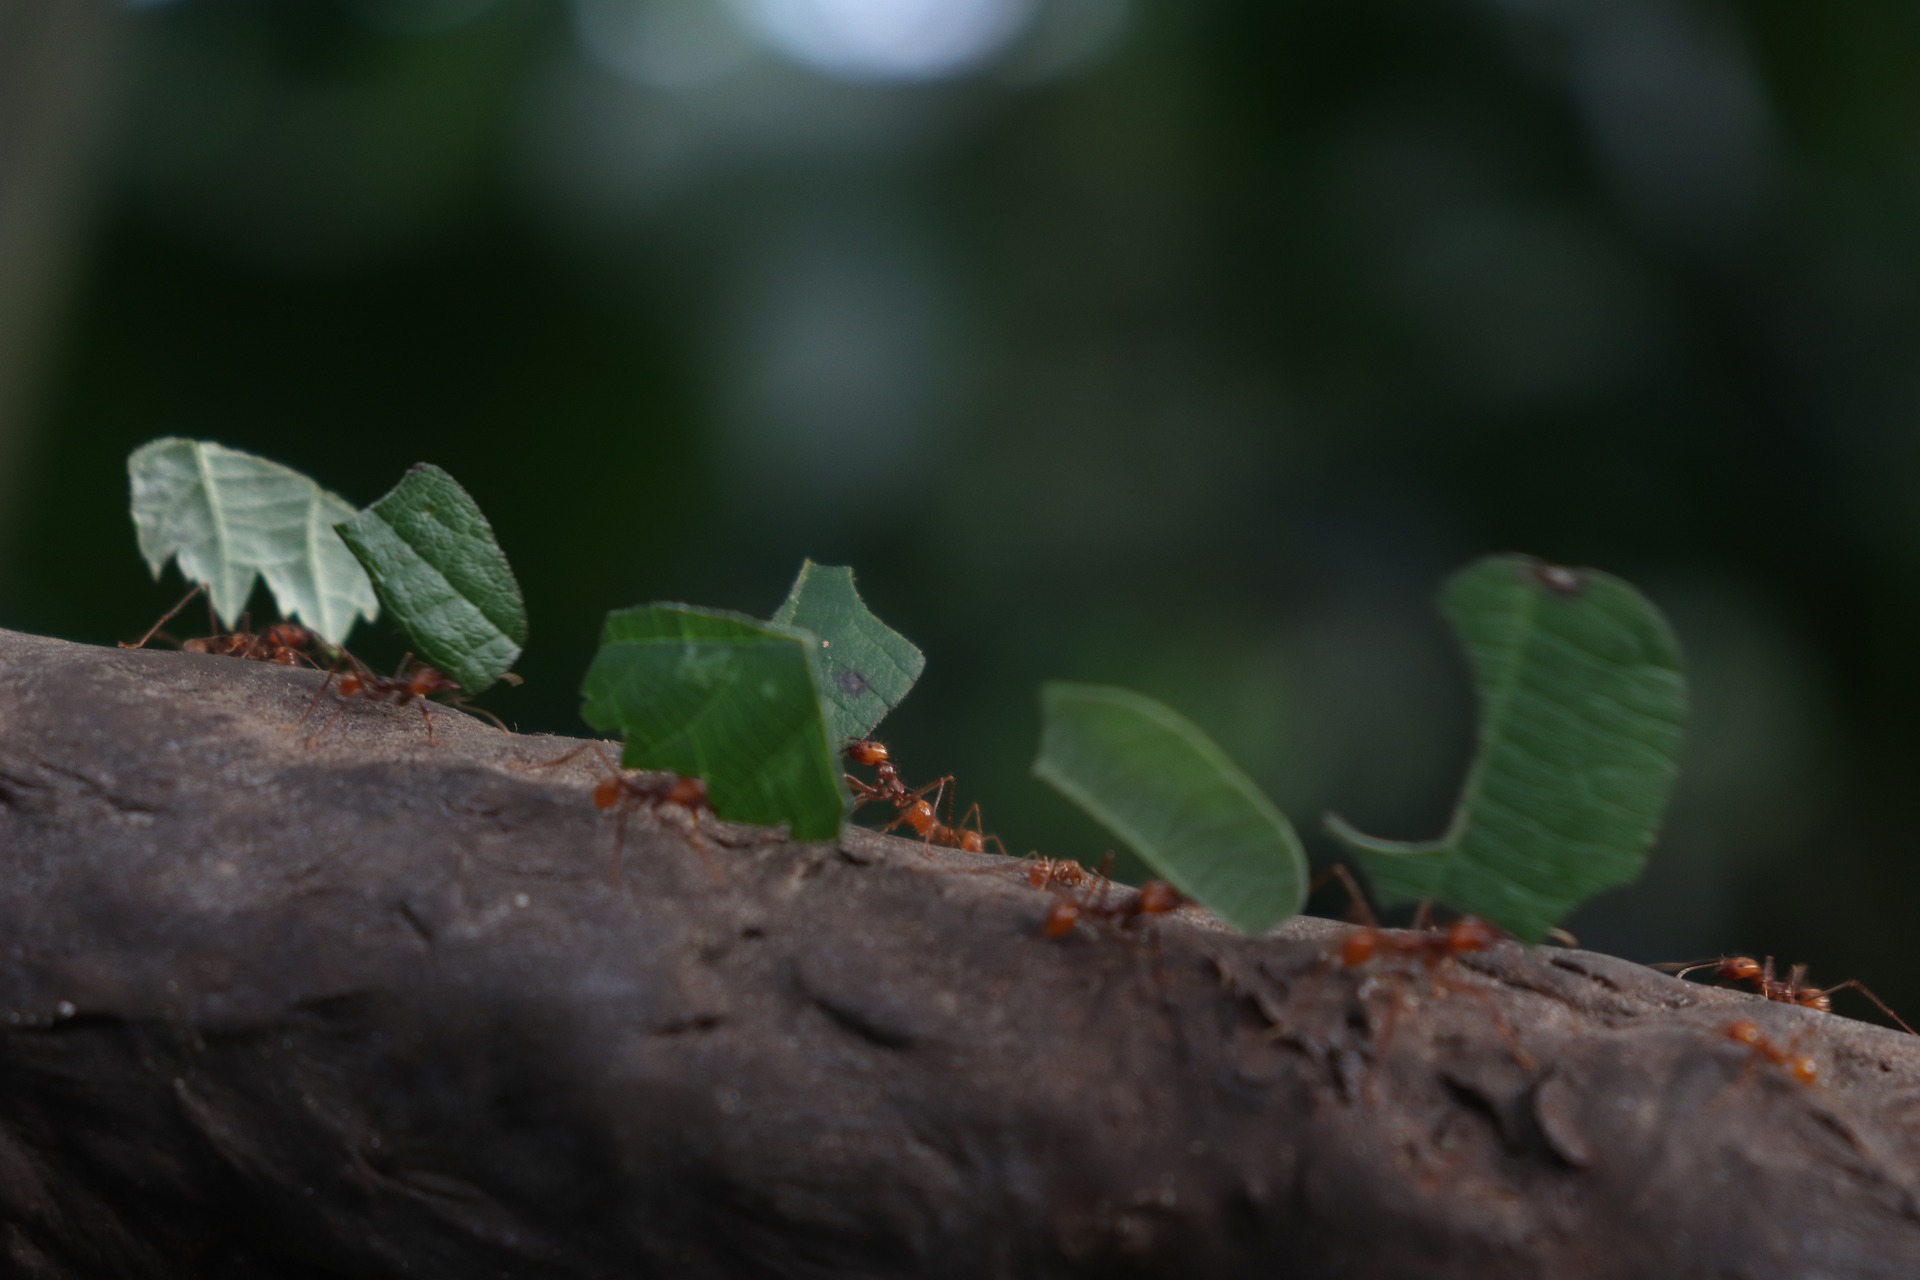 Leaf Cutters
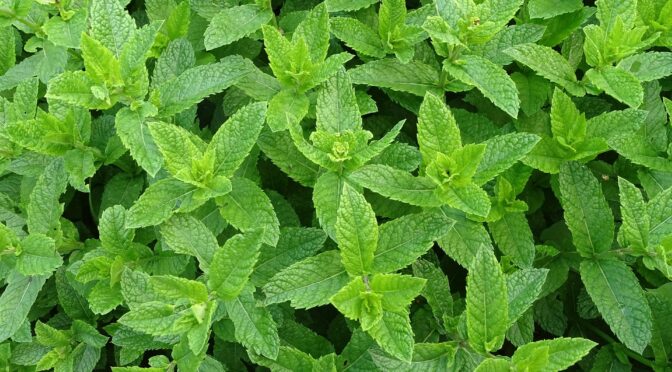
 Controlling Mint
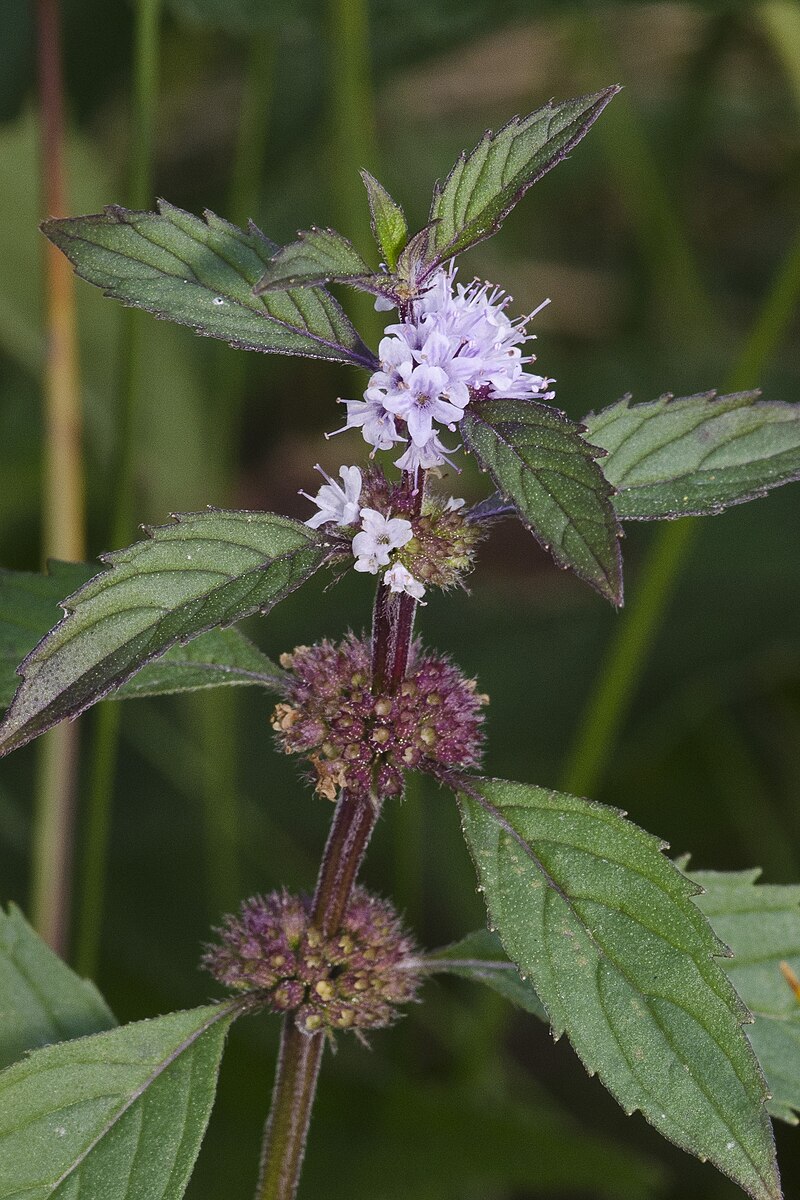
 Anise-Hyssop or Licorice Mint (Agastache foeniculum)
 Hyssop (Hyssopus officinalis)
 Catnip (Nepeta cataria)
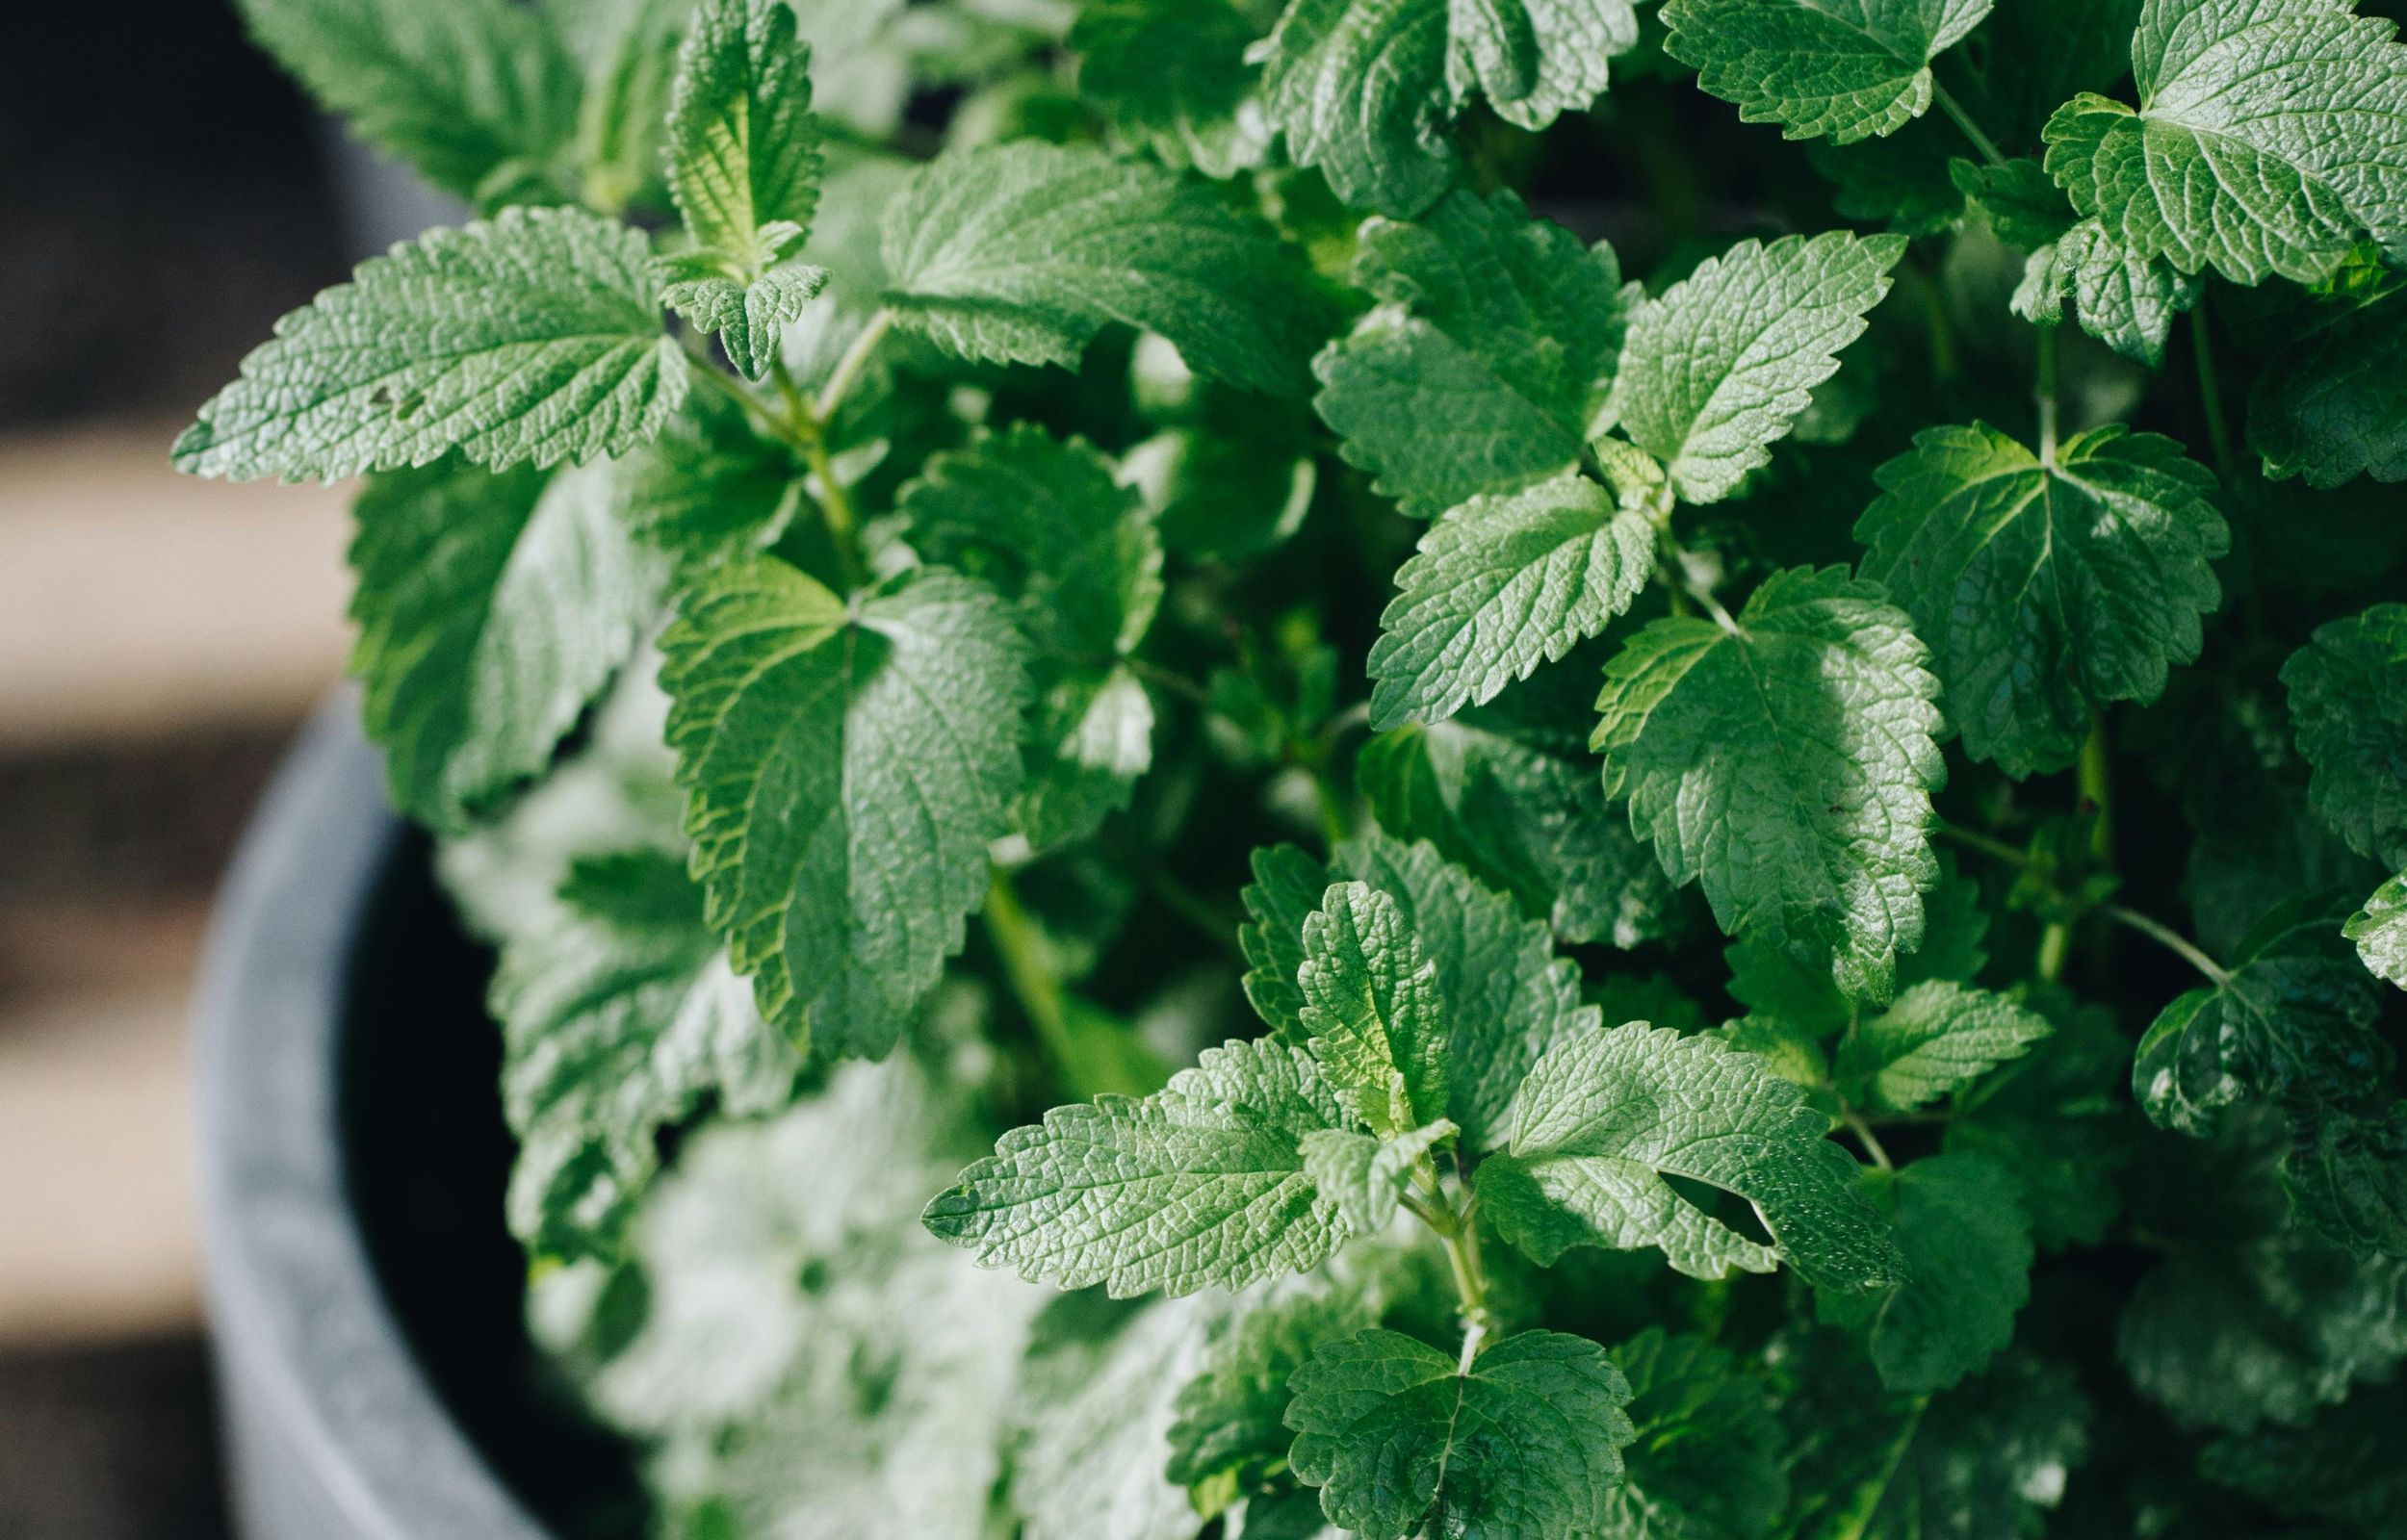
 Lemon Balm (Melissa officinalis)
 Mint (Mentha sp.)
 White Horehound (Marrubium vulgare)