
Southern Exposure strives to promote everyone’s right to save seed. We know that many backyard gardeners don’t have the time, space, or desire to save all of their own seeds, but we love seeing gardeners try to tend a variety or two. The pandemic further reinforced just how important seed saving is. We saw a surge in sales, especially of staple crops like corn and beans. Seed saving is easier than you think! Follow this beginner’s guide to seed saving to get started saving your favorite varieties.
Selecting Varieties
If you’re going to save seed, it’s essential to save it from the right plants! Hybrid plants are the first-generation crosses of two different parents. If you try to save seed from these crops, it probably won’t be true to type, meaning that the plants may be different in appearance, flavor, or other characteristics than that hybrid you grew.
Open-pollinated
Open-pollinated varieties are the crops you want for seed saving. These stable varieties have been bred to produce the same crop year after year reliably. You may notice that some open-pollinated seeds are listed as heirlooms.
Heirloom
The word ‘heirloom’ does not have a strict definition, but it’s generally used to reference open-pollinated varieties that have been passed down from generation to generation. Southern Exposure considers varieties to be heirlooms if they were bred before 1940.
 Planning Your Garden
If you’re a small gardener hoping to save a few seeds this fall, you don’t necessarily need to have done any special planning. However, planning a garden for seed saving will improve your success.
Isolation Distances
When preserving varieties, you need to prevent them from crossing. You probably know that an Amish Paste Tomato could cross with a Radiator Charlie’s Mortgage Lifter Tomato, but there’s more to it than that. Plants in the same family can also cross. Cabbages for instance, could cross with broccoli, kale, Brussels sprouts, and other crops in the brassica family.
Crops need to be isolated to maintain varieties. Isolation can be achieved by distance or succession planting so that the crops aren’t blooming simultaneously. You can find isolation distances for different crops here.
Seed growers may also achieve isolation by covering blooms with bags and hand pollinating or growing in high tunnels.
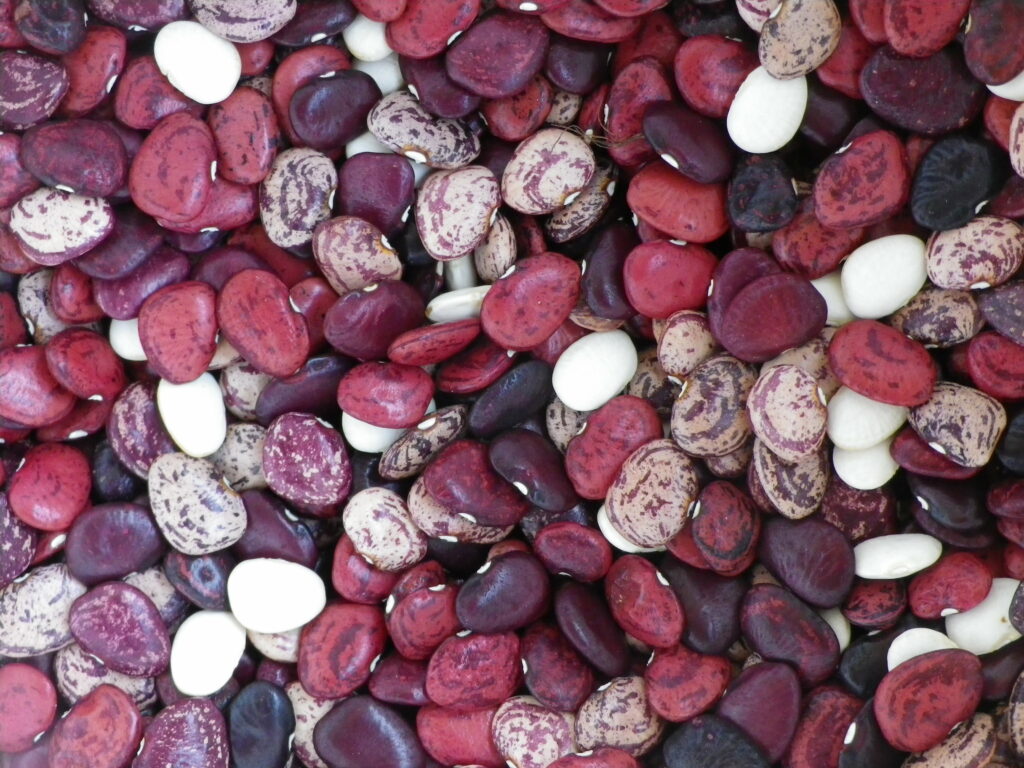
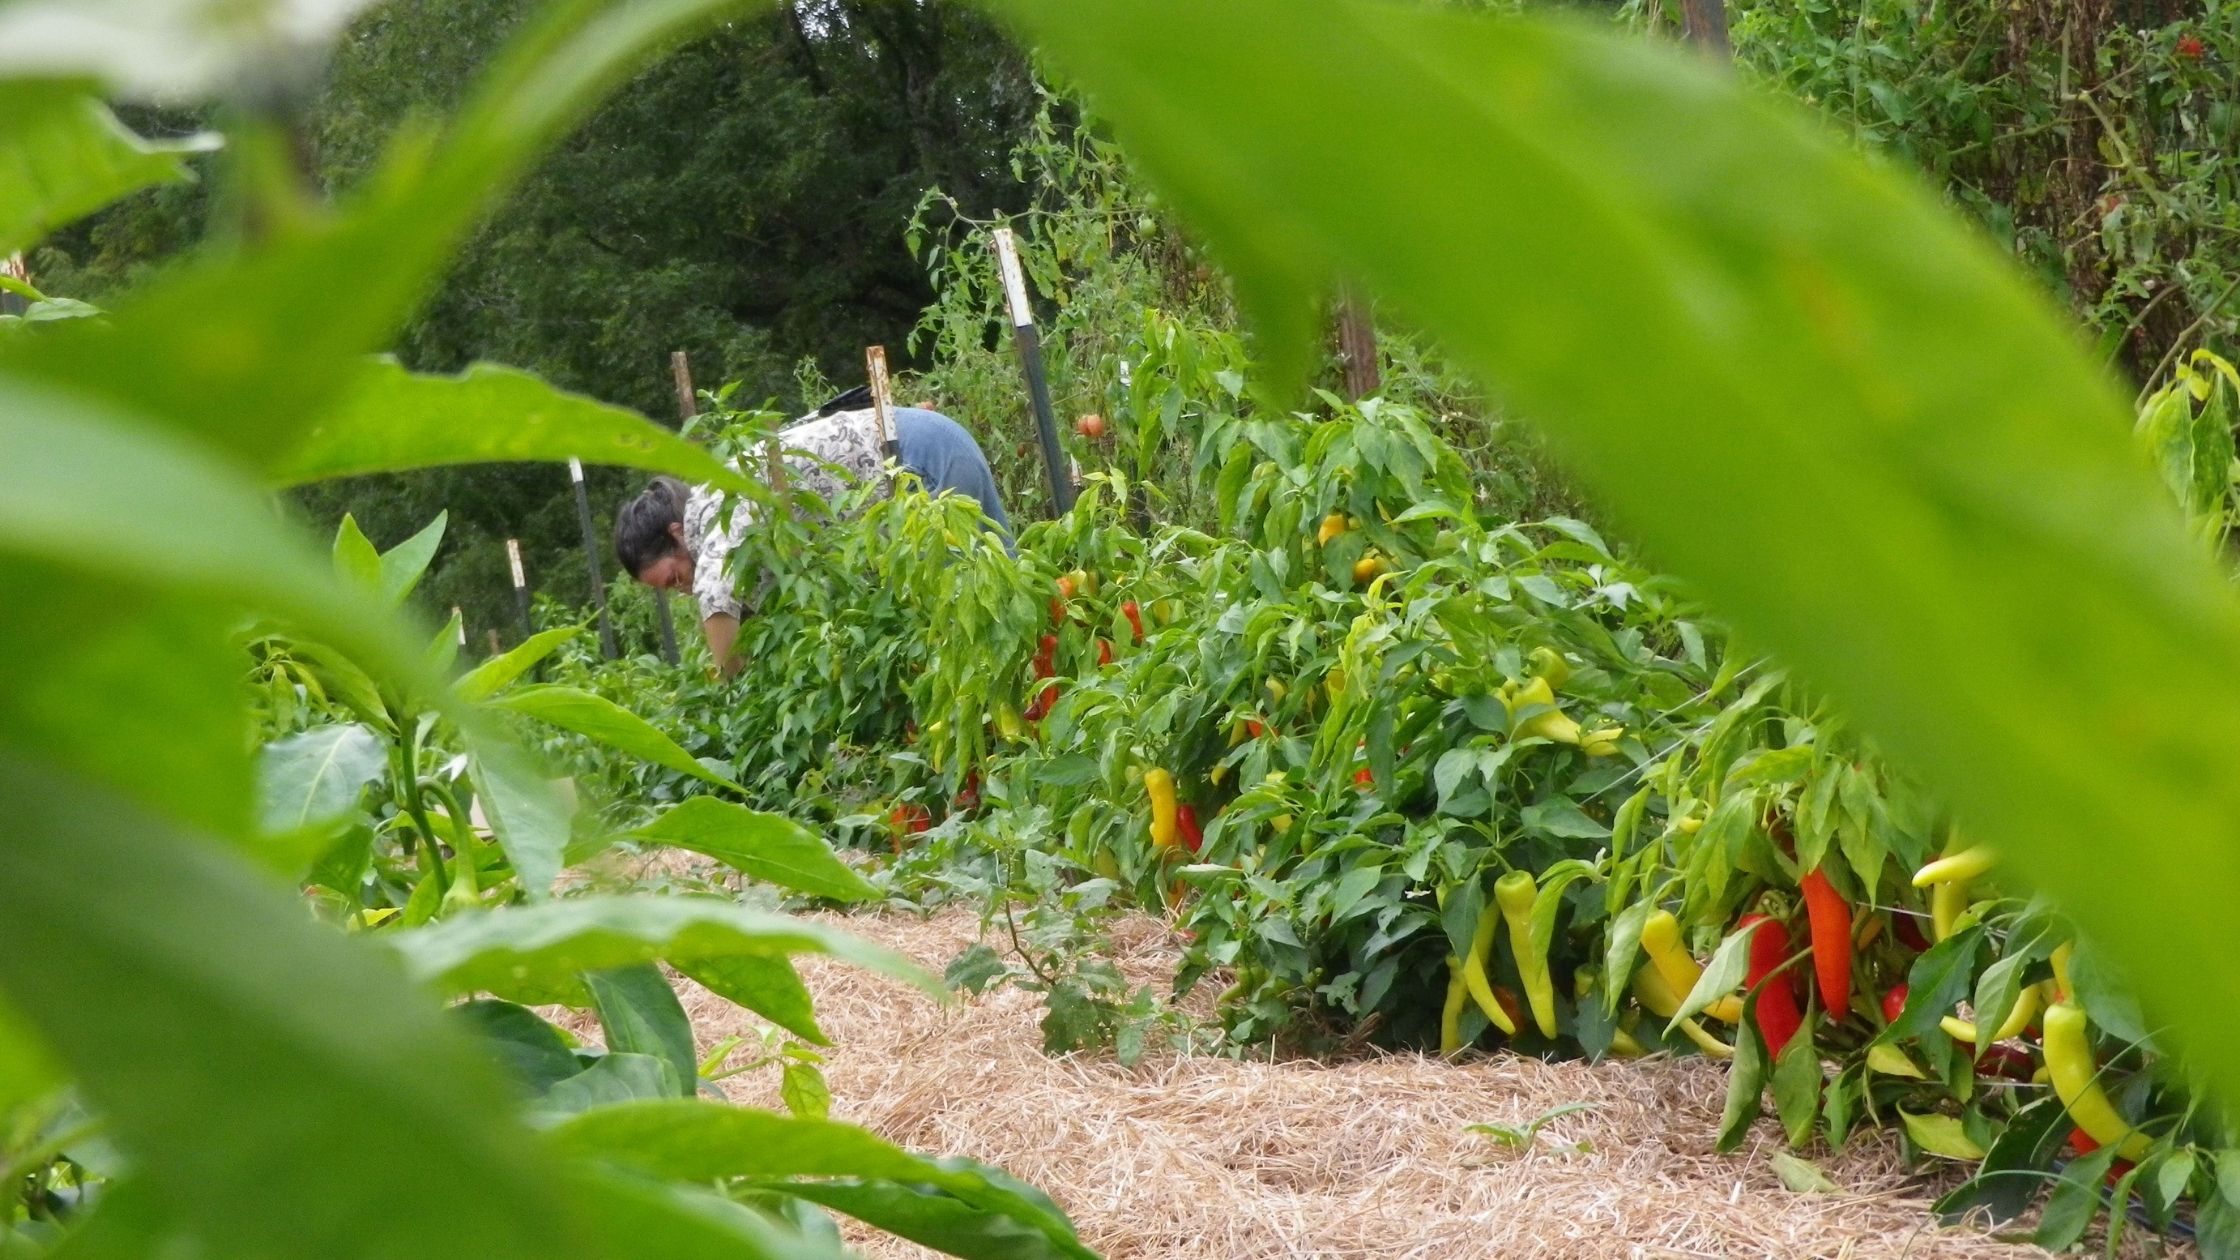
Population Size
Diversity is key! To maintain genetic vigor, you need a large enough population to preserve genetic diversity. Saving seed from a single pepper plant may be fine for a year or two, but it isn’t a good long-term idea.
Learn more about garden planning for seed saving with this fantastic post from SESE seed grower Debbie Piesen of Living Energy Farm.
Garden Planning for Seed Saving
What to Look for When Saving Seed
When you save seed, you’re determining the next generations of that crop’s characteristics to an extent. Generally, if you’re trying to maintain a variety, you want to save seeds from those plants that display the typical characteristics of that variety or are true-to-type.
However, you may also want to select for certain characteristics. For example, you may want to save seed from tomato plants that displayed the highest resistance to late blight.
There are several characteristics you can select for, including:
- Trueness-to-Type
- Earliness
- Vigor
- Cold Hardiness
- Color
- Stockiness
- Drought Tolerance
- Disease or Pest Resistance
- Lateness to Bolt
- Flavor
- Uniformity or Lack of It
- Size & Shape
- Storage Ability
- Productivity
Consider marking certain plants you know have some of the desired characteristics. That way, you can be sure you’re gathering from the correct plants when it’s time to harvest seed.
Seed Saving from Annuals
Many of the crops we save seed from are annuals. Their life cycle takes place during a single season. They start as a seed in the spring and produce seed by fall.
These are excellent choices for beginner seed savers. They include squash, beans, cucumbers, tomatoes, corn, peas, basil, and more.
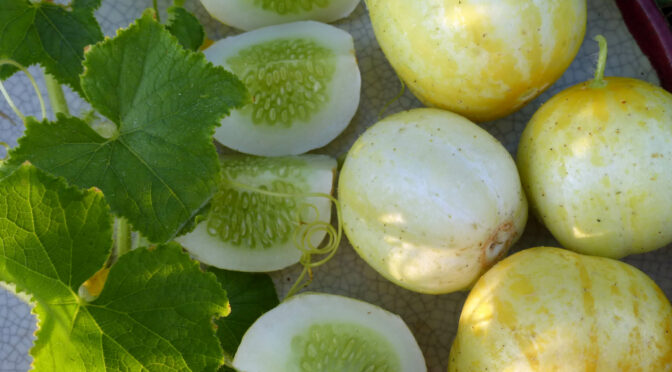
Harvesting
When harvesting for seed saving, remember that some crops will need to mature beyond what you would typically allow for eating. For example, cucumbers should be fat and yellow, jalapeños should be red, and sweet corn should be dry and hard.
Fermenting Seed
Some seeds have a gelatinous coating that you’ll need to remove before drying and storage. In the wild, this coating will help preserve the seed and temporarily inhibits germination as it lies on the ground until the following spring. In a garden setting, we want this coating gone before planting. Crops with this coating include:
- Cucumbers
- Tomatoes
- Squash
To remove this coating, place your seeds into a jar or container and cover them with water. The containers need airflow, so don’t put a lid on. However, you can cover them with a cloth or coffee filter and a rubber band to keep out fruit flies.
Let this mixture ferment for three days, stirring it once a day. It’s okay if you notice some mold growing on top. After three days, add more water and stir the mixture again. The viable seeds will sink while the pulp and bad seeds will float, and you can pour them off the top. Drain your viable seeds.
Drying Seed
No matter what type of seed you harvest, you want to ensure it’s fully dry before storing it. The seed should be dry and brittle. Larger seeds, like pumpkin seeds, should snap when you bend them, not flex. Smaller seeds should crush under pressure instead of flexing.
After adding your seeds to a container, check it regularly for the first week or two. If you notice any condensation inside the jar or other signs of moisture, remove your seeds and dry them further.
Biennials
Biennial crops require two growing seasons to reach maturity and produce seed. They need to go through a cold period called vernalization to produce seed. These include beets, Swiss chard, bulb onions, cabbage, collards, Brussels sprouts, kale, broccoli, carrots, turnips, and others.
Many biennial crops can survive temperatures into the 20°Fs. In parts of the south, you can easily overwinter them. However, further north or in the mountains, they may need heavy mulch or season extension like high tunnels or row cover. In the far north, you may need to pull plants once they go dormant and bring them into a cool space like a root cellar before replanting them in spring. Read more about saving seed from biennials here.
 Storing Seed
Ideally, it would be best if you stored seed somewhere cool (about 50°F), dark, and dry. You can use seed packets that you’ve made or like those we offer on the website. You can also use mason jars or other containers you have on hand.
Label everything with the variety and date you stored or last tested your seed.
Testing Seed
You can do a simple germination test at home to ensure your seeds are still good before planting time. Take ten seeds and place them folded into a damp paper towel in a container or bag (to help hold in moisture). Set your container in a warm place.
The amount of time you’ll need to leave them will, of course, depend on how long whatever type of seed your testing requires to germinate. Be sure to keep the paper towel damp. You may have to sprinkle water on it if it begins to dry out.
The number of seeds that germinate will give you a rough idea about their germination rate, and you can plant accordingly. If you have a lot of seeds, testing more than ten will give you a more accurate percentage. Even if only half germinate, you still use your seed; just be sure to plant thickly in the case of direct seeding or multiple seeds per cell when starting indoors.
Saving seed from even a single variety can help you become more self-reliant, expand your knowledge of plants, and deepen your relationship with your land. We firmly believe that seed saving should be available to all. Follow this guide to become a seed steward.
 Connect with Your Local Master Gardener’s Program
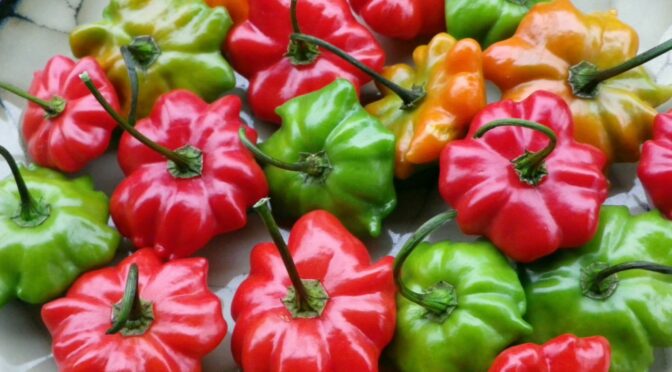
 Consider Population Size