Tag Archives: heirloom

Guide to Growing Rice

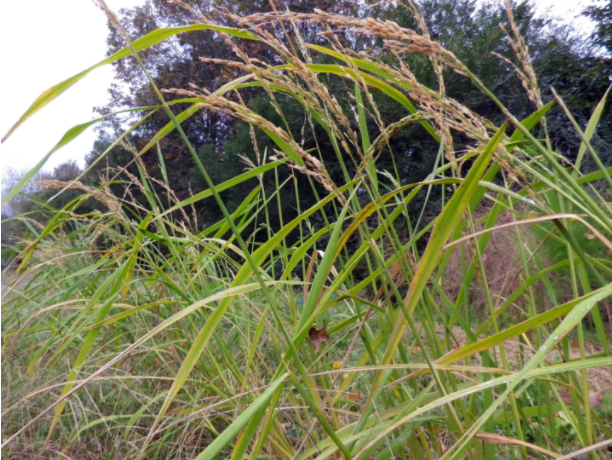
Carolina Gold Rice

Though it may seem like an odd time of year to read about growing rice it’s actually a really good time to start planning for next season. Rice is a long season crop and preparation this fall can really benefit your rice harvest.

There’s also a few misconceptions about growing rice that make it less popular than it perhaps should be.

The first is that rice requires flooding. Flooding is actually just a method of weed control. Rice does well in water while other plants like weeds do not. However it can be grown with just and inch of irrigation or rain per week. However if you happen to have a wet area on your property you’d like to put into production rice could be your answer.

The second misconception is that rice can only be grown in really warm areas. In fact there are varieties of rice that can be grown as far north as Vermont. SESE has varieties that are best suited to the south and mid-atlantic regions.

Lastly rice is often seen as a crop for big farmers and not necessarily backyard gardeners but you don’t need big fields or machinery to get a nice rice crop. It’s perfectly easy to grow and cultivate with hand tools. The only special equipment you need is a rice de-huller and you can find a variety of home scale models available.

Selecting & Preparing a Plot

Whether you choose to flood your rice or just irrigate it, water is probably the biggest concern when choosing a plot. Make sure it’s an area you can easy water because of its irrigation needs.

Rice also does best in fertile, nitrogen-rich soil. Compost is the perfect fertilizer for rice so if you select a plot this fall you can add about 1lb per square foot of compost and till it in. You can also grow a winter-kill cover crop like buckwheat this fall. In the spring the dead buckwheat will act as a mulch and you can plant your rice through it. The mulch will help hold moisture and prevent weeds.

Planting Rice
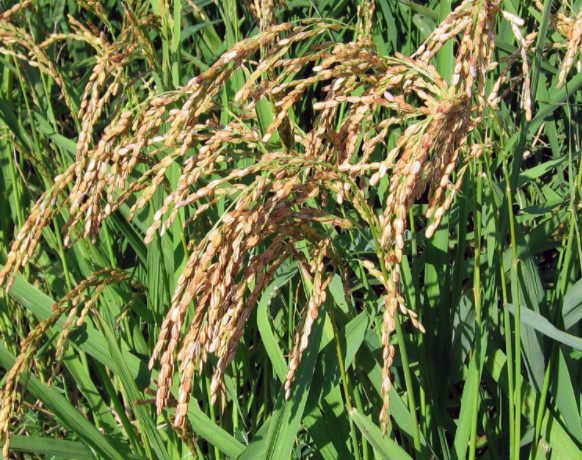
Hmong Sticky Rice

Rice can be planted two ways either direct sown or transplanted. For transplants seeds should be started 6-8 weeks before your desired planting date.

Direct seed or transplant rice in rows 9-12 inches apart with plants about 6 inches apart in the row. Rice isn’t always grown in rows however this method has been shown to increase yields as the rice has plenty of space and nutrients and can be easily cultivated.

Cultivation

Rice doesn’t do well with weed pressure so be sure to keep it well weeded. Small plantings of rice typically aren’t bothered by pests or disease although birds will feed on rice as it ripens so you may choose to use netting.

Harvest

The rice should be harvested once it’s dry and brown. There are two methods for harvesting. You can cut the entire plant as close to the ground as possible or cut just the seed head. Whatever you choose it should be noted that leaving the straw on the field will add nutrients and keep your soil healthy for next year.

Once harvested, rice should be threshed and winnowed. There are machines made specifically for threshing but basically you’re just trying to break other plant material free from the grains of rice. A common method is to place the rice in a 5-gallon bucket and use a drill with a paint stirring attachment to break it up.

After threshing the rice should be winnowed. This process can be done in front of a fan by pouring the rice into a bowl and allowing the fan to blow away the lighter plant material while the grains fall straight down into the bowl. This will need to be repeated several times before all the material is gone.

Unlike wheat, rice also has to be de-hulled as it probably won’t come off during the threshing process. Rice can be de-hulled by rubbing it between your hands but it’s a strenuous and uncomfortable process. If you enjoy growing rice it’s probably worth investing in a home de-huller.

Finally you can enjoy your rice! Just like other crops growing your own can allow you to branch out into more varieties and tastes than the one or two offered at the grocery store.

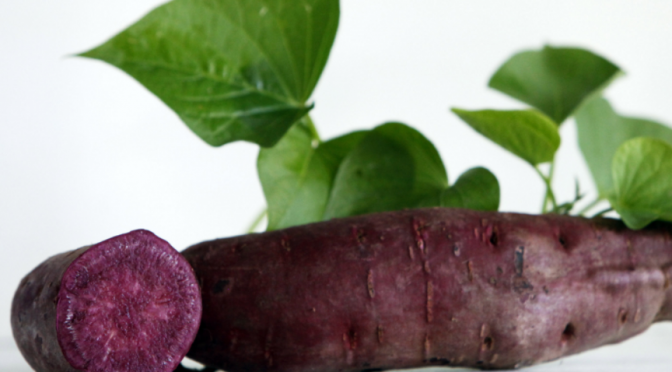
Sweet Potatoes From Order to Plate

Sweet potatoes are really underutilized in backyard gardens. They’re so easy to grow, nutritious, and tasty. They’re often overlooked and many believe that the store-bought and homegrown versions are virtually indistinguishable but that couldn’t be farther from the truth. Store-bought sweet potatoes tend to be of a few hardy, orange varieties. While they’re absolutely still delicious there’s so much more variety to be had if you grow your own.

Just like other crops there’s sweet potatoes that are better suited to different growing conditions and cooking methods. The classic orange Beauregard is an excellent baker while the white fleshed O’Henry is one of our favorites for mashed potatoes. The Bunch Porto Rico has compact vines better for small gardens while the All Purple is especially hardy.

There are also dry and moist varieties. Dry varieties tend to be starchier and are more like regular potatoes. Some people consider them to be more versatile. Moist varieties are often sweeter and usually are the ones you find at the grocery store.

Choosing a variety can be tough so it may be wise to try a mix. Southern Exposure has two mixed packages available.

Bed Preparation

Sweet potatoes thrive in loose, well drained soil. If you have heavy soils it’s a good idea to work in a lot of compost and maybe even broad fork your garden bed before planting. To help with drainage you can grow sweet potatoes in raised beds, ridges, or hills.

Sweet potatoes also prefer warm temperatures and a relatively long season. Using black plastic mulch to help heat up the soil may be a good idea for those in cooler climates.

Surprisingly sweet potatoes don’t require especially fertile soil. In fact using chemical fertilizers often leads to tiny potatoes and huge vines. Simply adding some compost before planting is more suitable.

Planting

Unlike regular potatoes, sweet potatoes cannot be planted using seed potatoes. You need to use slips. Slips are the eyes on sweet potatoes. These are grown and then broken off to be replanted.

Note: for information on saving sweet potatoes and growing slips for next year check out our growing guide.

Slips should not be planted until 3-4 weeks after your last frost date. They’re very susceptible to frost. They should be planted 2-3 inches deep with their leaves above the soil. The slips you receive may or may not have grown roots already but they’re fine to plant either way.

Sweet potatoes have large sprawling vines and require quite a bit of space. You can plant sweet potato slips 10-18 inches apart in rows 3 feet apart. Water them the evening after you plant them and be sure to keep them moist for the next few days as they get established.

Care

Sweet potatoes should be mulched soon after planting. If you’re in a warm area where black plastic isn’t required straw or old leaves can be used. This will help keep the soil moist and block out weeds. Until they’re large it’s a good idea to keep them well mulched or weeded occasionally to keep weeds from overtaking them.

While sweet potatoes don’t like to be soaked (too much water can cause rotting) they do better with consistent waterings especially in dry areas. Too little water can lead to splitting and poor yields.

Pests & Diseases

Sweet potatoes can be affected by a number of pests like sweet potato weevils and diseases. The best way to combat them is purchasing healthy disease free slips, using simple crop rotation, and through maintaining healthy soils.

They’re also a favorite of deer so make sure you fence them off or cover them with netting.

Harvest & Curing

Aside from the potato itself the sweet potato shoots can also be harvested for cooking greens throughout the season. Just ensure you don’t take too much and kill the plant. 

Choose a dry, sunny day to harvest your potatoes. It will make both harvesting and curing much easier. Potatoes can be dug whenever they’ve reached an ideal size. It is best to harvest them all before the temperature dips below 55°F. Any lower temperatures can harm their storage capability.

Use a garden fork to lift them from the soil before collecting them by hand. Be careful and try to avoid nicking or damaging the potatoes. You may have to search a bit as they can grow up to 1 ft away from the plant itself. Sweet potatoes should be dried before any excess dirt is shaken off. Do not wash them, they don’t store well when washed.

For the first 7-10 days they should be kept at about 85°F and 90% humidity to cure. Then they can be stored at about 55°F in a dry, dark, well-ventilated area. Colder temperatures will affect their flavor so don’t refrigerate them until they’ve been cooked.

Any sweet potatoes with nicks or bruises will not keep well and should be used up first. You should regularly check you potatoes in storage and remove any bad ones as needed so they don’t spoil the whole crop. Properly cured sweet potatoes stored under the right conditions will keep 5-12 months.

Summertime Sweet Potato Ideas

If you still have have sweet potatoes in storage from last years garden (or are now craving them) there’s a couple simple ways to cook them even in the summer heat. Unlike in the autumn where I don’t mind baking them and heating up the house, in the spring and summer I typically cook sweet potatoes outside.

The simplest method is to clean them, poke a few holes in them, and wrap them whole in tinfoil before popping them onto a grill or into the coals of campfire. Alternatively they can be thinly sliced and wrapped in tinfoil packages with slices of onions, other veggies, and seasonings. All the ingredients should be drizzled in oil oil and the edges of the foil should be rolled or folded tightly to avoid leaking. Then they can be cooked just like the whole potatoes they’ll just cook much quicker.

Sweet potatoes truly are a wonderful crop. They’re high in vitamins and their storage ability makes them great for people looking to lessen their dependence on a global food system. It’s not too late to order slips! Try one of our productive varieties in your garden this summer.

What’s your favorite sweet potato variety?

The Three Sisters Garden Guide

The Three Sisters Garden has gained some popularity in recent years and for good reason. Unlike conventional agriculture The Three Sisters Garden works with nature to provide for the crops needs, keep maintanence low, and keep soil fertility up without the addition of chemical fertilizers. It’s was perfect for the Native Americans and is perfect modern organic gardener.

Before the advent of large agricultural equipment these features weren’t just nice and environmentally friendly they were necessary. Imagine gardening without metal tools, sprinklers or hoses, or commercial garden additives nevermind tractors and cultivators. The traditional Three Sisters Garden was easy to grow and provided the basic staples of the Native American diet. Together corn, beans, and squash provided balanced nutrition.

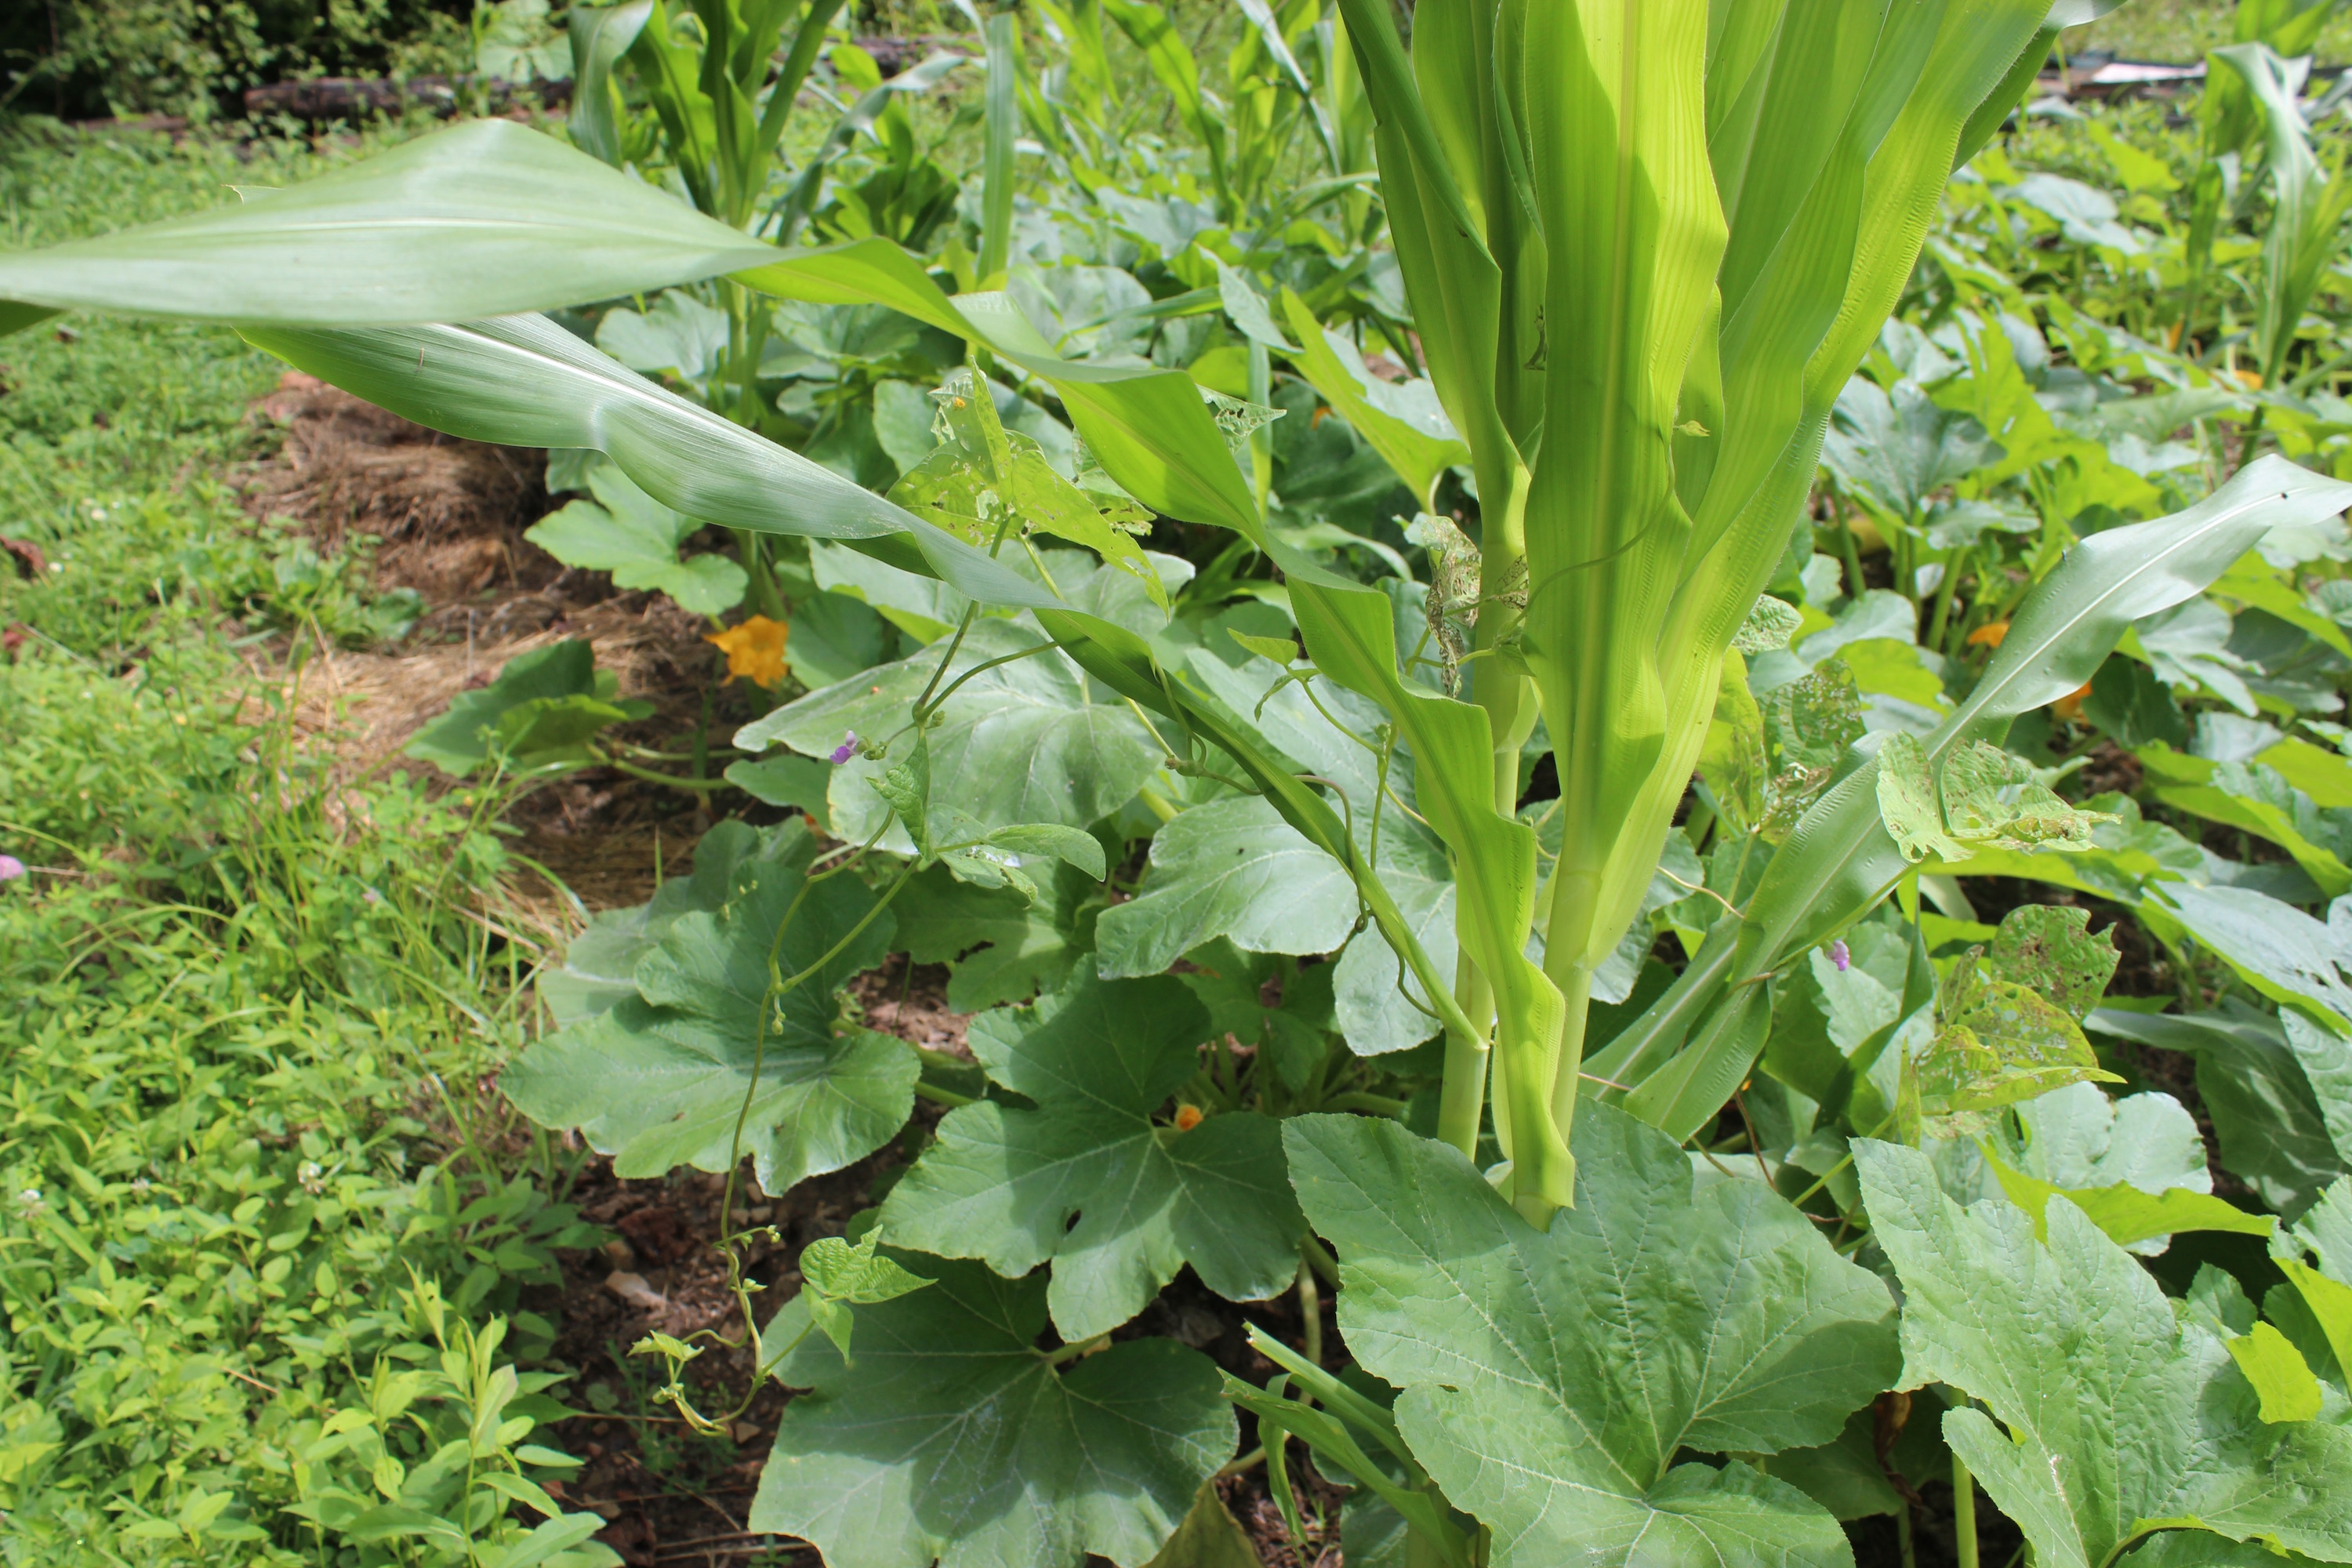
To plant a Three Sisters Garden the traditional way you should prepare a fairly large space. Corn needs plenty of plants in one area as it’s wind pollinated. In some cultures the space was circular to help with pollination. The corn is planted in hills about 5 inches high, 18 inches across and 5 feet apart. The tops should be flat to prevent rain water run off. These hills allow the soil to warm more quickly in the spring and allow for better drainage. Traditionally it was common to add some fertility to each hill like fish or fish scraps before planting. Unless you fish a lot, compost or manure will do for the modern garden. If using manure mix it with the soil or bury slightly so it doesn’t burn the plants. Plant 4 corns seeds in a six inch square in each hill.

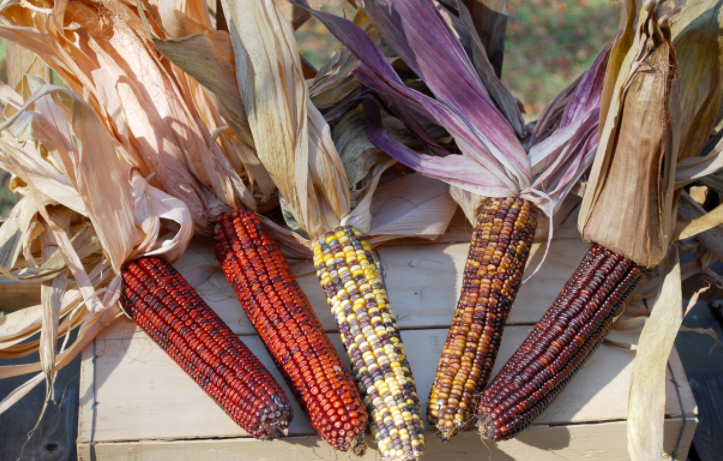
Pungo Creek Butcher Dent Corn

Three Sisters gardening often works best with flint, dent, or flour corn varieties as they are harvested at the end of the season. If you choose sweet corn you’ll have to carefully make your way through sprawling squash plants to reap your harvest. Alternatively you can plant sunflowers in place of corn which was also done by some native cultures.

You can find Southern Exposure’s flour, flint, and dent corn varieties here. Native American varieties include Hickory Cane Dent Corn and Cherokee White Flour though other varieties work well too.

Once the corn is 4 inches tall it’s time to plant the beans. This is also a good time to give your patch a good weeding before the plants get large. Then you can plant 4 beans in each hill placing them 3 inches away from the corn plants completing your original square. They’ll use the corn plants as living trellis and provide them with nitrogen throughout the growing season. Corn is a very heavy feeder so sustained nitrogen is essential to a good crop. In choosing bean varieties make sure you purchase pole beans not bush beans. It’s also a good idea to choose native or heirloom varieties unless your using sunflowers in place of corn. Some modern bean varieties have such big vines they can be too heavy for corn plants.

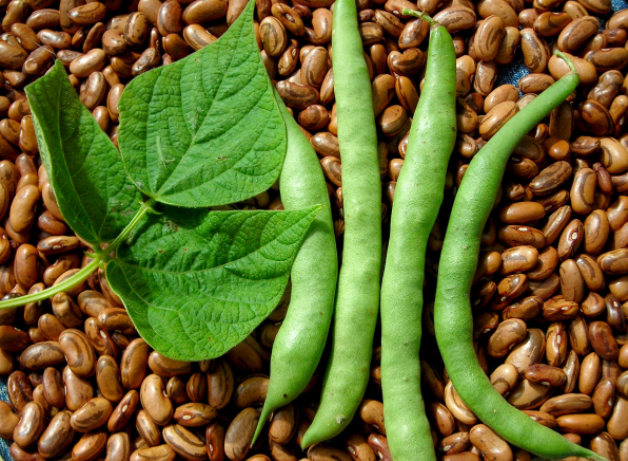
Genuine Cornfield Pole Snap Beans

You’ll also want to consider whether you want green beans or drying beans. Some varieties are dual purpose. Most Native Americans planted and harvested their beans as drying beans so that they could be harvest in the fall and stored for winter use.

You can check out Southern Exposure’s pole beans here.

Once the beans have sprouted it’s time to weed again and then plant the squash. Planting squash too early can shade out beans before they have a chance to start climbing. The squash should be planted in the in new mounds identical to those that were for the corn and beans. Plant three seeds and thin to just two per hill. The squash vines ramble throughout the garden shading our weeds and keeping soil moist. This is particularly advantageous in areas prone to drought because corn also requires good moisture for good harvests. When the squash shows its first true leaves it’s probably time to weed again.

Choosing squash can be difficult because of the variety of options. Any vining plant (not bush) in the cucurbit family will do though most native american grew winter squash varieties and harvested all there crops in the fall for storage throughout the winter. At Southern Exposure our favorites tend to be moschata squash plants. These varieties are more resistant to the squash vine borer and can be harvested early and used in summer squash recipes or left to mature and harvested as winter squash for storage. Some people have also used cucumbers, watermelons, and gourds with great success. Just keep in mind with cucumbers and melons you’ll need to carefully make your way through your patch to harvest while the other plants are still growing.

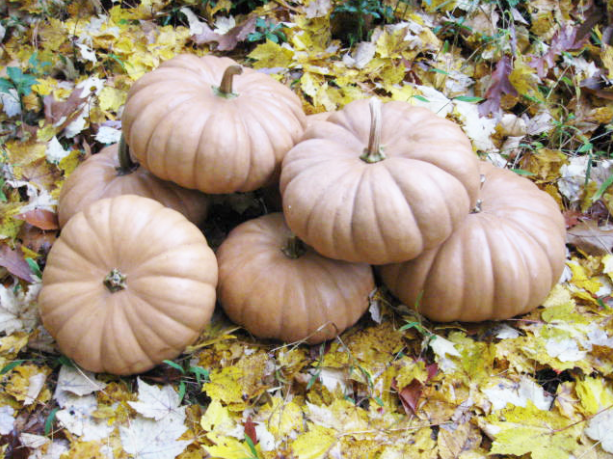
Tan Cheese Pumpkin

You can find Southern Exposure’s winter squash here. Once again the moschata cultivars can be eaten early as summer squash or eaten as winter squash. These include varieties like Seminole Pumpkin, Tahitian Melon Winter Squash, Thai Kang Kob Pumpkin, and more.

While they are called Three Sisters Gardens many Native Americans included more than just three crops. For instance the Wampanoag people planted sunflowers on the North side of the garden so they wouldn’t shade the other crops but would help attract pollinators. Some cultures also incorporated pollinator plants like bee balm or other crops like tobacco or amaranth which is grown for its edible leaves and seeds.

Growing a three sisters garden can be an easy fun project for the organic gardener. It’s low maintenance and beautiful. Though most people don’t have to grow corns, beans, and squash as staples anymore it can be a great way to keep organic gardening techniques, cultural traditions, and seed saving alive and well.

If you’re having a hard time choosing plant varieties consider Southern Exposure’s Three Sisters Garden Package which includes Bloody Butcher Corn, Genuine Cornfield Beans, and Seminole Pumpkin Squash seeds plus a planting guide.