Tag Archives: flower garden

Pinch Plants for Better Production

Summer is a busy time for gardeners. Weeding, watering, harvesting, preserving, and succession planting fill our days. It’s beautiful to watch a garden flourish under your care! Another task you can do while working out in the garden is pinching certain plants. Pinching plants is quick and easy and can make a big difference in their growth habits. Learn to pinch plants successfully.

What is Pinching?

Pinching is a type of pruning or harvesting that encourages lateral growth in plants. All you need to do is pinch off the tip of the plant or the end set of leaves or buds just above the node or bulge. Often, you’ll see small sets of leaves or buds just below where you need to pinch. When you do this, the plant sends out a set of lateral branches. Usually, you can do this just with your thumb and pointer finger, but you could use a small pair of snips if that’s easier. 

Failing to pinch your plants isn’t the end of the world. They’ll still grow fine. However, it’s a great way to encourage a bushier growth habit, resulting in increased harvests for certain herbs, more blooms on specific flowers, and fewer chances of lodging. 

Pinching can be nerve-wracking! Should you really hack the top off of a seedling? Yes! It’s intimidating but worth it if you want bushy, productive herbs and flowers.

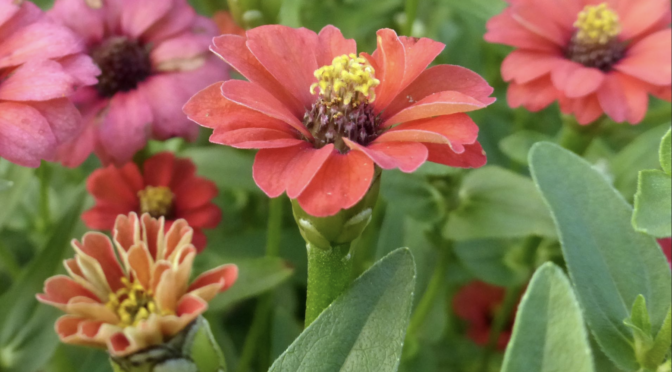
Cactus-Flowered Zinnias (Zinnia elegans)

Can I Pinch Any Plant?

Only some plants benefit from pinching. Whether or not you should pinch a plant depends on the species and their growth and fruiting habits. Below are a few of the common plants that 

Flowers to Pinch

  • Calendula
  • Cosmos
  • Salvia
  • Sweet William
  • Zinnias

Herbs to Pinch

  • Basil
  • Lemon Balm
  • Mint
  • Oregano
  • Rosemary
  • Sage
  • Thyme

Plants Not to Pinch

While some plants benefit from pinching, others should never be pinched. For some plants, like those listed below, pinching can be detrimental and damage flowering or production.

  • Cockscomb
  • Delphinium
  • Dill 
  • Foxglove
  • Larkspur
  • Sunflowers

When to Pinch Plants

Pinching works best when you catch the plants at the right time. Ideally, it would be best if you pinched them when they’re between 12 and 18 inches tall and are often starting to look a bit leggy.

You may only need to do this once or twice for flowers like zinnias. For herbs like basil and mint, it’s easy to maintain this practice as a harvesting method. As you’re not growing the plants for flowers but rather foliage, we don’t need to worry about preventing blooms. We can pinch above the nodes each time we harvest.

Other Pruning Methods

Pinching isn’t the only method of removing material from plants. Here are other ways to alter plants to change their shape, encourage production, or improve their health.

Deadheading

Another way to encourage continued blooming is by deadheading spent flowers. Popping spent blooms off plants like marigolds, zinnias, and cosmos can encourage them to put more energy into repeat blooming rather than forming seeds.

Pruning

Pruning generally refers to clipping off larger branches. Pruning can be done for various reasons. People often prune perennials like fruit trees to remove dead or damaged branches or change their growth habits.

We often prune tomatoes. We prune suckers or non-fruiting branches to make the plants easier to trellis, improve air circulation, and encourage production. 


Pinching the tops of your seedlings may seem like a terrible idea. No one wants to damage a plant they have tended. However, pinching is a great way to encourage blooming, production, and health in many flower and herb species. Try pinching your plants this season!

Endless Blooms: How to Save Zinnia Seeds

Heirloom tomatoes and colorful corn varieties often garner much of the attention when we talk about seed saving, but it’s not just vegetables that have a rich history. Gardeners have saved and selected flower seeds for thousands of years. Zinnias, one of the easiest flowers to grow, are also easy to save seeds from to keep next year’s gardens full of blooms. Learn how to save zinnia seeds in a few simple steps.

Select Good, Open-Pollinated Plants

If you want to save seed, having an open-pollinated variety is best. Varieties can mostly be divided into two categories, hybrid and open-pollinated, with heirlooms falling under the open-pollinated umbrella. 

Hybrids are a first-generation cross between two parent varieties. As they are a cross, there’s no guarantee on what their seed will produce next year; they may revert to looking more like one of the parents rather than what you just grew. You can still save seed if you’re okay with a potential surprise.

Open-pollinated varieties are established varieties that produce “true-to-type.” You can save seeds from them year after year with little change unless you select for it. For example, if you only saved seeds from a particular shade bloom.

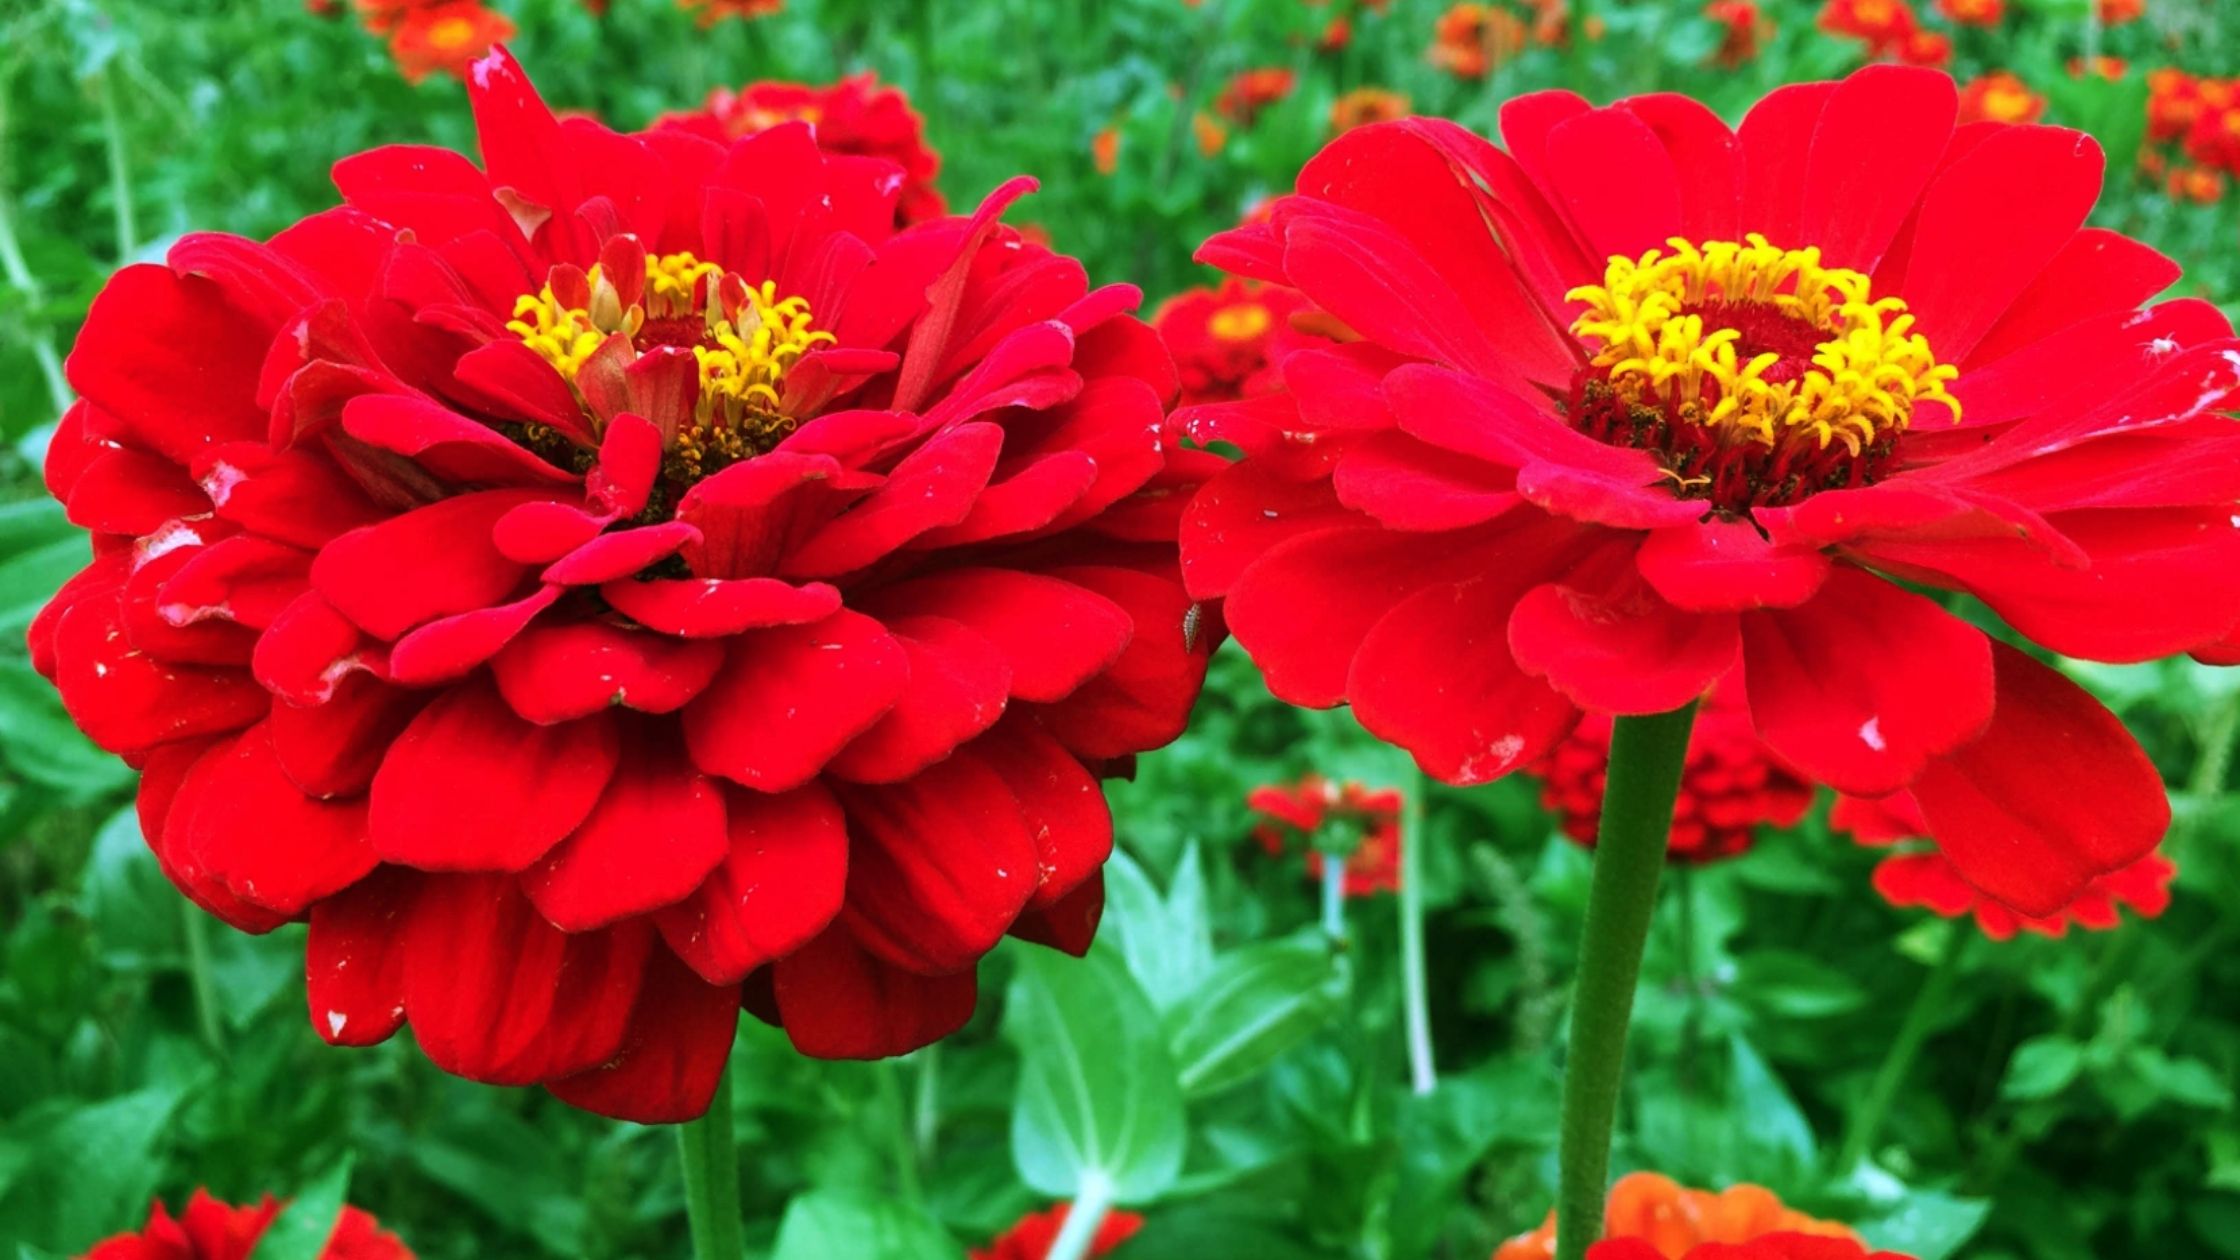
Red Beauty ZinniasAll of the zinnias we carry are open-pollinated.
The “good” part of this statement is somewhat relative. To start, try to save seeds from plants that have been healthy and vigorous. Avoid diseased plants, as some diseases, like powdery mildew, can remain on the seeds. Then, you can also focus on other characteristics like color, size, or bloom period. Essentially, save seeds from plants you think looked and performed the best in your garden.

Consider Cross-Pollination

If you’ve grown multiple varieties of zinnias, insects may have cross-pollinated them. To achieve pure seed, like what we sell, zinnia varieties need to be isolated by 1/2 mile. However, no rule says you need absolutely pure seed. It’s fine to save seed even if there’s been a little promiscuous pollination; you may get some fun surprise variation from next season’s flowers. 

Mature Zinnia Flower HeadAllow The Flowerheads to Dry

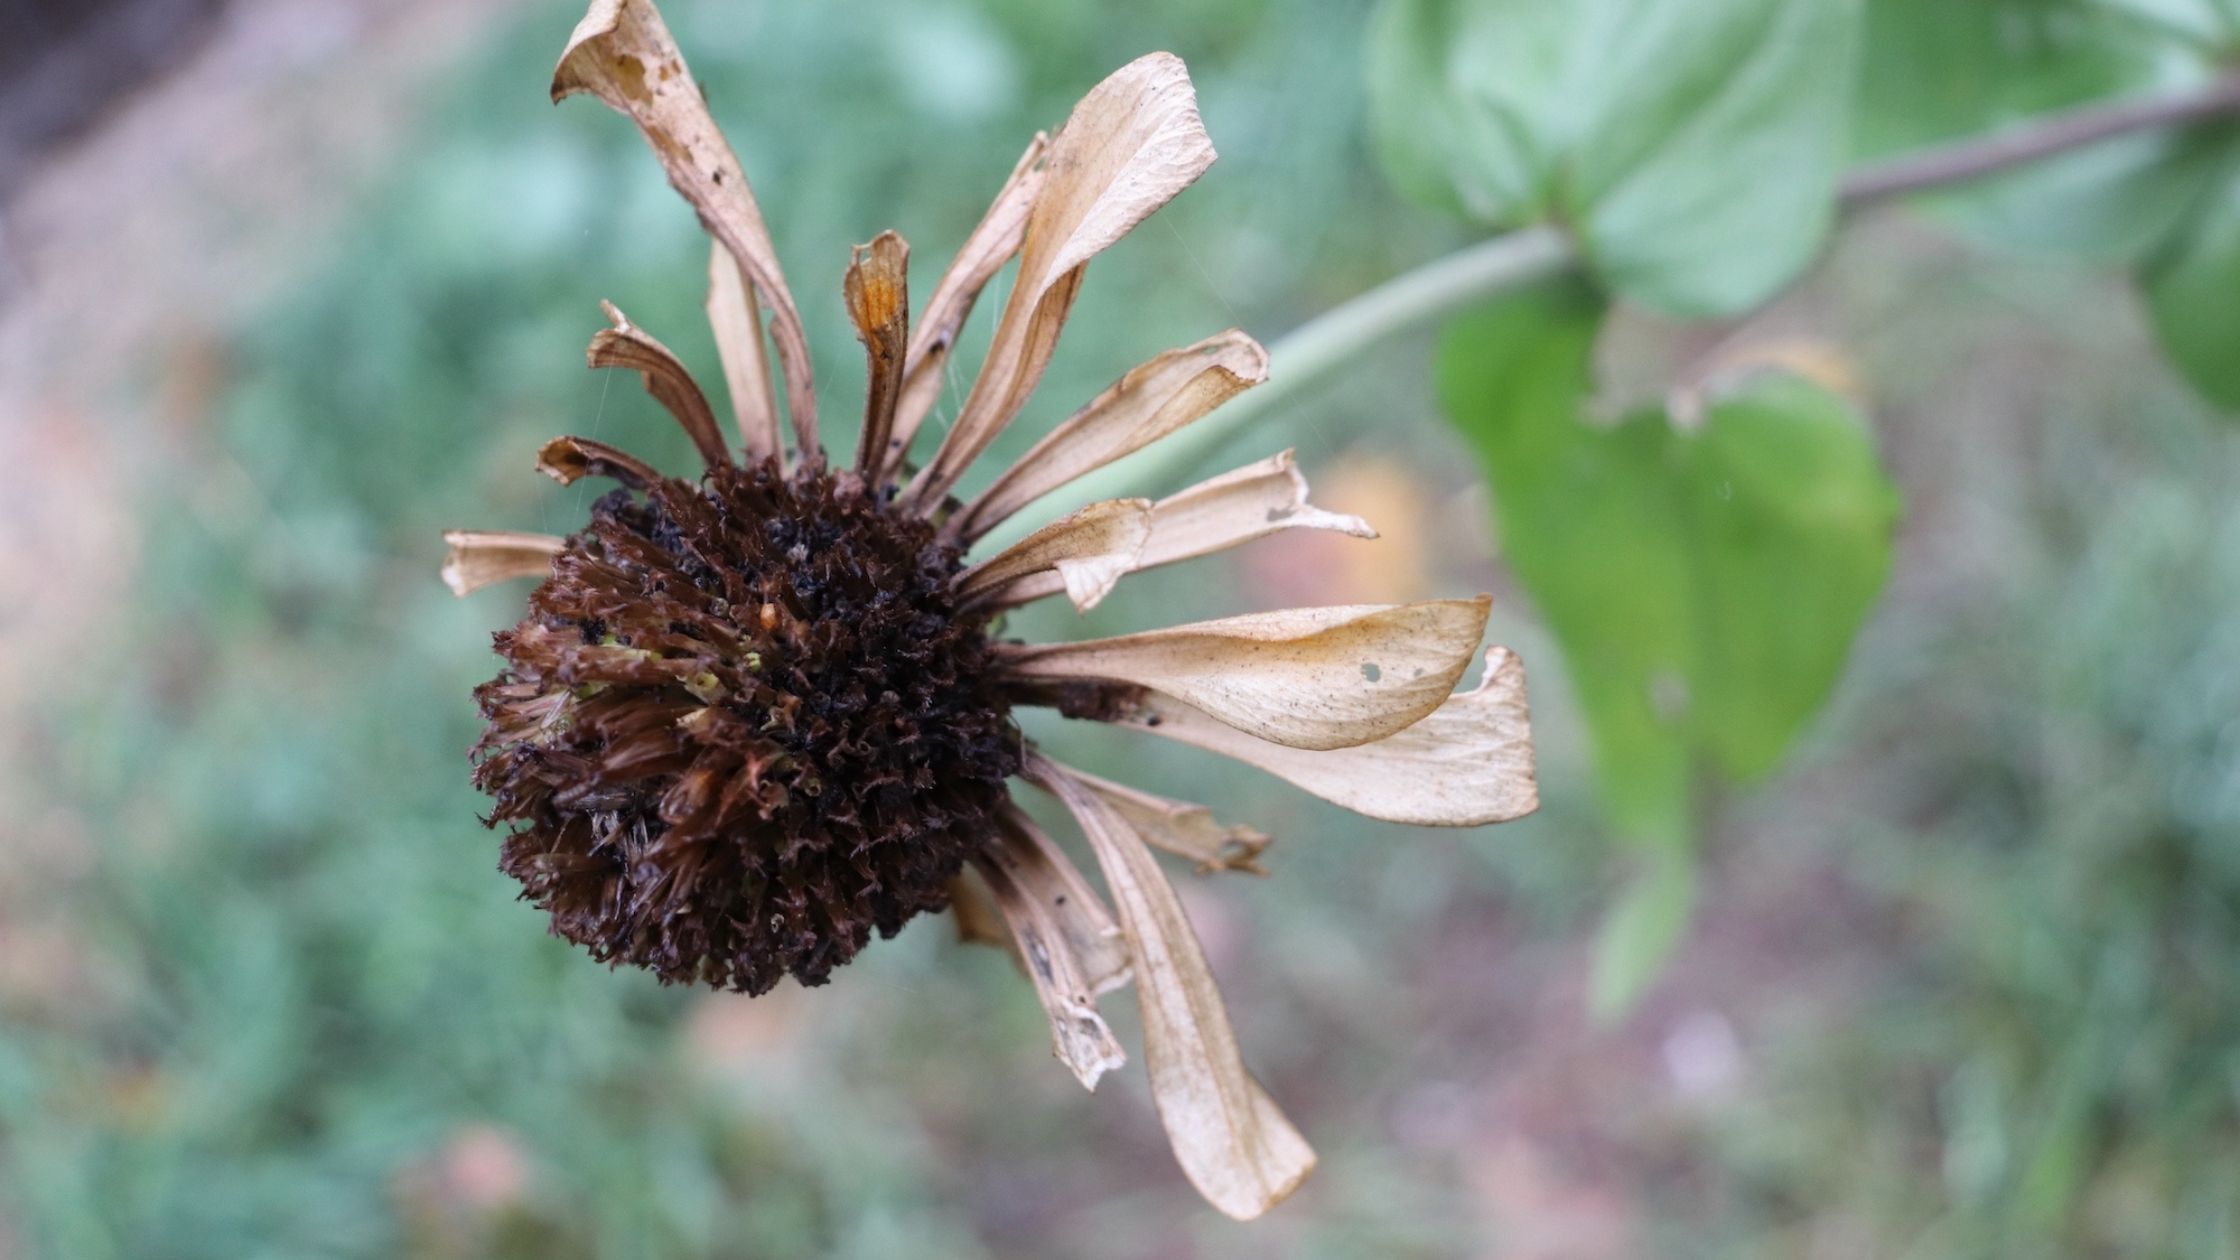
With any seeds, it’s essential to let them fully mature before harvesting to ensure good germination rates. For zinnias, this means that the flower heads, including the petals, should be brown and dry. When this happens, you’re ready to start saving seeds and can cut or pull the flowerheads from the plant.

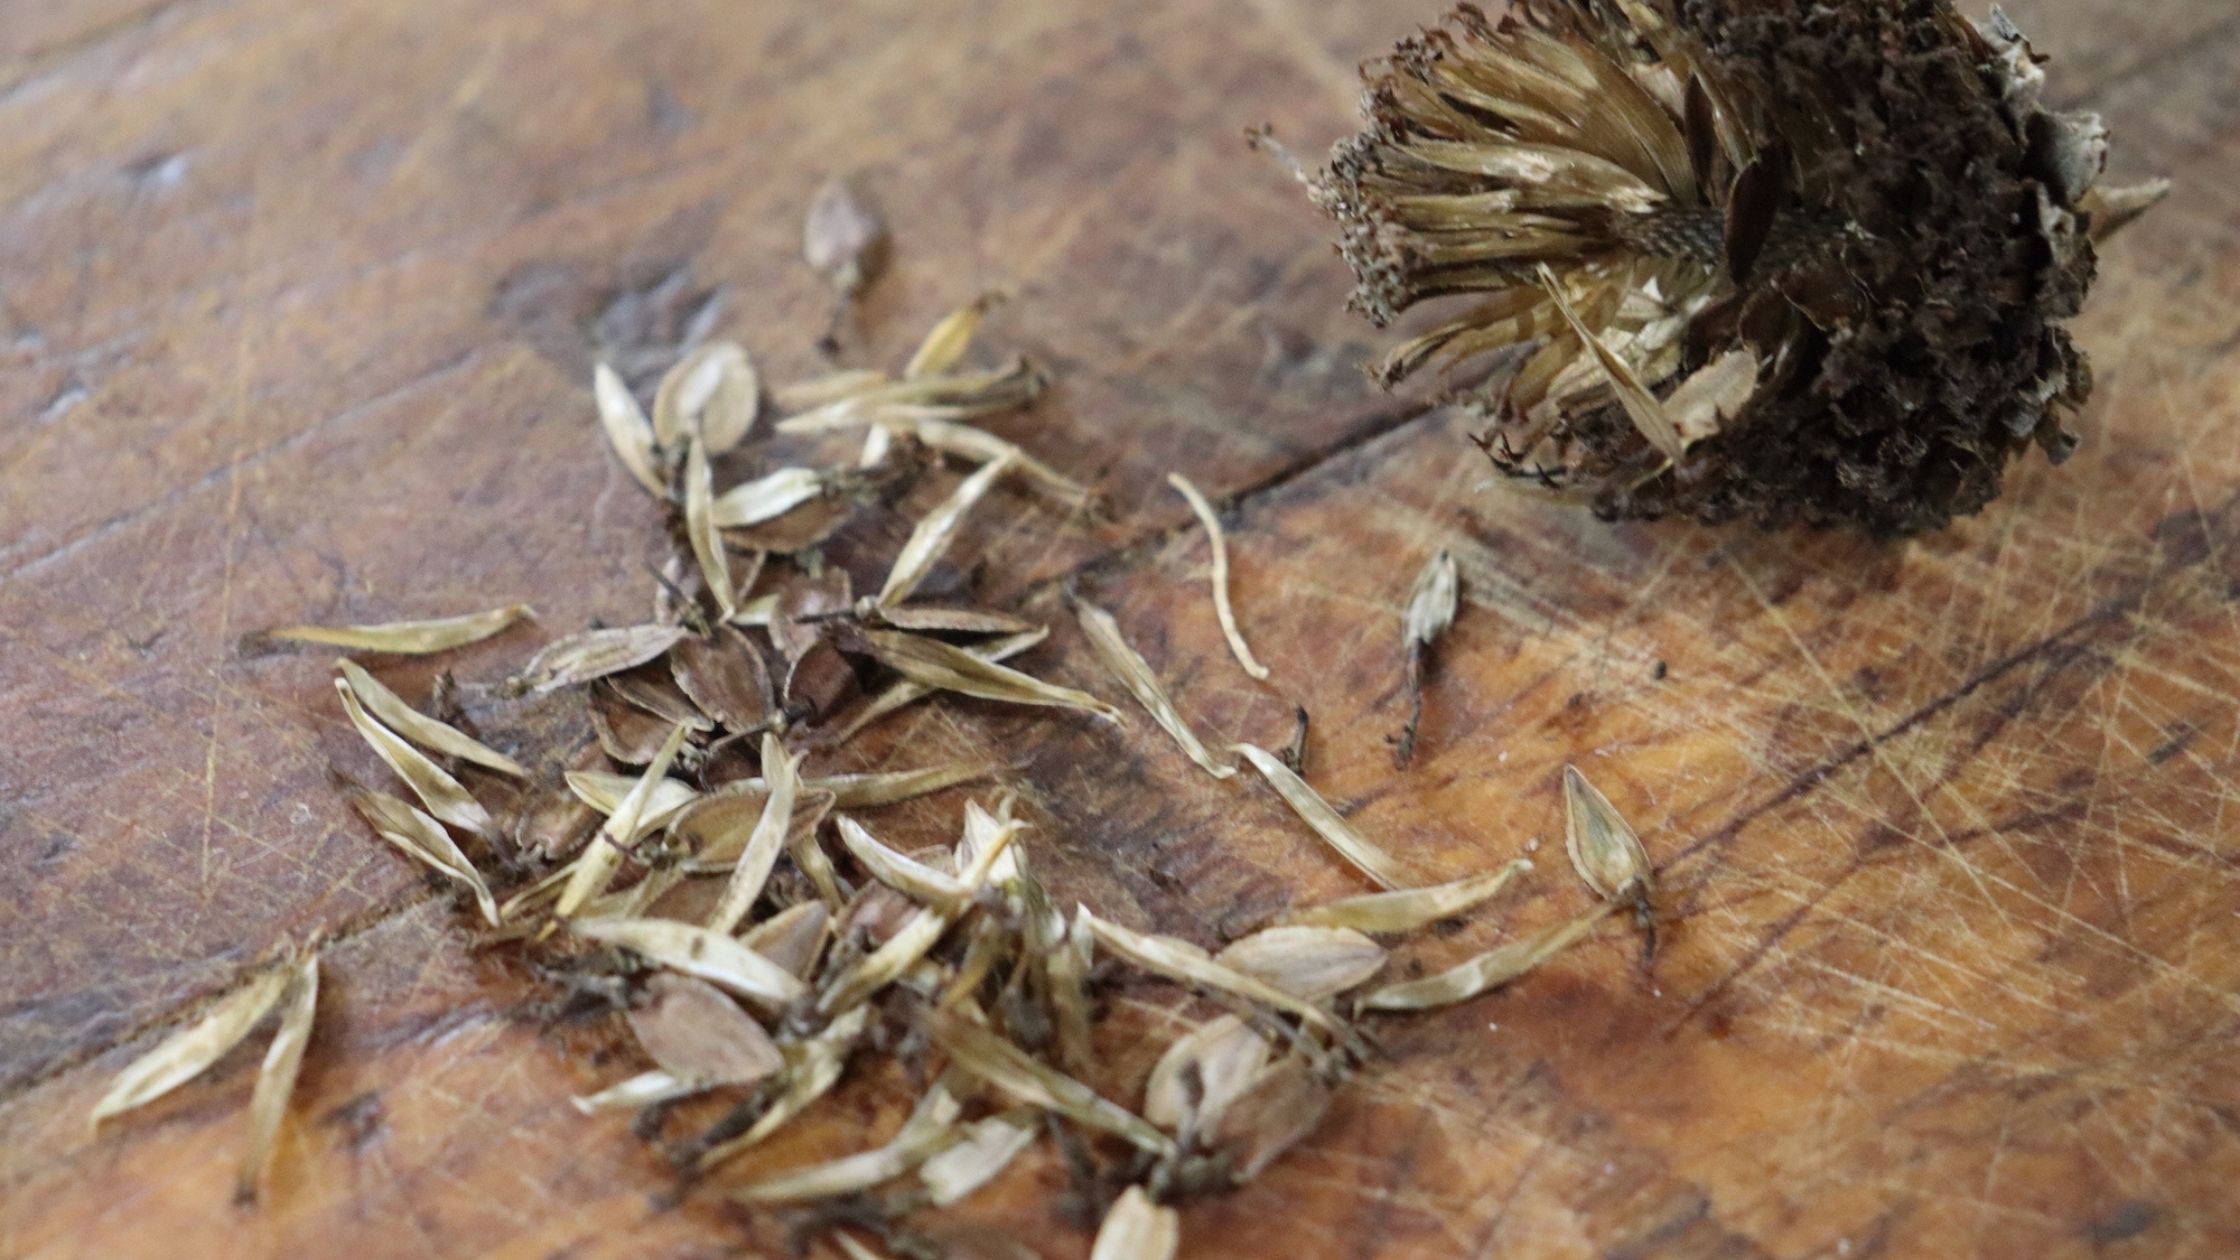
Zinnias Seeds and Flower HeadProcess the Flowerheads

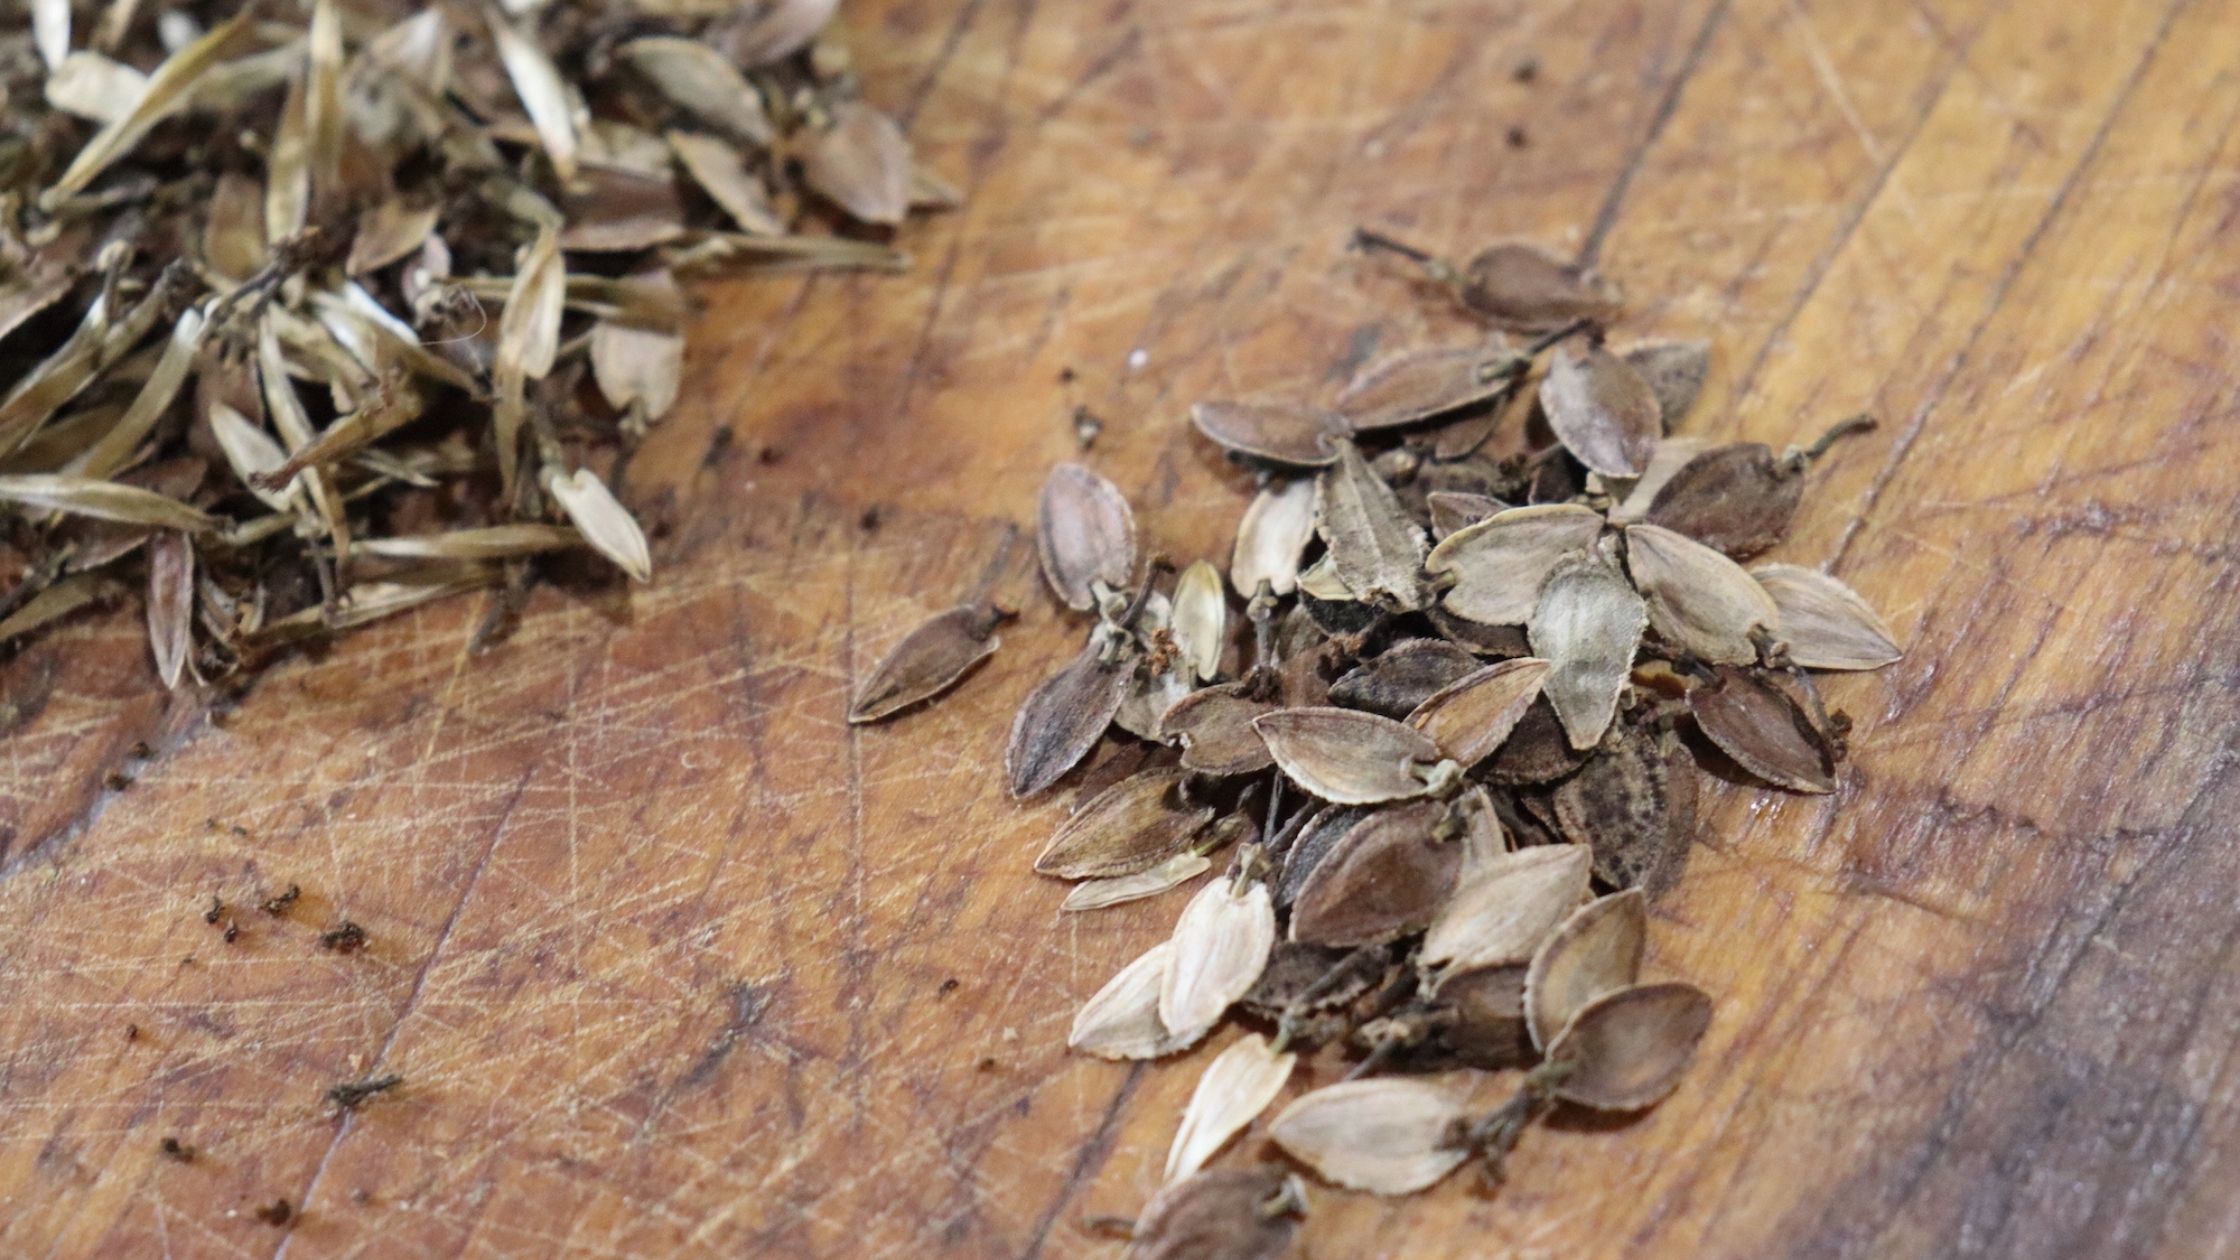
First, pull the petals off the flowerhead and set them aside for composting. Some seeds may come off with the petals. Then, rub the flowerhead over a flat surface until it comes apart to release the seeds. The seeds are brown and a bit arrow-shaped. Pick out any extra material you can and set it aside for composting.

Zinnia Seeds

Dry Your Zinnia Seeds

Allow your zinnia seeds to air dry on a towel or other flat surface for about one week. This will help ensure they’re fully dry and won’t mold in storage. 

Store Your Zinnia Seeds

After they’re fully dry, you can store your zinnia seeds. Place them in an airtight container somewhere cool and dark. Zinnia seeds can last 3 to 5 years if harvested and stored properly. 

Be sure to label your container with the variety and the year you harvested your seed. Once you start seed saving, it’s easy to save more, and you’ll need to keep track of your seeds!


Zinnias are easy to grow, and their long bloom period and variety of colors make them an excellent choice for any ornamental or cut flower garden. Saving your own zinnia seeds is simple! It’s also a great way to help steward an open-pollinated variety and save a bit of money. Follow these steps for success with zinnia seeds.

Simple Seed Saving: Marigolds

Easy to grow, beautiful, and handy to have around, marigolds have earned a spot in many home gardens. Their bright, ruffled blooms and rich, musky smell make them alluring to humans but off-putting to many pests. They are among the easiest seeds to save. There’s very little processing. You just need to harvest the seeds and let them air dry for winter. Here’s how to save marigold seeds step by step so that you can have plentiful blooms all next season, too!

Choose an Open-Pollinated Marigold Variety
If you have marigold seeds from us, you’re all set; all our flowers are open-pollinated. However, if you purchased seeds somewhere else, you may want to double-check that your flowers are an open-pollinated variety rather than a hybrid. 

Hybrids may not produce flowers that resemble what you grew; sometimes, they revert to what one of their two parents looked like. However, if you don’t mind a little surprise variation, you’re always welcome to save seeds from hybrids!

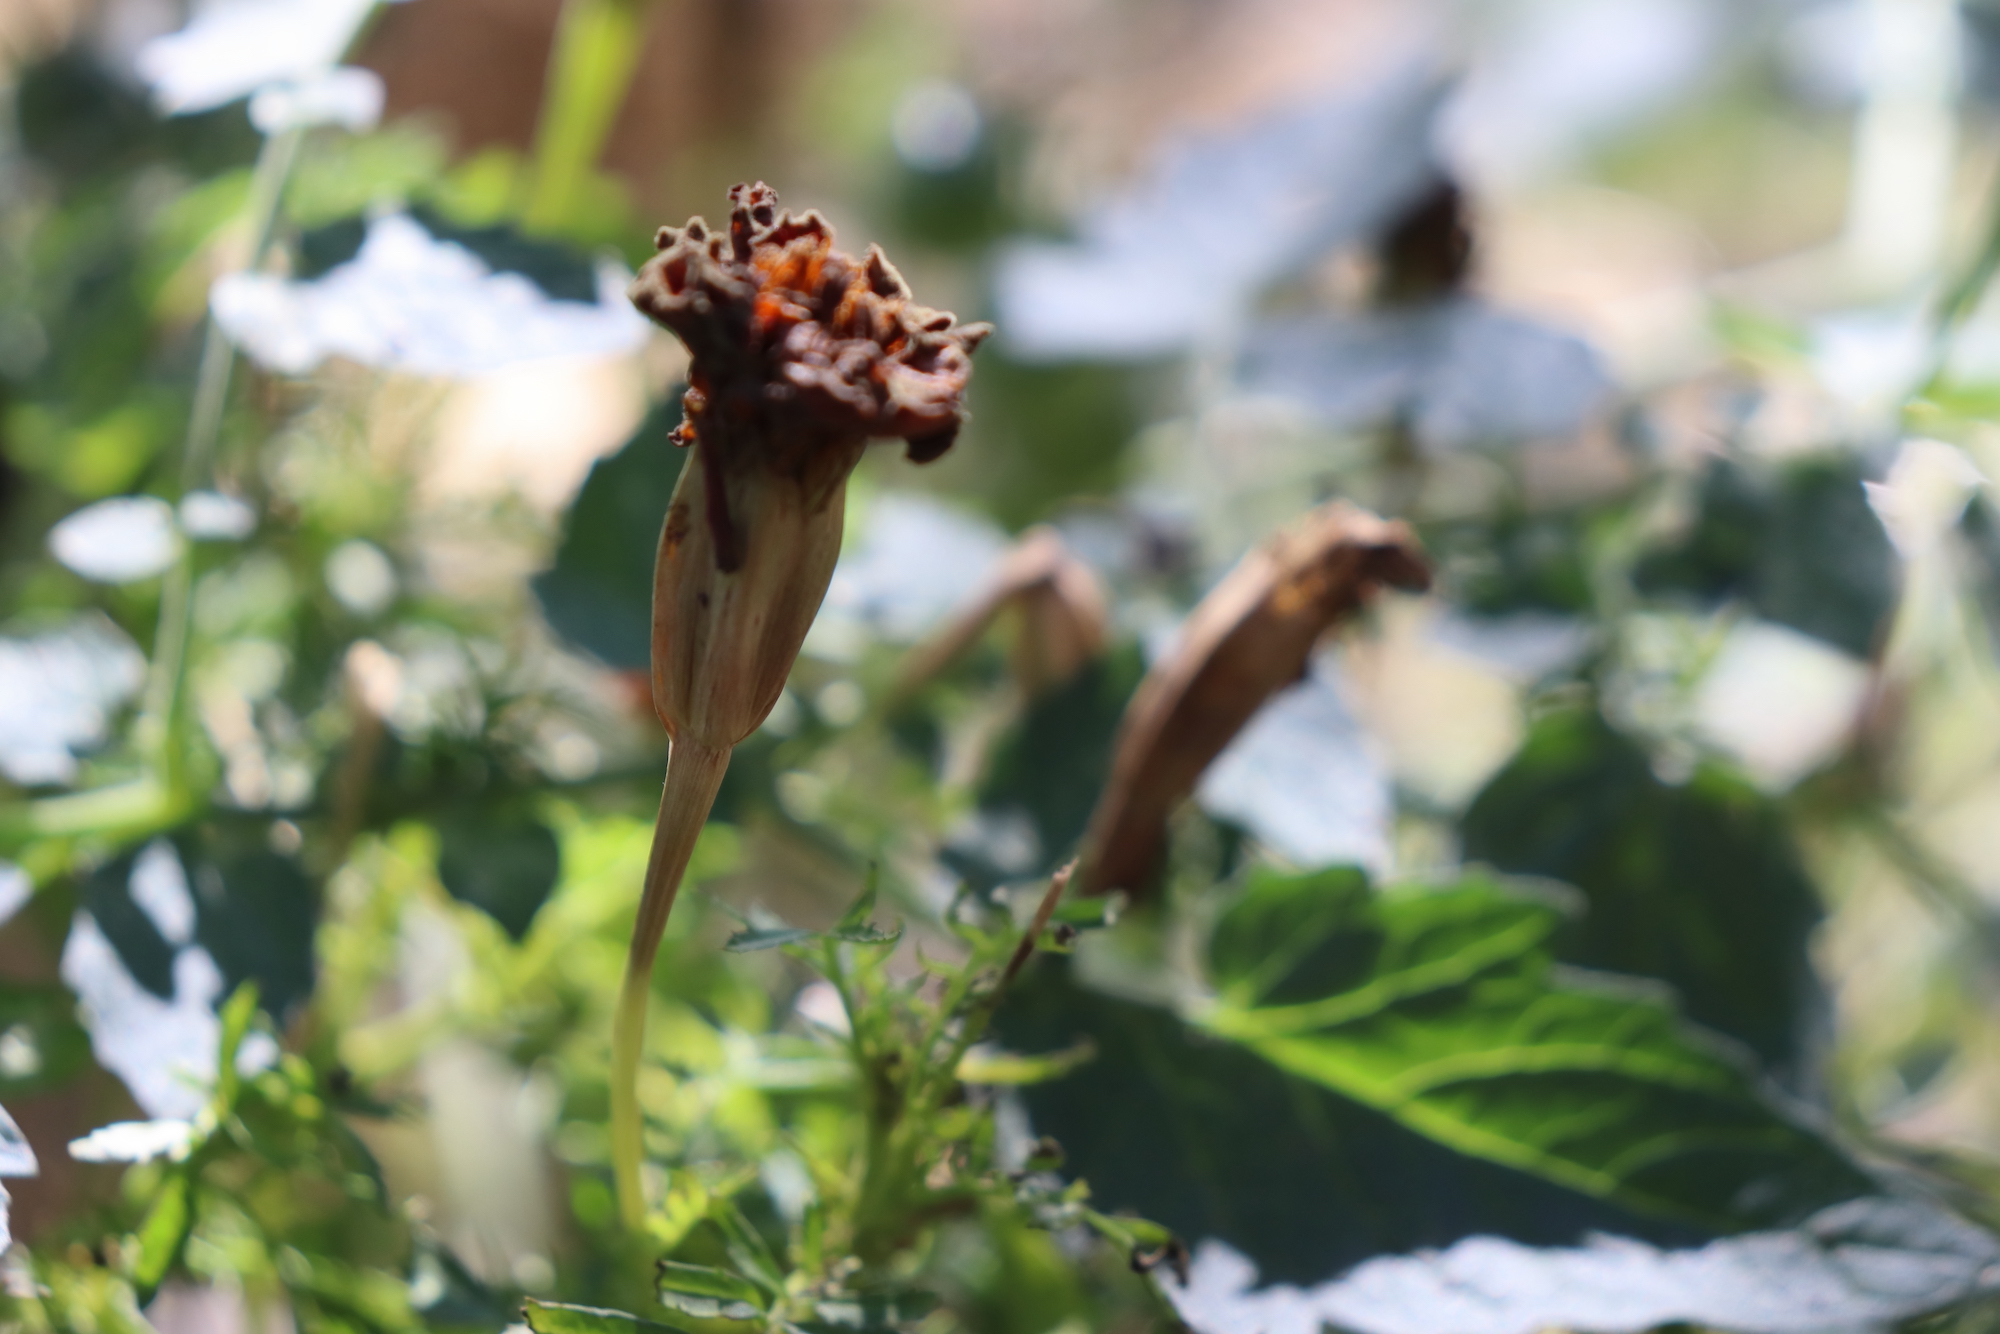
Mature marigold seed pod

Wait Until Your Marigolds Are Mature

As with any plant, you want to ensure the seeds are fully mature before you harvest them. For marigolds, you want to wait until the petals have dried out and the base of the bloom, the seed pod, has started turning brown. Letting the seed pod get as brown and dry as possible is best. However, in rainy years, you may need to harvest the seed pods while they’re still green on the bottom. The seeds may mold if it’s a rainy year and you wait too long. 

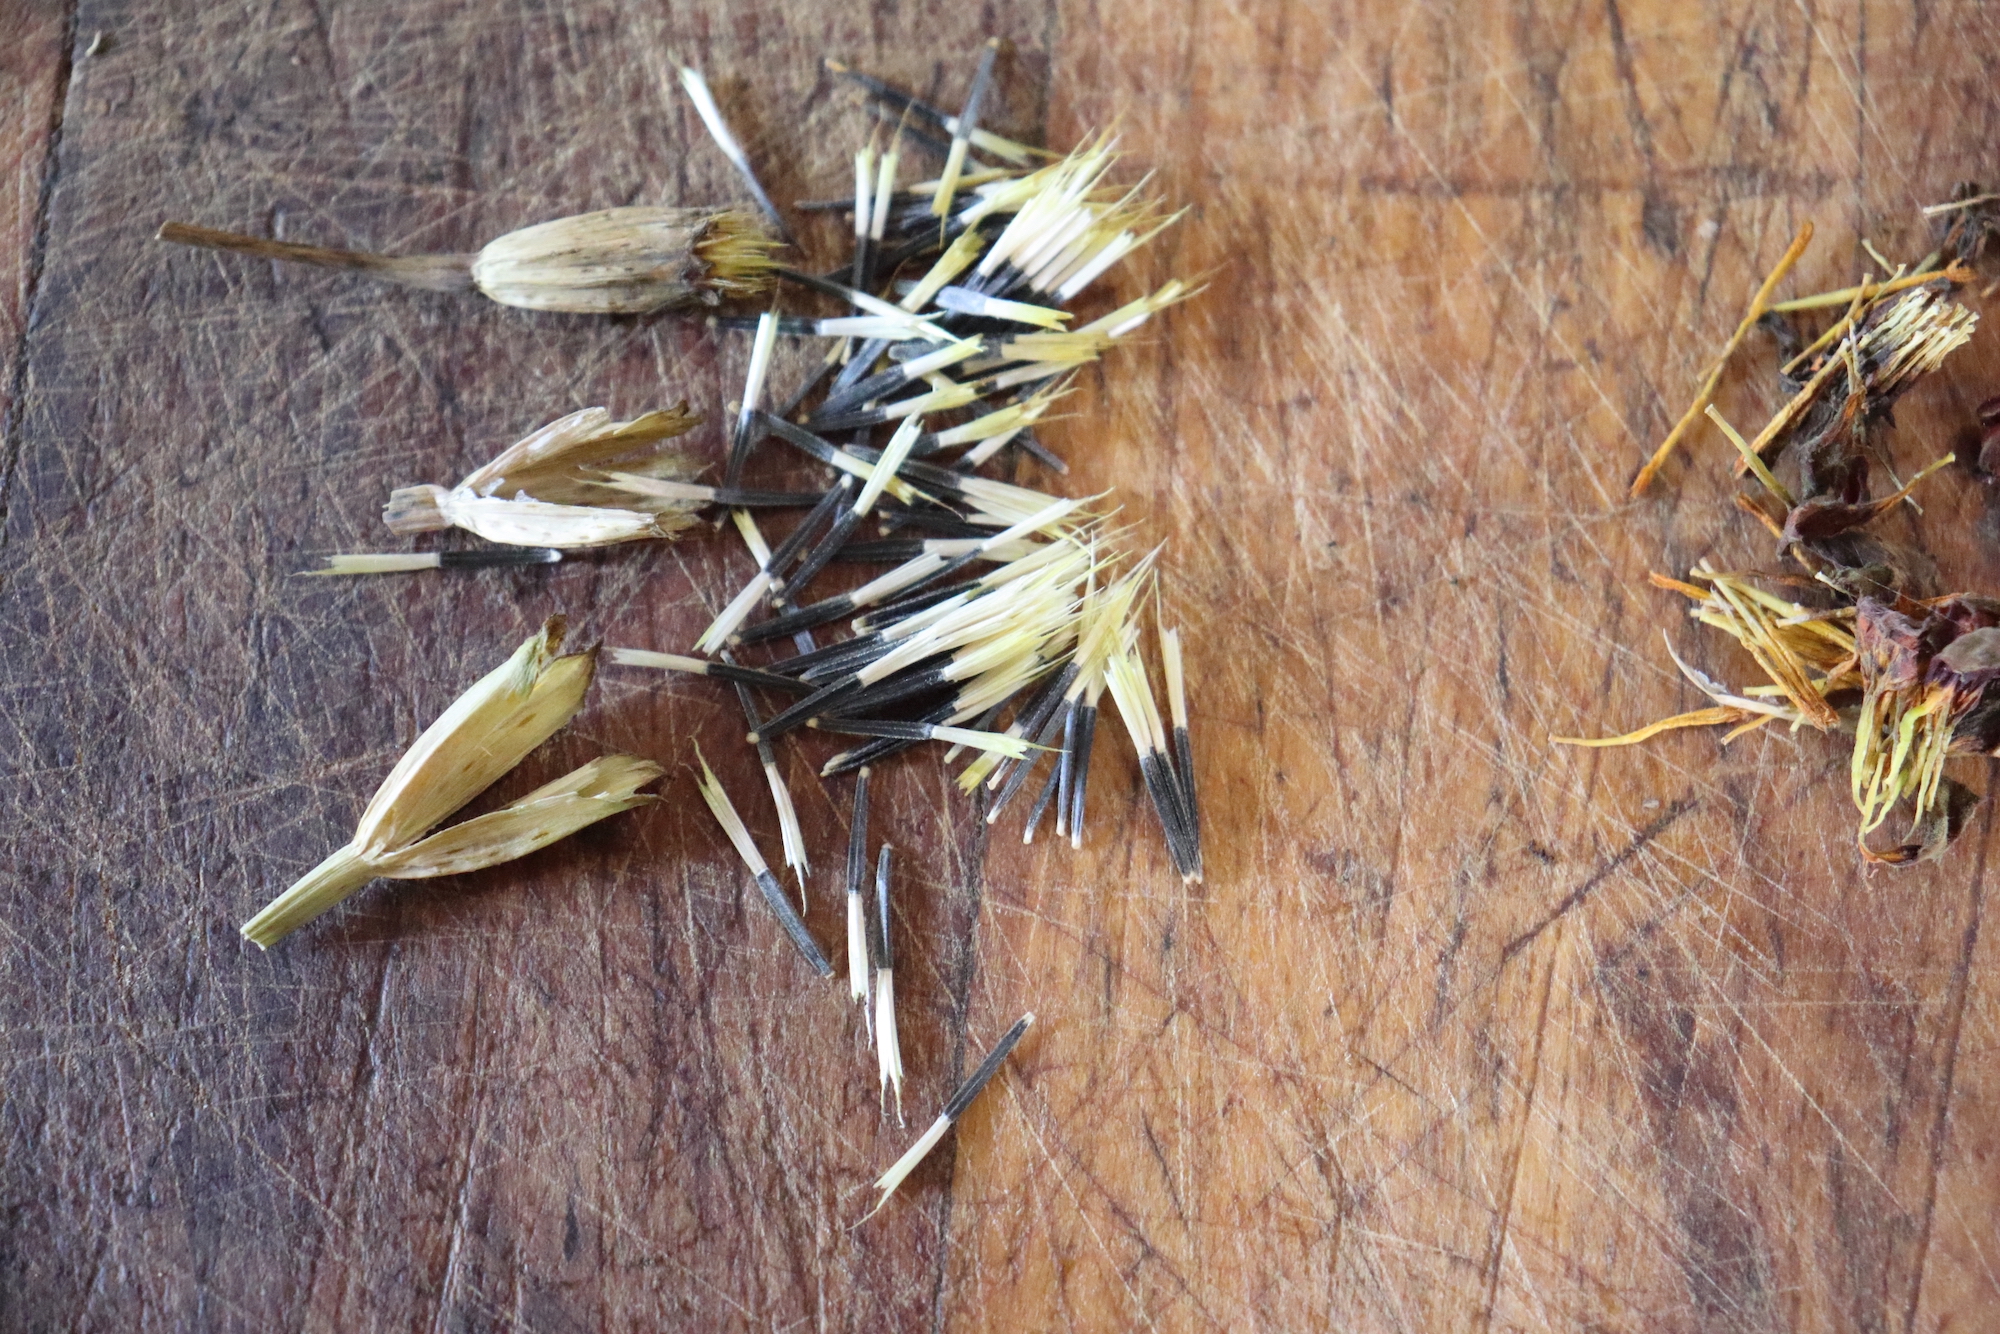
Marigold Seed pods (left), seeds (middle), dry petals (right)
Seed pods (left), seeds (middle), dry petals (right)

Remove the Seeds

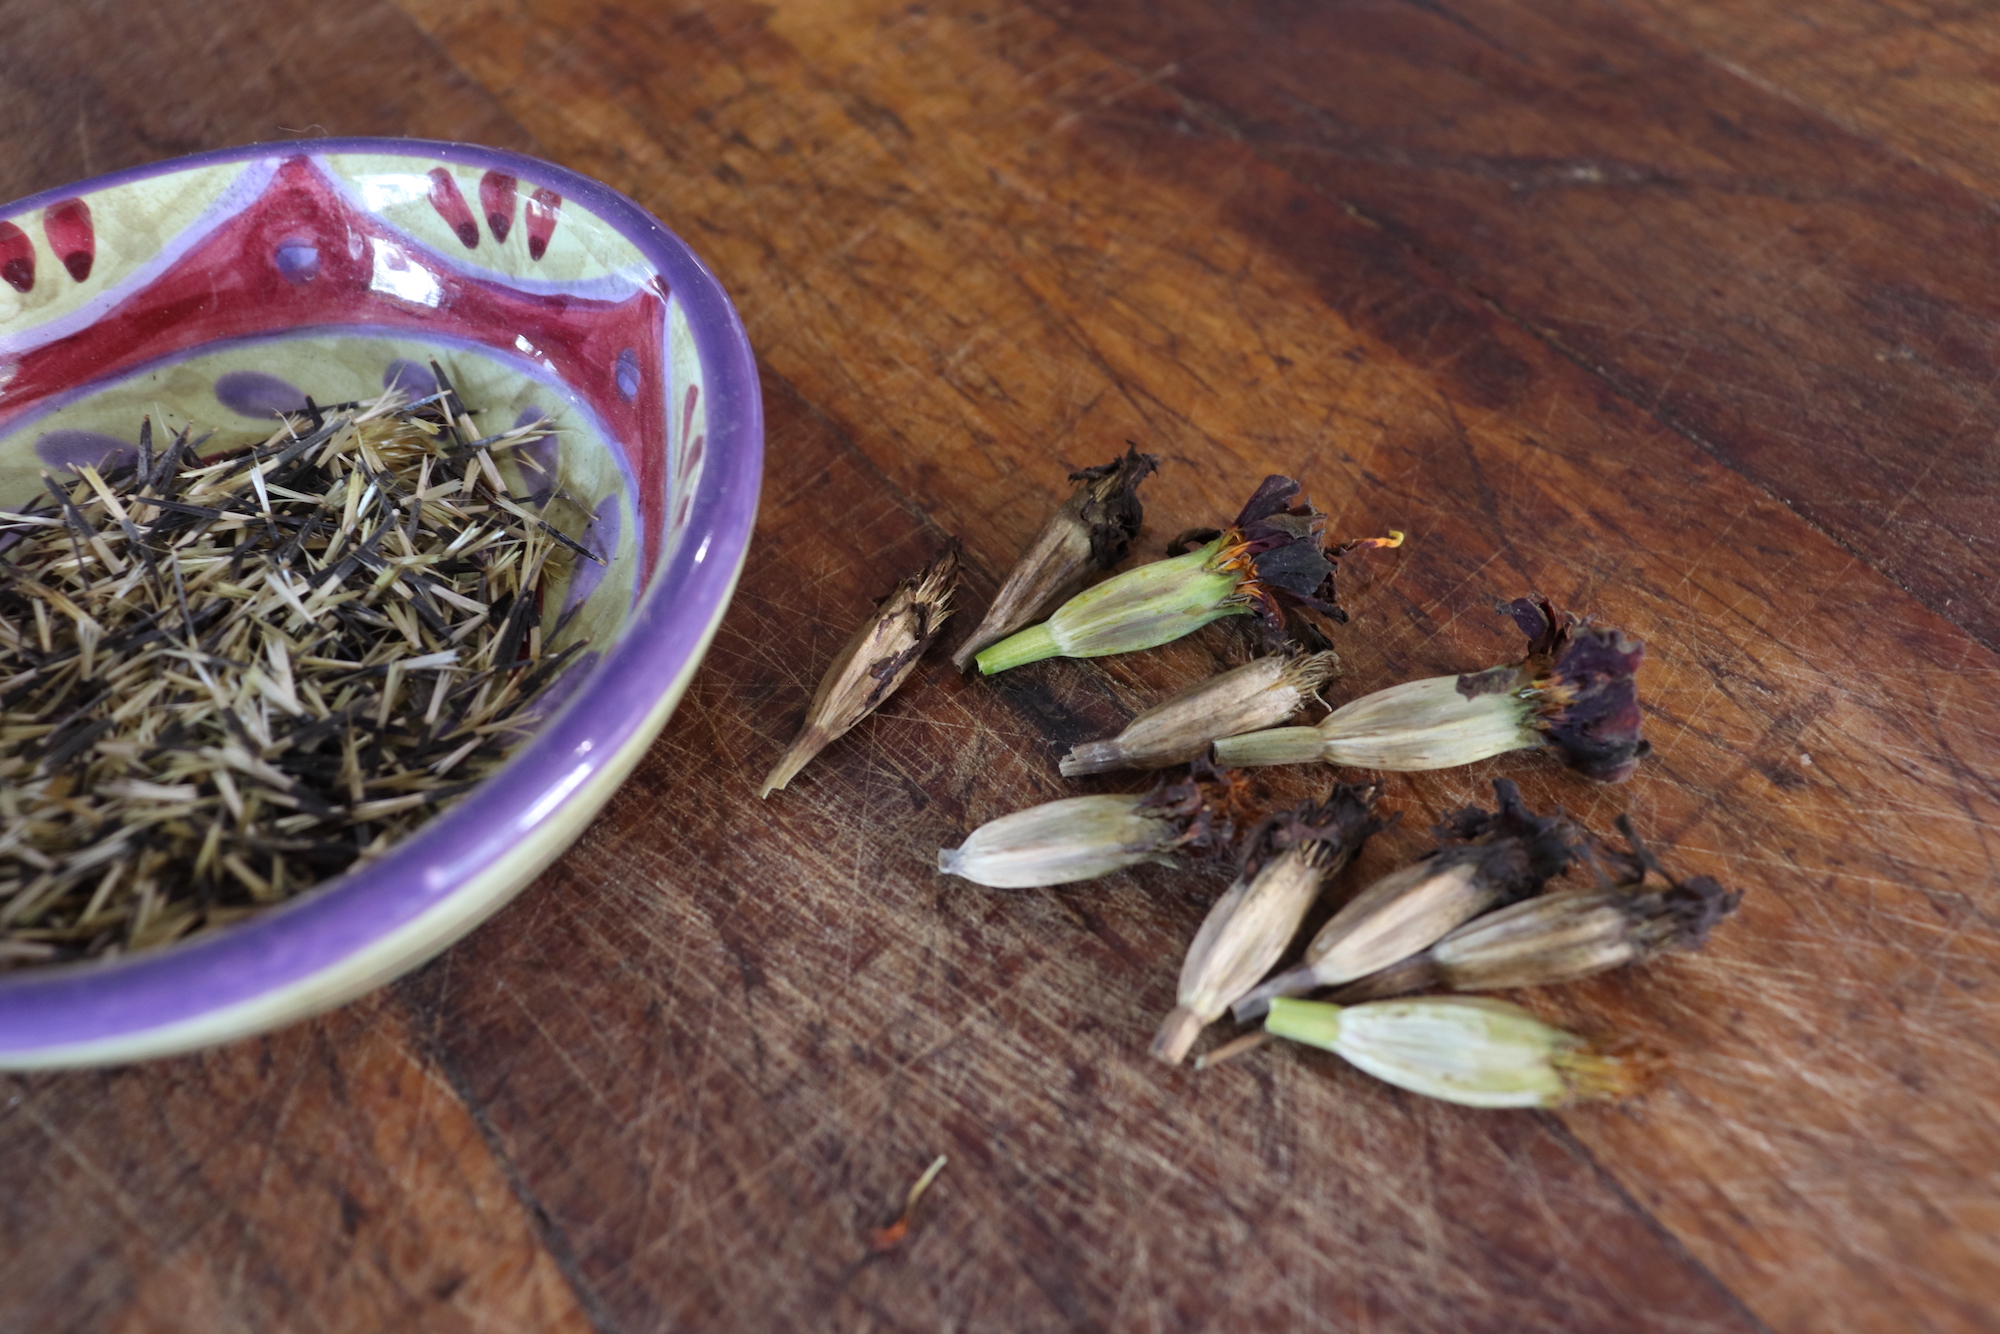
Next, you want to remove the seeds from the pods. First, pull the petals off. Usually, they come off easily, and you can set them aside for composting. Then, you can split or peel the seed pod open to pull out the seeds. When the pods are dry, this is easy. 

Marigold seeds have an odd appearance; they always remind me of porcupine quills, but don’t worry, they’re not sharp! They’re long and thin, almost needle-shaped, with a black or dark gray tip and a white or cream-colored top.

Pick out any leftover pieces of petals and pods as best you can. 

Dish of marigold seeds and some seed pods
Dish of dry marigold seeds (left) and unopened seed pods (right)

Dry the Marigold Seeds

After your seeds are clean, it’s time to dry them. They may seem dry already, but they still have moisture, and they may mold in storage without proper drying. Spread the seeds on a plate or towel and let them dry for a couple of weeks.

Label and Store the Seeds

After your seeds are fully dry, you can package them in an airtight container for storage. Keep them somewhere cool and dark. Make sure to label your container with the variety and date.

Follow these steps to save marigold seeds for next year’s garden. In the spring, you can use your seeds to start marigolds indoors for early blooms. Marigolds germinate quickly, so you can also direct sow them. Many folks have found they make excellent companion plants, and you can plant them alongside many vegetables and herbs, including squash, tomatoes, beans, and basil. As flowers mature next season, you can repeat this process to save marigold seed.