When to Plant a Fall Garden

Growing a fall garden allows us to extend our season and get more vegetables, herbs, and flowers out of our space. In Virginia, where we’re located and farther south, it gives us a second opportunity to enjoy some cool-weather-loving crops like peas and spinach for a second time. However, as we’ll discuss below, the name fall gardening can be a bit misleading, you will be harvesting in the fall, but for many crops, you’ll be sowing during the summer.

When Do I Start My Fall Garden?

The short answer is it depends. Where you’re located and what you choose to grow will dictate the sowing times for your garden. The first step is to consider you’re hardiness zone and determine your first frost date. Then look at the days to maturity for crops you’re considering planting.

While frost may seem like the primary factor in a fall garden, you must also consider the day length. During the fall, the days rapidly get shorter, and this, rather than cold temperatures, slows crop growth.

To take this into consideration, you want to add 14 days to the days to maturity time for any variety you’ll direct sow and 14 to 28 days for any variety you will be transplanting. This longer period helps account for setback and transplant shock. 

Once you have your days to maturity plus the added days for daylight, you can count backward from your first frost date to determine your last possible start date. 

For example, let’s say we wanted to plant Capitan Bibb lettuce (62 days to maturity) in a zone 6b garden with an estimated first frost of October 20th. We’ll take 62 days and add 14 days because we’ll be direct sowing it, to get a total of 76 days. If we look at a calendar and count backward 76 days from October 20th, we get August 7th. Therefore we can sow Capitan Bibb lettuce up to August 7th in this garden and expect harvests. 

At 62 days, Capitan Bibb is also a rather quick-maturing crop. If you want a fall garden, it’s best to start planning early! In zone 7a, we begin direct sowing slower maturing crops like cauliflower as early as June 1st.

Garden Apps and Calendars

These days, gardening apps can be very helpful for determining planting dates. Our own garden planner features planting dates based on your zip code. The Farmer’s Almanac also has a planting date calculator and a first frost date calculator on its website. 

If you’d like a more analog option and are located in zone 7, like we are, feel free to check out our planting list pdf. Also, many states and extension agencies offer planting calendars, so be sure to check your local resources as well. 

What Should I Plant?

You can include a wide array of crops in your fall garden, with the exception of some long-season crops like field pumpkins.

We often lean towards cool-season crops like brassicas, peas, greens, and root vegetables when planning fall gardens. While these may last us longer into fall than their warm-weather counterparts, we can still include them in our plans as well. Especially in southern areas, you can start later plantings of squash, beans, sweet corn, and even tomatoes to ensure second harvests at the beginning of fall. 

In the past, we’ve often set out some tomatoes in the second half of June to ensure we had good production for fall tomato tastings. Here are a few of the crops you can consider planting for fall:

  • Cauliflower
  • Cabbages
  • Summer Squash
  • Beets
  • Beans
  • Peas
  • Southern Peas
  • Chinese Cabbage
  • Swiss Chard 
  • Collards
  • Corn
  • Carrots
  • Lettuce
  • Parsnips
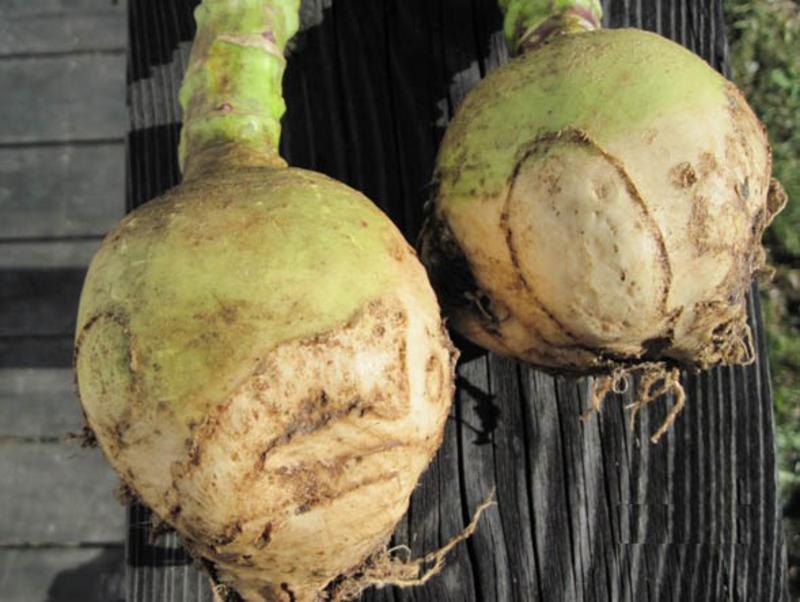
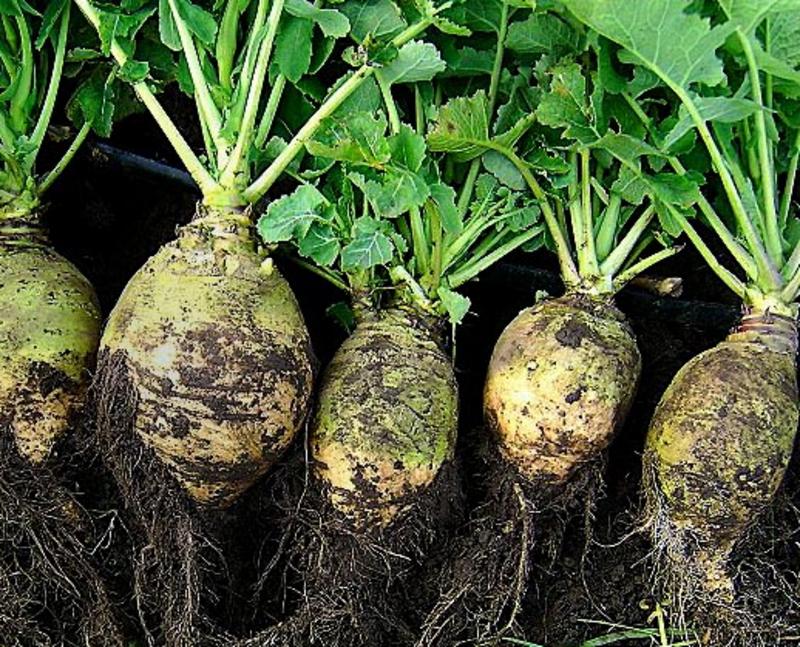
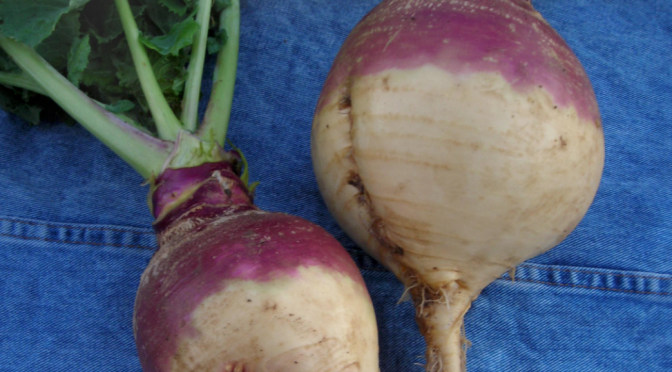
  • Rutabaga
  • Broccoli

Planting in the Fall

There are also a few crops that you can plant in the fall to harvest next season. Some, like bulb onions, brassicas, greens, and certain flowers, we overwinter when they’re still small to get an early spring harvest. Others, like garlic and perennial onions, need a cold period to produce well. 

Planning these out ahead of time can help ensure you get a good selection when ordering. For example, we’re already taking garlic orders, even though we’ll ship it out at the appropriate time during the fall based on your location. 

If you’re always sad to see the garden season come to an end, consider adding more fall crops to your garden this season. Start planning your fall garden now to ensure all your crops are in on time and you have abundant harvests!

How to Build a Bean Tunnel

Pole beans are a treasured southern crop for many reasons. They have a lot of flavor, interesting history, and are easy to grow and productive. We’ve also found that they’re enjoyable to grow. We love making “bean tunnels” with pole beans. These bean tunnels make picking easy, create shady areas to rest in the garden, and make a great fort or play house for kids. Here’s the easy method we recommend for building and growing a DIY bean tunnel.

Supplies

You’ll need to round up a few supplies to build a bean tunnel. You’ll need some fence posts, strong but flexible fencing panels, and a fence post pounder or mallet to place your posts. Generally, we use green metal t-posts and cattle panels, but you may find other materials that are also suitable with a bit of work. Depending on what type of fencing and posts you’re using you may want some extra wire to help secure the panels to the posts.

Preparing Beds for a Bean Tunnel

You’ll want your bean tunnel set up so you can walk through it. Therefore you’ll need to create two beds with a walking pathway in between. These can be traditional or raised beds. 

Typically, the path in the middle should be about 5 feet wide. When the base of your tunnel is about this width, you’ll be able to create a sturdy yet fairly tall tunnel. 

You may find that closer to 6 feet or 4 feet works better for you but I would recommend experimenting with holding up your fencing to see what the arch will look like in place.

Once you’ve decided on their positioning, prepare the beds as you usually would for planting. You may want to loosen the soil with a broad fork or tiller and add a couple of inches of finished compost.

Setting Up Your Tunnels

As I mentioned in the previous section, you’ll probably want your posts placed so that the bottoms of the tunnel are about 5 feet apart. You need two posts per panel, with one on each side. To ensure you’re happy with this size, mark out your measurements and have two people hold the panel in place. If it looks good, you can go ahead and place your posts.

Once your posts are firmly in the ground, you’ll need two people to lift the panel and slide it over the poles. To begin, one person should hold their end roughly in position while the other slides their end over the post. Then the second person can slide their end over the post. If you feel like the panel isn’t secure you can use fencing wire to secure it to each post.

When built using t-posts and cattle panels, we’ve found that these trellises are plenty sturdy and hold up well to wind and weather.

Planting Your Tunnels

We use these trellises as bean tunnels, but you can grow various vining crops on them, including cucumbers, gourds, pole beans, winter squash, melons, or morning glories. Some folks also plant perennial vining crops like hops, roses, or grapes in this manner. Follow sowing or planting instructions for your chosen crop and plant them along the outsides of the tunnel.

The fruits of larger crops like melons and winter squash may need additional support. You can make little hammocks for them with scraps of old cloth or pantyhose.

That’s it! All you need to do is wait for the beans to grow and keep them watered or weeded. Before you know it, you’ll have a shady tunnel covered in bean leaves. Happy gardening!

Awesome Alliums: Tips for Onions, Garlic, Leeks

Alliums are tasty, versatile crops, including leeks, bulb onions, shallots, perennial onions, bunching onions, ramps, and garlic, that are key ingredients in a wide range of cuisines and recipes. While they aren’t difficult to grow, getting good production can be tricky. Here are a few good tips for onions, garlic, and leeks. 

Choose the Correct Variety for Your Area

Alliums can be a bit fickle about where they grow. Onions require certain lengths of daylight to bulb up properly, garlic needs specific temperatures, and leeks can require a long growing period. Choosing a Variety appropriate to your area is the only way you’ll have success.

Bulb Onions

We carry long-day (LD) and short-day (SD) type onions at SESE. You may also see intermediate-day or day-neutral onions available at other places. 

Long-day types begin to form bulbs when the day length is between 14 and 16 hours. Plant long-day type onions in the spring from Virginia northward. Note that not all long-day types can bulb up as far South as Virginia, but ours can.

Short-day types begin to form bulbs when the day length is between 10 and 12 hours. Short-day types can be spring or fall-planted in Virginia and fall-planted in the South. If started in a greenhouse or in the fall and kept refrigerated as sets, short-day onions can be grown in small bulbs in the North.

Intermediate-day or day-neutral onions are ideal for gardeners that live right on the edge, usually in zones 5 and 6. They aren’t daylight dependent and will produce well in almost any area.

Looking at day length isn’t necessary for bunching or perennial onions.

Garlic Drying in the Barn after Harvest

Garlic

At SESE, we carry four types of garlic; hardneck, softneck, Asiatic & turban, and elephant garlic.

Hardneck or rocambole garlic is better adapted to cooler climates and performs best from Virginia northward. It has become more popular recently because it produces flower stalks or scapes that can be cut and eaten before the garlic is ready to harvest. Hardneck garlic varieties have a diverse range of flavors.

On the other hand, softneck garlic does best in warmer climates and is more domesticated than hardneck garlic. It doesn’t produce scapes. However, the lack of scapes makes it easy to braid softneck garlic. It also stores incredibly well and typically has higher yields. 

Asiatic and Asiatic Turban garlic are tentatively identified as an artichoke subtype. Unlike most artichoke types, the stems are hardneck; however, in warm climates, they may revert to softneck. 

Though elephant garlic isn’t true garlic, it is cultivated in the same way. It has a milder flavor than other garlic, making it perfect for raw use. It’s also excellent steamed with other vegetables. 

Leeks

Leeks aren’t divided into specific categories like onions and garlic. They’re very similar to growing onions and, in some ways, are a bit easier. However, you want to consider each variety’s days to maturity, your climate or growing zone, and when you want to plant them. Leeks may vary widely in days to maturity from the 130 of American Flag (Broad London) Leeks to the 75 days of King Richard Leeks.

Water Management

Alliums don’t like soggy feet but produce better when kept consistently watered. Especially for large bulb onion varieties, regularly watering or using a drip irrigation system on a timer can significantly improve your yields.

Weed Pressure

Alliums do not tolerate weed pressure well. Onions, leeks, garlic, and other alliums can easily be overwhelmed by heavy weed growth and fail to produce well. We recommend spacing allium rows so you can easily weed between them with a stirrup hoe, wheel hoe, or similar tool while the weeds are still small.

Alliums growing in spring garden with hay mulch

Mulch

We recommend using a good layer of mulch for all allium crops as it helps with the above issues. Mulch will help keep the soil cool and moist and suppress weeds. If you have a wet season, you may want to pull the mulch back a week or two before harvesting garlic and onions to allow the bulbs and soil to dry a bit for harvest.

Invest in a Sturdy Garden Fork

It can be tempting to pull alliums from the soil by their tops without digging them. While this may work perfectly fine if you have nice fluffy soil, loosening the soil with a garden fork can be helpful for other gardeners. Trying to pull alliums without the help of a fork can break the stems, cause damage, and may lead to a shorter storage period. 

Alliums are valuable crops in the garden and kitchen but can be tricky to grow. Follow these tips for onions, leeks, and garlic for a productive year.

Saving the Past for the Future