Category Archives: Seed Saving

7 Easy Steps to Save Collard Seeds

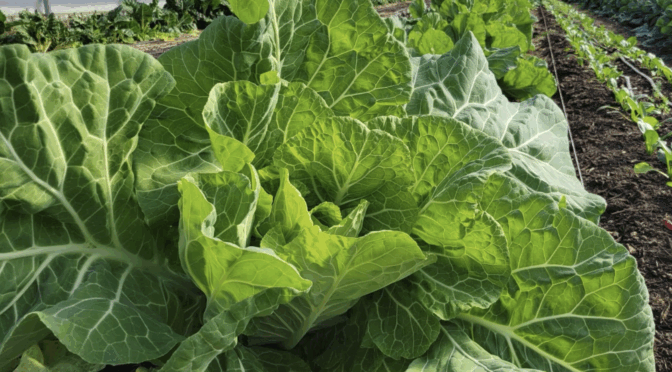
Collards (Brassica oleracea var. acephala) are hardy members of the cabbage or Brassicaceae family. They’re more heat-tolerant than cabbage and are typically winter hardy from Virginia southward. They’re a biennial crop, meaning that they flower and produce seed in their second year, but don’t let that intimidate you. Saving collard seeds is a straightforward process. 

Isolate Your Planting

Collards can cross with other brassicas, including cauliflower, kale, broccoli, Brussels sprouts, cabbage, kohlrabi, and other collard varieties. To maintain your collard variety, isolate your planting in the second year of growth. Isolate by 1/8 mile for home use. For pure seed of small plantings, isolate by 1/4 to 1/2 mile.

Note that you can still grow other crops right next to your collards for eating like cabbage and broccoli, just don’t let them flower at the same time.

Collards flowering
Collard flowers

Maintain a Population Size

To maintain genetic diversity and produce quality seed, you’ll need to grow several plants. For viable seed for next season, save from at least five plants. To help maintain a variety over generations, grow 20 to 50 plants. If you’re working with preserving a rare variety, aim to save seeds from 80 plants or more each season. 

Tend Your Collards Through the Winter

As biennials, collards need to grow through the winter to produce seed. How you overwinter your collards will depend on your climate.

Southern Gardens

Collards are winter hardy where temperatures remain above 20°F. Usually, we’ve found that growers in Virginia and further south can grow collards right through the winter with no trouble.

Growers in slightly colder or mountainous areas may also successfully overwinter collards with a bit of winter protection. Growing them in a hoop house or using row cover can help them survive the winter by providing protection from damaging frosts and a few degrees of buffer.

Northern Gardens

In colder climates, barring a heated greenhouse, you will need to vernalize your collard plants in storage. To do this, you dig the entire plant from the garden in fall, getting as many roots as you can. Then, you trim all the leaves off but leave the growing tip intact. Take your newly trimmed plants and replant them in containers filled with moist sand or potting soil. 

Your collard plants don’t need light over the winter, but they need cool, moist conditions. Placing the potted collards into a root cellar was the traditional choice, but an unheated garage, basement, or storage shed may also work depending on your structure and climate. Ideally, collard plants should be kept between 34° and 39°F and between 80% and 95% relative humidity. 

In the spring, replant your collards as soon as the soil can be worked. At maturity, collards are large plants. Replant your collards so that they are 18 to 24 inches apart and in rows 36 inches apart. 

Spring Care

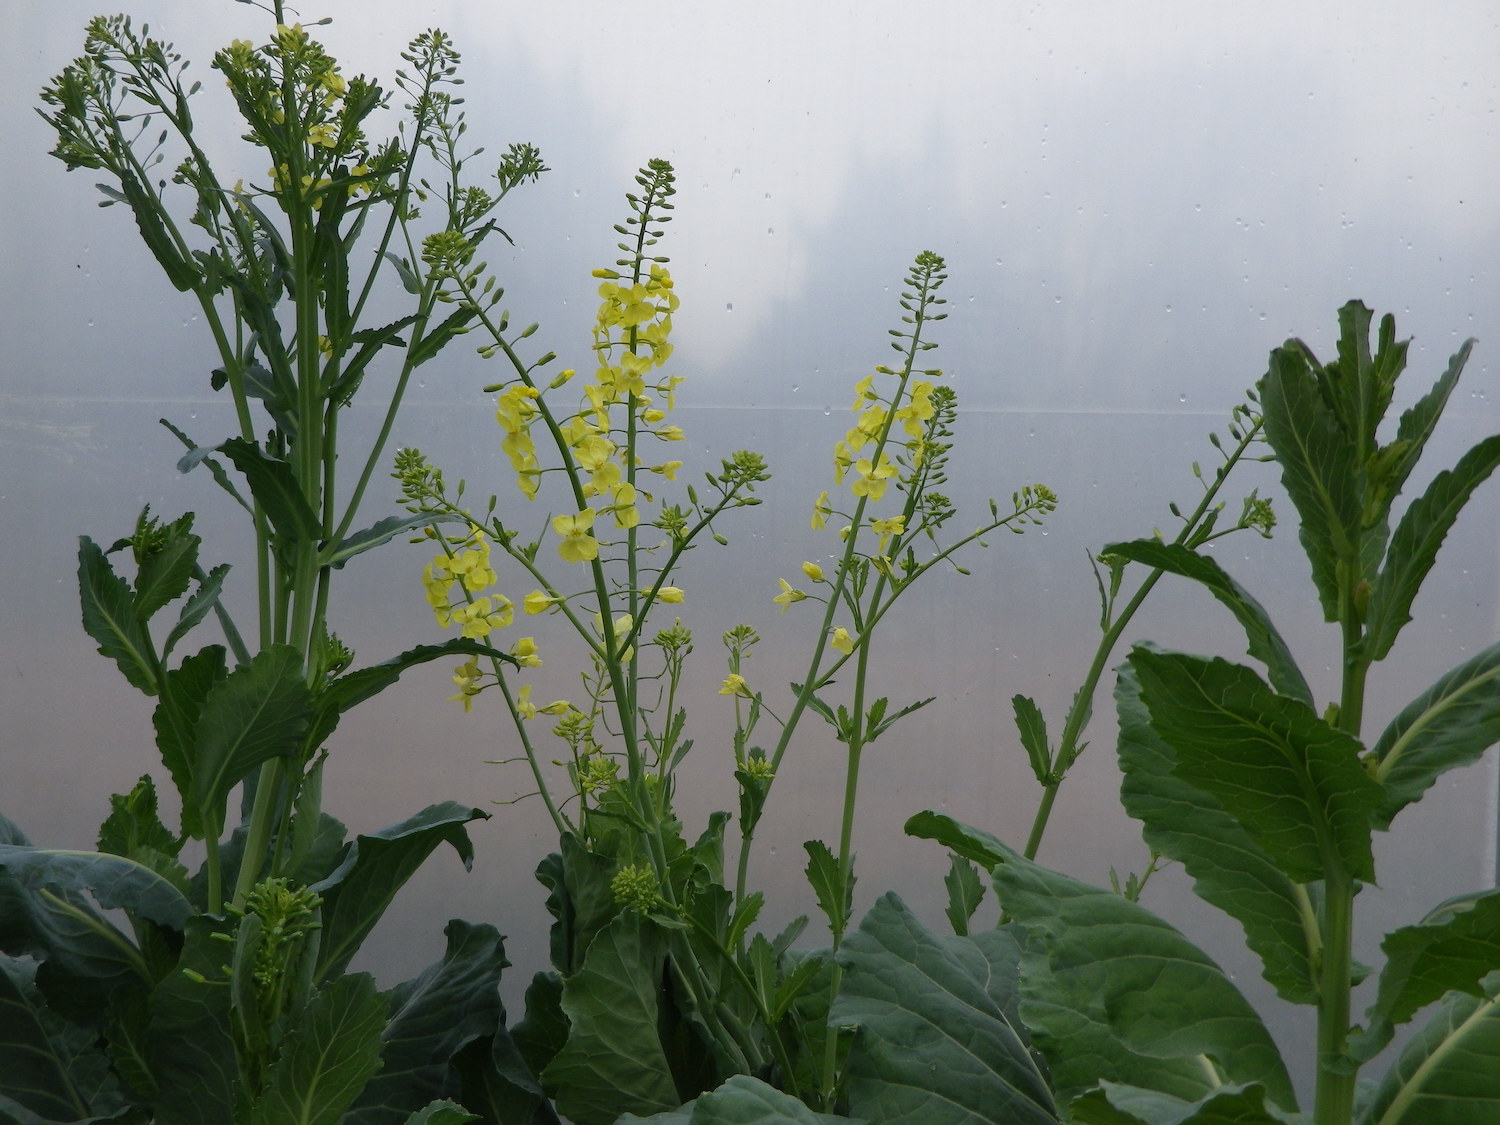
As collards get ready to flower and produce seed, they become large, top-heavy plants. For best results, we recommend staking plants so they don’t flop over. Collards typically thrive in the spring, but if you don’t get a lot of rain, collards benefit from consistent watering. Mulch can be helpful for weed suppression and moisture preservation.

Collards Seed Pods
These collard seed pods are maturing, but aren’t ready to harvest yet.

Harvest Seeds

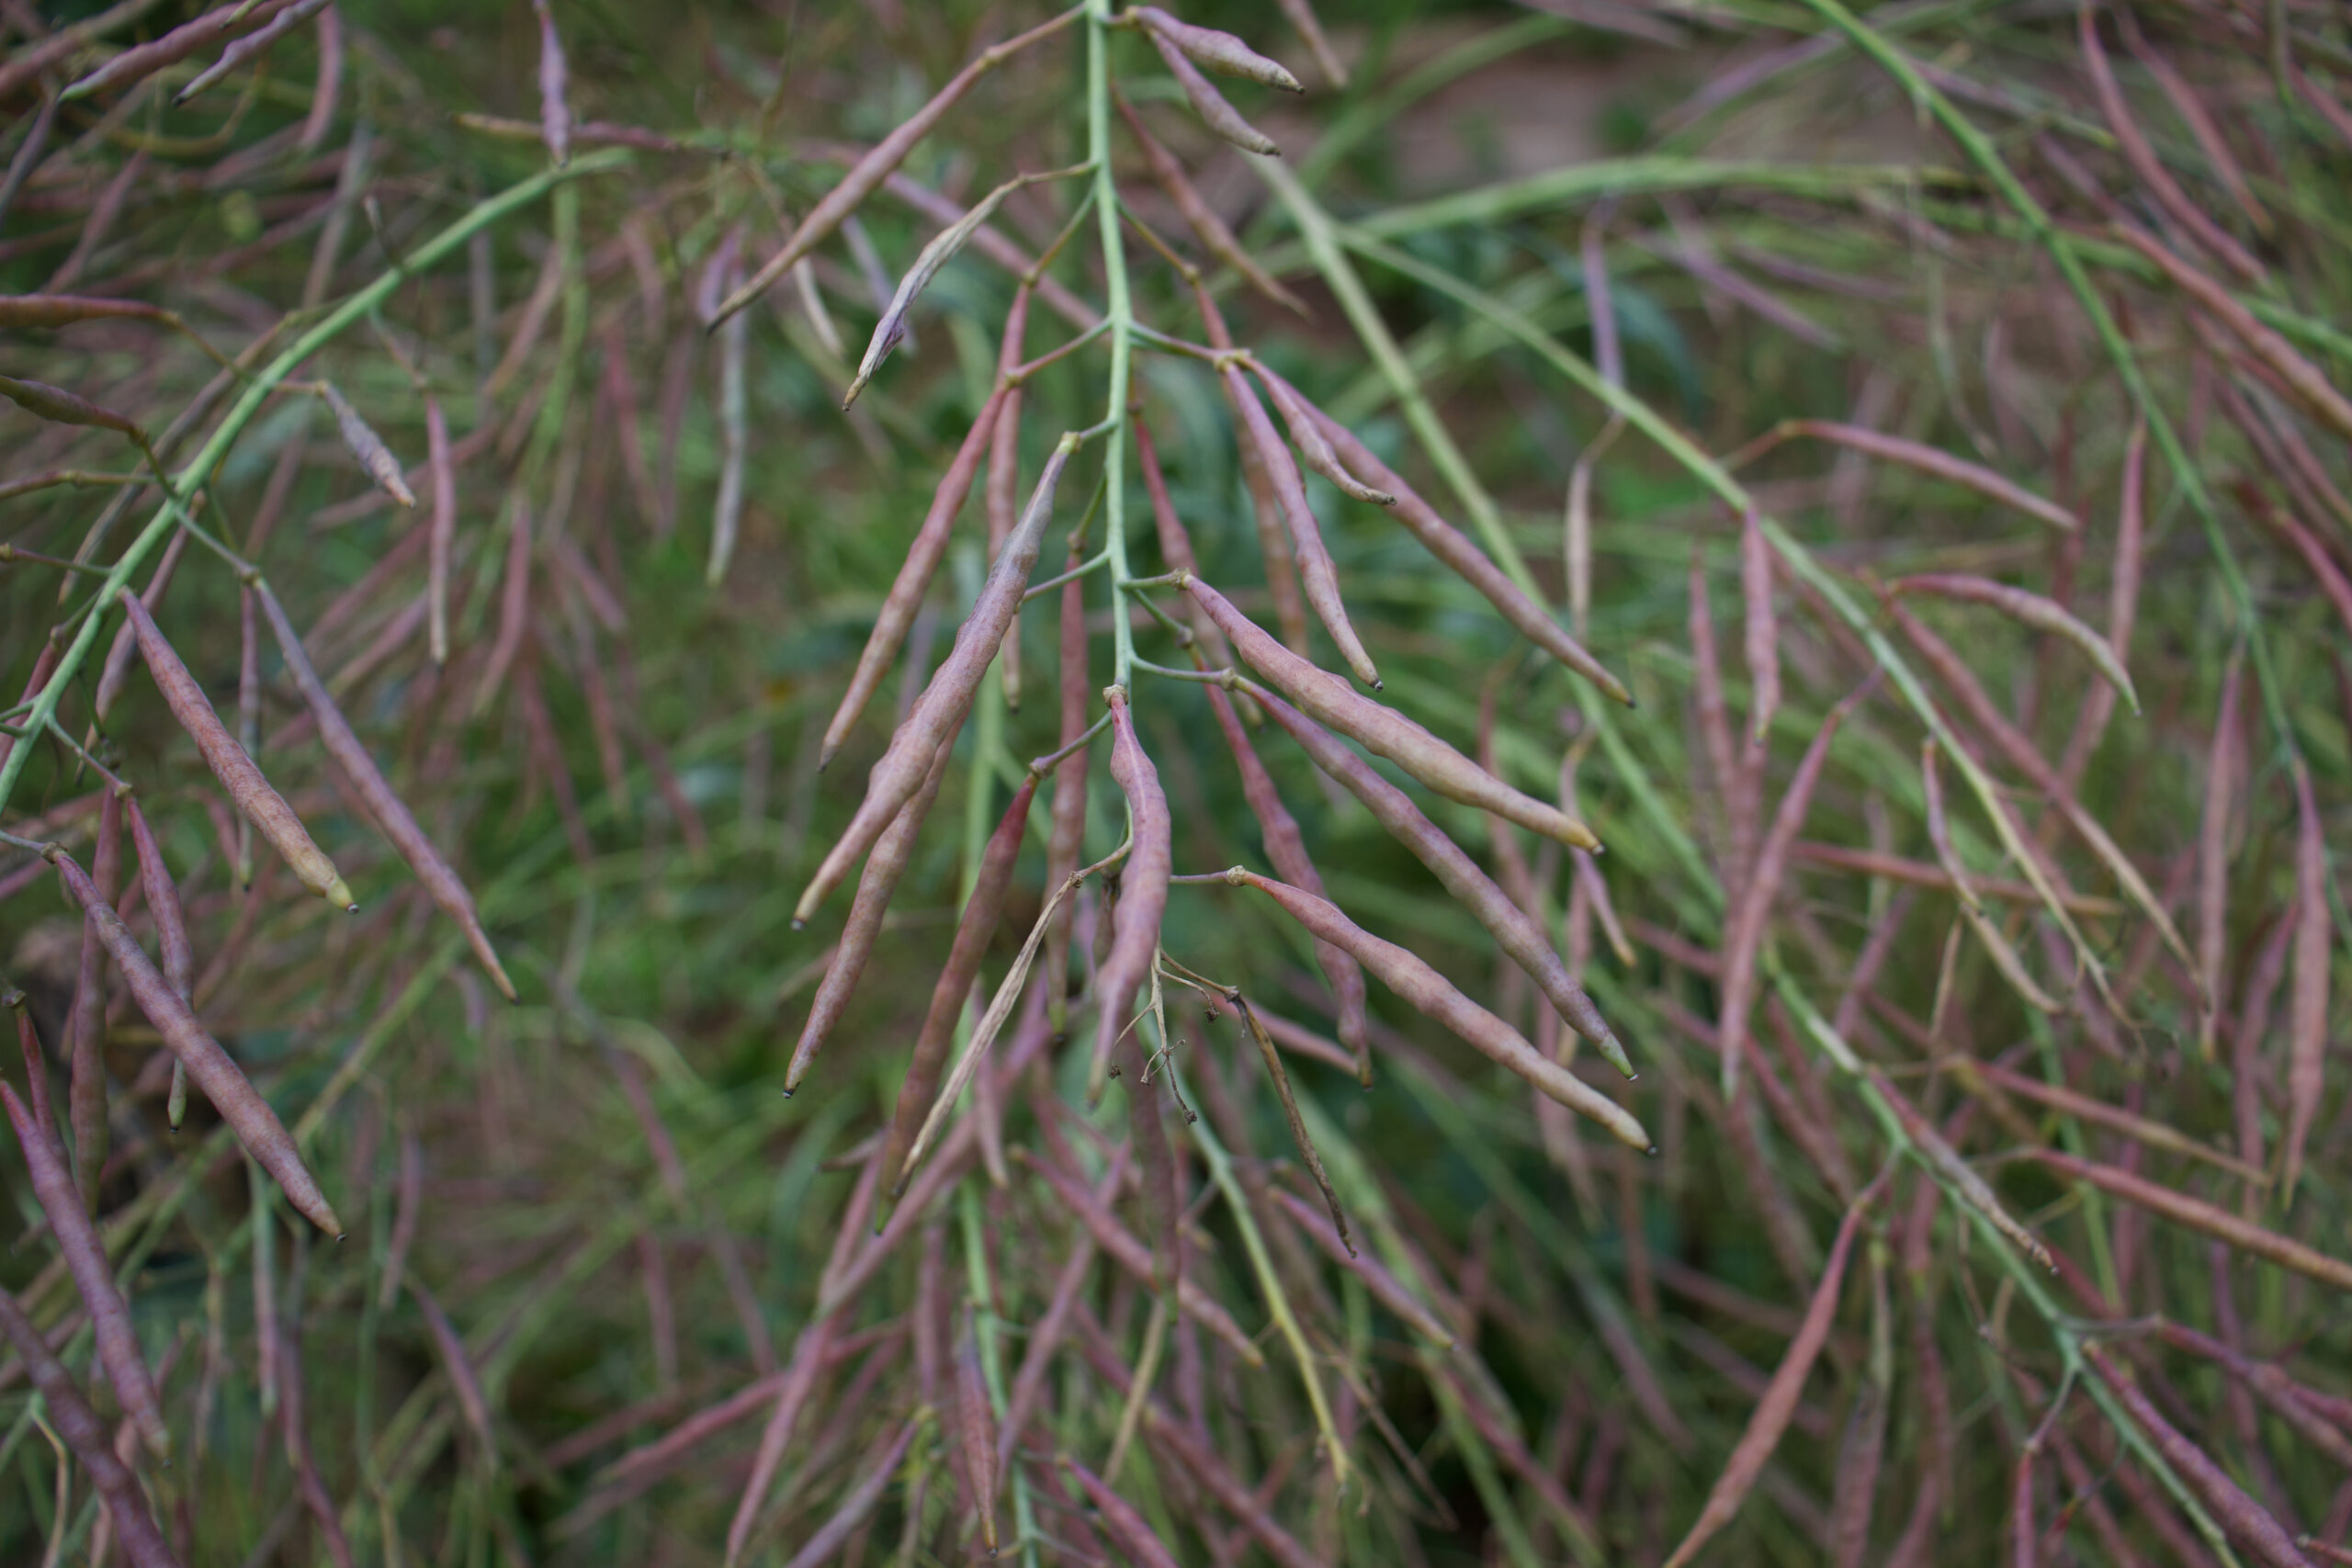
After flowering, you will notice your collards producing slender green seed pods. The young green seed pods are edible, but aren’t ready for seed saving just yet. They will be ready to harvest when the pods are brown and brittle.

On a dry day once the pods are brown, cut the whole seed top portion of the plants. The pods are delicate at this stage, and it’s easy to spill seeds. Use a drop cloth, tarp, or tote to cut your seed tops over to catch all the seeds.

Cleaning Collard Seeds

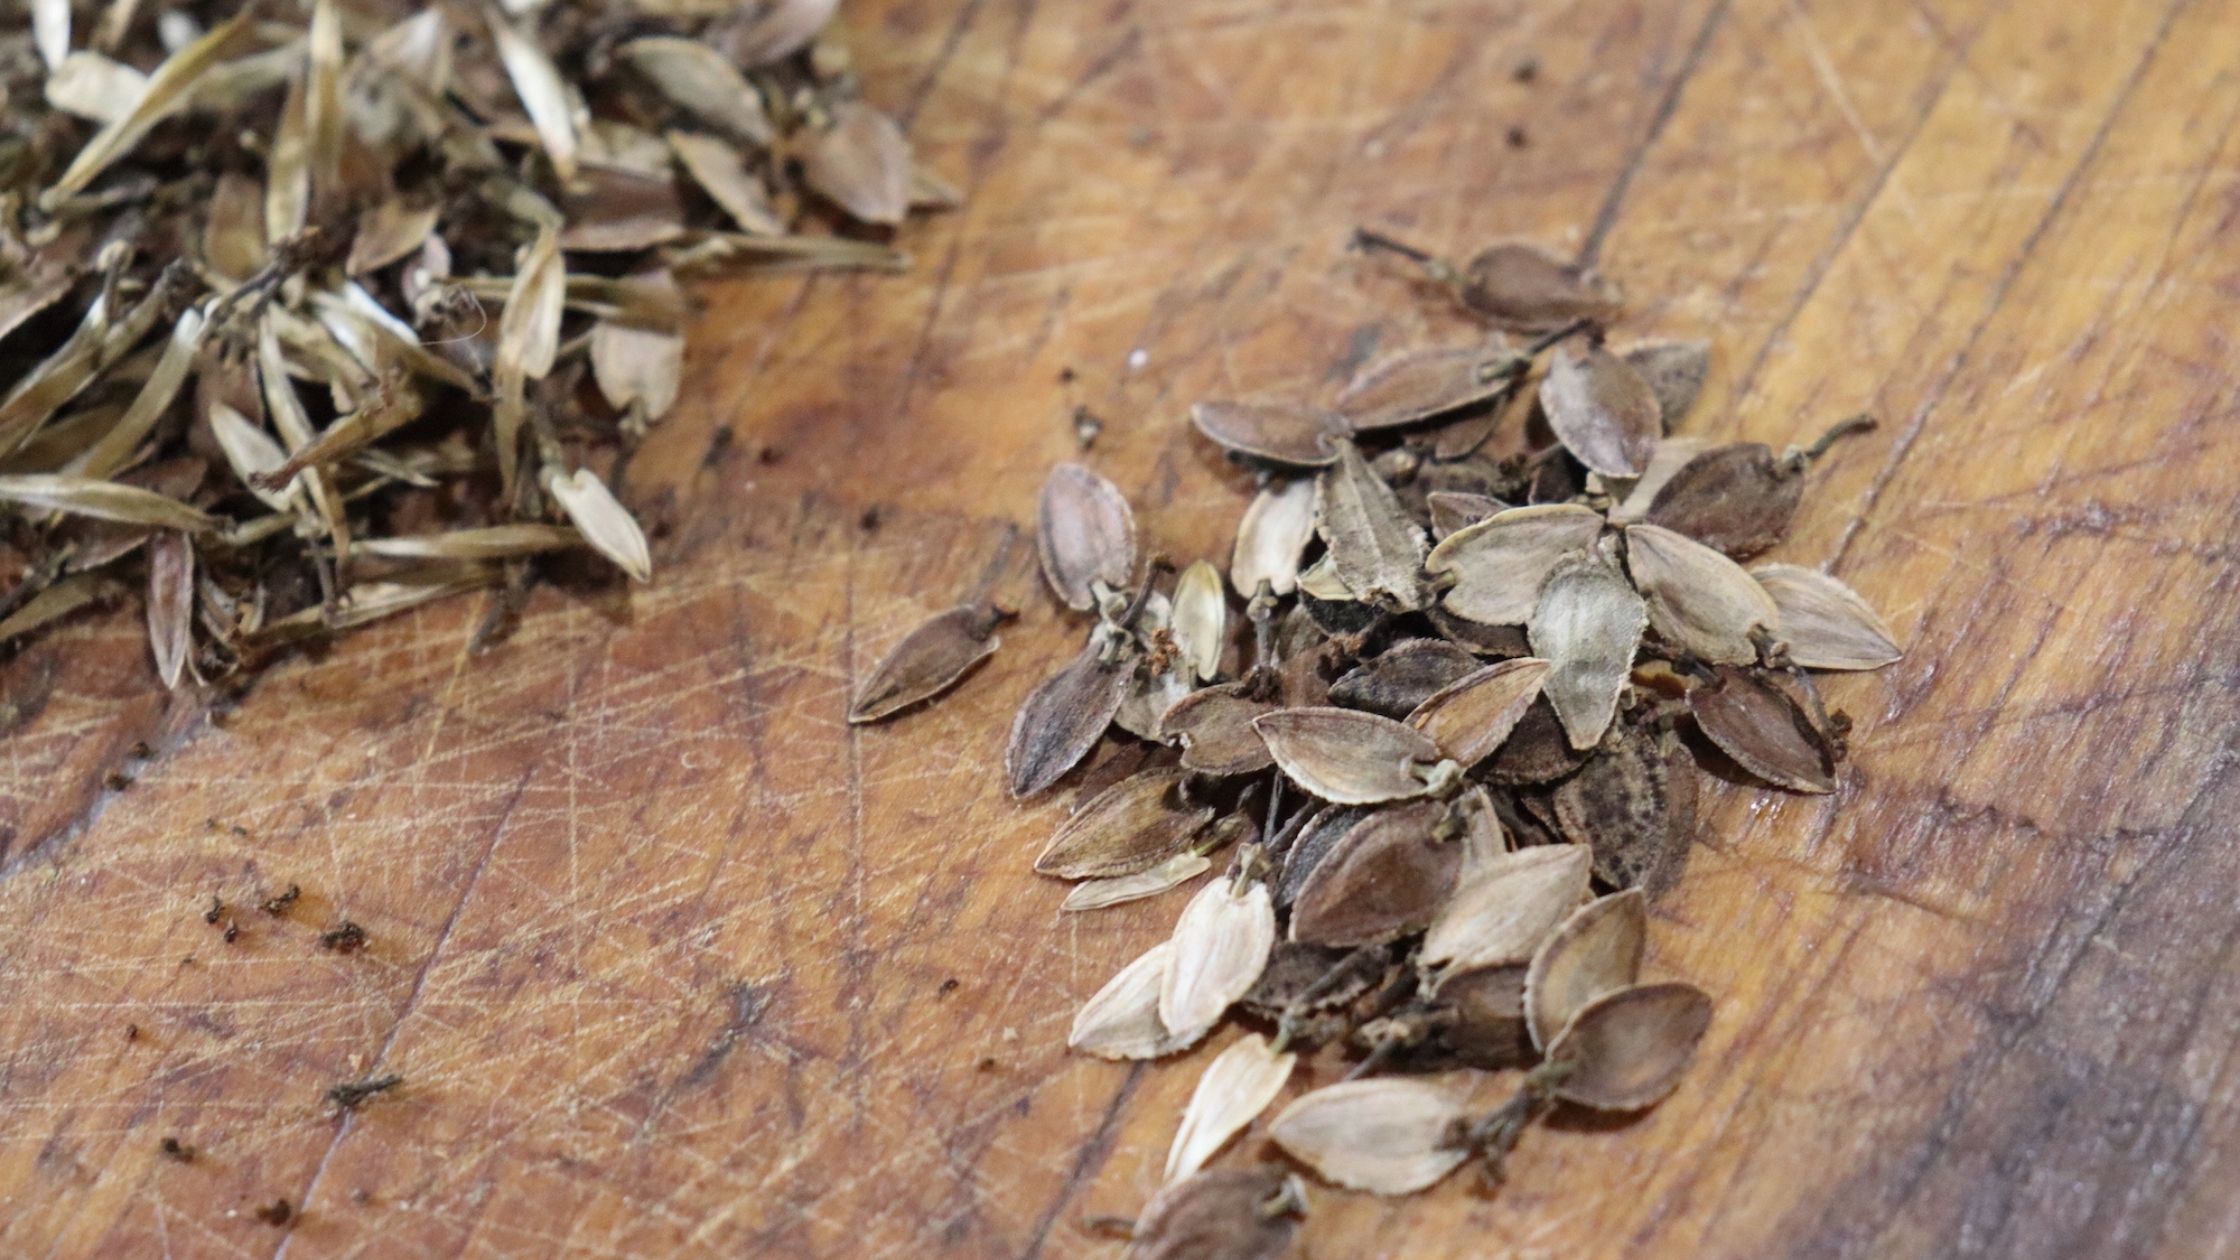
As the pods shatter easily, cleaning the seeds is easy. Using your hands or feet, crush or rub the seed tops in a tote or large container. If they’re mature and dry, they break open easily and release the seeds to the bottom of the container. 

Most of the plant material is easy to remove from the surface; it’s light and stays together in large pieces. The small, heavy seeds will drop to the bottom of the container. Remove as much plant material as possible. If desired, you can screen your seeds to remove any additional material.

Storing Collard Seeds

Place your dry seeds into an airtight container. If you see any signs of condensation in the next few days, remove them and lay them flat on a tea towel or similar to finish drying. Store your airtight container of seeds somewhere cool and dark. Collard seeds should remain viable for about 6 years. 

Learn how to complete a simple germination test here.

Growing Guide: Ground Cherries

You’ve probably grown tomatoes and maybe even tomatillos, but their lesser-known relative, the ground cherry, deserves a spot in your Solanaceae (nightshade family) lineup. Ground cherries have a more sweet, fruity flavor, hence the name ground cherry. They’re well suited to sweeter, dessert-type recipes than their relatives and are tasty fresh, too!

Ground Cherry History

Ground cherries are native to South and Central America and may have originated in Brazil before spreading to Peru and Chile. They were one of the many crops cultivated by indigenous peoples in the Americas before European contact, and Europeans brought them to England in 1774.

English colonists brought them to the Cape of Good Hope, earning them one of their other common names, the Cape Gooseberry. As colonists traveled with them, the plants made their way back to North America. 

While ground cherries were popular with small farmers, they were never commercialized, probably due to their ripening and harvest, which we’ll get into in a bit. Today, they remain popular among specific communities like the Pennsylvania Dutch, who grow them for jams and preserves.

Starting Ground Cherry Seeds

Growing ground cherries is a lot like growing tomatoes! Start your seeds indoors about 6 to 8 weeks before your last frost. Plant the seeds about 1/4 inch deep, and for good germination, maintain a soil temperature between 75 and 85 degrees F.

Ground cherries typically take 7 to 10 days to germinate.

Transplanting Ground Cherries

Ground Cherries should be transplanted out after all danger of frost has passed. Harden off your transplants for a couple of weeks before planting.

Transplant them into a bed that has rich, well-drained, light soil. You may need to amend the bed with compost, as ground cherries are heavy feeders. You should also select a bed that receives full sun.

Rotate Your Ground Cherries

Rotating your crops is essential, and ground cherries are no exception. We like to rotate crops by family. Ground cherries are a member of the Solanaceae family, like tomatoes, peppers, tomatillos, eggplants, and potatoes, so we avoid planting them in beds where any of these crops have grown in the last couple of years.

Cossack Pineapple Ground Cherries
One of our customer favorites, Cossack Pineapple Ground Cherries

Ground Cherry Spacing

Unlike tomatoes and tomatillos, ground cherries don’t require trellising or cages. However, they still need proper spacing. Ground cherries have a sprawling, spreading growth form, so you should place them 2 to 4 feet apart. In some varieties, like Mary’s Niagara Ground Cherry, plants can surpass 6 feet wide in good growing conditions. 

Ground Cherry Care

Keep your ground cherries weeded and water consistently. Keep the soil moist but not soggy. After the soil temperature has risen in June, mulching around plants is a good idea. It will help with weeding and prevent the fruits from getting dirty or rotting as quickly around harvest time.

Harvesting Ground Cherries 

Ground cherries are edible and tasty when fully ripe and yellow, and their husk is brown and dry. Usually, this also means the cherries have fallen off the plant and are lying on the ground. Collect your fallen cherries and remove the husks before eating. 

This habit of dropping ripe fruit is one of the reasons ground cherries have never seen widespread commercial interest.

Using Ground Cherries

Ground cherries can be eaten fresh, cooked, or preserved for later. Ground cherries also have a good shelf life and can be kept fresh for weeks before processing. Here are a few of our favorite recipes we’ve found for ground cherries:

Preserve your ground cherries for later with Grandma Ott’s Ground Cherry Jam from Seed Savers.

Make breakfast special with this 10-Minute Ground Cherry Coffee Cake from The Kitchn.

Try this Ground Cherry Tart from The Forager Chef for a simple dessert that really lets the ground cherry flavor shine through.

Try a more savory approach with this recipe from Ground Cherry Salsa from Health Starts in the Kitchen.

Turn your ground cherries into moist and delicious cake with this Coley Cooks recipe for Ground Cherry Torte.

Saving Ground Cherry Seed

You may not have to save seeds, as ground cherries have a strong tendency to self-sow. However, if you’d like to steward a variety, we recommend separating varieties by 300 feet for pure seed. You only need one plant to save viable seeds, but if you want to maintain a variety over many generations, save seeds from between 5 and 20 plants.

Processing and saving the seeds is exactly like processing tomato seeds. Squeeze the seeds and pulp into a jar, add about as much water, and let the mixture ferment for 2 to 3 days, stirring once a day. A little mold growth on top is fine.

After fermenting, add more water so that the pulp and non-viable seeds float to the surface and pour them off. You may need to repeat this a couple of times. Then, rinse your good seeds in a mesh strainer or cheesecloth with clean water.

Let your seeds dry out of direct sunlight for three weeks. Then, store them in an airtight container out of the sun.

Endless Blooms: How to Save Zinnia Seeds

Heirloom tomatoes and colorful corn varieties often garner much of the attention when we talk about seed saving, but it’s not just vegetables that have a rich history. Gardeners have saved and selected flower seeds for thousands of years. Zinnias, one of the easiest flowers to grow, are also easy to save seeds from to keep next year’s gardens full of blooms. Learn how to save zinnia seeds in a few simple steps.

Select Good, Open-Pollinated Plants

If you want to save seed, having an open-pollinated variety is best. Varieties can mostly be divided into two categories, hybrid and open-pollinated, with heirlooms falling under the open-pollinated umbrella. 

Hybrids are a first-generation cross between two parent varieties. As they are a cross, there’s no guarantee on what their seed will produce next year; they may revert to looking more like one of the parents rather than what you just grew. You can still save seed if you’re okay with a potential surprise.

Open-pollinated varieties are established varieties that produce “true-to-type.” You can save seeds from them year after year with little change unless you select for it. For example, if you only saved seeds from a particular shade bloom.

Red Beauty Zinnias
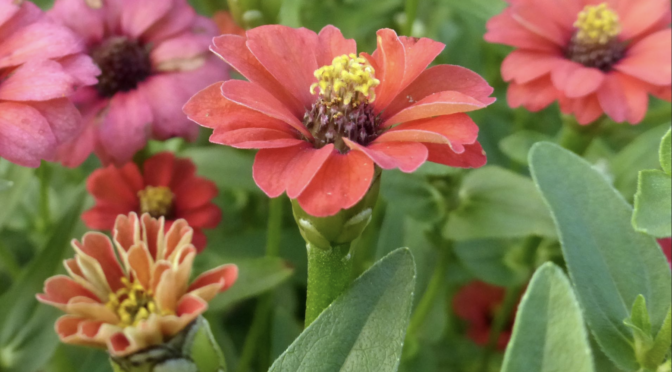
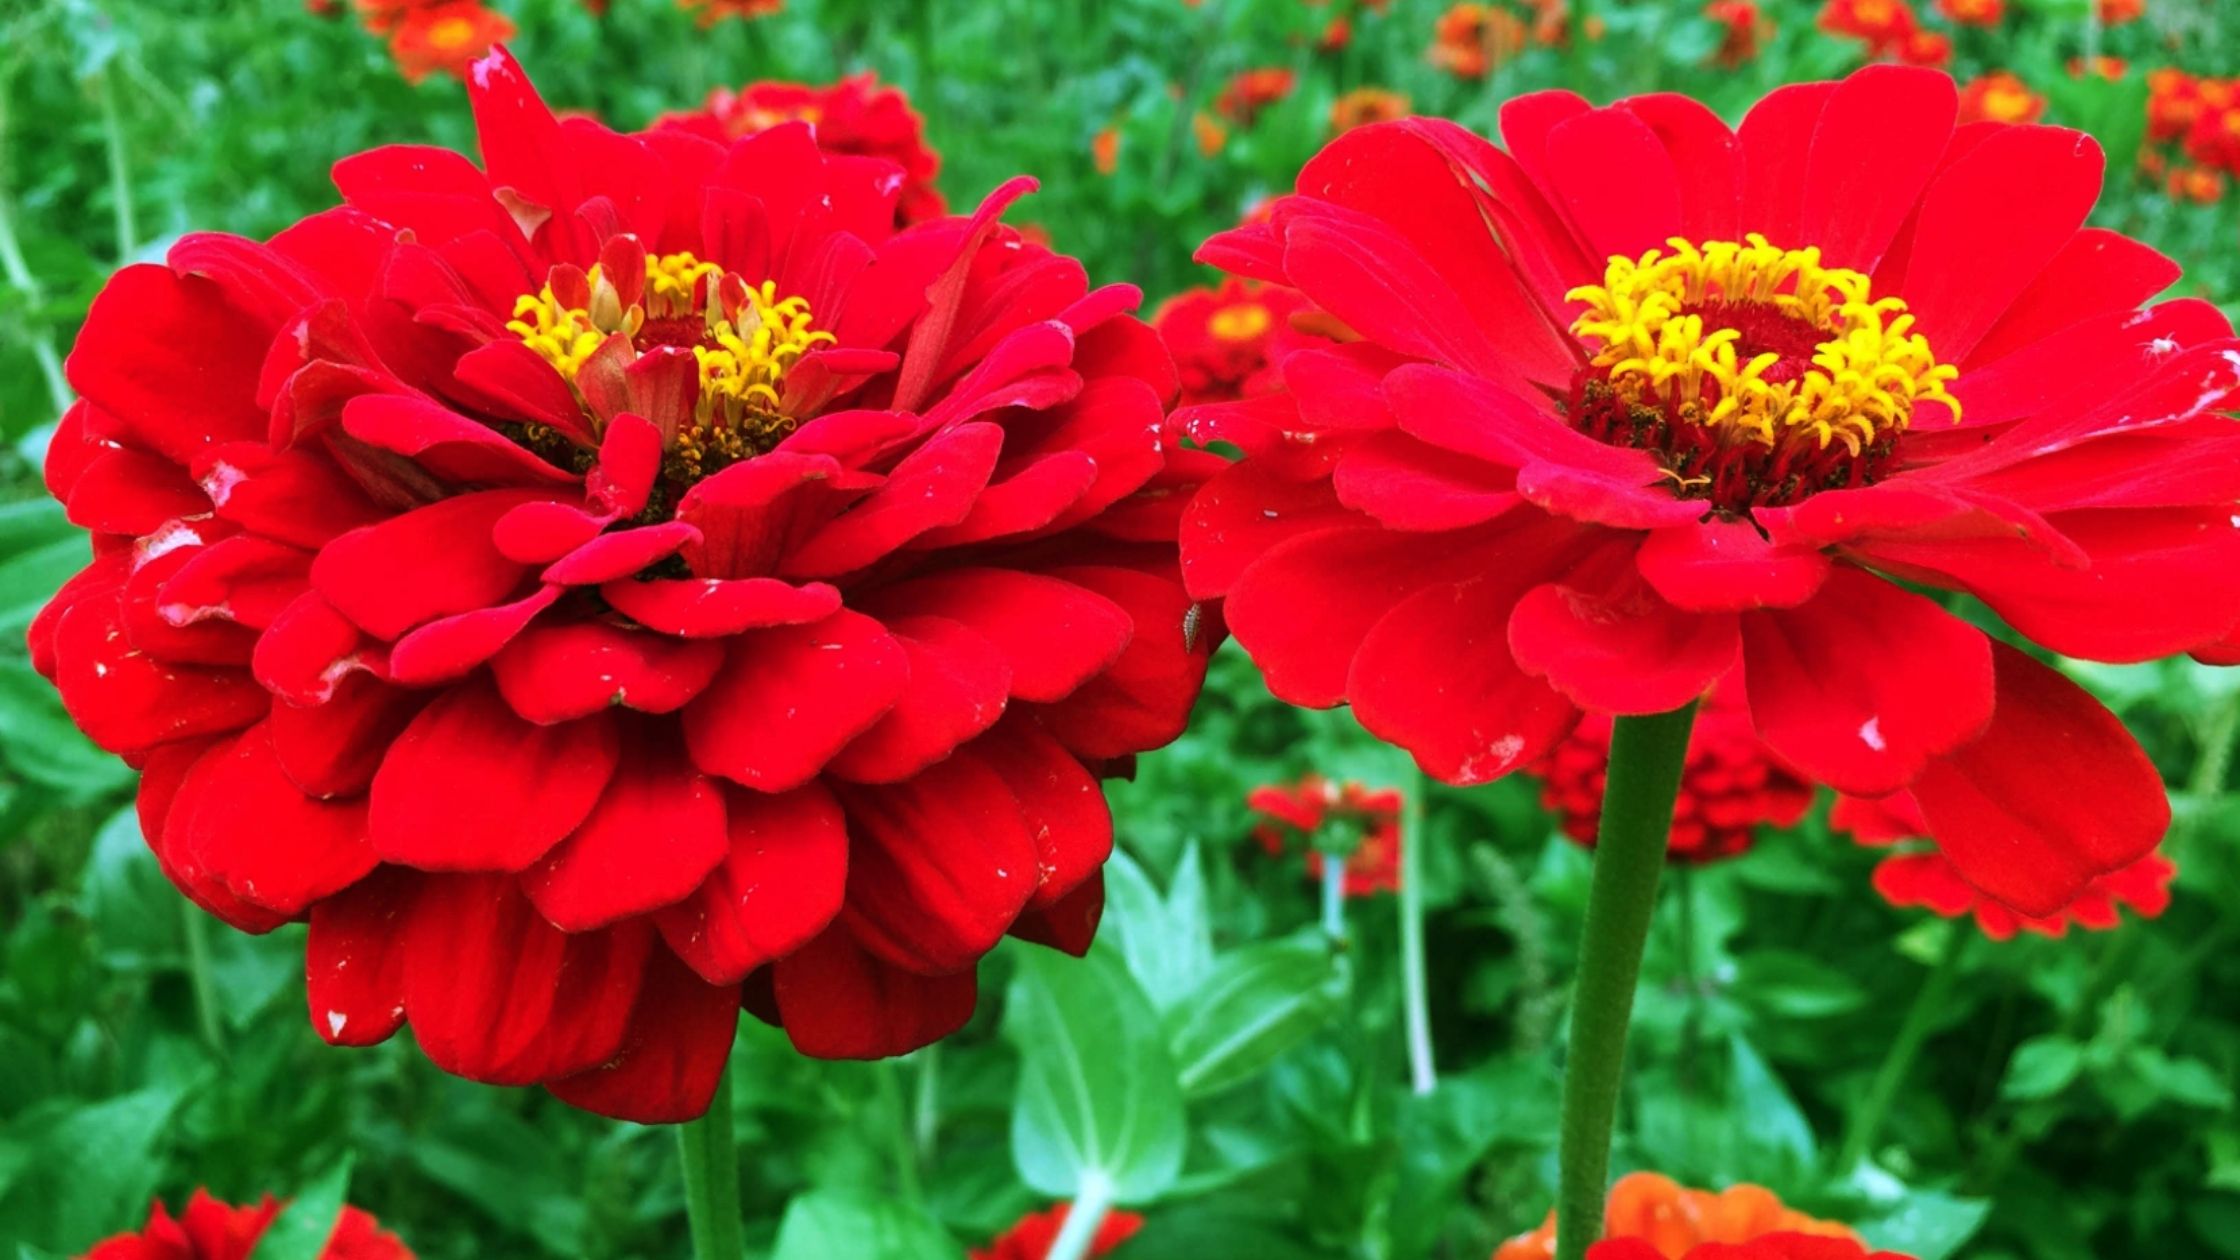
All of the zinnias we carry are open-pollinated.

The “good” part of this statement is somewhat relative. To start, try to save seeds from plants that have been healthy and vigorous. Avoid diseased plants, as some diseases, like powdery mildew, can remain on the seeds. Then, you can also focus on other characteristics like color, size, or bloom period. Essentially, save seeds from plants you think looked and performed the best in your garden.

Consider Cross-Pollination

If you’ve grown multiple varieties of zinnias, insects may have cross-pollinated them. To achieve pure seed, like what we sell, zinnia varieties need to be isolated by 1/2 mile. However, no rule says you need absolutely pure seed. It’s fine to save seed even if there’s been a little promiscuous pollination; you may get some fun surprise variation from next season’s flowers. 

Mature Zinnia Flower Head
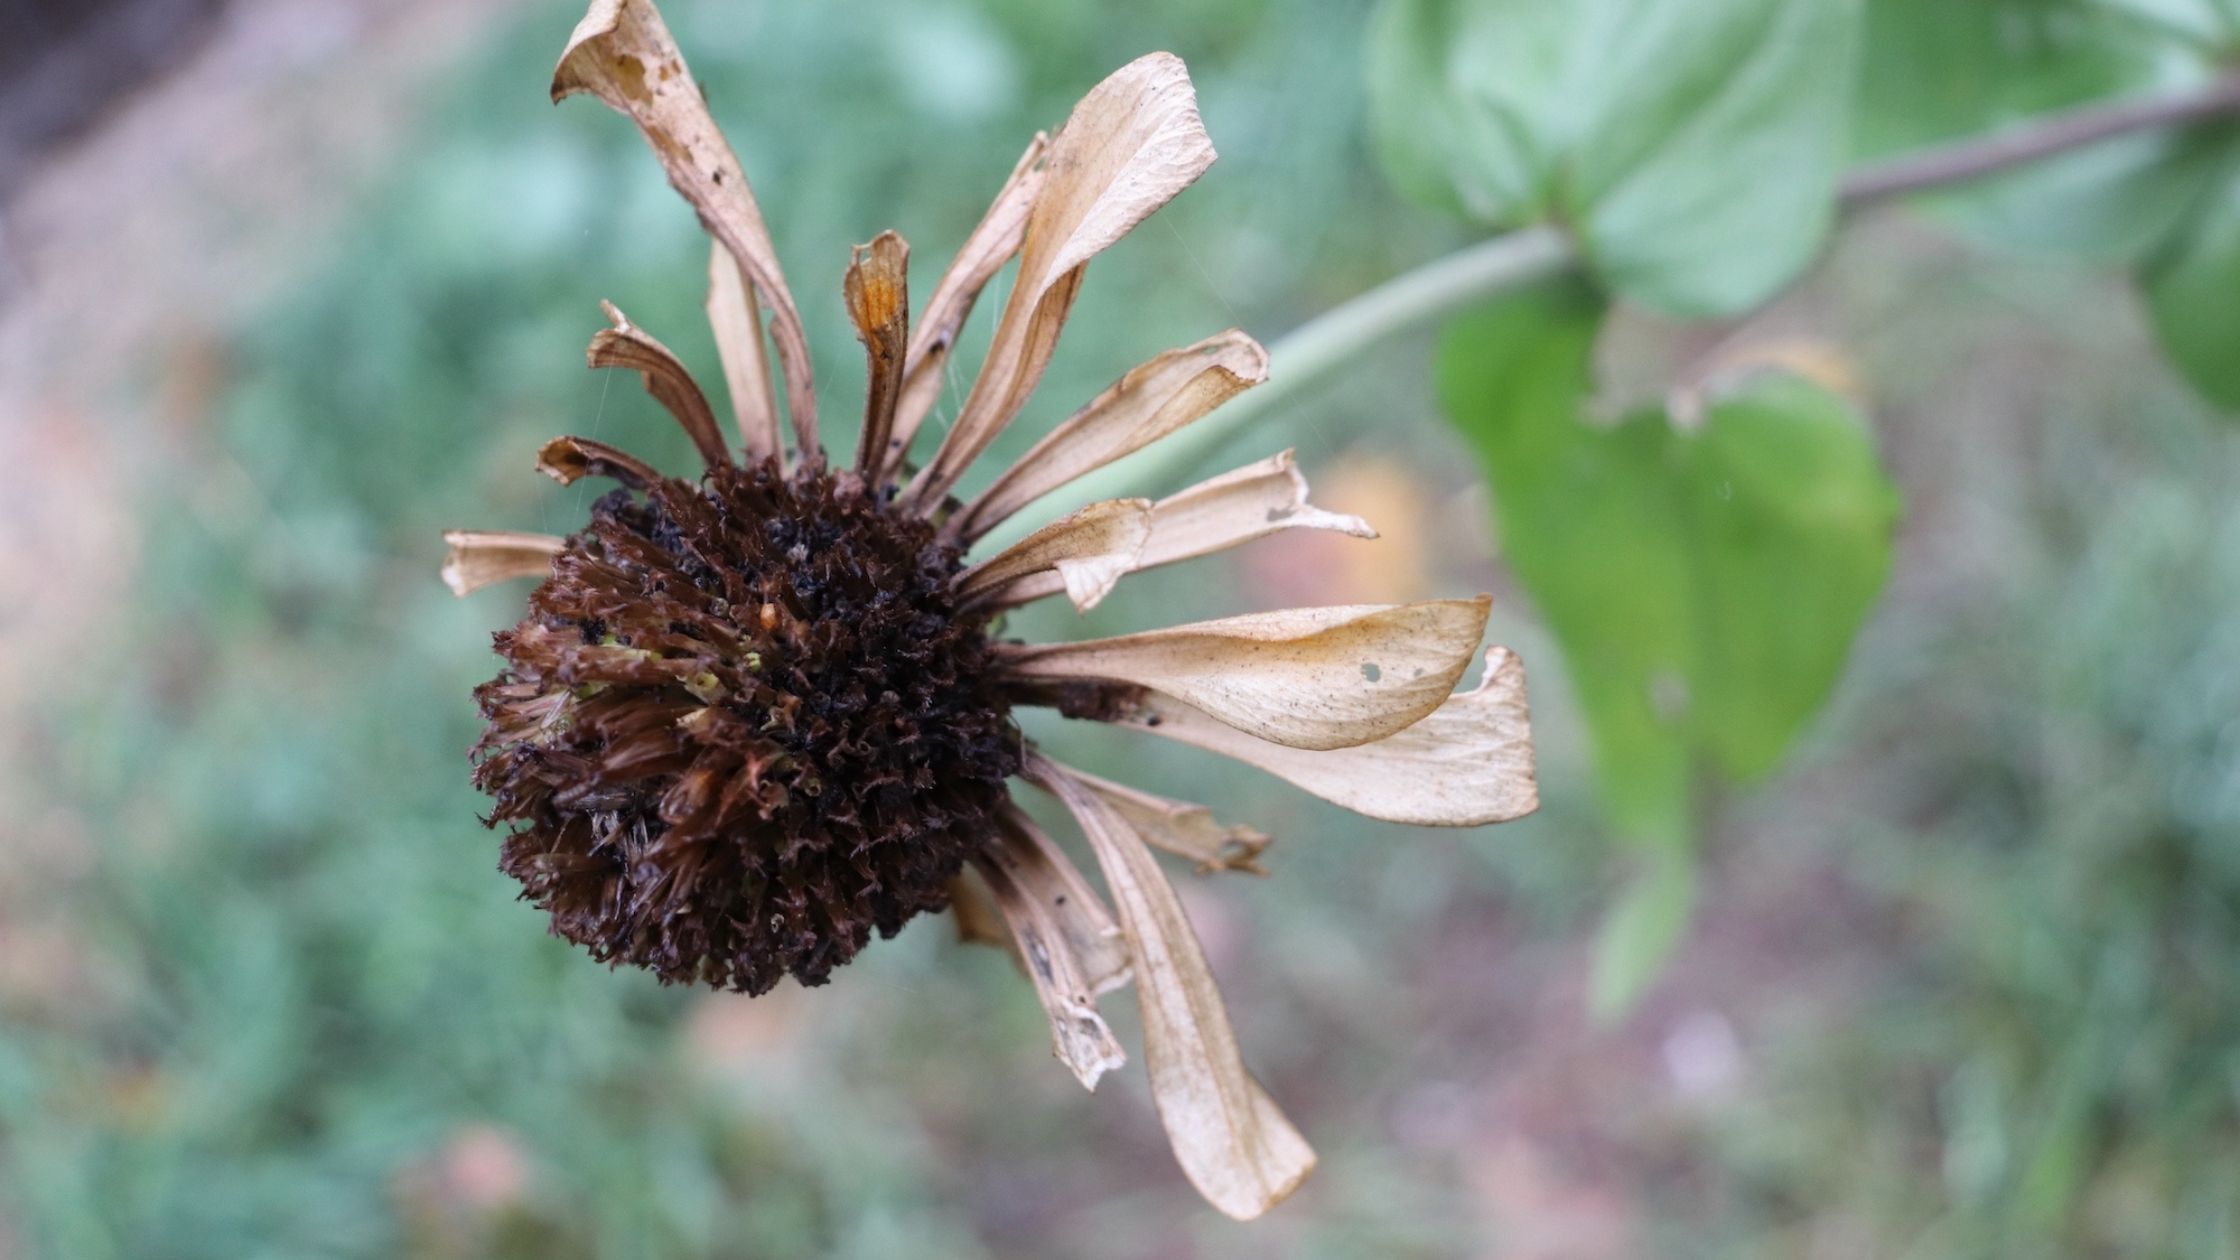
Allow The Flowerheads to Dry

With any seeds, it’s essential to let them fully mature before harvesting to ensure good germination rates. For zinnias, this means that the flower heads, including the petals, should be brown and dry. When this happens, you’re ready to start saving seeds and can cut or pull the flowerheads from the plant.

Zinnias Seeds and Flower Head
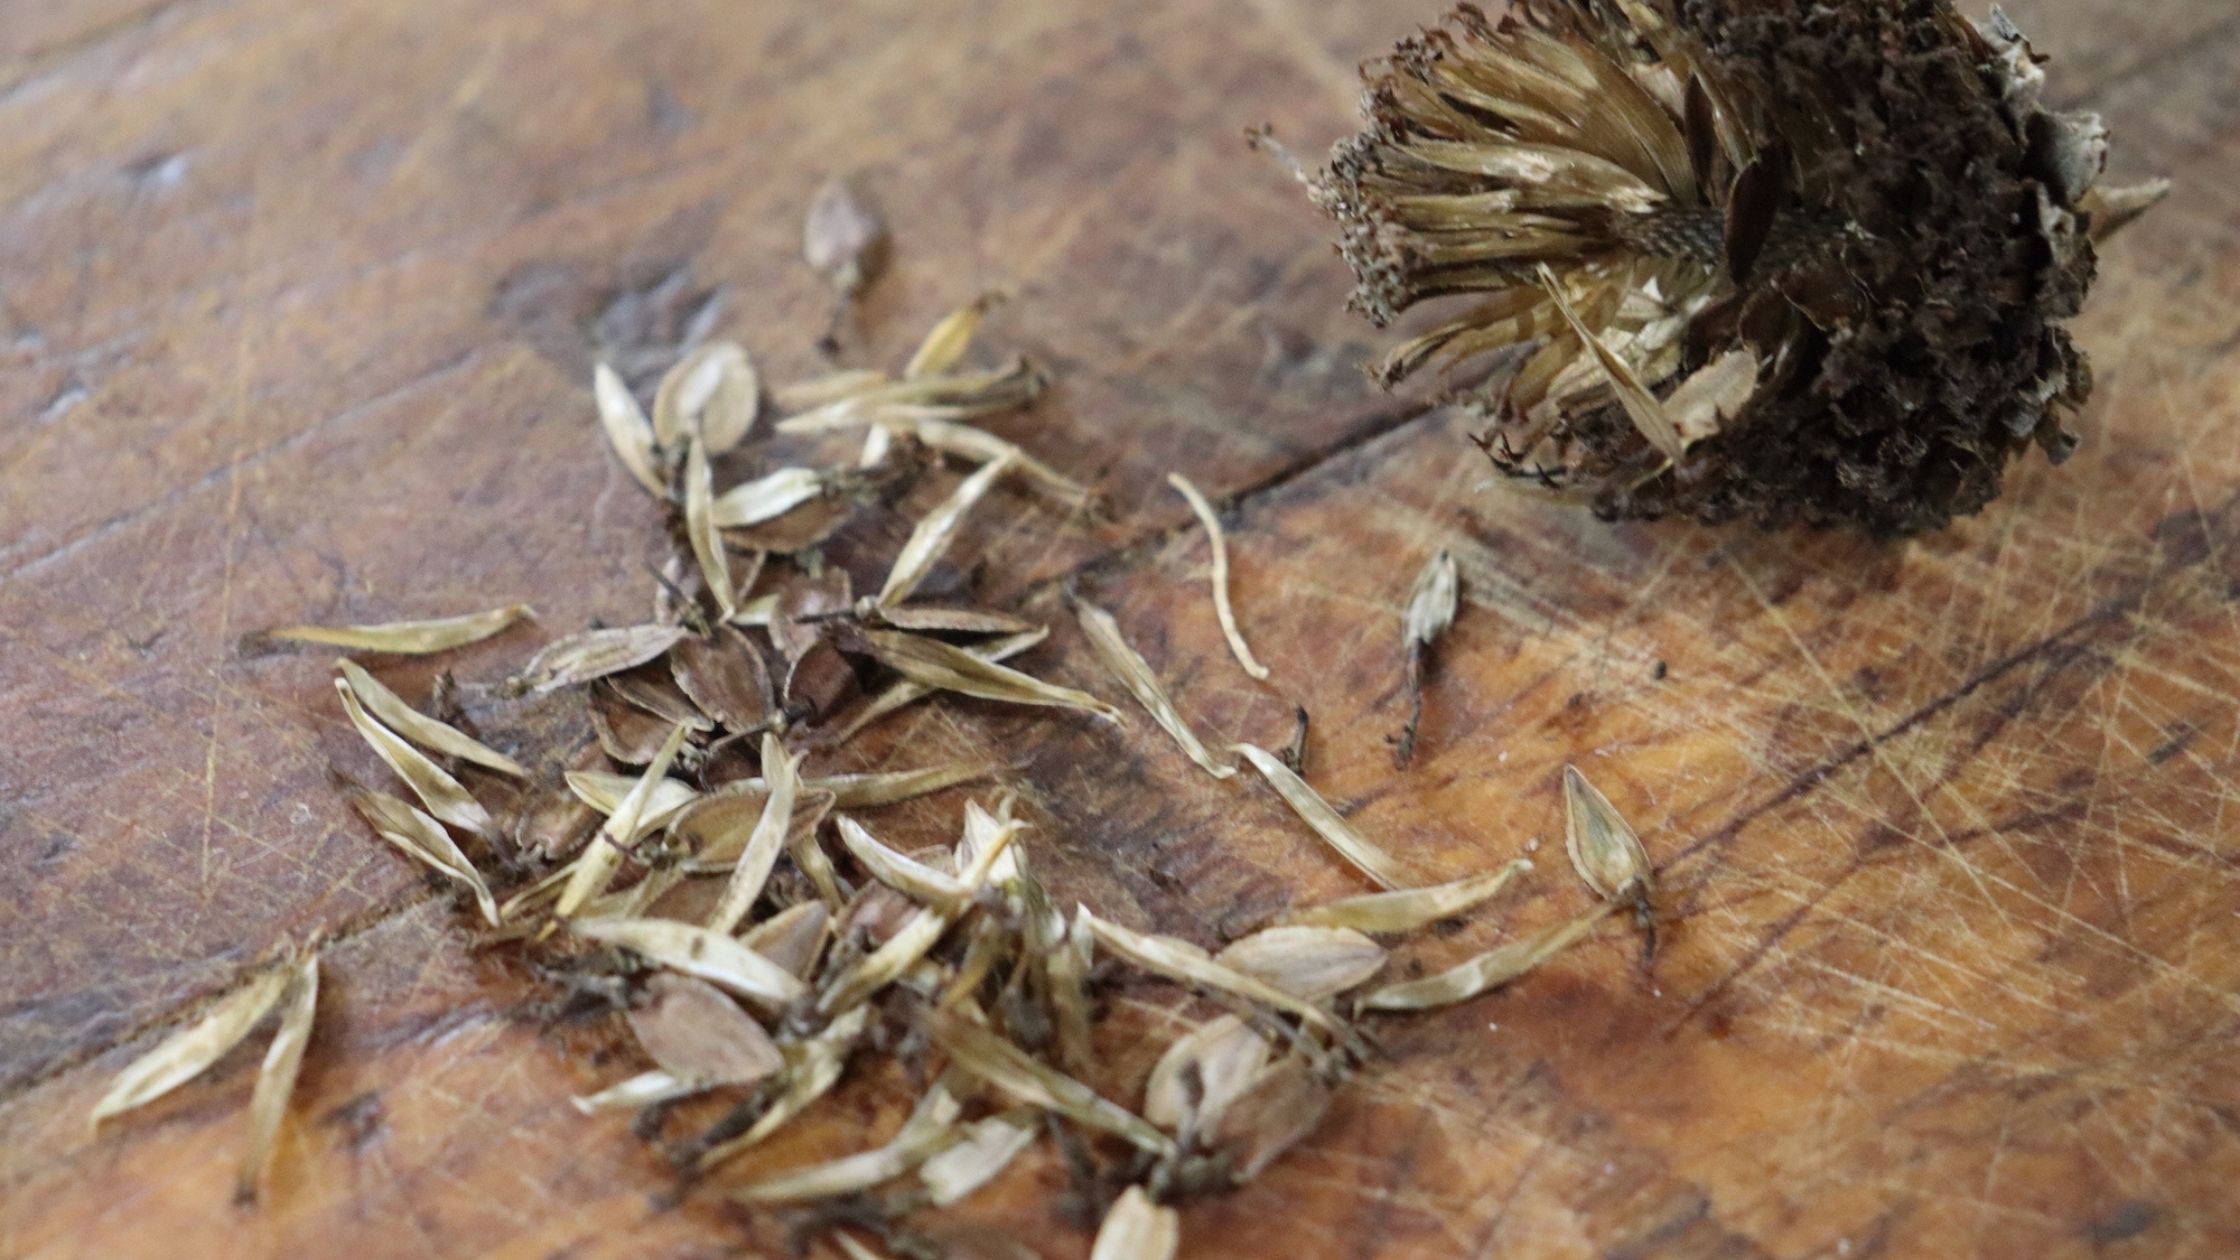
Process the Flowerheads

First, pull the petals off the flowerhead and set them aside for composting. Some seeds may come off with the petals. Then, rub the flowerhead over a flat surface until it comes apart to release the seeds. The seeds are brown and a bit arrow-shaped. Pick out any extra material you can and set it aside for composting.

Zinnia Seeds

Dry Your Zinnia Seeds

Allow your zinnia seeds to air dry on a towel or other flat surface for about one week. This will help ensure they’re fully dry and won’t mold in storage. 

Store Your Zinnia Seeds

After they’re fully dry, you can store your zinnia seeds. Place them in an airtight container somewhere cool and dark. Zinnia seeds can last 3 to 5 years if harvested and stored properly. 

Be sure to label your container with the variety and the year you harvested your seed. Once you start seed saving, it’s easy to save more, and you’ll need to keep track of your seeds!


Zinnias are easy to grow, and their long bloom period and variety of colors make them an excellent choice for any ornamental or cut flower garden. Saving your own zinnia seeds is simple! It’s also a great way to help steward an open-pollinated variety and save a bit of money. Follow these steps for success with zinnia seeds.