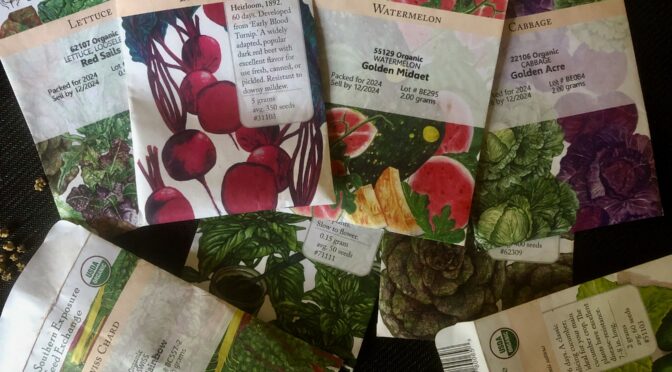
We have gardeners order from Southern Exposure who have 1/2 acre home gardens, some who grow for market, a few with raised bed gardens, and others who just have a few containers on the patio. While some gardeners may find it easy to use up a pack of seeds in a year, many folks will find they have leftovers at the end of the season. Thankfully, most seeds are good for more than one year. In today’s post, we’ll discuss how long seeds last and how to store them well.
Seed Storage Life
When we talk about seed storage life, we’re essentially talking about the germination rate after a specific period. Seeds don’t go bad after a certain date; their germination rate slowly declines.
As Southern Exposure, we regularly test all the seeds we keep in stock to ensure they have high germination rates when they leave us. Some plants naturally have better germination rates than others. Certain medicinal herbs and native plants can be especially finicky!
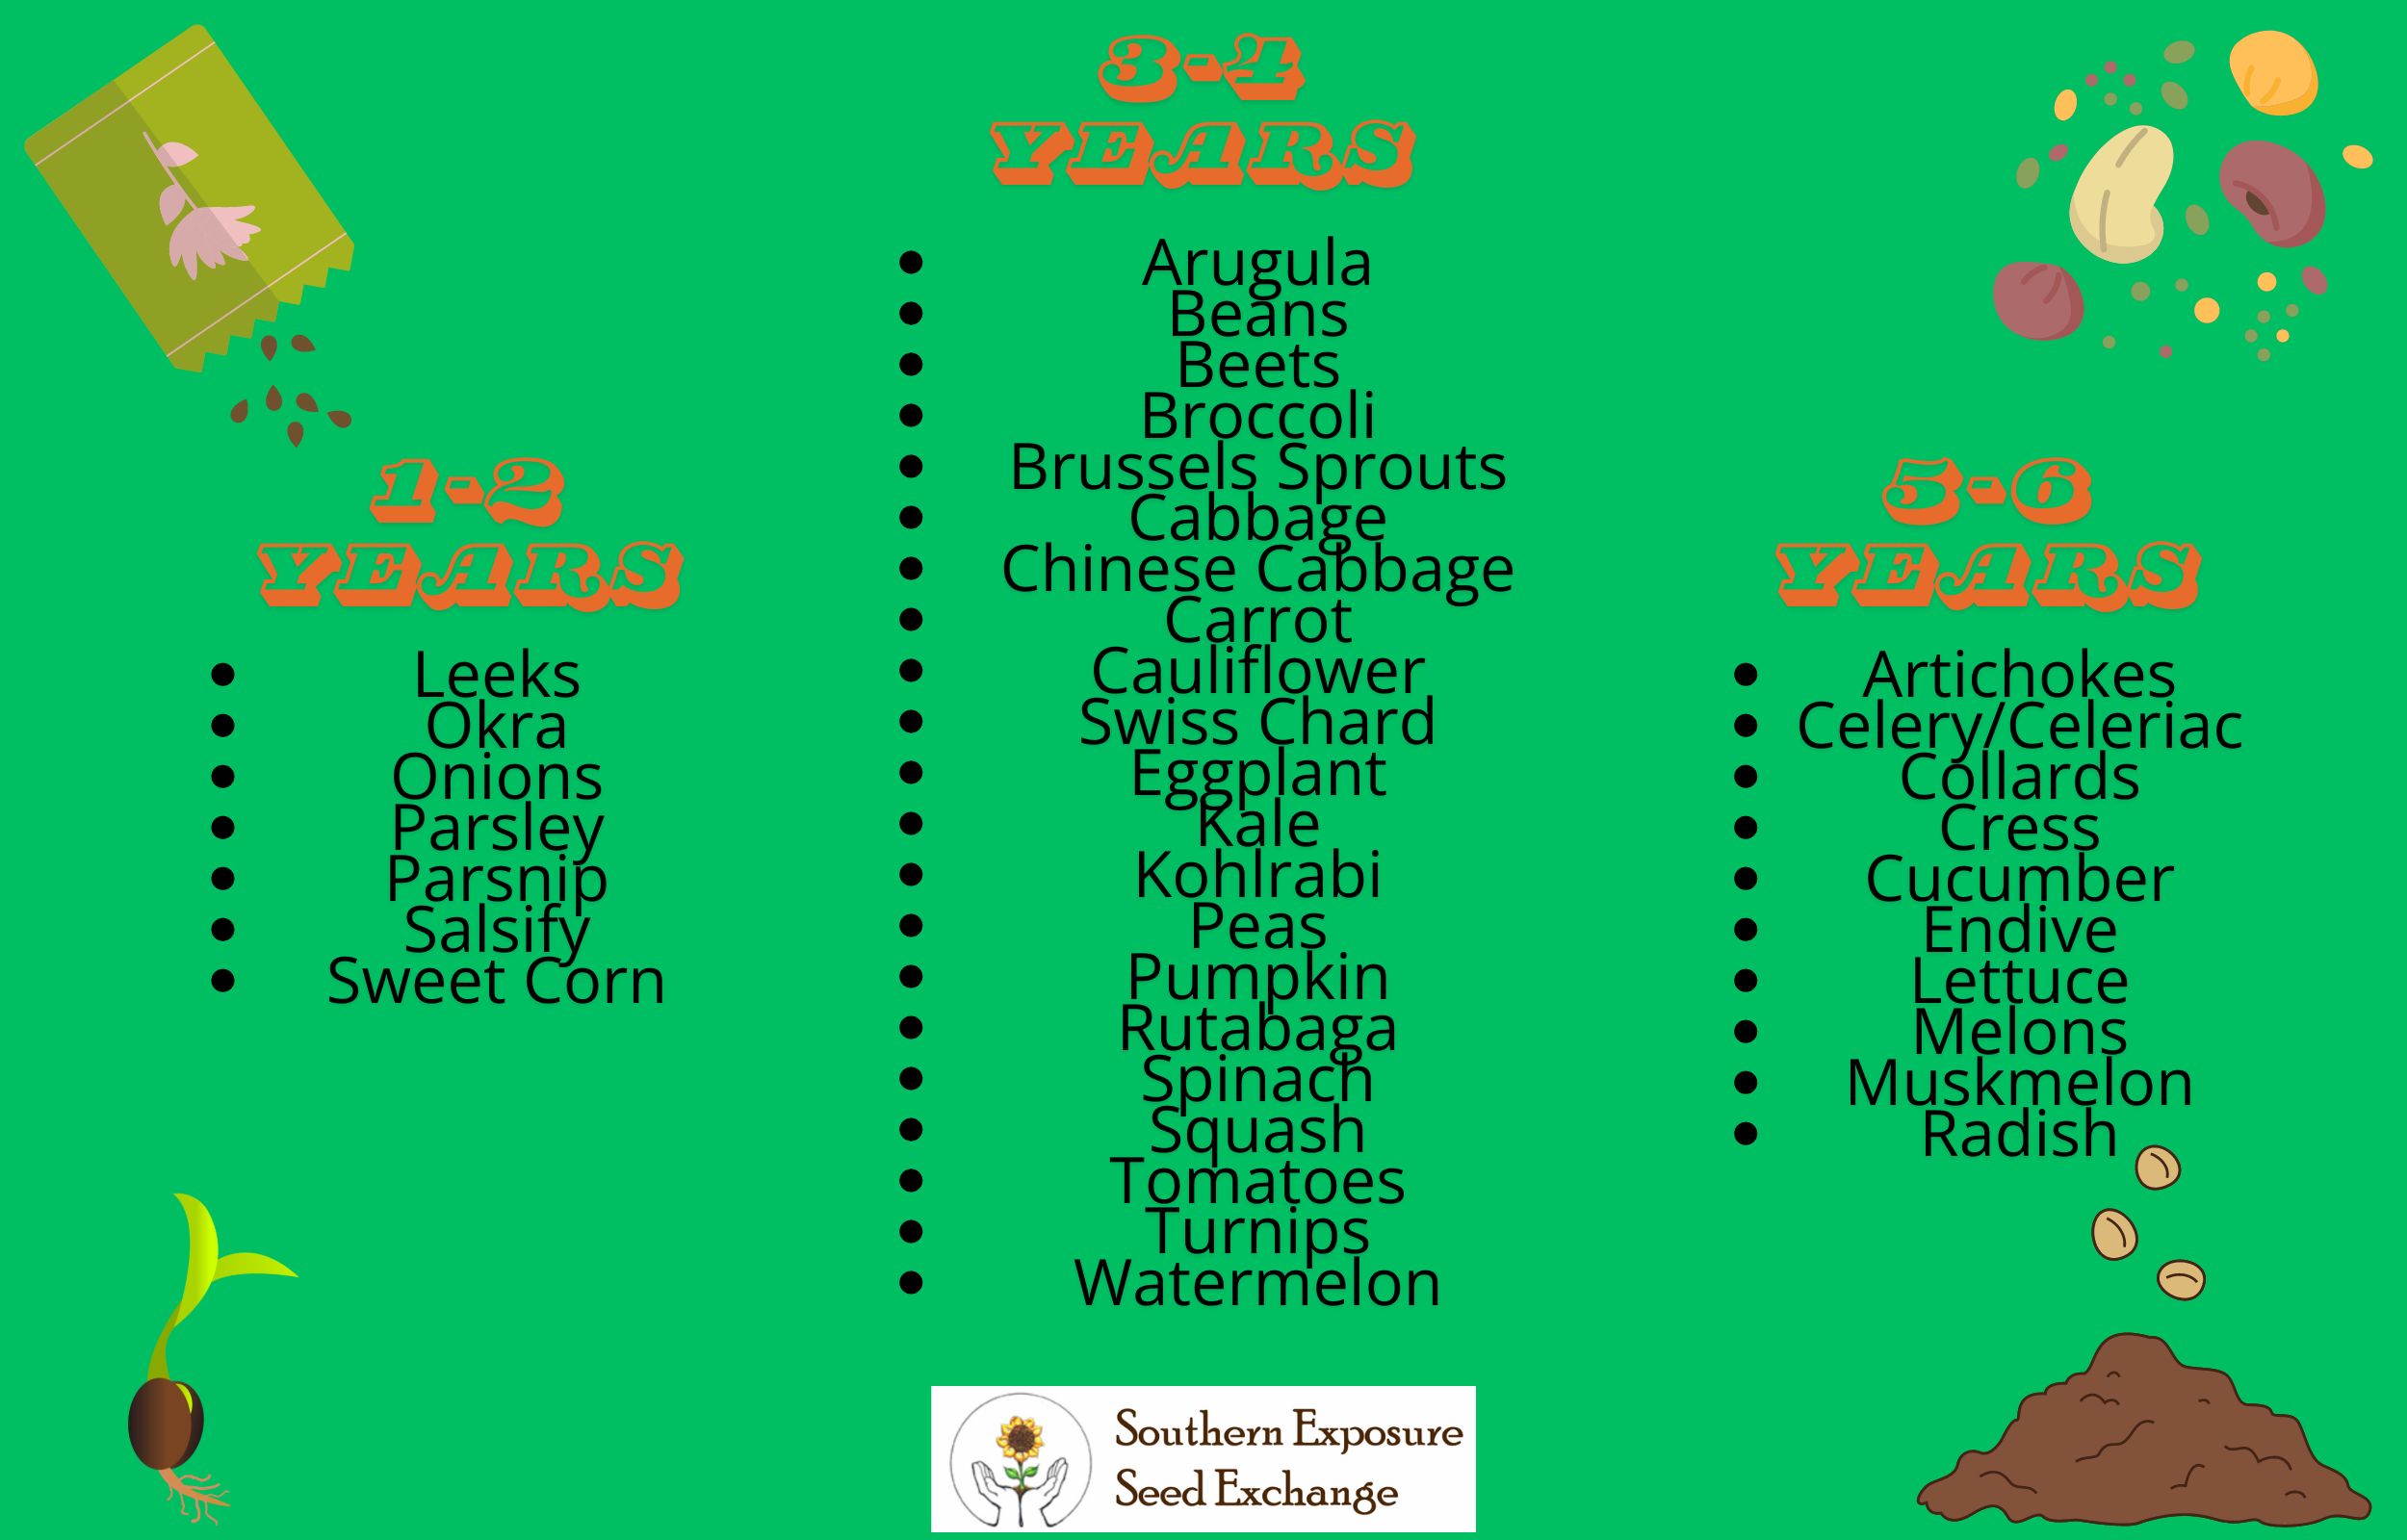
When stored properly, you can expect vegetable seeds to last for one to six years, depending on the crop.
These are just general guidelines. Depending on how you store them, your seeds may last for a shorter or longer period. You can still use them as their germination rate declines; you just need to seed more thickly.
Here’s what to expect from most vegetable crop seeds:
How to Store Seeds
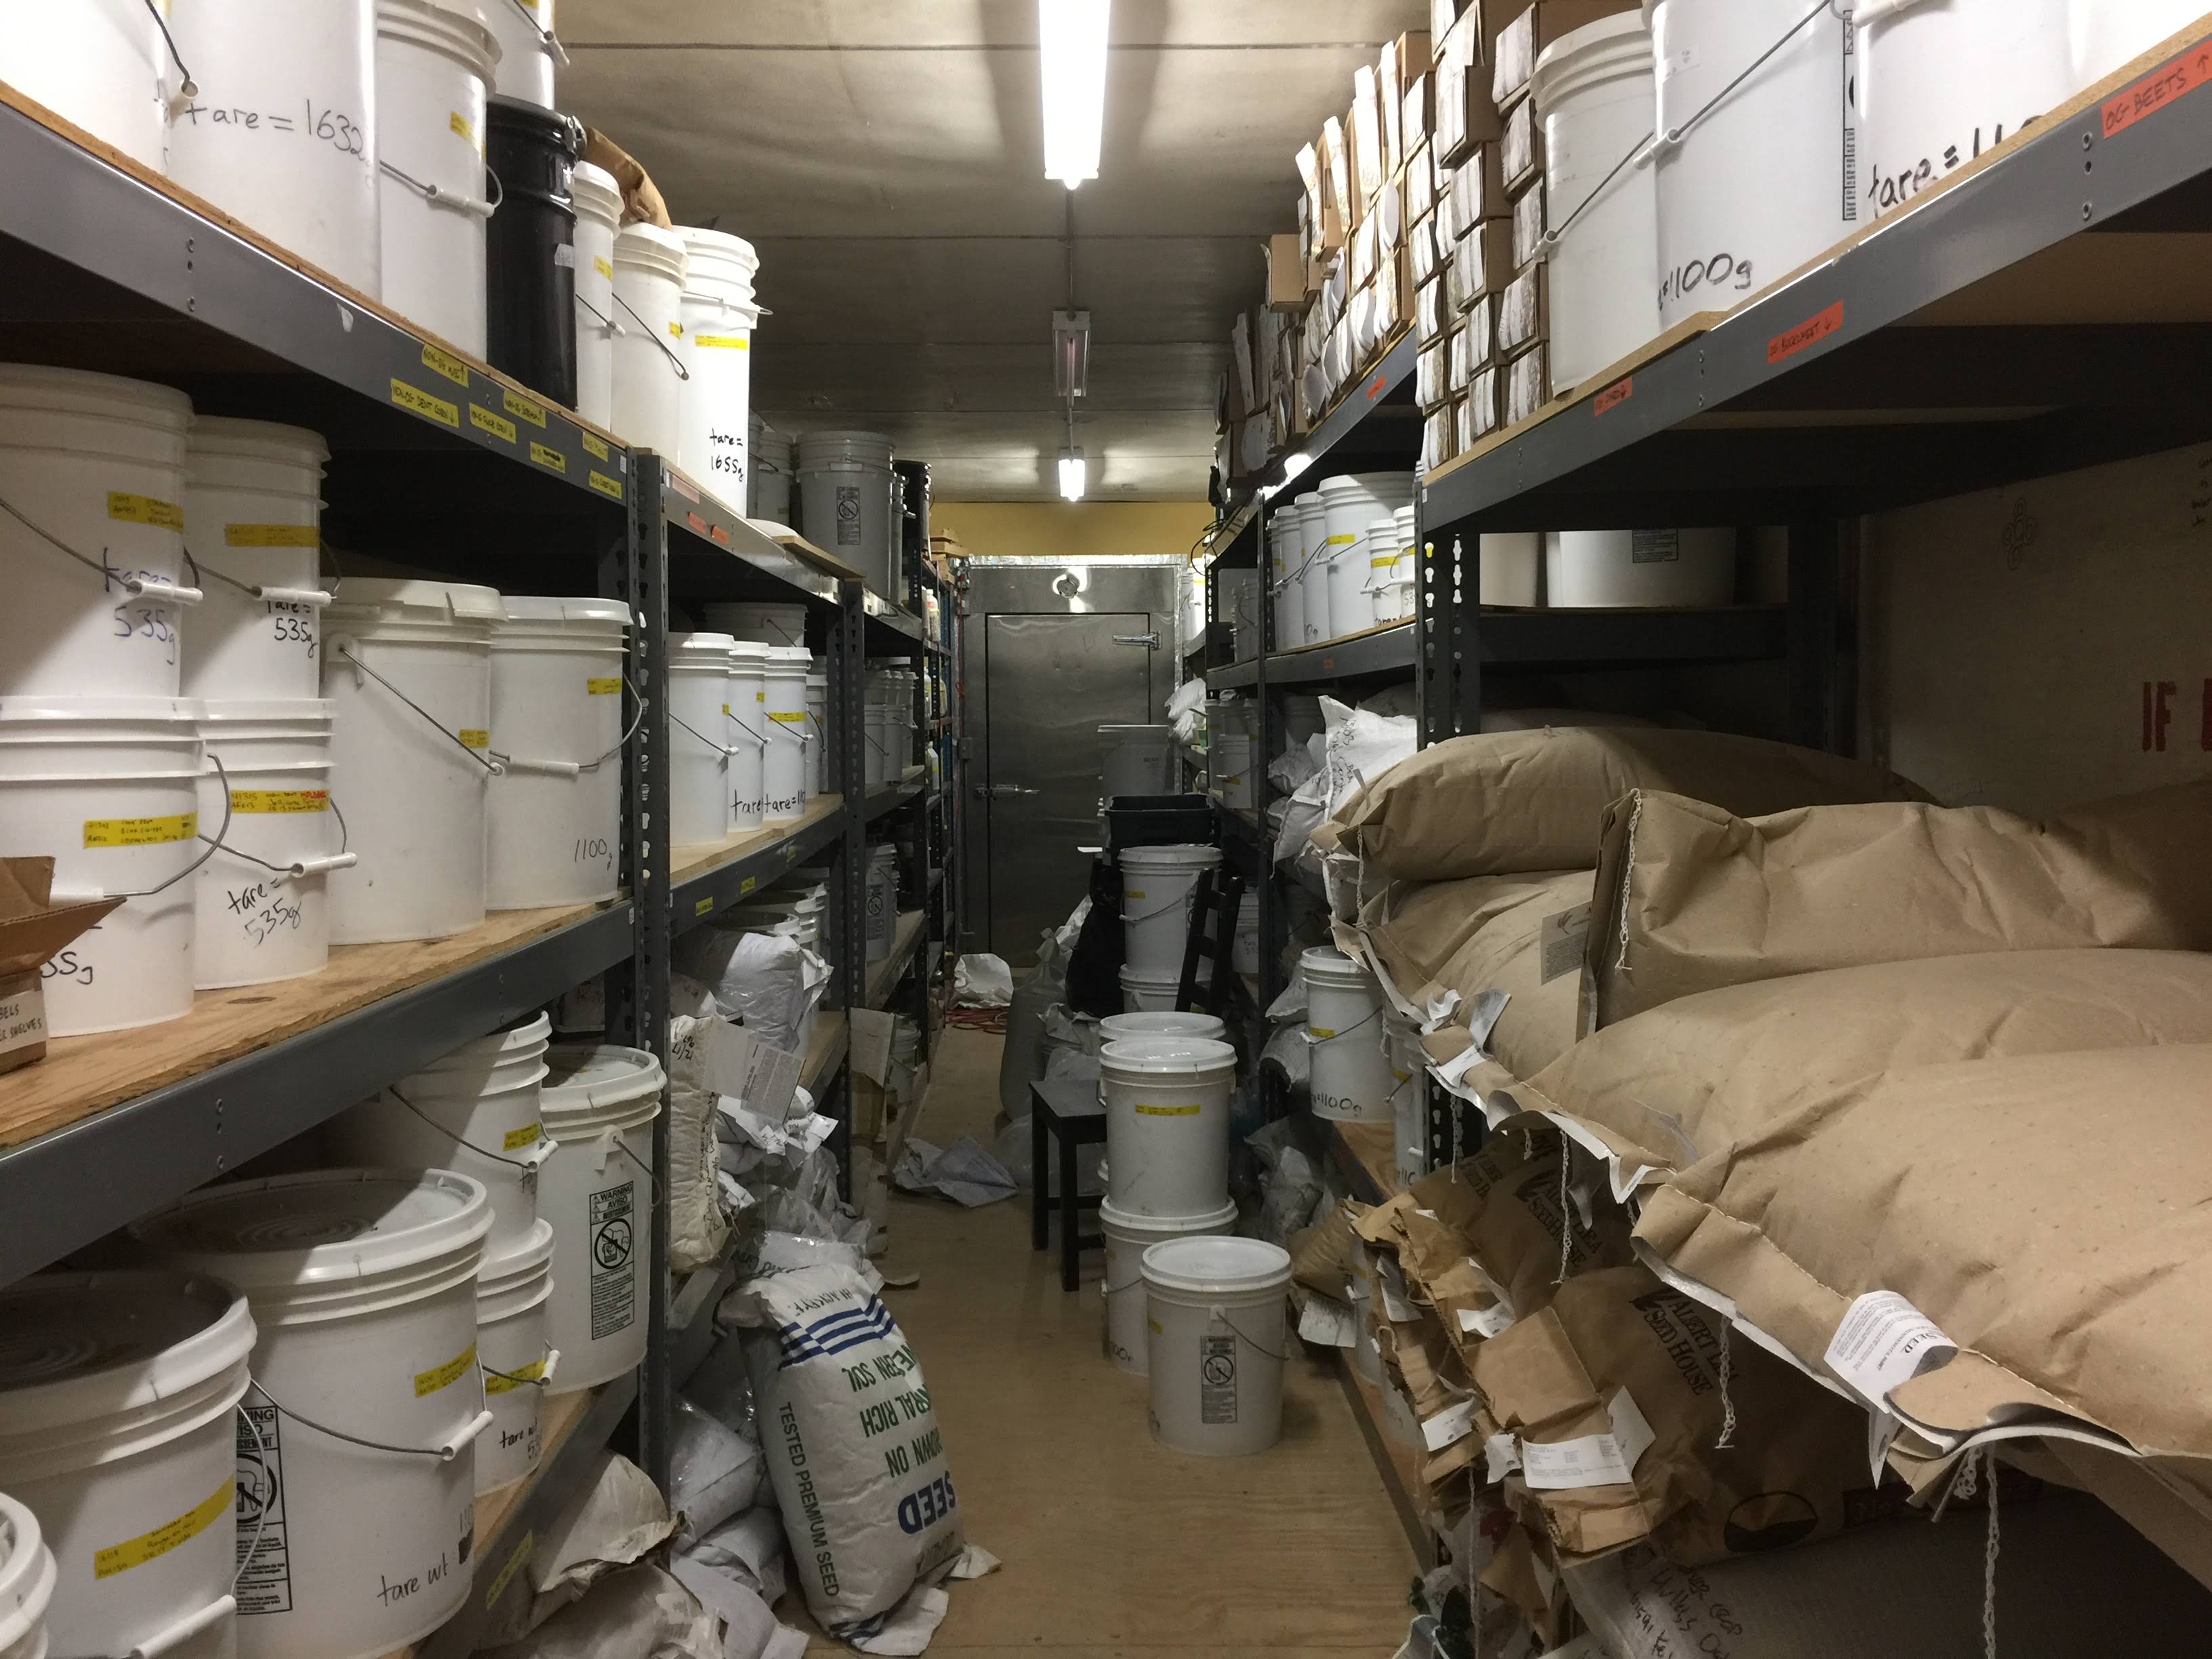
Seeds have the longest shelf life when stored somewhere cold, dry, and dark. At Southern Exposure, we have well-designed walk-in seed storage with carefully monitored temperature and humidity. Obviously, this isn’t accessible for most home gardeners. So, what’s the next best storage spot?
The best cold place to store your seeds is in the freezer. Seeds will stay good for the longest time with temperatures below 40°F. If this isn’t available, a cool cabinet would also work.
Of course, seeds also need to stay dry, and home freezers aren’t designed to with low enough humidity. To protect seeds, place them in an airtight container before placing them in the freezer. When you’re ready to use the seeds, let the container come up to room temperature before opening to avoid condensation.
The freezer is also a great place because it’s dark. Light exposure degrades seed over time. If you aren’t keeping them in the freezer, make sure to store them somewhere dark.
Avoid storing seeds in areas like garages and sheds that experience considerable humidity and temperature swings. These changes in climate also degrade seeds.
Germination Test
If you have seeds that are multiple years old, you can always do a quick germination test.
- Place ten seeds in a moist cloth or paper towel and fold it in half over the seeds.
- Place your moist towel into a container or ziplock bag.
- Set the container or bag somewhere warm and out of direct sunlight.
- Wait until the crop’s expected germination period is over, spraying the towel with water as needed so it never dries out.
- Count the seeds that germinated.
The number of seeds that germinate will give you a rough idea of your expected germination rate. If seven seeds out of ten germinate, you have about a 70% germination rate. We recommend 10 for home use, but the more you use, the more accurate your rate will be if you have enough seed to spare.
Don’t worry if your germination rate is nowhere near 100%! When your germination rate is low, sow your seeds more thickly and then thin your plants as they grow.
Don’t throw those seeds out! Most gardeners have extra seed at the end of each season. If you store your seed correctly, you can keep using it for the next couple of years.

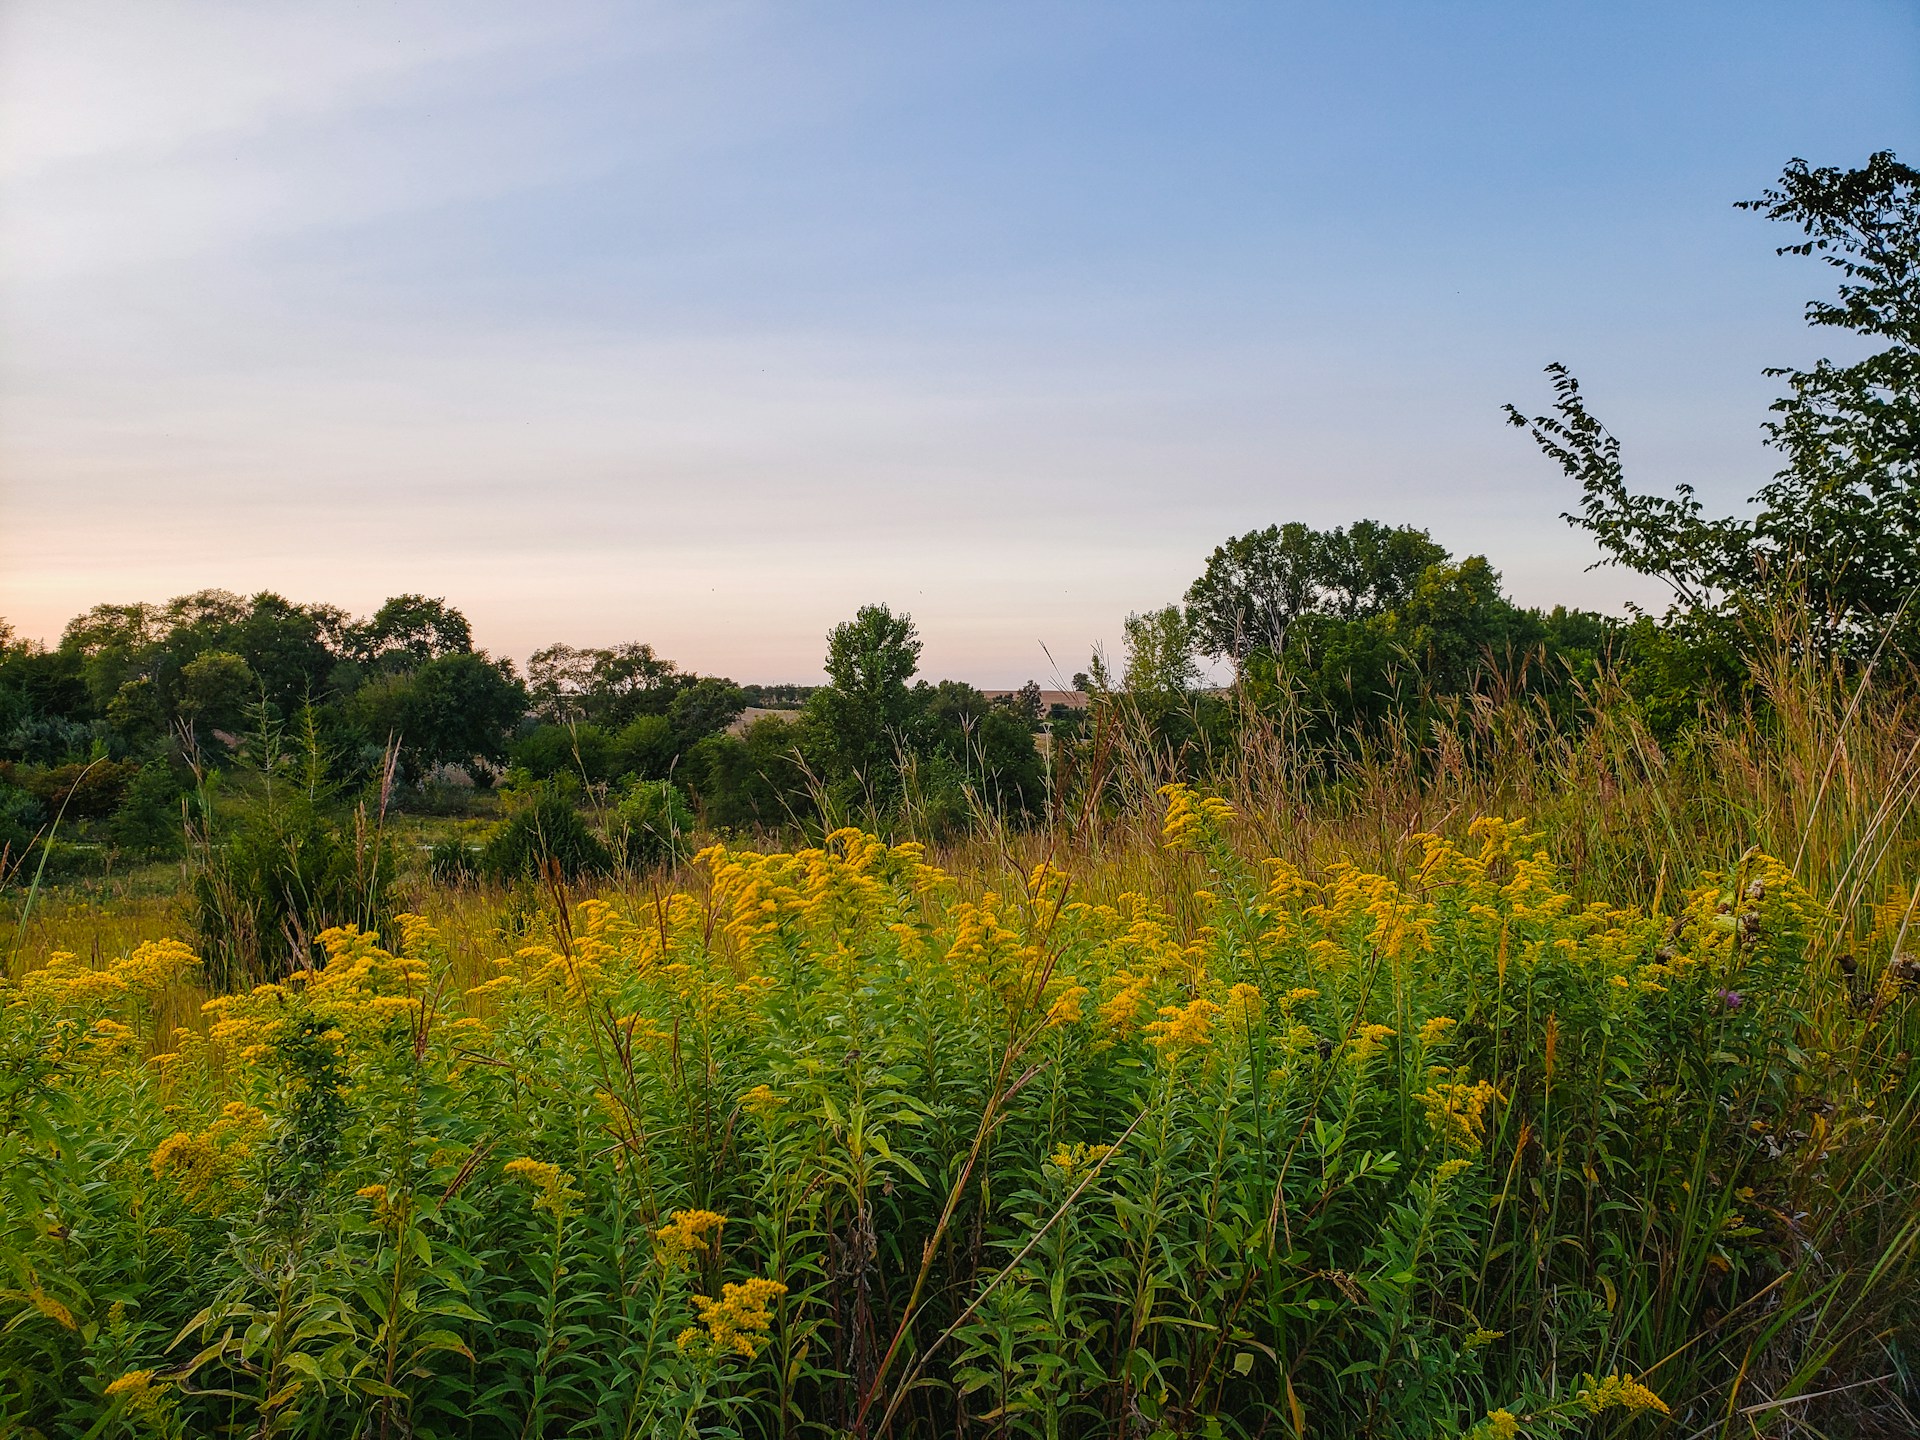 Avoid Mowing Sections of Lawns and Fields with Late Flowers
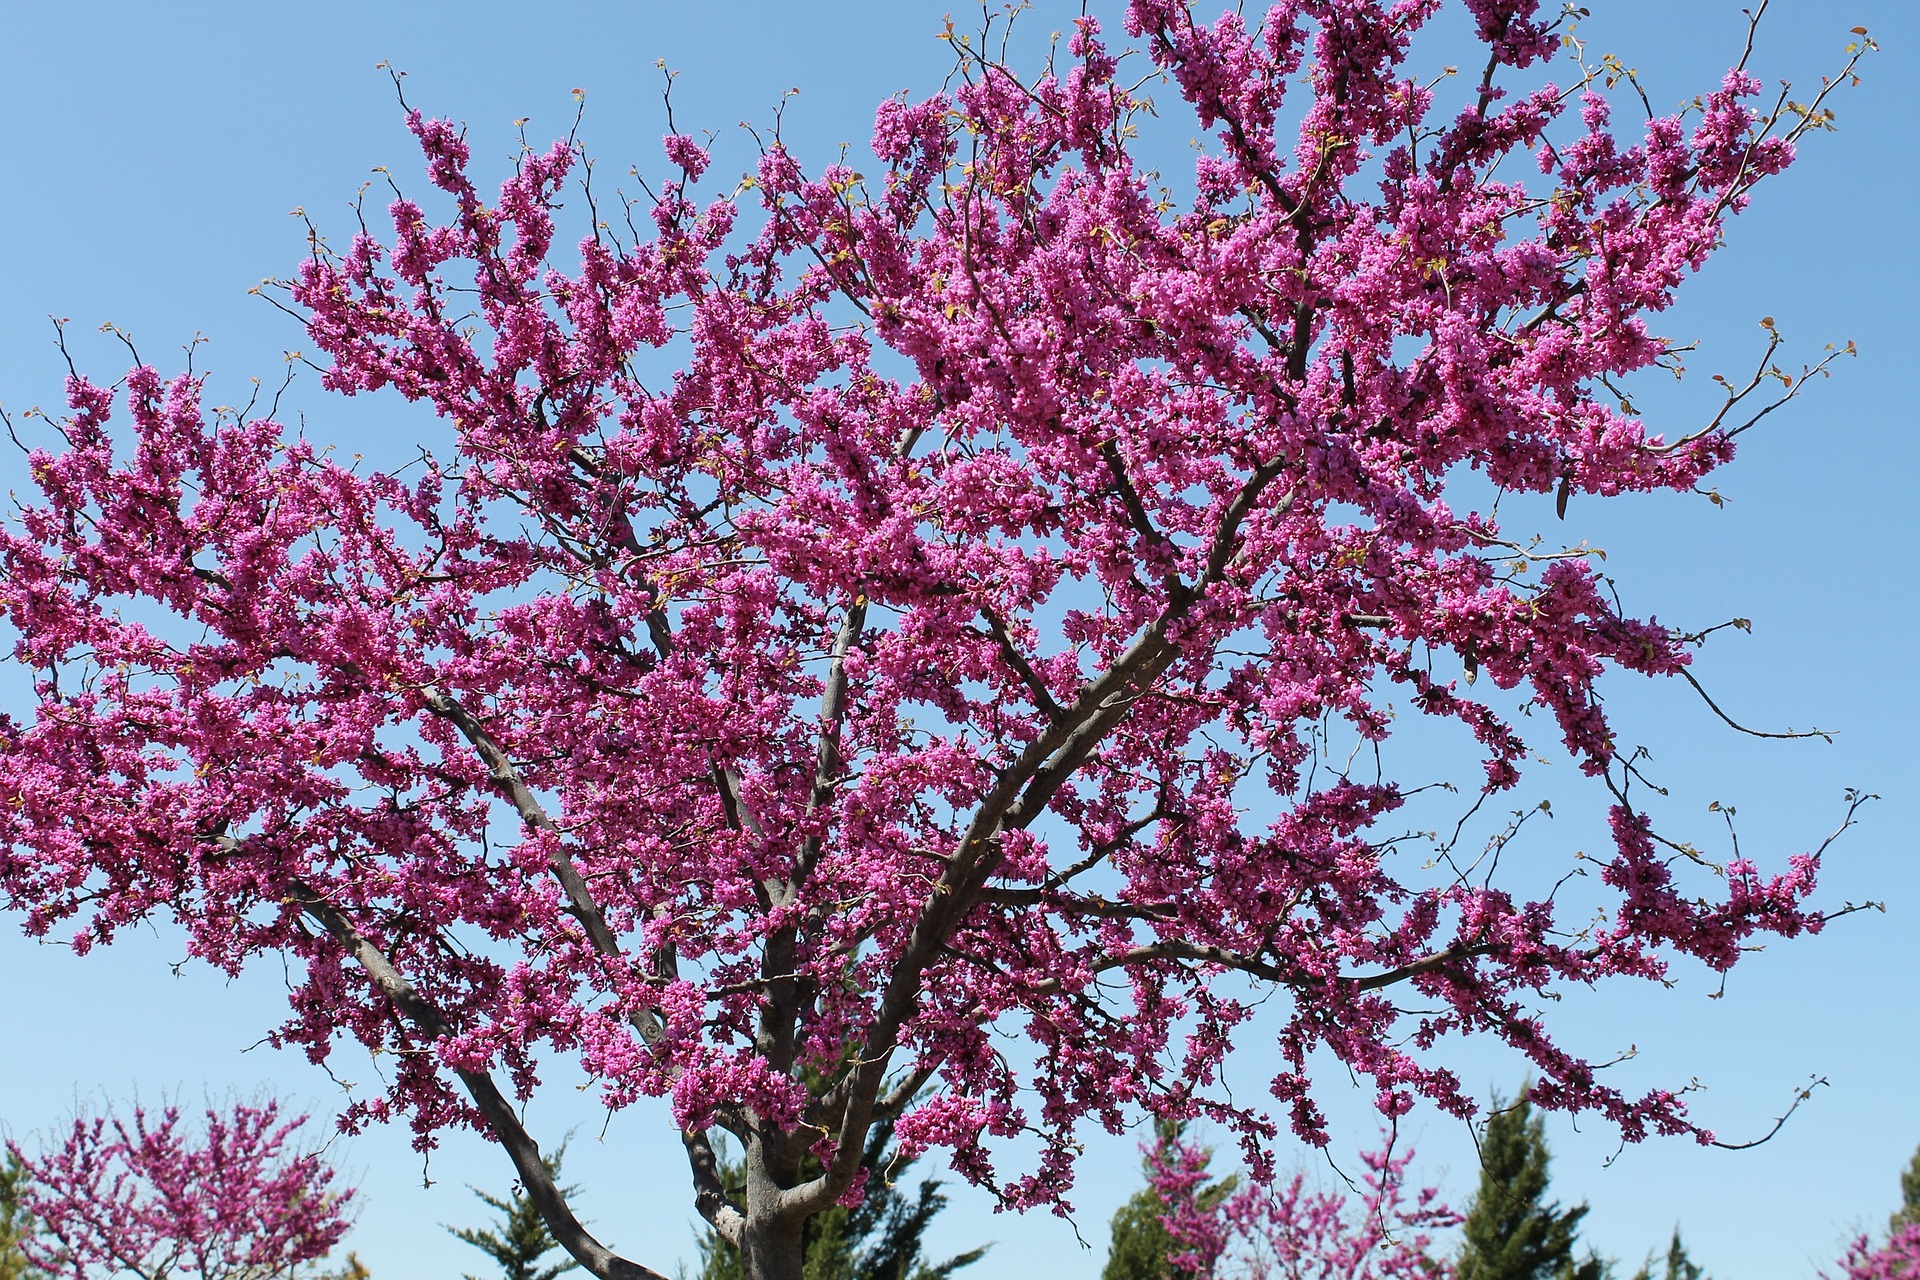 Plant Some Native Shrubs and Trees