Except for folks fortunate enough to have greenhouses, gardens have been put to bed for the season. It’s time to dream about spring! There are many spring flowers that can be sown in fall along with bulbs that can be tucked in like daffodils and tulips. However, if it’s too late for fall sowing in your area, these annuals will get you off to a beautiful start next spring.
Sweet Peas
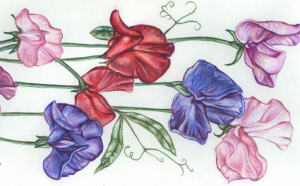 Not to be confused with edible peas, these fragrant beauties are actually toxic in large amounts. They require a trellis but can be direct sown as soon as soil can be worked in the spring and offer early color. Soaking seeds for 8-10 hours before planting can help with quick germination. They’re great for cut flower arrangements. It’s best to direct sow sweet peas but for extra early flowers you can start them indoors. Use large pots as sweet peas develop large roots. At Southern Exposure we carry Old Spice Mix Sweet Peas which offer a variety of colors.
Sweet peas perform best in fertile soil and are heavy feeders. You’ll also need to provide adequate water to get the most blooms.
Sweet William (Dianthus barbatus)
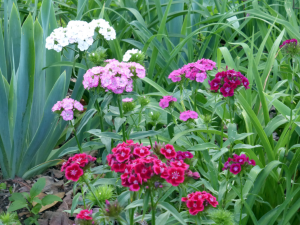 While Sweet William is technically a perennial it’s often treated as an annual. It can be direct sown or transplanted and germinates best between 60°-70°F. Like sweet peas, it’s ideal for cut flower arrangements. It self-seeds readily.
Larkspur
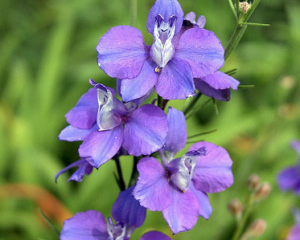 These hardy annuals are easy to start from seed. Direct sow as soon as soil can be worked in the spring. They grow 36-48 inches high making them a great backdrop for shorter flowers or perfect for cut flowers. They can also be started started indoors for extra early blooms!
Poppies
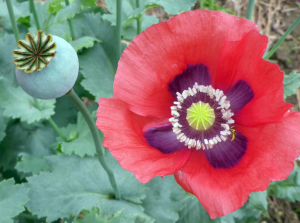 Poppies are an excellent spring annual. They germinate best when soil temperatures reach 60°F. Poppies need light to germinate so they should be pressed or lightly raked into the soil rather than planted deep.
Though poppies are typically direct sown, some commercial growers start them indoors. If you opt to grow transplants be aware that the small seeds sown on the surface are easy to wash away. Use pre-moistened potting soil and bottom water as needed. At Southern Exposure we carry Charlottesville Old Breadseed Poppy, Hungarian Blue Breadseed Poppy, and Elka White Oilseed Poppy seeds.
Love-in-a-Mist (Nigella damascena)
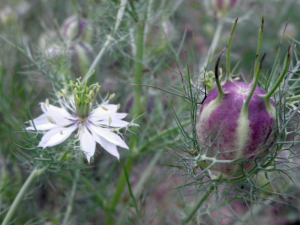 Sometimes called fennel flower because of its nutmeg flavored seeds, Nigella has flowers in shades of blue, pink, white and purple. Nigella hates having its roots disturbed and should be direct seeded after your last frost. The foliage and flowers are nice in the garden or cut arrangements. The seed pods are ideal for dry arrangements. It has a relatively short bloom period so those growing for cut flowers should plant multiple successions.
Bachelor’s Buttons
 A favorite for cut or dried flowers, Bachelors Buttons are hard to beat. They germinate well when soil temperatures are around 60°F and are prefect for multiple successions. They’re also edible and are an excellent, natural way to decorate cakes and other treats. At Southern Exposure we carry Black Ball Bachelor’s Button, Blue Boy Bachelor’s Button, and Polka Dot Bachelor’s Button seed.
It may be a bit dreary out now, but winter is all about spring plans and dreams. Get ready for a beautiful spring with these hardy annuals.