Lisa Dermer & Ira Wallace

Harvesting and curing garlic and perennial onion bulbs is a balancing act: the crop shouldn’t be harvested too early or too late; the curing (drying) process should not be too fast or too slow. Luckily, with a little know-how it’s easy to hit the sweet spot and maximize your harvest of high-quality bulbs with excellent storage quality.
Preparing for the Harvest
As a guideline, know the estimated harvest time for the varieties you’re growing (this can vary quite a bit by type), but be ready to start checking your bulbs earlier. Warm, sunny weather will bring on maturity sooner, and waiting too long may damage the bulbs. On our Central Virginia farm, the beginning of the harvest has varied by up to 3 weeks (late May to mid-June).
A few weeks before your estimated harvest date, pull off the mulch around the bulbs and irrigate less, or stop watering altogether. This will prevent rotting and toughen the skins for storage.
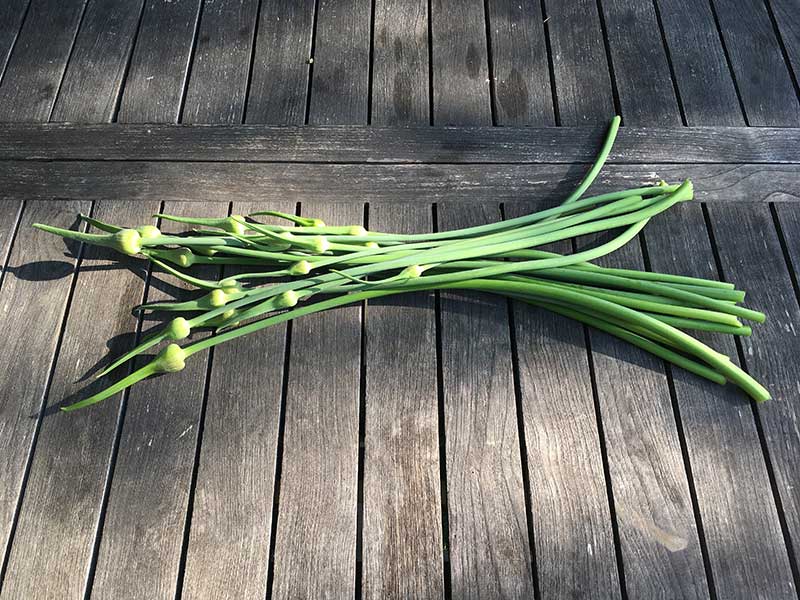
 The Garlic Harvest
Keep an eye on your garlic plants: as soon as one third of the leaves turn yellow or brown the bulbs are probably ready to harvest. If you’re unsure, use this simple test to check: dig up a sample bulb and cut it in half: if the cloves have separated, your garlic is ready. If the bulb is still one undifferentiated mass, you should wait a few more days.
There should be at least 4–6 green leaves remaining at harvest. Do not wait for the tops to turn entirely brown and dry before harvesting your garlic! By then the outer scales will have decayed — the ones that hold all the cloves together in one smooth-skinned bulb. If you wait too long and these leaves die, you’ll have ugly bulbs that are hard to clean and keep poorly in storage. (If your harvest is delayed and all the leaves have turned brown on some of your garlic, use those bulbs first because they won’t last as long in storage.)
If the soil is very dry, lightly irrigate the night before your harvest. Carefully loosen the soil next to and under the bulbs using a digging fork. Don’t just pull garlic out of the ground. Be careful not to bruise or cut the bulbs — give them a wide berth by keeping your digging fork 10-12 inches away from the plants, and inserting straight down before lifting.
Gently remove excess soil from the bulbs using your fingers or a soft brush (don’t bang the bulbs against each other!). The tender freshly-dug bulbs need to be handled carefully to avoid damage. Keep the bulbs out of the sun and rain until you can bring them indoors. Don’t wash them. Curing (see below) is the next step in handling your harvest.
The Perennial (Multiplier) Onion Harvest
Shallots are the best known type of perennial onions, also called multiplier or potato onions. Perennial onions are grown from a bulb rather than seeds or sets: they’re planted in the fall and harvested in late spring, just like garlic.
Prior to harvest, the neck region of multiplier onions weakens and the green tops begin to fall down. When you see the first sign of this, pull off any mulch from around the plants and stop watering: this lets the skins toughen for storage.
When approximately 50% of the tops have fallen, the crop has sufficiently ripened and is ready for harvesting. There is no advantage to breaking over the tops of onions still standing (in fact this may shorten the storage life of certain varieties). Not all the tops fall over at the same time. You can harvest the mature onions every few days. Harvest those with tops still standing after 7–10 days: keep these separate from the rest and eat them first because they will not keep as well.
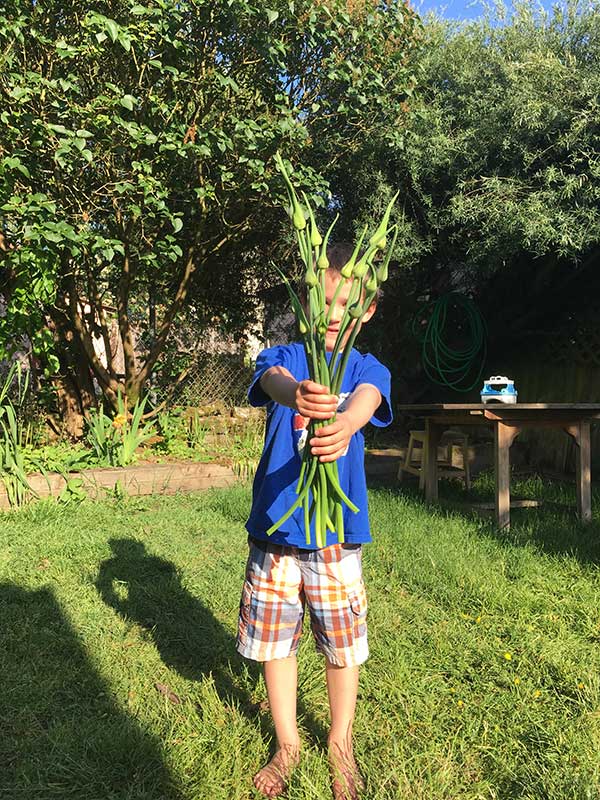
To harvest multipliers, pull the clusters or gently dig them out. Try to do this during dry weather. Don’t leave the bulbs exposed to hot sun or rain and don’t wash them. Lay the tops over the freshly harvested bulbs until you can bring them under shelter. See below for the next step: curing.
Curing (Drying) Garlic and Perennial Onions
Curing is a fancy word for properly drying your bulbs. A good cure improves the flavor, storage quality, and hardiness of both garlic and perennial onion bulbs. The goal is to dry the outer wrapper layers completely while keeping the bulbs or cloves plump and deliciously aromatic. It takes anywhere from 3 weeks to 2 months to properly cure bulbs.
Many factors influence the rate of curing, including humidity, temperature, air circulation, the size of the bulbs, and the number of green leaves at harvest. High humidity can slow drying, so give your bulbs plenty of space, good ventilation, and complete protection from rain. Drying too quickly can cause shriveled bulbs that don’t store well, so dry bulbs out of direct sunlight and away from extreme heat.
We cure our bulbs on the upper level of our pole barn. We use fans to make sure the area is adequately ventilated and to keep the humidity low. You can make your own low-cost exhaust fan by fitting a box fan tightly in a window frame (fill any gaps around the fan for a tight fit).
We hang our garlic to cure: for soft neck garlic you can make braids, though this can be time-consuming. Otherwise use a slip knot that will tighten with the necks as they dry and shrink. To do this, just fold a string in half, then pull the two free ends through the loop, and cinch this around several necks. Then tie the bunch to the main string (or wire, rafter, rack, etc).
We cure our perennial onions on shelves made with hardware cloth. You could also hang a stretched sheet or other breathable material or mesh. The onion necks may break as they dry, so hanging them can lead to bulbs falling and getting bruised.
Every few days check for and remove any spoiled bulbs, being careful to handle the bulbs gently and as little as possible. The high water content right after harvest lets bulbs bruise easily, making them susceptible to rot. Once curing is complete, the bulbs are much less easily damaged.
Once curing is complete, separate the individual perennial onion bulbs from the clusters. For both garlic and onion bulbs, cut the dried tops 1 inch above the base and trim the roots to ¼ inch. Your bulbs are now ready for eating, storage, or planting.