Bees are often the focus of our attention in the spring when we choose flowers and in June during pollinator week; unfortunately, they’re often forgotten in the fall when we turn our attention to school, the holiday season, and indoor activities. However, fall is a critical period for supporting bees, especially our native bees. That’s why we’ve put together some quick tips for helping the bees this fall.
While bees get (and deserve) a lot of credit, we realize there are many other pollinators that call our yards and gardens home. Many of these tips can also help support other pollinators, such as flies, moths, and butterflies.
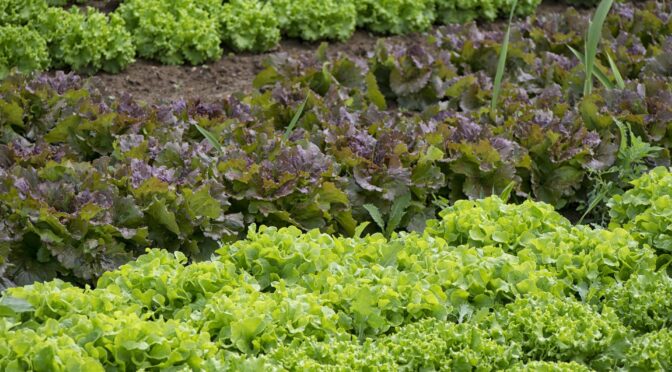
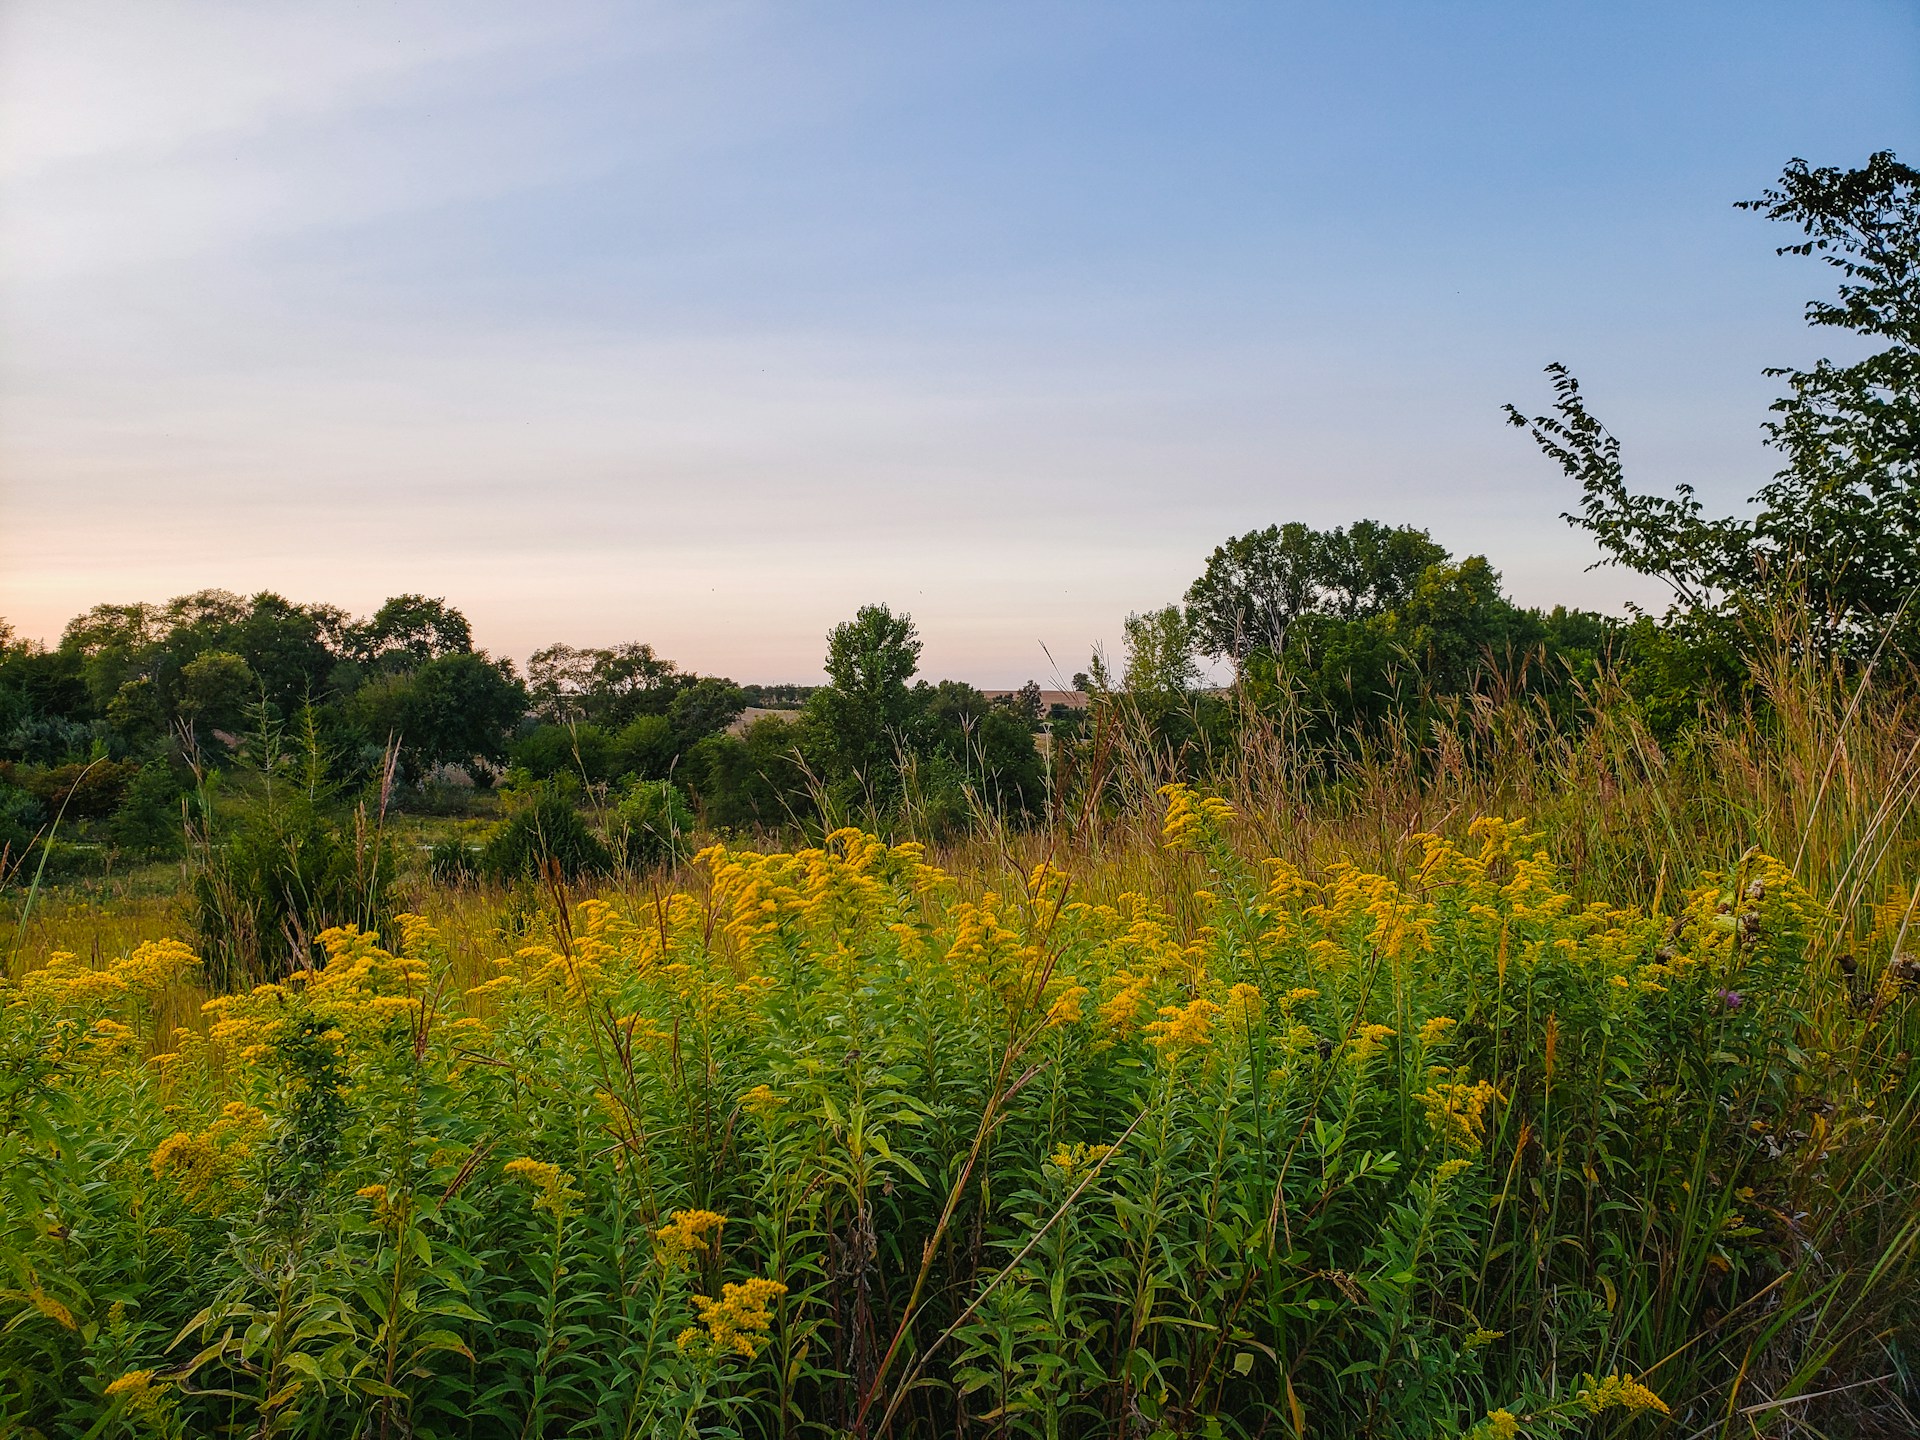 Avoid Mowing Sections of Lawns and Fields with Late Flowers
Many pollinator-conscious gardeners have started planning to provide bees with early spring flowers. Flowers are just as important in the fall when the supply dwindles. Avoid mowing late-blooming flowers until after they have died back.
What flowers are important?
According to the Bumble Bee Watch, flowers like goldenrod (Solidago spp.) and asters (Symphyotrichum spp.), which bloom into September and October, are among the most commonly visited flowers!
One of our eastern United States bumble bees, the rusty patched bumble bee (Bombus affinis), is now federally endangered. While there’s no guarantee it remains in your area, Bumble Bee Watch says it has often been observed visiting beebalm (Monarda spp.), giant hyssop (Agastache spp.), goldenrod (Solidago spp.), and joe-pye weed (Eutrochium spp.).
For bonus points, you can also fall plant some of these flowers. Prairie Moon Nursery has some great native flower and plant mixes suitable for fall sowing.
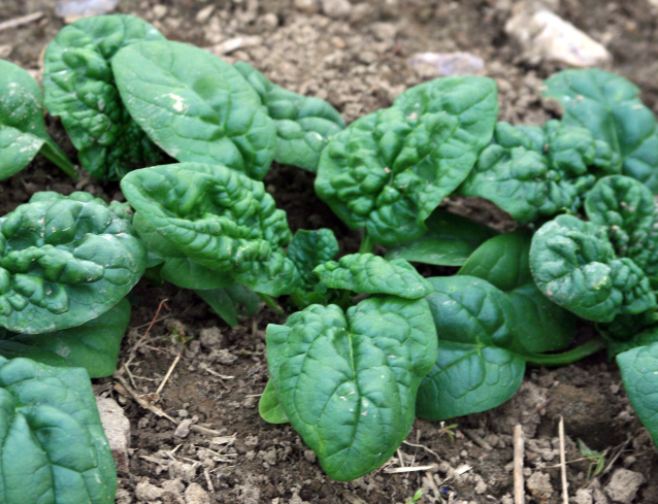
Leave the Leaves for Bees
Leaves are a natural part of the soil cycle. They break down over the winter and help your lawn and garden grow. They also provide an essential habitat for nesting and overwintering bees and other pollinators. If you must remove them from your lawn, try piling them in a corner or using them as mulch in your garden. The bees and soil will thank you!
Leave the Leaves is a campaign by the Xerxes Society to encourage landowners to let leaves decompose naturally or appropriately manage them for pollinator habitat. You can join the campaign and help educate others by using the #leavetheleaves hashtag.
Save the Stems
Additionally, some bees also take shelter in plant stems over the winter. Leaving these plant stems standing can provide them with essential habitat. In the spring, female bees will also use dead plant stems to lay their eggs.
Check out the Xerces Society chart for Supporting Stem Nesting Bees.
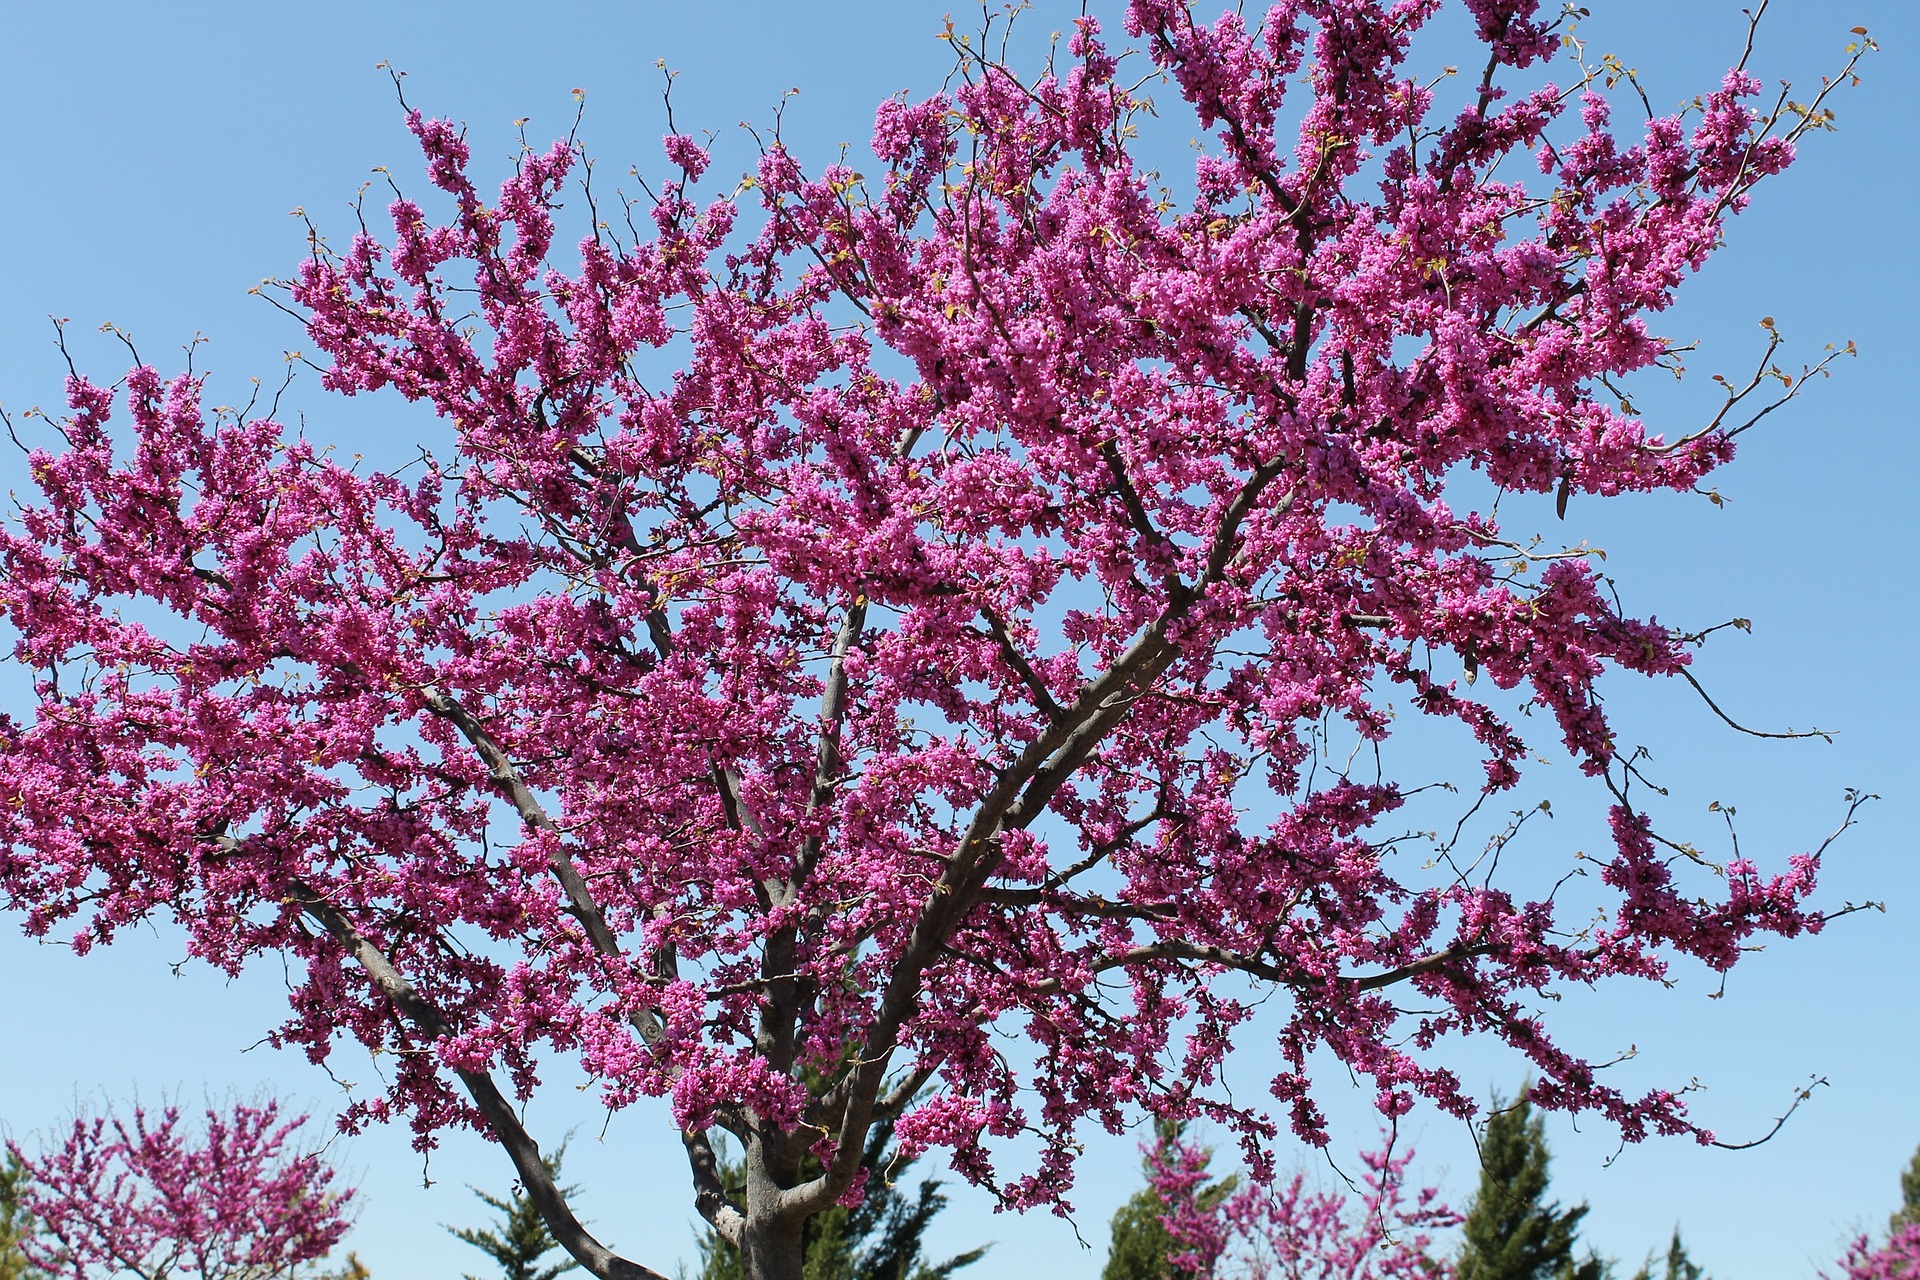 Plant Some Native Shrubs and Trees
In the Southeast, fall is often an ideal time to plant perennials, trees, and shrubs. The cooler temperatures and increased rainfall give plants a chance to get established. This fall is a great time to think about some perennials that could provide food and habitat for bees, helping to attract them to your vegetable garden. Great options include:
- American Witchhazel (Hamamelis virginiana L.)
- Red Maple (Acer rubrum)
- Downy Serviceberry (Amelanchier arborea)
- Eastern Redbud (Cercis canadensis)
- Sweetbary Magnolia (Magnolia virginiana)
- Flowering Dogwood (Cornus florida)
Protect Your Garden (and bees) from Pesticides and Herbicides
The first and easiest step is to avoid using these products yourself. Unfortunately, it’s not that simple today.
In the past, many gardeners relied on manure from nearby farms. However, many folks have had the misfortune of finding out they brought in contaminated manure when their plants died.
If you want to use manure, you need to be sure of exactly what the animals are eating. When horses, cows, or other livestock eat feed and hay contaminated with herbicides and pesticides, these will make it through their systems, into the manure, and eventually, your garden.
If you live in an area where neighbors use chemicals, you may also have issues with wind or water bringing them onto your property. Supporting local organizations that focus on conservation and gently encouraging others to support biodiversity can help. You can also use windbreaks and hedges to offer your property some natural protection.
Our native bees are in trouble! While we often think about planting flowers for bees in spring, there are several critical steps we can take to help them this fall. What do you do to save the bees?

 Keep Soil Cool and Moist with Boards, Burlap, or Cardboard