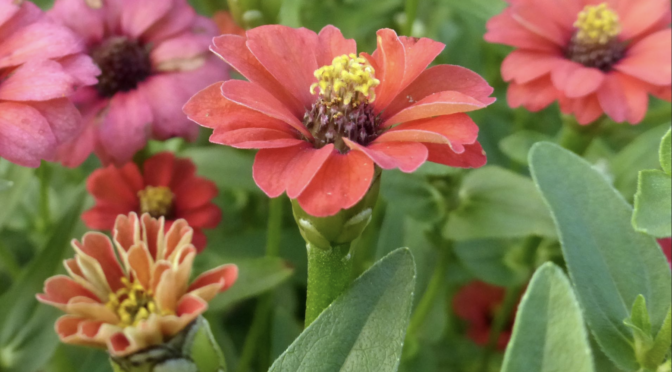
Heirloom tomatoes and colorful corn varieties often garner much of the attention when we talk about seed saving, but it’s not just vegetables that have a rich history. Gardeners have saved and selected flower seeds for thousands of years. Zinnias, one of the easiest flowers to grow, are also easy to save seeds from to keep next year’s gardens full of blooms. Learn how to save zinnia seeds in a few simple steps.
Select Good, Open-Pollinated Plants
If you want to save seed, having an open-pollinated variety is best. Varieties can mostly be divided into two categories, hybrid and open-pollinated, with heirlooms falling under the open-pollinated umbrella.
Hybrids are a first-generation cross between two parent varieties. As they are a cross, there’s no guarantee on what their seed will produce next year; they may revert to looking more like one of the parents rather than what you just grew. You can still save seed if you’re okay with a potential surprise.
Open-pollinated varieties are established varieties that produce “true-to-type.” You can save seeds from them year after year with little change unless you select for it. For example, if you only saved seeds from a particular shade bloom.
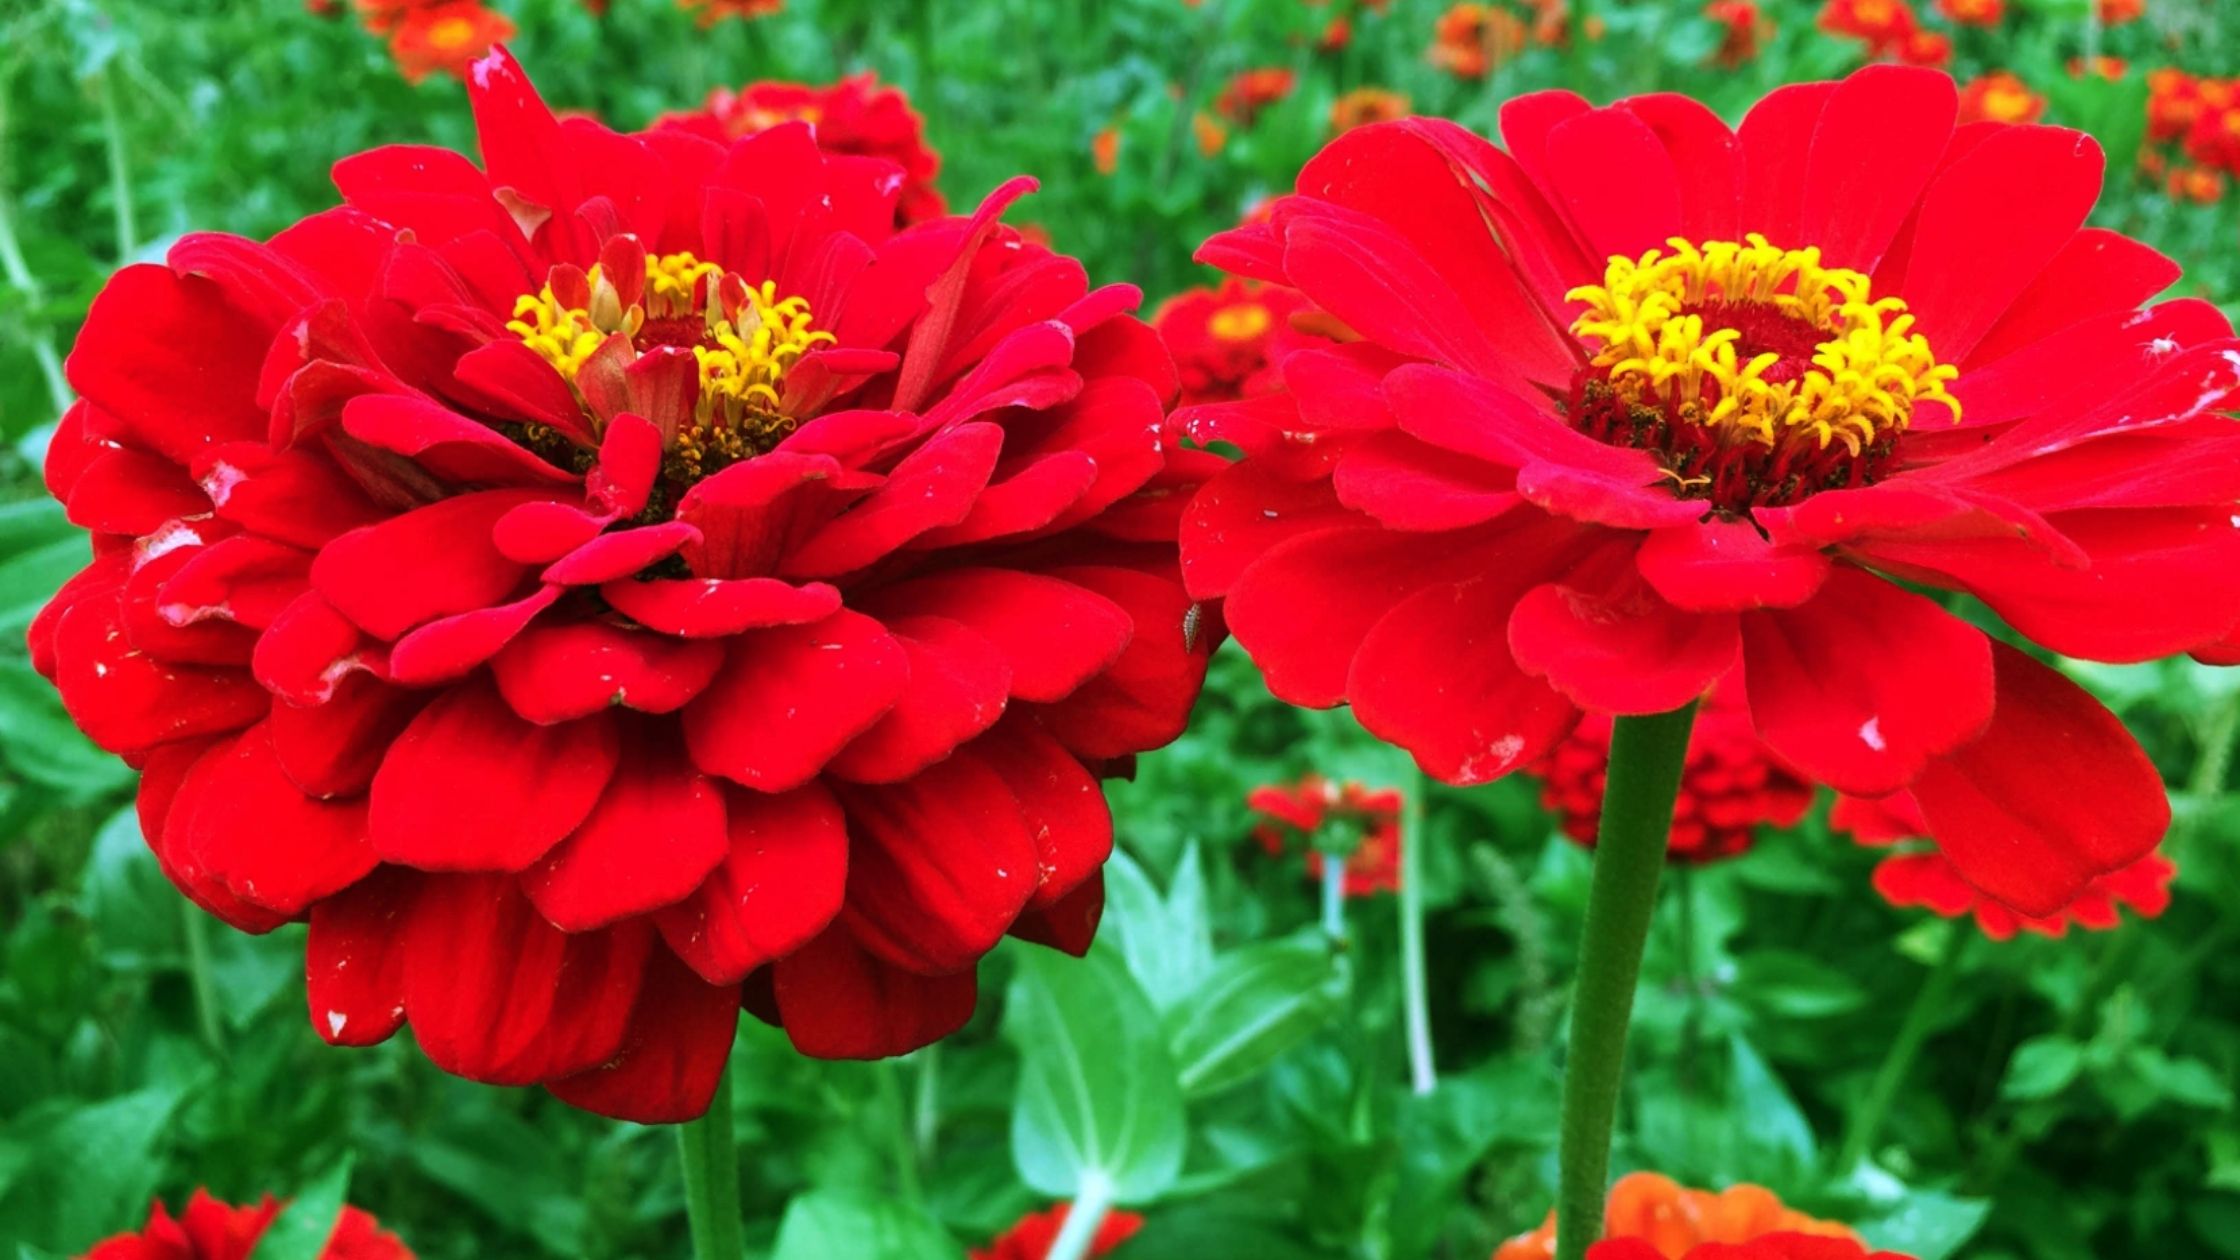 All of the zinnias we carry are open-pollinated.
The “good” part of this statement is somewhat relative. To start, try to save seeds from plants that have been healthy and vigorous. Avoid diseased plants, as some diseases, like powdery mildew, can remain on the seeds. Then, you can also focus on other characteristics like color, size, or bloom period. Essentially, save seeds from plants you think looked and performed the best in your garden.
Consider Cross-Pollination
If you’ve grown multiple varieties of zinnias, insects may have cross-pollinated them. To achieve pure seed, like what we sell, zinnia varieties need to be isolated by 1/2 mile. However, no rule says you need absolutely pure seed. It’s fine to save seed even if there’s been a little promiscuous pollination; you may get some fun surprise variation from next season’s flowers.
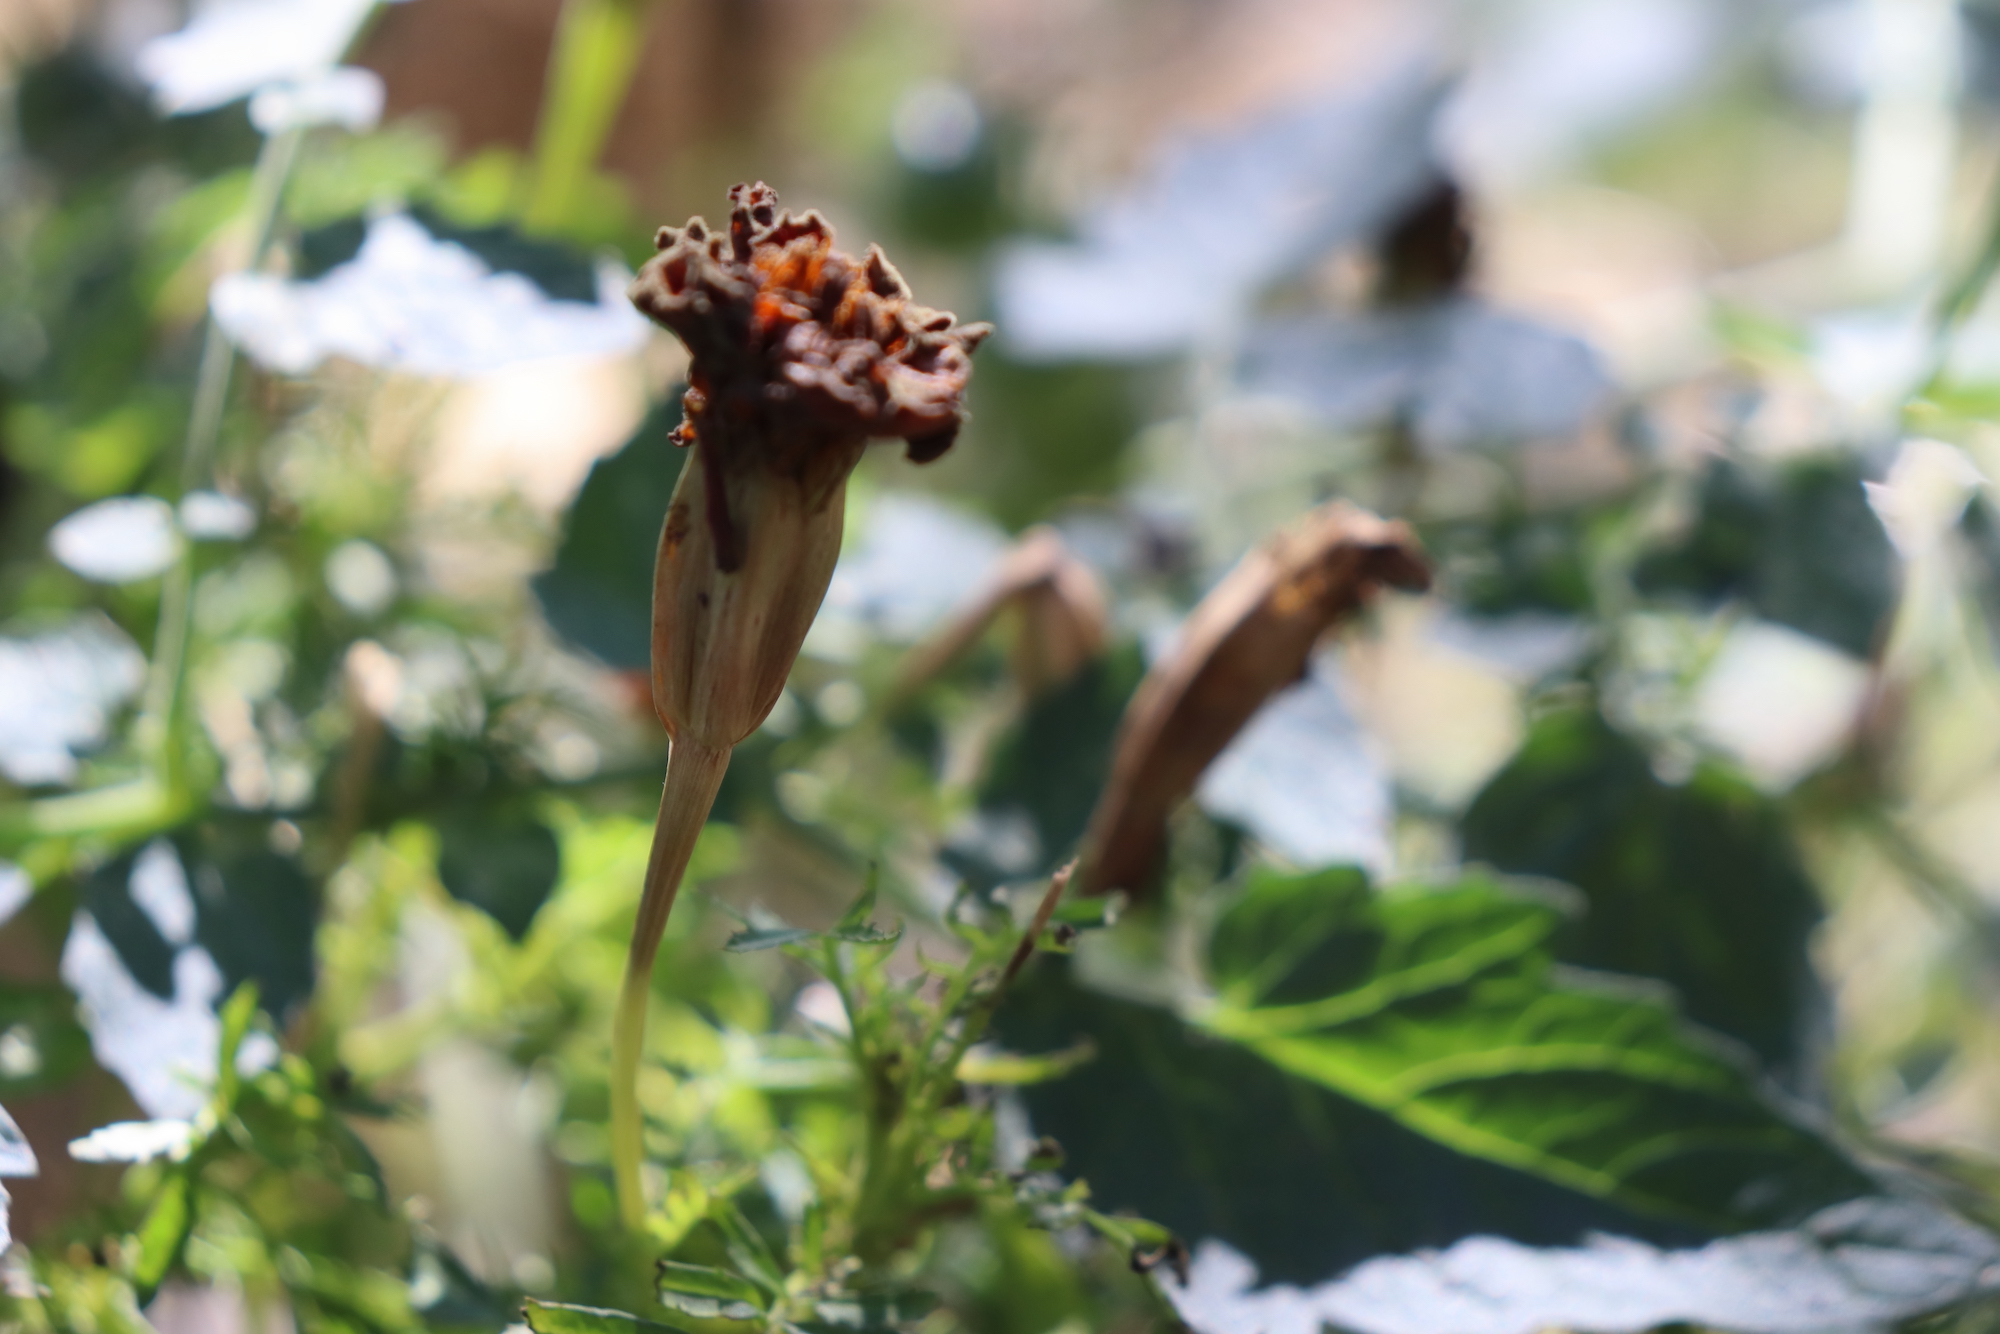
 Allow The Flowerheads to Dry
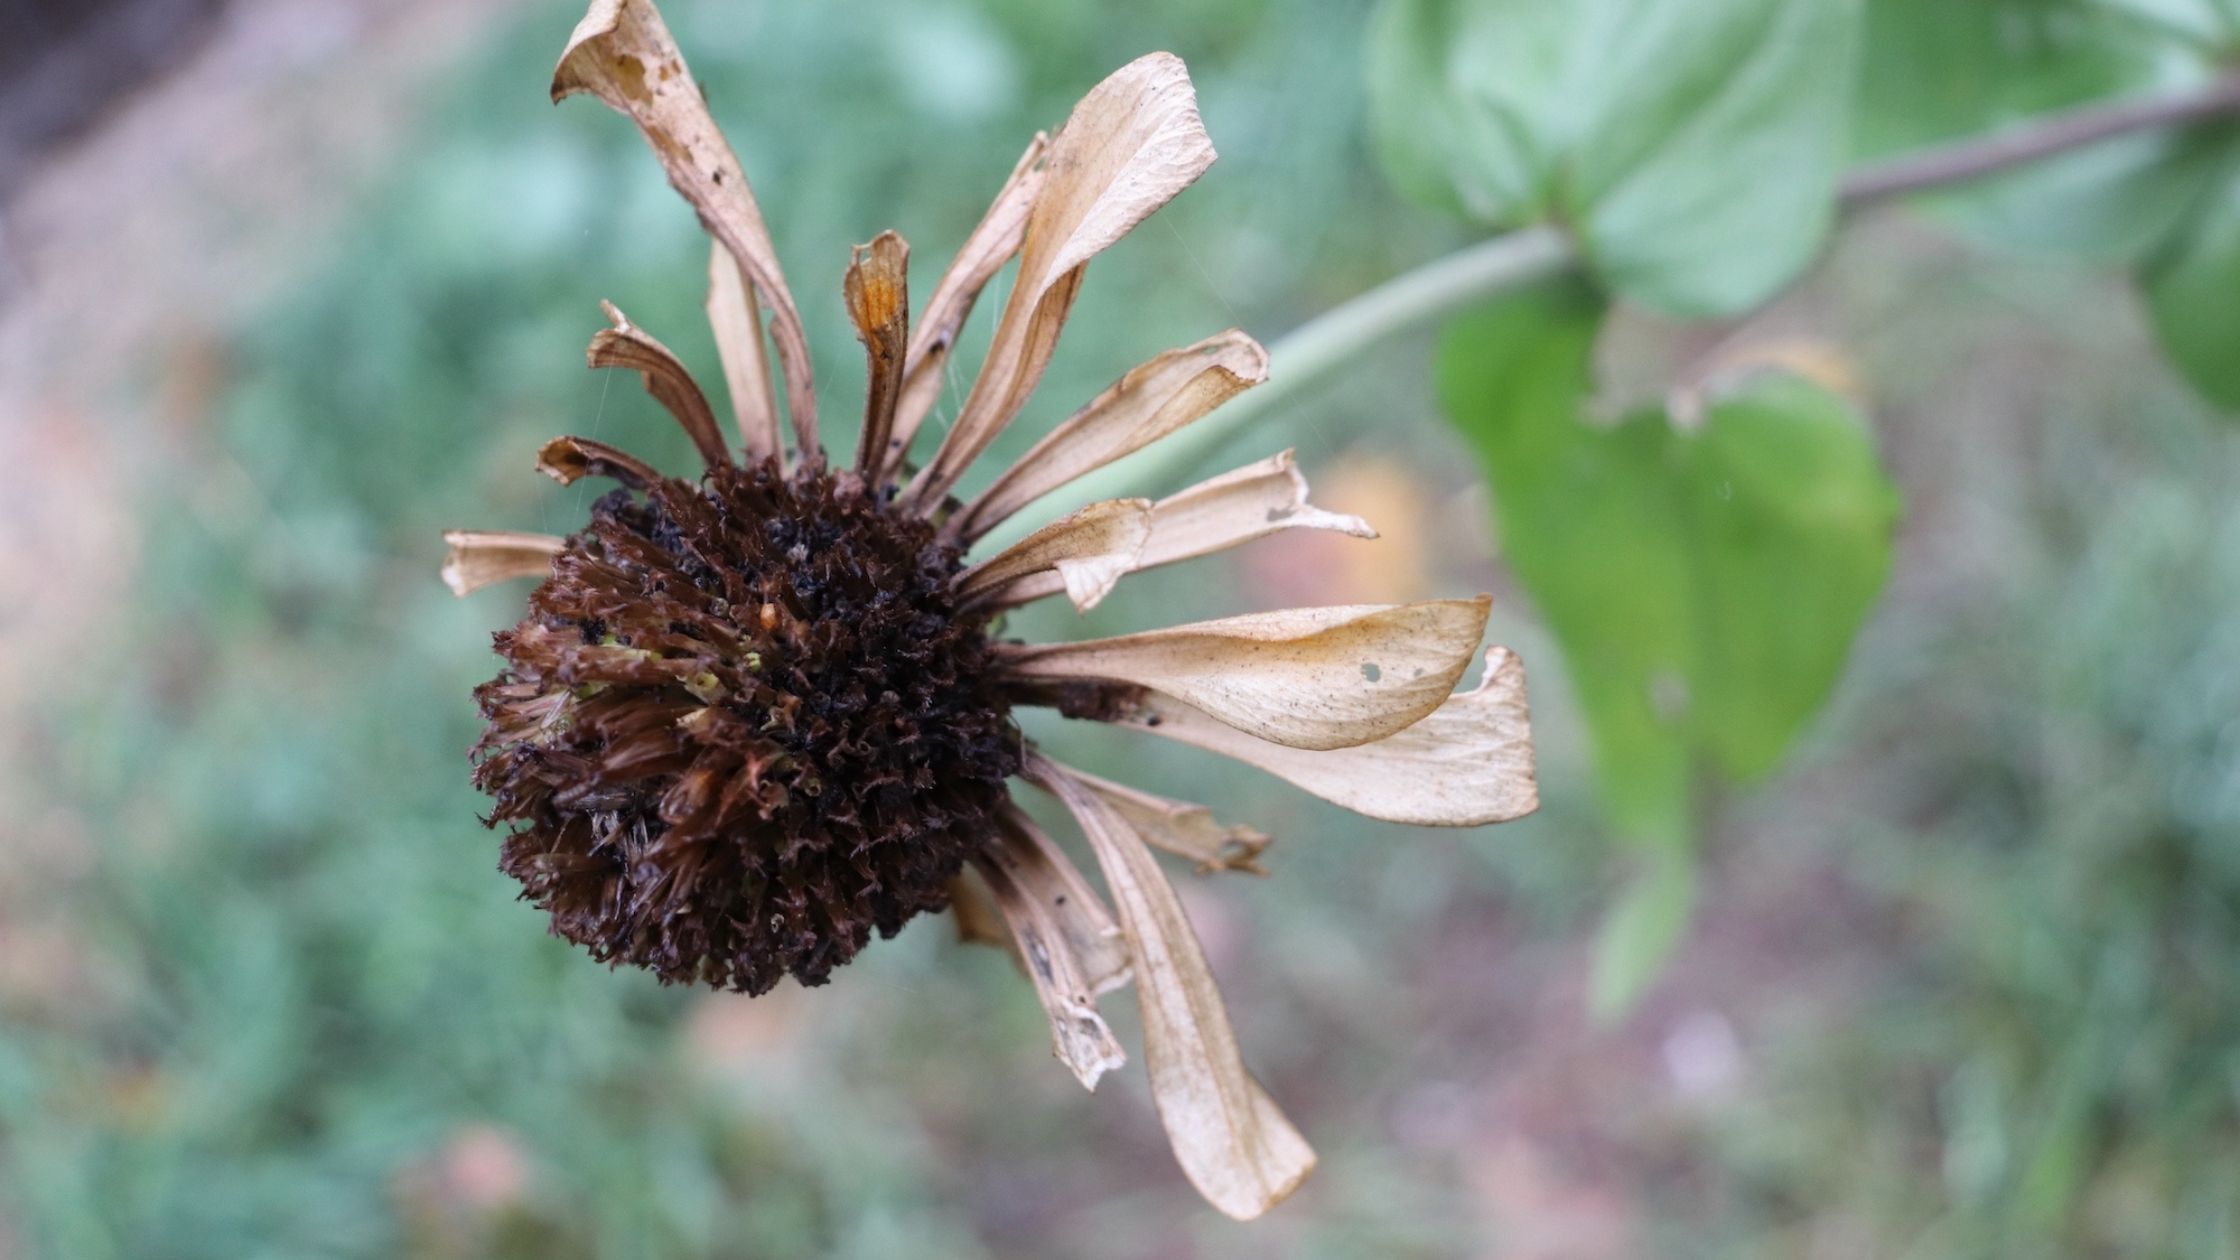
With any seeds, it’s essential to let them fully mature before harvesting to ensure good germination rates. For zinnias, this means that the flower heads, including the petals, should be brown and dry. When this happens, you’re ready to start saving seeds and can cut or pull the flowerheads from the plant.
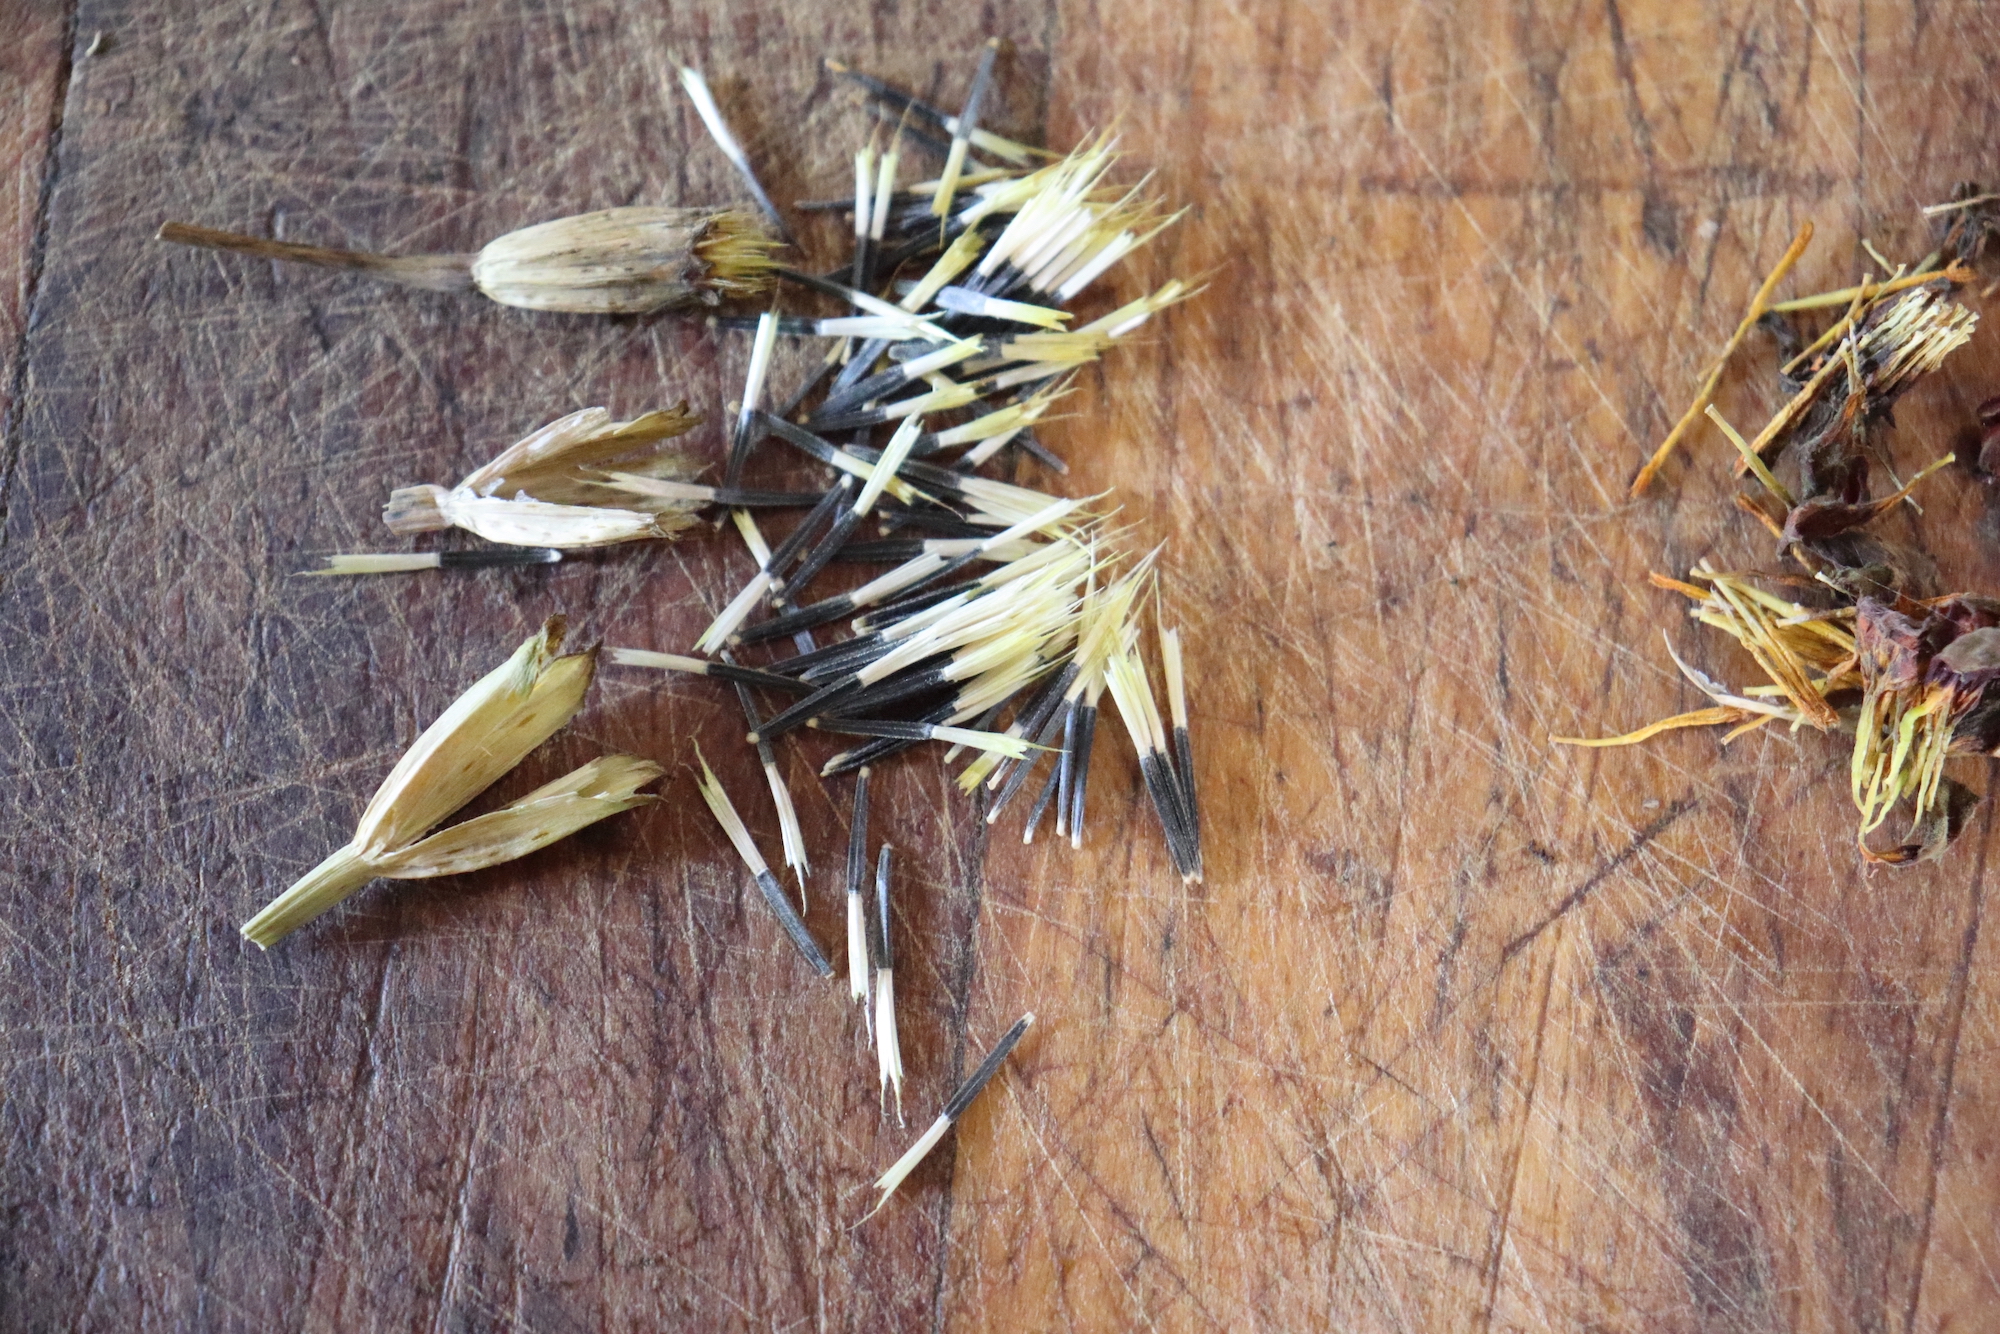
 Process the Flowerheads
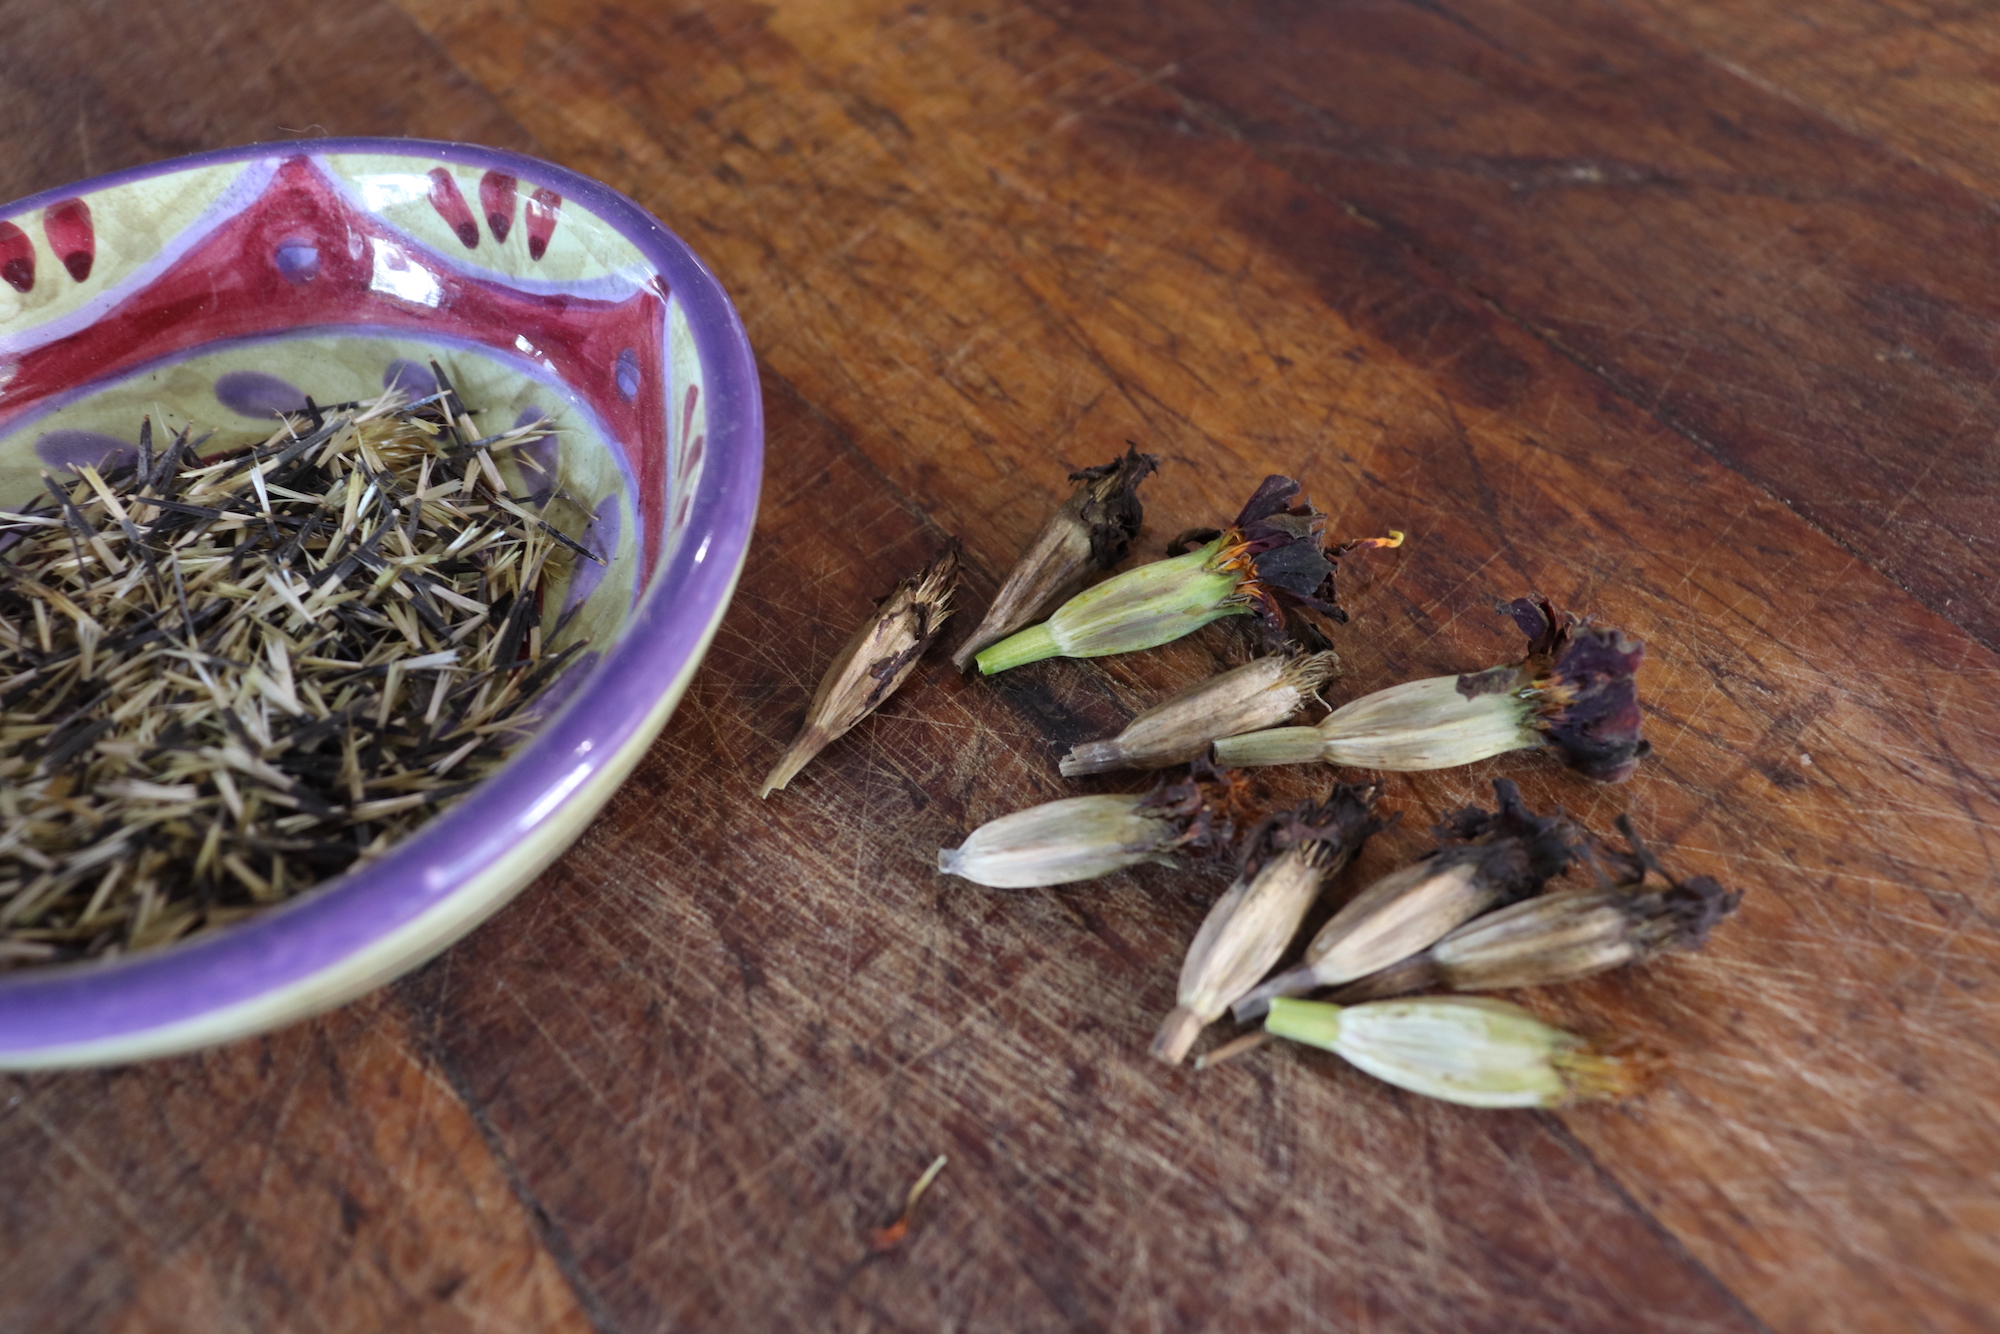
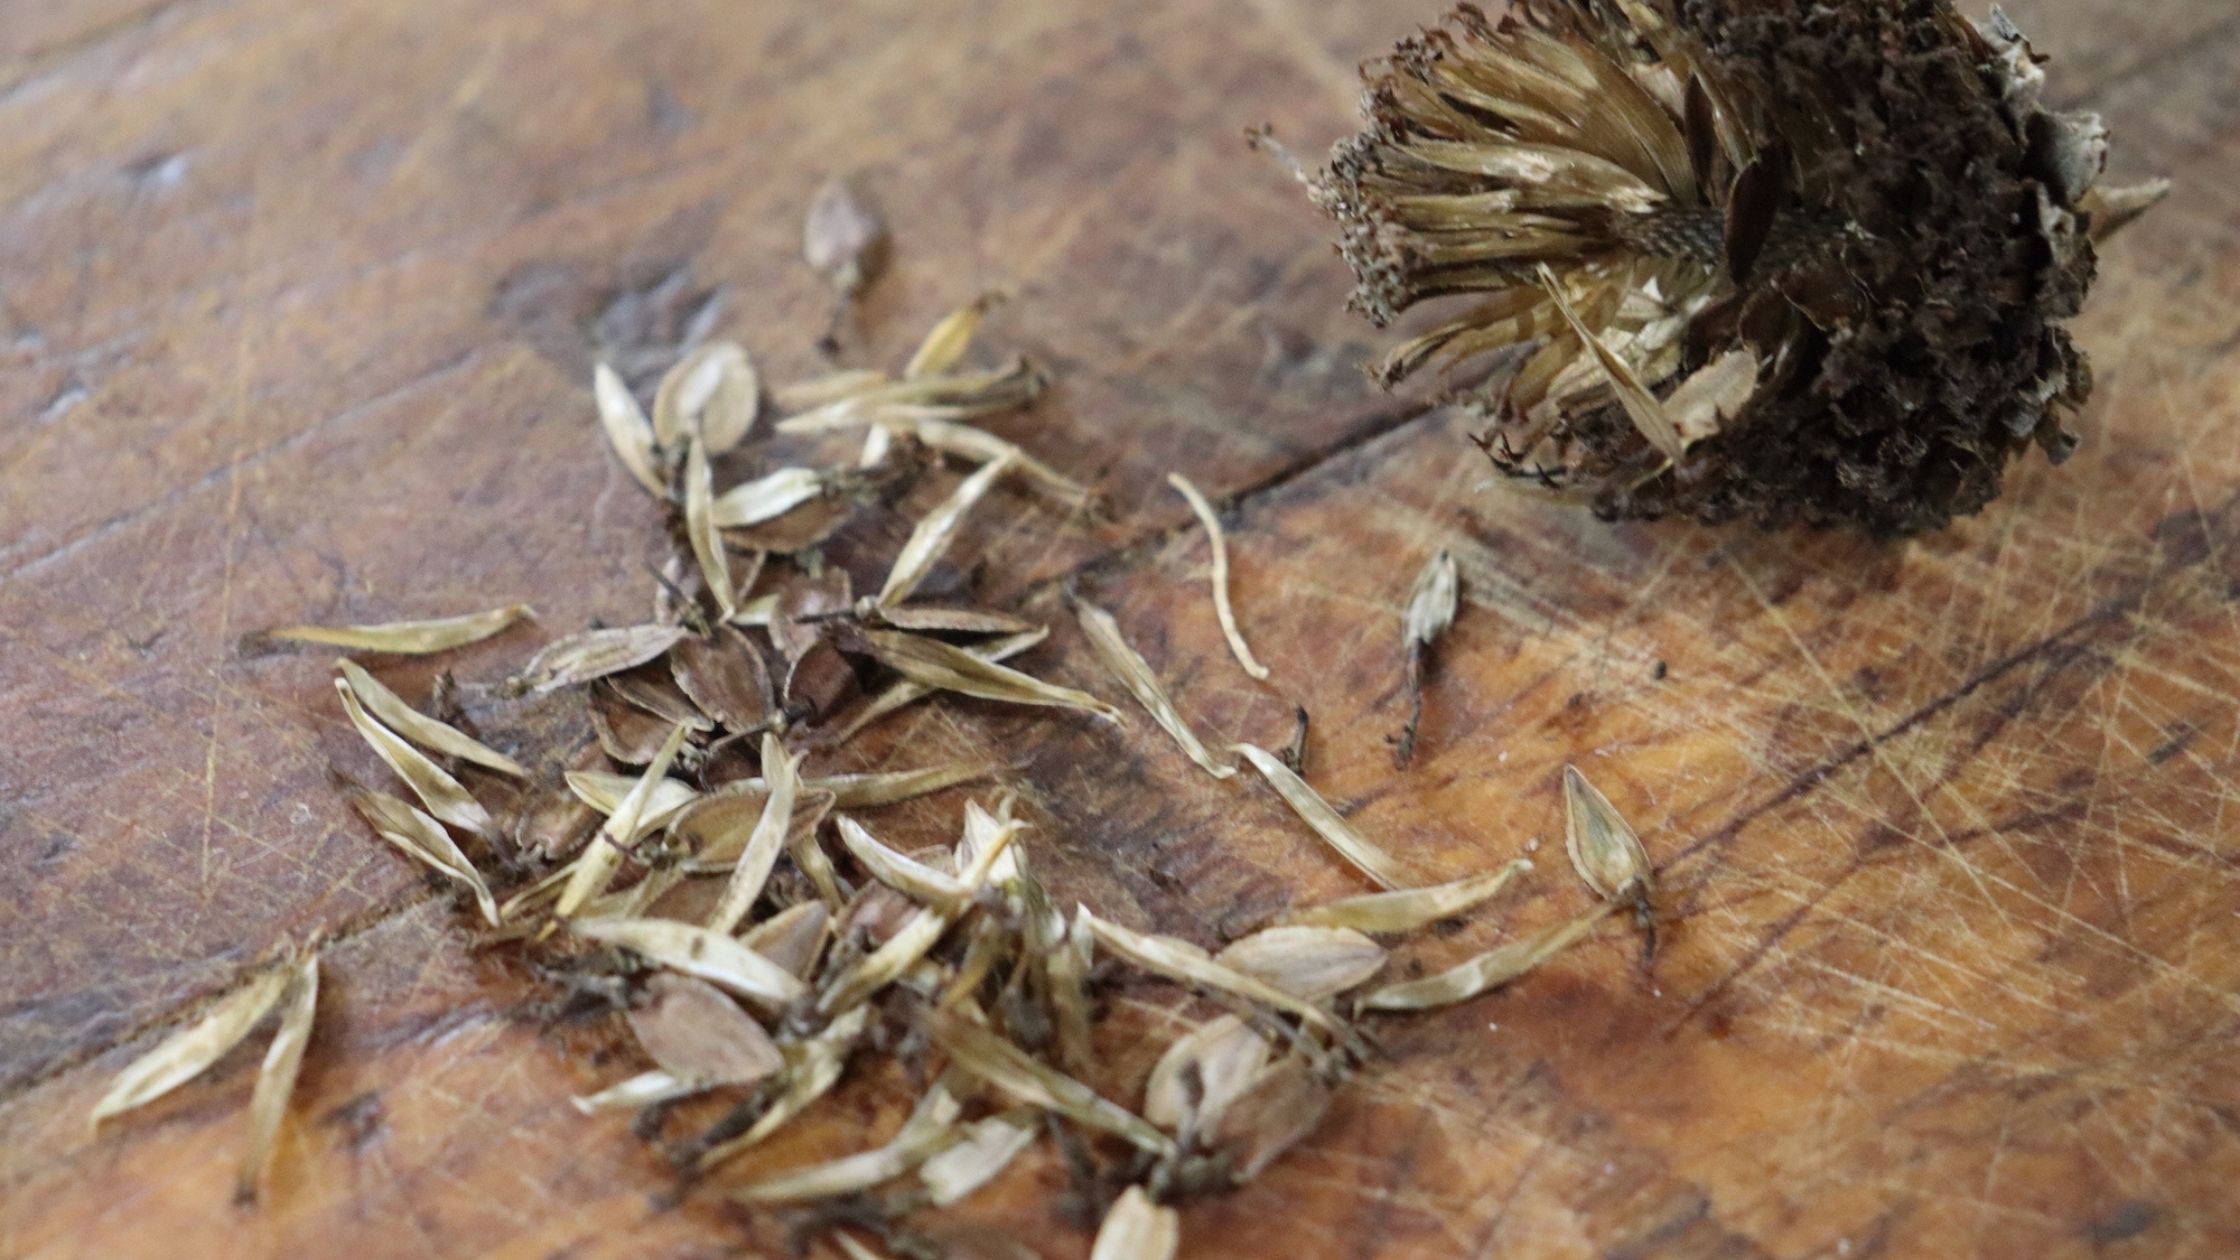
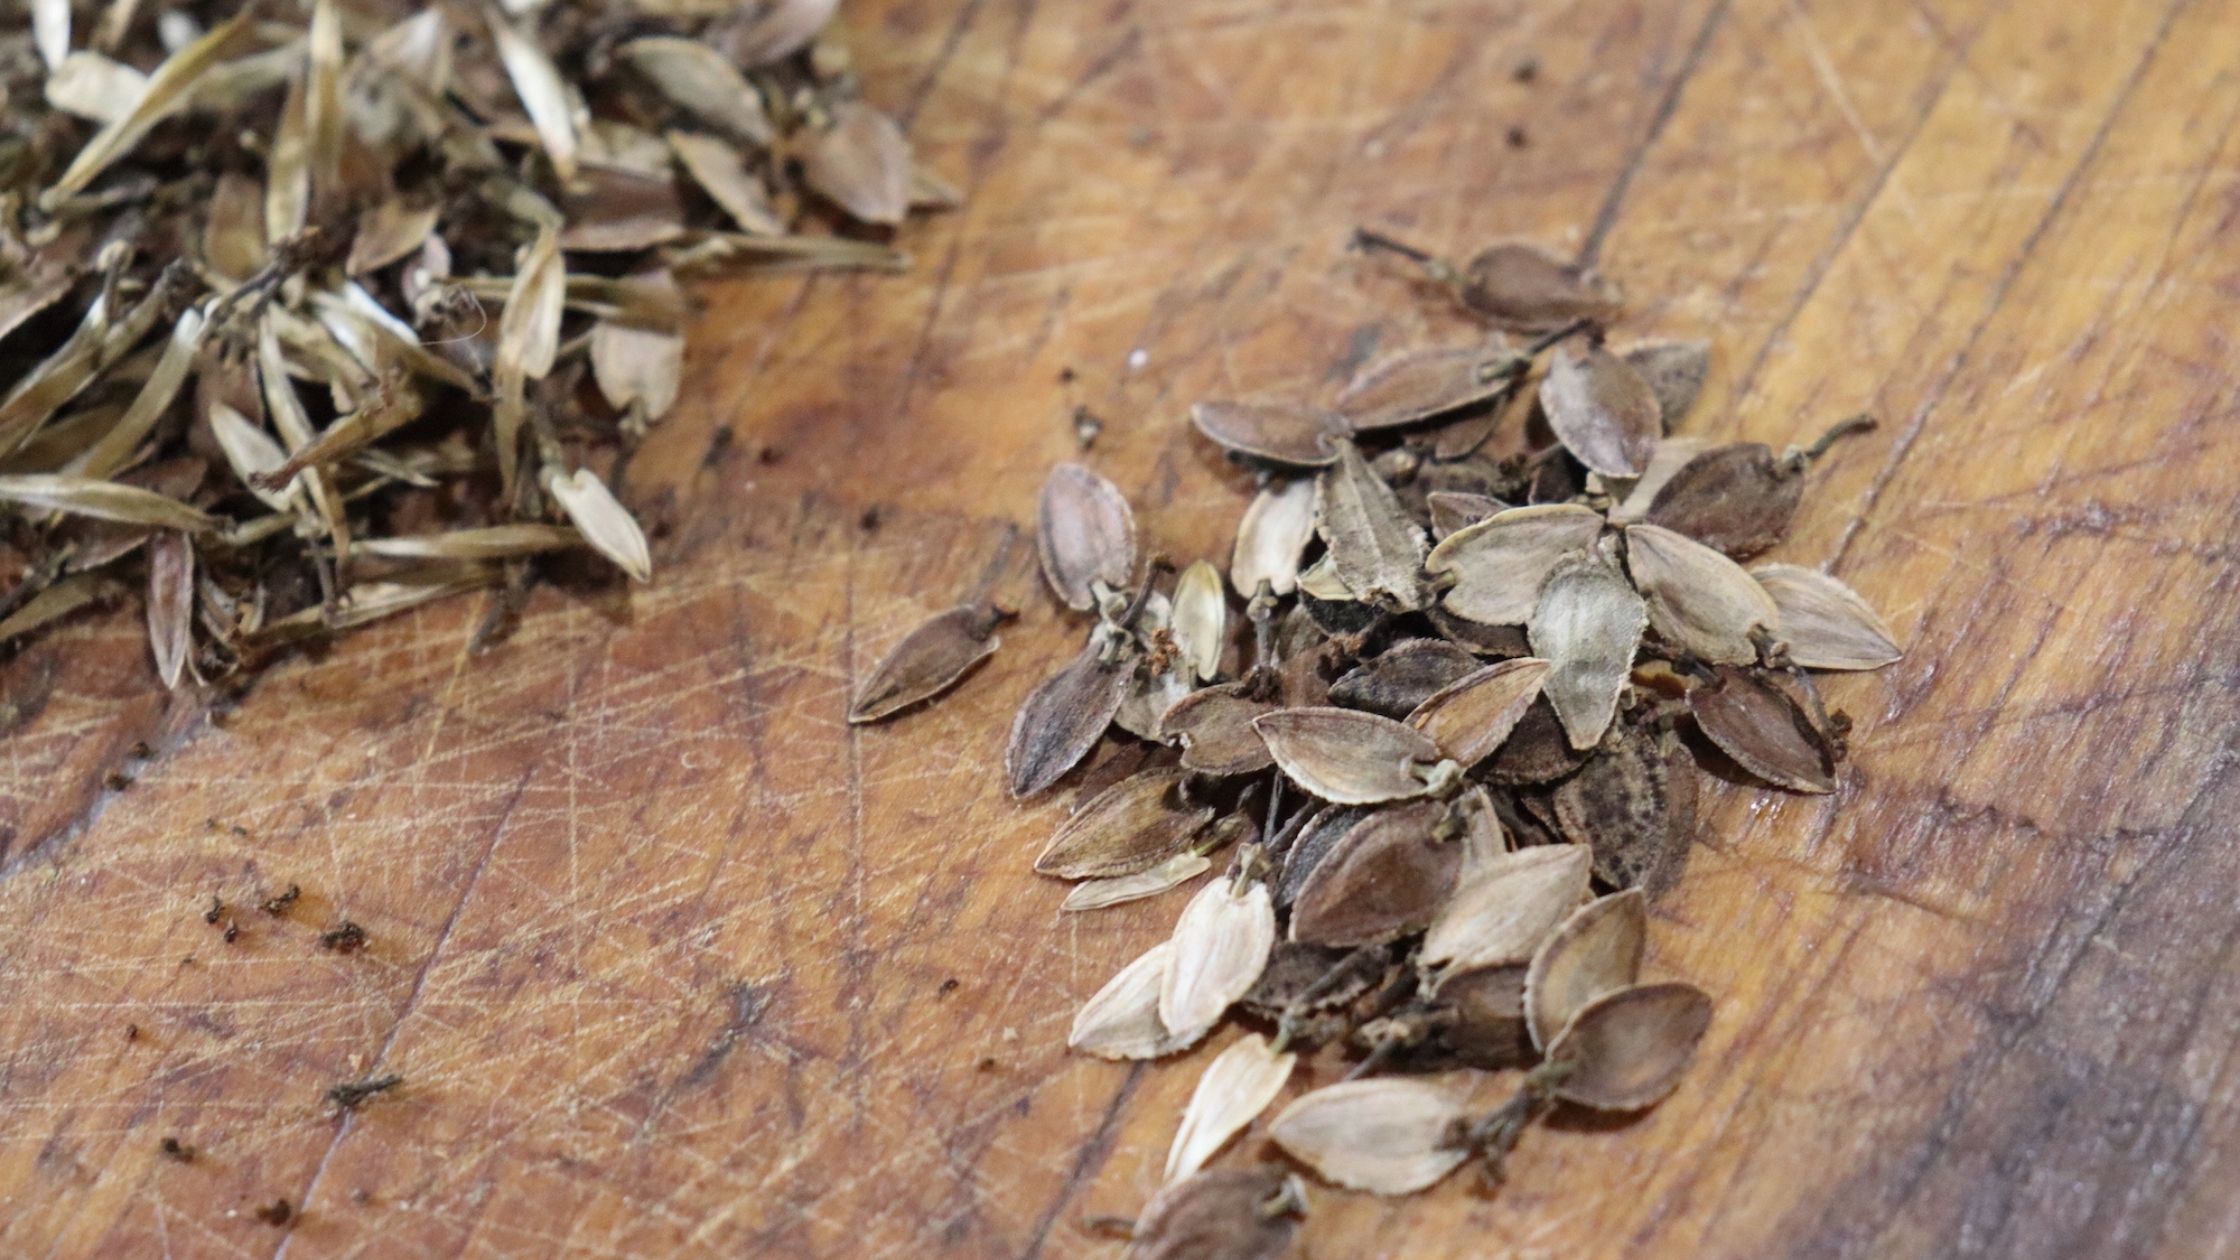
First, pull the petals off the flowerhead and set them aside for composting. Some seeds may come off with the petals. Then, rub the flowerhead over a flat surface until it comes apart to release the seeds. The seeds are brown and a bit arrow-shaped. Pick out any extra material you can and set it aside for composting.
Dry Your Zinnia Seeds
Allow your zinnia seeds to air dry on a towel or other flat surface for about one week. This will help ensure they’re fully dry and won’t mold in storage.
Store Your Zinnia Seeds
After they’re fully dry, you can store your zinnia seeds. Place them in an airtight container somewhere cool and dark. Zinnia seeds can last 3 to 5 years if harvested and stored properly.
Be sure to label your container with the variety and the year you harvested your seed. Once you start seed saving, it’s easy to save more, and you’ll need to keep track of your seeds!
Zinnias are easy to grow, and their long bloom period and variety of colors make them an excellent choice for any ornamental or cut flower garden. Saving your own zinnia seeds is simple! It’s also a great way to help steward an open-pollinated variety and save a bit of money. Follow these steps for success with zinnia seeds.
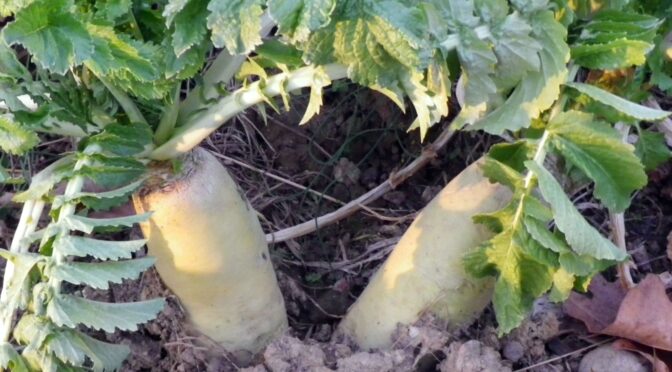
 Using Cover Crops to Improve Clay Soils
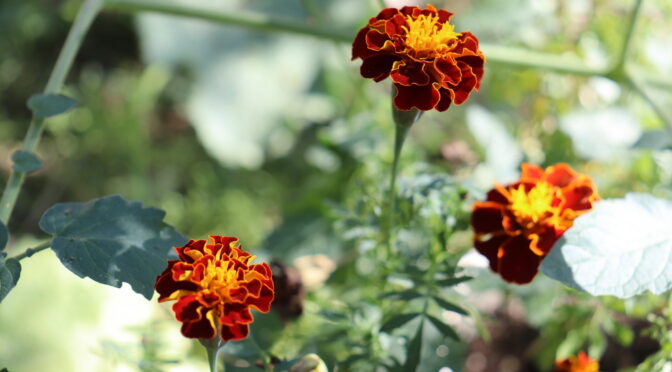
 Choose an Open-Pollinated Marigold Variety