Green beans are one of the more prolific crops in the summer garden. Thankfully, there are several ways that you can preserve them for later use, such as pressure canning, water bath canning them (pickling) as dilly beans, or drying them as leather britches, as we discussed in a previous post. Freezing them is another option for quickly preserving them. In this post we’ll cover how to properly freeze green beans.
Unfortunately, it’s not as easy as tossing them in the freezer. There are a few steps you need to take first.
Gather Supplies
Here’s what you’ll need to freeze green beans.
- Green Beans
- 1 Large Pot (for boiling)
- 1 Large Bowl, Pot, or a Clean Sink (for Shocking)
- Ice
- Salt
- Freezer Safe Containers or Bags
- Clean Kitchen Towels
- *Optional: Cookie Sheets or Baking Trays that Fit in Your Freezer
Preparing Your Green Beans
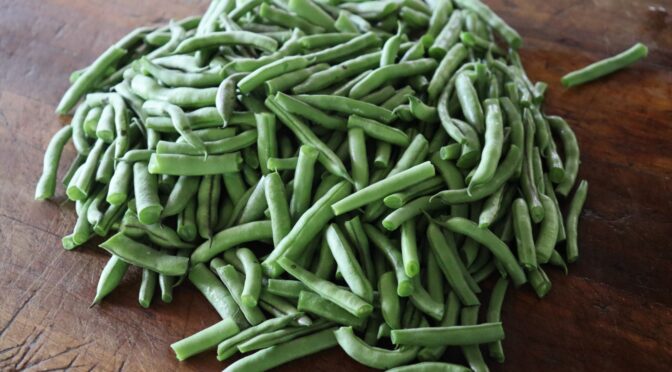
The first step is to wash and go through your green bean harvest. Trim off the stems, remove or trim any bad spots, string them if necessary, and cut them to your desired size.
Before freezing green beans and most other vegetables, it’s important to blanch them. While washing and cutting your green beans, you’ll want to set a large pot of water on to boil. You’ll also want to fill a large pot, bowl, or clean sink with ice water.
Why Blanch Green Beans?
Blanching is the process of briefly boiling vegetables and then dunking them in ice water before freezing them. This essential step stops enzyme action in your green beans and other vegetables. Without blanching, enzyme action will cause a loss of flavor, color, texture, and nutrients while your vegetables are frozen.
How to Blanch Green Beans
To blanch your green beans, bring water to a full rolling boil and boil them for 3 minutes. The National Center for Home Food Preservation recommends this time, and you can find times for blanching other vegetables at that site.
After 3 minutes, remove your beans from the boiling water and immediately place them in your ice water bath to stop the cooking. They should be a nice bright green at this time.
Once your beans are cool, you can scoop them out of the ice water with your hands or a strainer. Lay your green beans in a single layer on clean kitchen towels to remove any excess moisture.
How to Freeze Green Beans
After you’ve let your beans dry for a couple of minutes, it’s time to freeze them. There are two ways to do this. You may decide to pack them as is into containers or bags and pop them in the freezer.
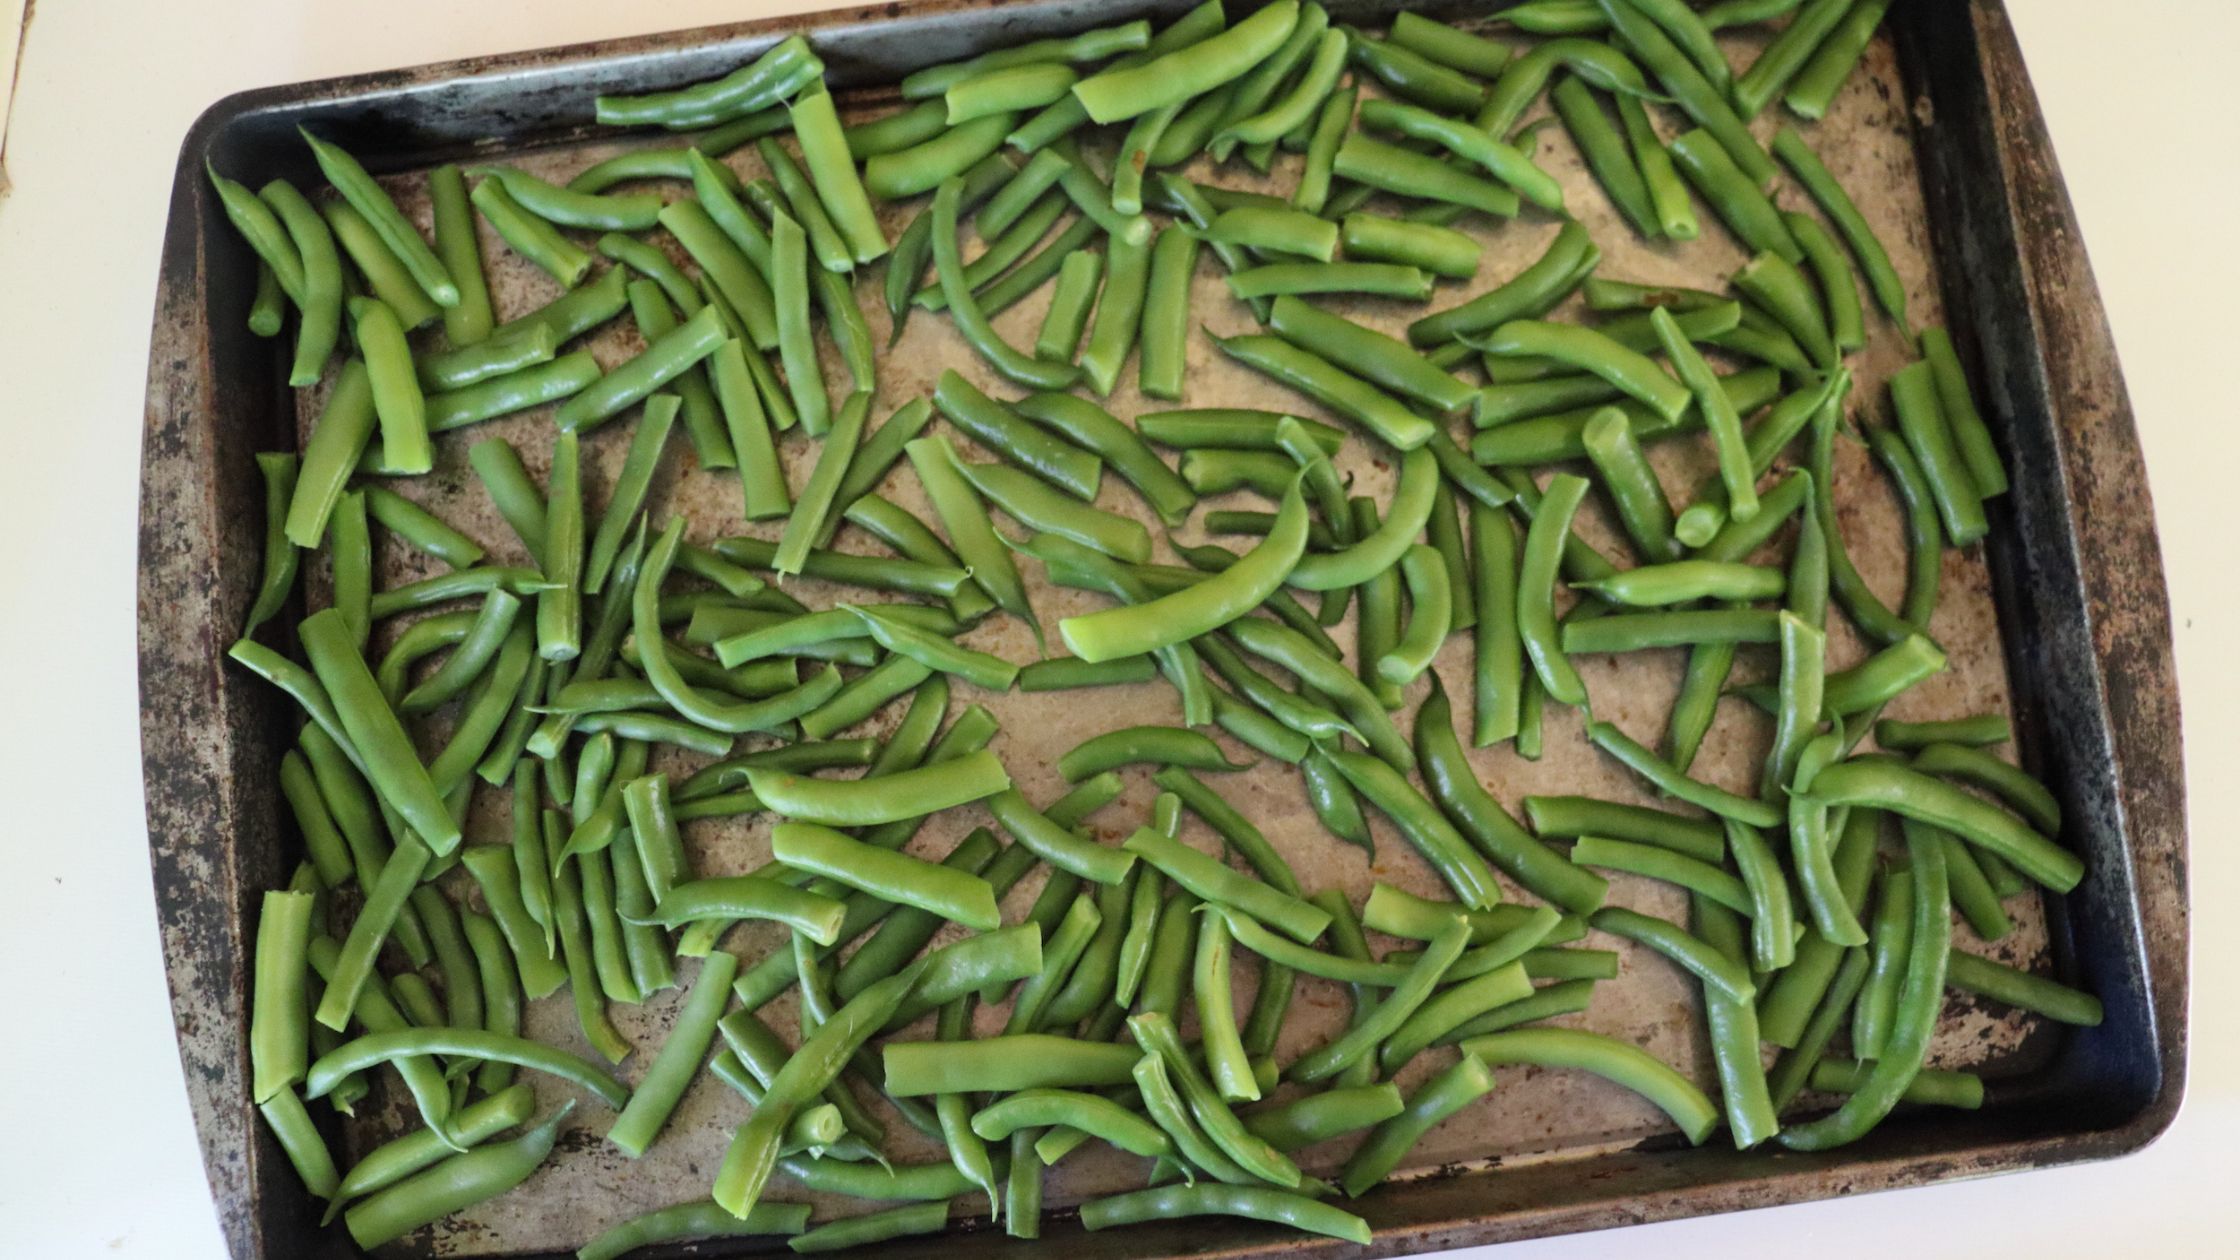
I prefer to complete an additional step. Here’s where the cookie sheets come in. I lay my green beans out in a single layer on a cookie sheet and set the cookie sheet in the freezer.
When the beans are completely frozen, I remove the cookie sheets from the freezer and pack the beans into bags or containers. I find that pre-freezing them in a single layer prevents them from freezing together, making it easy to grab however many I want from a package to toss into a meal.
Freezing green beans is a quick and simple process that will allow you to enjoy your homegrown produce all winter! I love using my frozen green beans to make comforting winter meals like Shepard’s pie, garlic tofu stir fry, and minestrone. Follow these simple steps and have green beans on hand for your recipes.

