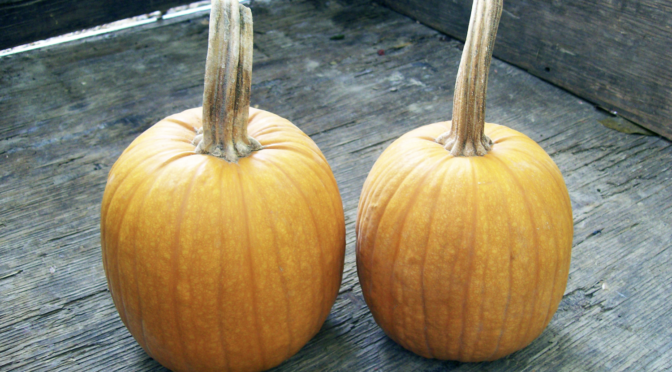
Not everyone is ready for fall, but for many gardeners, it’s officially pumpkin harvest season! Native Americans were the first people to save pumpkins seeds. They domesticated them over 9,000 years ago! They created the sweet, large pumpkins we’re familiar with today through their years of breeding and selection.
Saving seed from your pumpkins is a great place to start if you’re new to seed saving or want to involve the kids. Their large seeds make them easy to work with.
-
Select a pumpkin.
Pumpkins, winter squash, and other members of the cucurbit family cross readily. If the pumpkin was grown near other cucurbits, you might end up with fruits that look and taste entirely different next year!
This may be a fun experiment if you’re just interested in growing pumpkins for decor. However, if you’re growing pumpkins for eating like Winter Luxury, you may want to ensure that they weren’t crossed. Cucurbit crosses sometimes end up being bitter or even non-edible.
Check out our growing guide for more information on isolation.
You also want to select a pumpkin that is fully ripe so that the seeds are fully mature. The pumpkin should have firm skin, and the vines should be dying back when you harvest. -
Scoop out the seeds.
Slice your pumpkin in whatever was you’re planning to use it, whether that be for a jack o’ lantern or in halves or quarters for baking. Then scoop out the seeds. A large metal spoon can be helpful for this. -
Clean them.
Clean the seeds as best you can. Separate and compost any fleshy parts clinging to the seeds. Then give them a good rinse in a colander.
-
Ferment them.
Several types of seeds should be fermented before drying and storage. These include tomatoes, cucumbers, summer and winter squashes, and pumpkins. Some people think that this step is unnecessary; however, we recommend it for a couple of reasons.
Fermentation removes any bits of flesh you may have missed as well as the slimy coating on seeds. This will ensure better germination. Second, fermenting the seeds kills and soil-borne diseases or fungus that may be on them. This will help keep your garden and the gardens of anyone you share seeds with healthy.
Place your pumpkin seeds in a jar and cover them with clean water. Cover loosely with a lid or just a towel. Make sure air can escape. Let them sit for 3 to 4 days, stirring them once a day. Add a bit more water if it begins to dry out.
It’s okay if the mixture smells bad or you notice some mold growing on top. After three days, add more water and stir the mixture again. The viable seeds will sink while the pulp and bad seeds will float, and you can pour them off the top. Drain and rinse your viable seeds. -
Dry them.
Lay the seeds on a towel to dry. Let them dry until they’re completely dry. This may take 5 to 7 days. If you store them before they’re fully dry they’ll mold and rot. -
Store them.
Store seeds in an airtight container in a cool dark place. Pumpkin seeds will remain viable for four years or more under the right conditions.
Learn how to do a germination test here.
Are you saving seeds this year? Tag us on Facebook or use the hashtag #southernexposureseed on Instagram to show us your projects.


One thought on “6 Easy Steps to Saving Pumpkin Seeds”