One of the best parts of gardening is all the fresh greens. Their grocery store counterparts just don’t compare! Unfortunately, they don’t stay fresh forever. If you’re growing fall greens this year, here are a few ways to preserve your harvest.
A quick note: for best results use freshly picked greens that are free from bad spots. Harvest in the morning or evening if possible and especially if it’s hot, dunk greens in cool water immediately after harvesting. You can use these methods for a variety of greens including collards, kale, chard, and spinach.

Freezing Greens
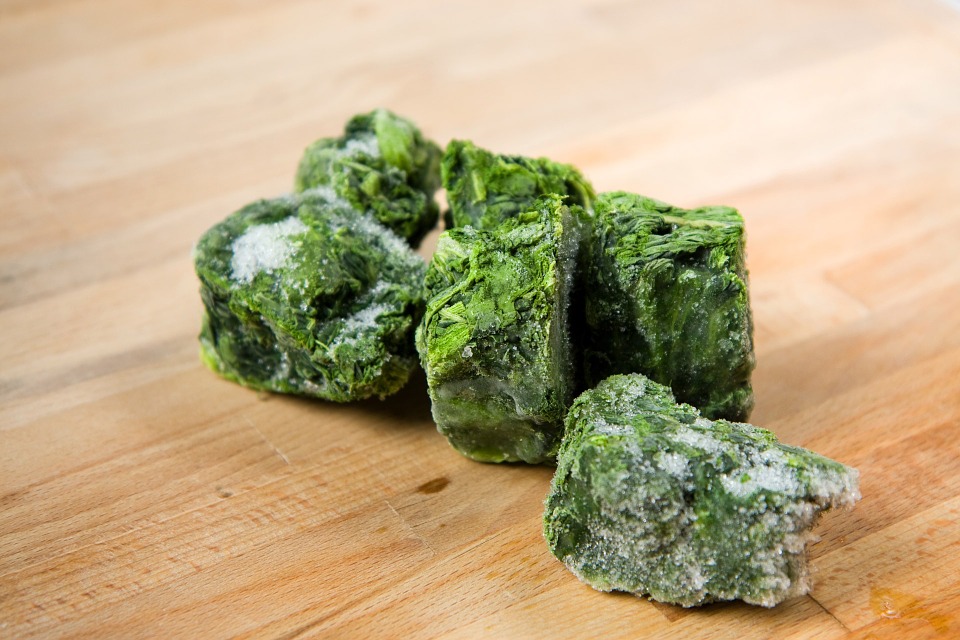
To begin, put a pot of water on to boil. While it’s heating, rinse off your greens and roughly chop them. Also, prepare a large mixing bowl or pot of cold water and ice. Once your water boils, blanch your greens in it, about 1 pound at a time, for one 1 minute.
Strain them out and immediately dunk them in your ice water. Then squeeze as much water out as possible. Place them in containers to freeze. Alternatively, spread them out as best you can on a cookie sheet to freeze and move them to containers later so that they don’t freeze together as much.
Dehydrated Greens
Dried greens may sound odd but they can be surprisingly good. Some “heartier” greens like kale, make great snacks when dried with a bit of salt and seasoning. Others like spinach or even lettuce, are great for drying and powdering to add to soups and smoothies.
To dry your greens, rinse them off and lay them to dry on a towel. Then transfer them to a dehydrator tray, placing them in a single layer. Greens with minimal stems can be dried on the “herb” setting or at about 95°F. Green with larger stems may need to be dried at a warmer temperature, between 105°F and 110°F. Your greens may take anywhere from 4 to 12 hours to dry.
When they’re completely dry and brittle, pack them in airtight containers and store them out of direct sunlight. You can also powder them in a blender or food processor first.

Fermented Greens
Fermented foods are excellent for gut health and are easier to make than you’d think. Try our simple recipes for kimchi or sauerkraut and experiment substituting other greens that are available to you such as kale or collards.
Pressure Canned Greens
Many people don’t love this method but if you like canned food, it is possible to pressure can greens. Just like for freezing you’ll need a pot of boiling water and clean, roughly chopped greens. Blanch your greens 1 pound at a time for 3-5 minutes or until well wilted.
If desired add 1/2 tsp of salt to sanitized jars. Loosely fill jars with hot, blanched greens and cover with boiling water leaving 1 inch of headspace. Place your lids on and process pint jars for 70 minutes or quarts for 90 minutes. Use the correct PSI for your canner and elevation.
Learn more about pressure canning greens and canning safety at The National Center for Home Food Preservation website.
Enjoy your harvest!

