Bulbs and Beyond: Fall Planting for Spring Production

Fall is one of the most magical times in the garden. The morning air is cool and crisp, the weeds and pests are beginning to dwindle, and we’re finally enjoying harvests from our long season crops. I love spending autumn days in the garden so much that I often plant almost as much in the fall as in the spring. Thankfully, there are some excellent fall crops I can sneak in this time of year that provide a spring abundance.

What Crops Can I Plant This Fall?

The fall planting list is surprisingly long! If you’re willing to put in the work, there are several flowers, herbs, and vegetables that can all be fall-planted for incredible spring flowers and harvests. 

Fall-Planted Flowers

Fall planting brings spring blooms! If you want early flowers, fall planting is a must. There are many different types of fall-planted flowers, so I divided them into two categories: those you plant from bulbs, corms, tubers, or roots, and those you start from seed. Flowers you can start from seed are often those varieties with a tendency to self-seed that would naturally drop seed each fall and spread. 

Flower BulbsBulbs, Corms, Tubers, & Roots

  • Anemones (Anemone spp.)
  • Checkered Lily (Fritillaria meleagris)
  • Crocus (Iridaceae spp.)
  • Daffodils (Narcissus spp.)
  • Dutch Iris (Iris × hollandica)
  • German Iris (Iris × germanica)
  • Hyacinth (Hyacinthus spp.)
  • Oriental Lilies (Lilium orientalis)
  • Ornamental Alliums (Allium spp.)
  • Peonies (Paeonia officinalis)
  • Snowdrop (Galanthus spp.)
  • Tulips (Tulipa spp.)

Seeds

  • Bachelor’s Buttons (Centaurea cyanus)
  • Butterflyweed (Asclepias tuberosa)
  • Calendula (Calendula officinalis)
  • Coreopsis (Coreopsis spp.)
  • Dara (Daucus carota)
  • Echinacea (Echinacea spp.)
  • Hollyhocks (Alcea rosea)
  • Johnny Jump-Ups (Viola spp.)
  • Larkspur (Delphinium spp.)
  • Rudbeckia (Rudbeckia spp.)
  • Snapdragons (Antirrhinum spp.)
  • Sweet Peas (Lathyrus odoratus)

Fall-Planted Herbs 

While flower bulbs often seem to be the focus for fall, there are a number of cold-tolerant or perennial herbs you can start this autumn. 

  • Chives
  • Cilantro
  • Feverfew
  • Mint
  • Parsley
  • Thyme
Nancy Malone Wheat Purple Collards

Fall-Planted Vegetables

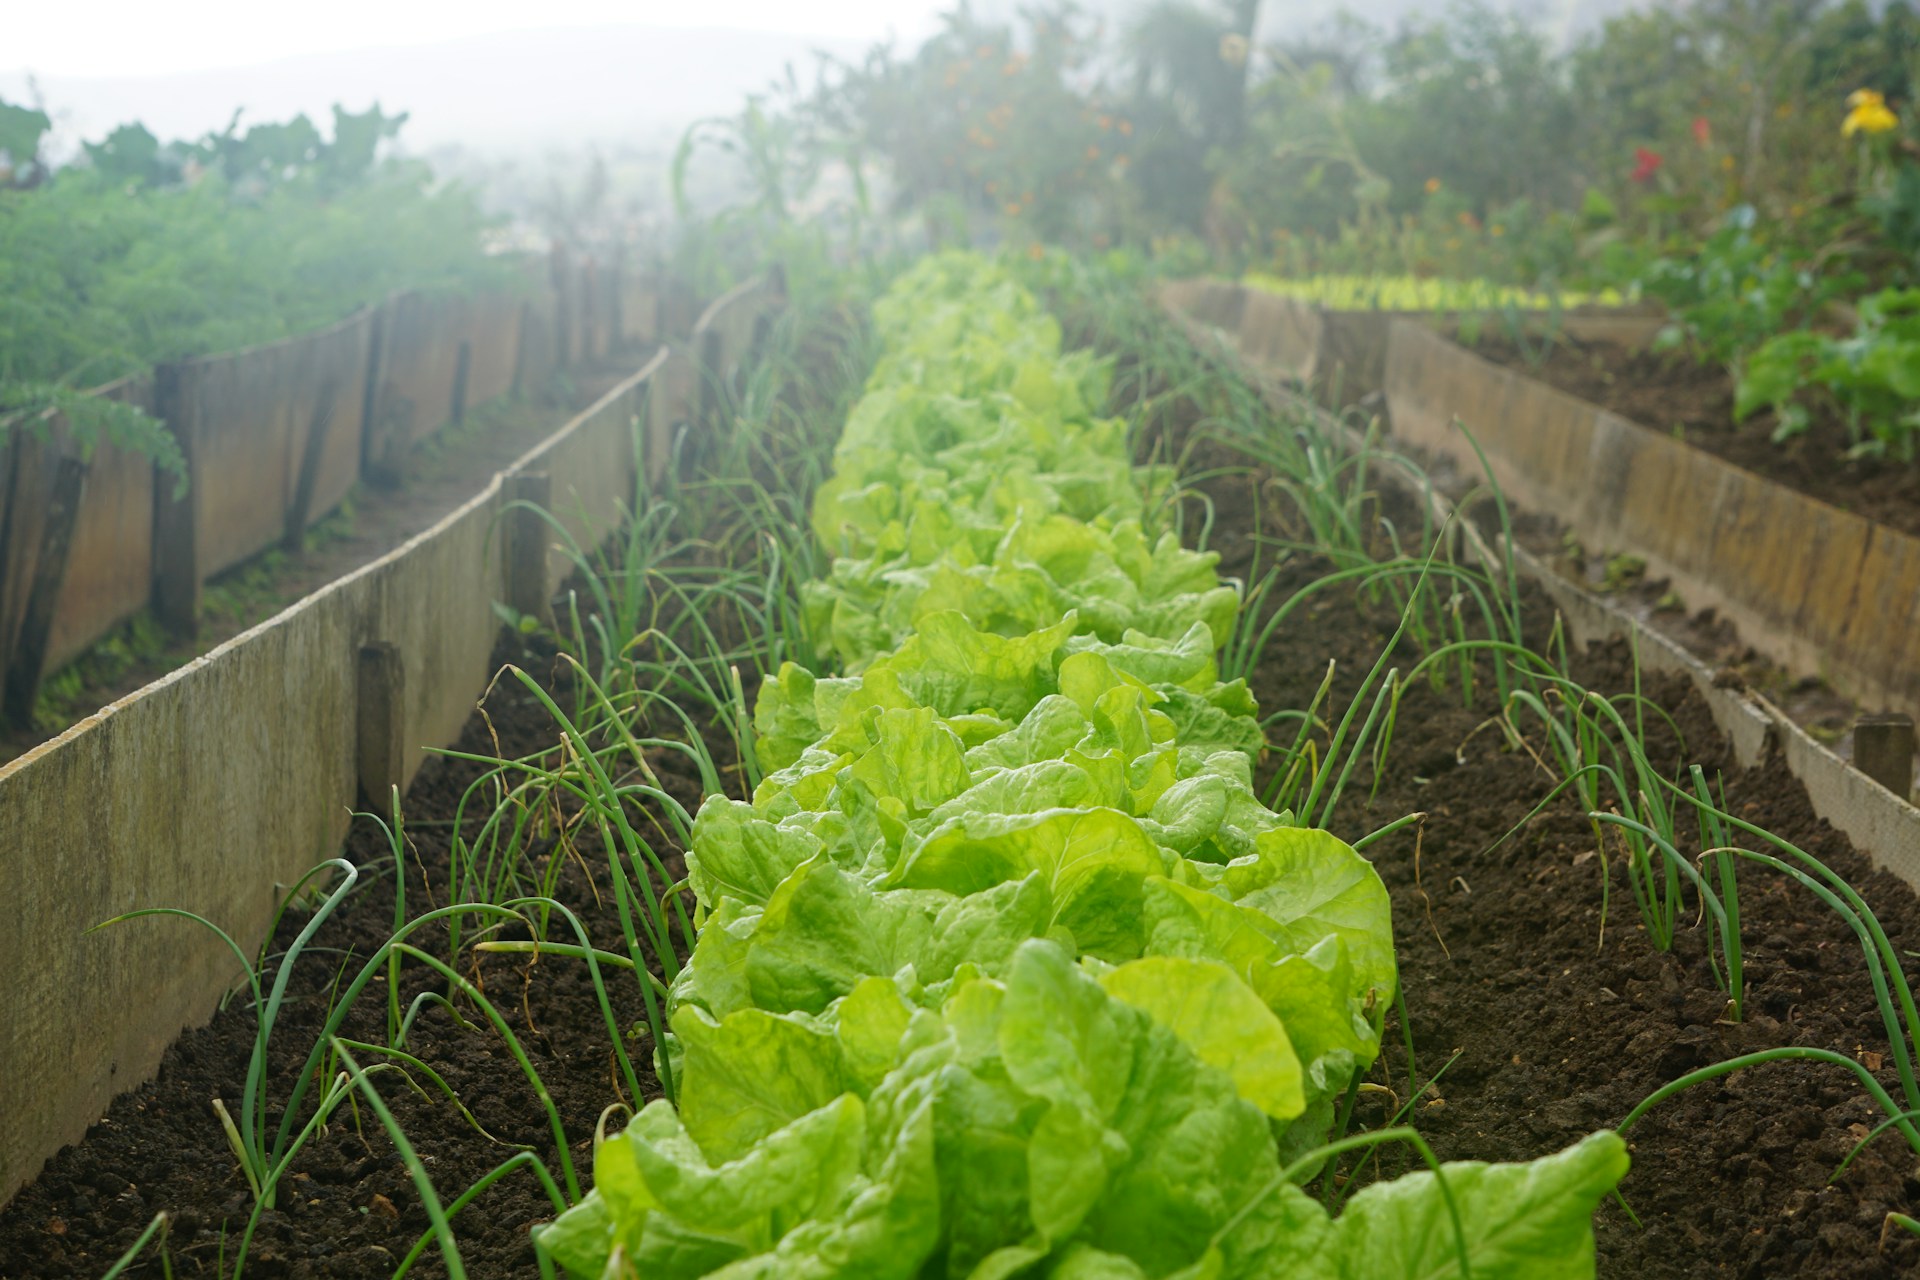
Hardy vegetables are one of my favorite fall crops. Overwintered vegetables will often start putting on good growth during occasional warm February and March days when we start getting more daylight. They’re ready to harvest long before any indoor seed or spring-started crop ever will be! I’ve divided the vegetables into groups so it’s easier to find the type of crops you’re interested in.

Alliums

  • Bulb Onions
  • Garlic
  • Perennial Onions
  • Shallots

Brassicas

  • Broccoli
  • Brussels Sprouts
  • Cabbage
  • Cauliflower

Beans

  • Fava/Broad Beans

Greens

  • Arugula
  • Claytonia
  • Collards
  • Kale
  • Lettuce
  • Mustard Greens
  • Spinach
  • Swiss Chard

Roots

  • Beets
  • Carrots
  • Daikon Radishes
  • Rutabagas
  • Potatoes
  • Turnips

When Can I Plant These Fall Crops?

The answer to this question depends on both the crop and your location. Those in New England will need to plant much earlier than those in the Deep South, but it also depends on what you’re growing.

For example, you should only plant tulips when soil temperatures have cooled. For those in northern areas, you may be able to put them in as early as September, but waiting until as late as December may be preferable for those in the south. 

Learning about your hardiness zone and using a garden planner app may help you make the best decisions for planting dates. 

Do These Fall Crops Need Protection?

Again, this depends on the crop and location. In warm, southern climates, all of these crops will need less protection than they do in northern zones. In fact, those in the deep south may have to continue weeding and watering as usual into the fall months. 

However, in many areas, these crops, particularly the fall vegetables, benefit from some sort of protection. For root crops and alliums, this may mean a thick layer of straw or hay mulch around the base of the plant to provide some insulation. For greens and herbs, planting them in a hoop house or cold frame or installing low tunnels with wires and clear plastic is ideal. 

Most of the flower bulbs, corms, roots, and tubers do best when they receive a layer of mulch after planting, but they should come with instructions. On the other hand, the flower seeds are usually fine without protection. Some seeds, like echinacea, actually require a period of cold and moisture to germinate properly.


Getting good production during the winter months can be challenging, even in the south. Shorter days mean less plant growth, even when the weather is warm. That said, you may still want to consider some of these fall crops. When sown in fall, these flowers, herbs, and vegetables will provide extra-early spring production. Get a jump on 2025 with these fantastic fall-planted crops.

How Long Will My Squash Last?

Winter squash and pumpkins are among the few foods you can harvest in July or August and eat in January. Before the advent of modern refrigeration, these squashes and pumpkins were an essential way that growers could put fresh, vitamin-rich food up for winter. Unlike most vegetables, which must be canned, dried, or frozen, properly storing winter squash and pumpkin is a fairly simple, low-effort process. Exactly how long they last depends on the variety and storage conditions you provide.

Squash Storage Period

While we love the flavor of all of the winter squash and pumpkin varieties that we offer, not all of them are equal in terms of their storage ability. 

Generally speaking, acorn squash and delicata can last up to 2 months, butternuts 2-to-3 months, hubbarbs 5 to 6 months, and some specialty cultivars 9 months to a year.

These numbers may vary widely, depending on the specific variety and proper curing and storage. Just look at these as general guidelines. I’ve had butternuts store for 6 months, but that doesn’t mean they always do.

Thankfully, for many squashes, storage actually improves their flavor. Typically, we advise people to get vegetables from the garden to their plate as quickly as possible for the best flavor. Tender vegetables like sweet corn, broccoli, and peas begin converting sugars to starches as soon as you harvest them. 

The opposite is true with squashes, particularly those used for longer storage like Hubbards. These storage squashes convert starches to sugars once harvested and have the best flavor when they’ve been allowed to cure and store for at least a couple of weeks. 

Our Favorite Squashes for Longterm Storage

If the squash you grew doesn’t keep as well as you had hoped, you may want to add an excellent keeper to the plot next year. 

  • Seminole Pumpkin – 1 year
  • Tahitian Melon Winter Squash – 9+ months
  • Tan Cheese Pumpkin – 1 year
  • South Anna Butternut Winter Squash – 6+ months

Garden Planning for Winter Squash and Pumpkin Storage

Unfortunately, many gardeners’ favorite varieties, like Winter Luxury Pumpkin or Candystick Dessert Delicata Winter Squash, don’t keep as well as those mentioned above.

If you’re a fan of winter squash, one of my favorite ways to plant squash is to pick two or three cultivars with short-, medium-, and long-term storage ability. Rather than growing a big patch of one, plant a few of each. This will give you plenty of squash for hearty stews, curries, and baked goods over a longer period.

Winter Luxury Pie Pumpkin

My Squash Won’t Last Much Longer, What Do I Do?

If you have a lot of squash or pumpkin that you don’t think you can use up in time, I recommend freezing it. You can’t freeze squash raw; you need to cook it first.

My favorite method is to halve and bake winter squash and pumpkins, then scoop the soft, cooked flesh into freezer-proof containers, cool, and freeze. Alternatively, you can peel the squash or pumpkin and boil it until tender.

If you don’t have enough freezer space, pressure canning pumpkins and winter squash is another option. Keep in mind that you need a pressure canner; it’s a low-acid food that’s unsafe for water bath canning.

Drying winter squash and pumpkins also works, especially if you already own a dehydrator. Dried winter squash and pumpkins are wonderful for quick soups and camping trips.

There are plenty of great ways to use winter squash and pumpkins. Here are a few of my favorite recipes for using them up and preserving them:

Storage Quick Tips

Previously on the blog, we’ve covered exactly how to properly harvest, cure, and store winter squash and pumpkins. For this post, I’ll focus on a few key points:

  • If possible, allow winter squash and pumpkins to fully ripen on the vine before harvest (the stem should start developing wood-brown stripes near the fruit). This improves storage ability.
  • Harvest winter squash and pumpkins before your first frost.
  • Avoid storing squash near apples, pears, and tomatoes that put off ethylene (the ripening hormone).
  • Ideal storage conditions for winter squash and pumpkins are between 50 and 60°F, and humidity is 50 to 70%.

Winter squash and pumpkins are among the best storage crops. Choosing the right varieties and storing them properly can allow you to enjoy squash throughout the entire year! 

I Have Leftover Seeds: Can I Still Use Them?

We have gardeners order from Southern Exposure who have 1/2 acre home gardens, some who grow for market, a few with raised bed gardens, and others who just have a few containers on the patio. While some gardeners may find it easy to use up a pack of seeds in a year, many folks will find they have leftovers at the end of the season. Thankfully, most seeds are good for more than one year. In today’s post, we’ll discuss how long seeds last and how to store them well. 

Seed Storage Life

When we talk about seed storage life, we’re essentially talking about the germination rate after a specific period. Seeds don’t go bad after a certain date; their germination rate slowly declines. 

As Southern Exposure, we regularly test all the seeds we keep in stock to ensure they have high germination rates when they leave us. Some plants naturally have better germination rates than others. Certain medicinal herbs and native plants can be especially finicky!

When stored properly, you can expect vegetable seeds to last for one to six years, depending on the crop.

These are just general guidelines. Depending on how you store them, your seeds may last for a shorter or longer period. You can still use them as their germination rate declines; you just need to seed more thickly. 

Here’s what to expect from most vegetable crop seeds:

How to Store Seeds

Seeds have the longest shelf life when stored somewhere cold, dry, and dark. At Southern Exposure, we have well-designed walk-in seed storage with carefully monitored temperature and humidity. Obviously, this isn’t accessible for most home gardeners. So, what’s the next best storage spot?

The best cold place to store your seeds is in the freezer. Seeds will stay good for the longest time with temperatures below 40°F. If this isn’t available, a cool cabinet would also work.

Of course, seeds also need to stay dry, and home freezers aren’t designed to with low enough humidity. To protect seeds, place them in an airtight container before placing them in the freezer. When you’re ready to use the seeds, let the container come up to room temperature before opening to avoid condensation.

The freezer is also a great place because it’s dark. Light exposure degrades seed over time. If you aren’t keeping them in the freezer, make sure to store them somewhere dark. 

Avoid storing seeds in areas like garages and sheds that experience considerable humidity and temperature swings. These changes in climate also degrade seeds.

Seed storage at SESE

Germination Test

If you have seeds that are multiple years old, you can always do a quick germination test.

  • Place ten seeds in a moist cloth or paper towel and fold it in half over the seeds.
  • Place your moist towel into a container or ziplock bag.
  • Set the container or bag somewhere warm and out of direct sunlight.
  • Wait until the crop’s expected germination period is over, spraying the towel with water as needed so it never dries out.
  • Count the seeds that germinated.

The number of seeds that germinate will give you a rough idea of your expected germination rate. If seven seeds out of ten germinate, you have about a 70% germination rate. We recommend 10 for home use, but the more you use, the more accurate your rate will be if you have enough seed to spare. 

Don’t worry if your germination rate is nowhere near 100%! When your germination rate is low, sow your seeds more thickly and then thin your plants as they grow. 


Don’t throw those seeds out! Most gardeners have extra seed at the end of each season. If you store your seed correctly, you can keep using it for the next couple of years.


Saving the Past for the Future