It’s planting season! Depending on where you live, you have probably already been starting seeds indoors and even direct sowing a few over these last couple of weeks. While some seeds have strict guidelines, others can thrive as transplants or direct sown crops. How do we know which crops we should start indoors and which we should direct sow? Here’s a rundown on which crops we typically transplant or direct sow and the benefits of each method.
Crops You Should Start Indoors
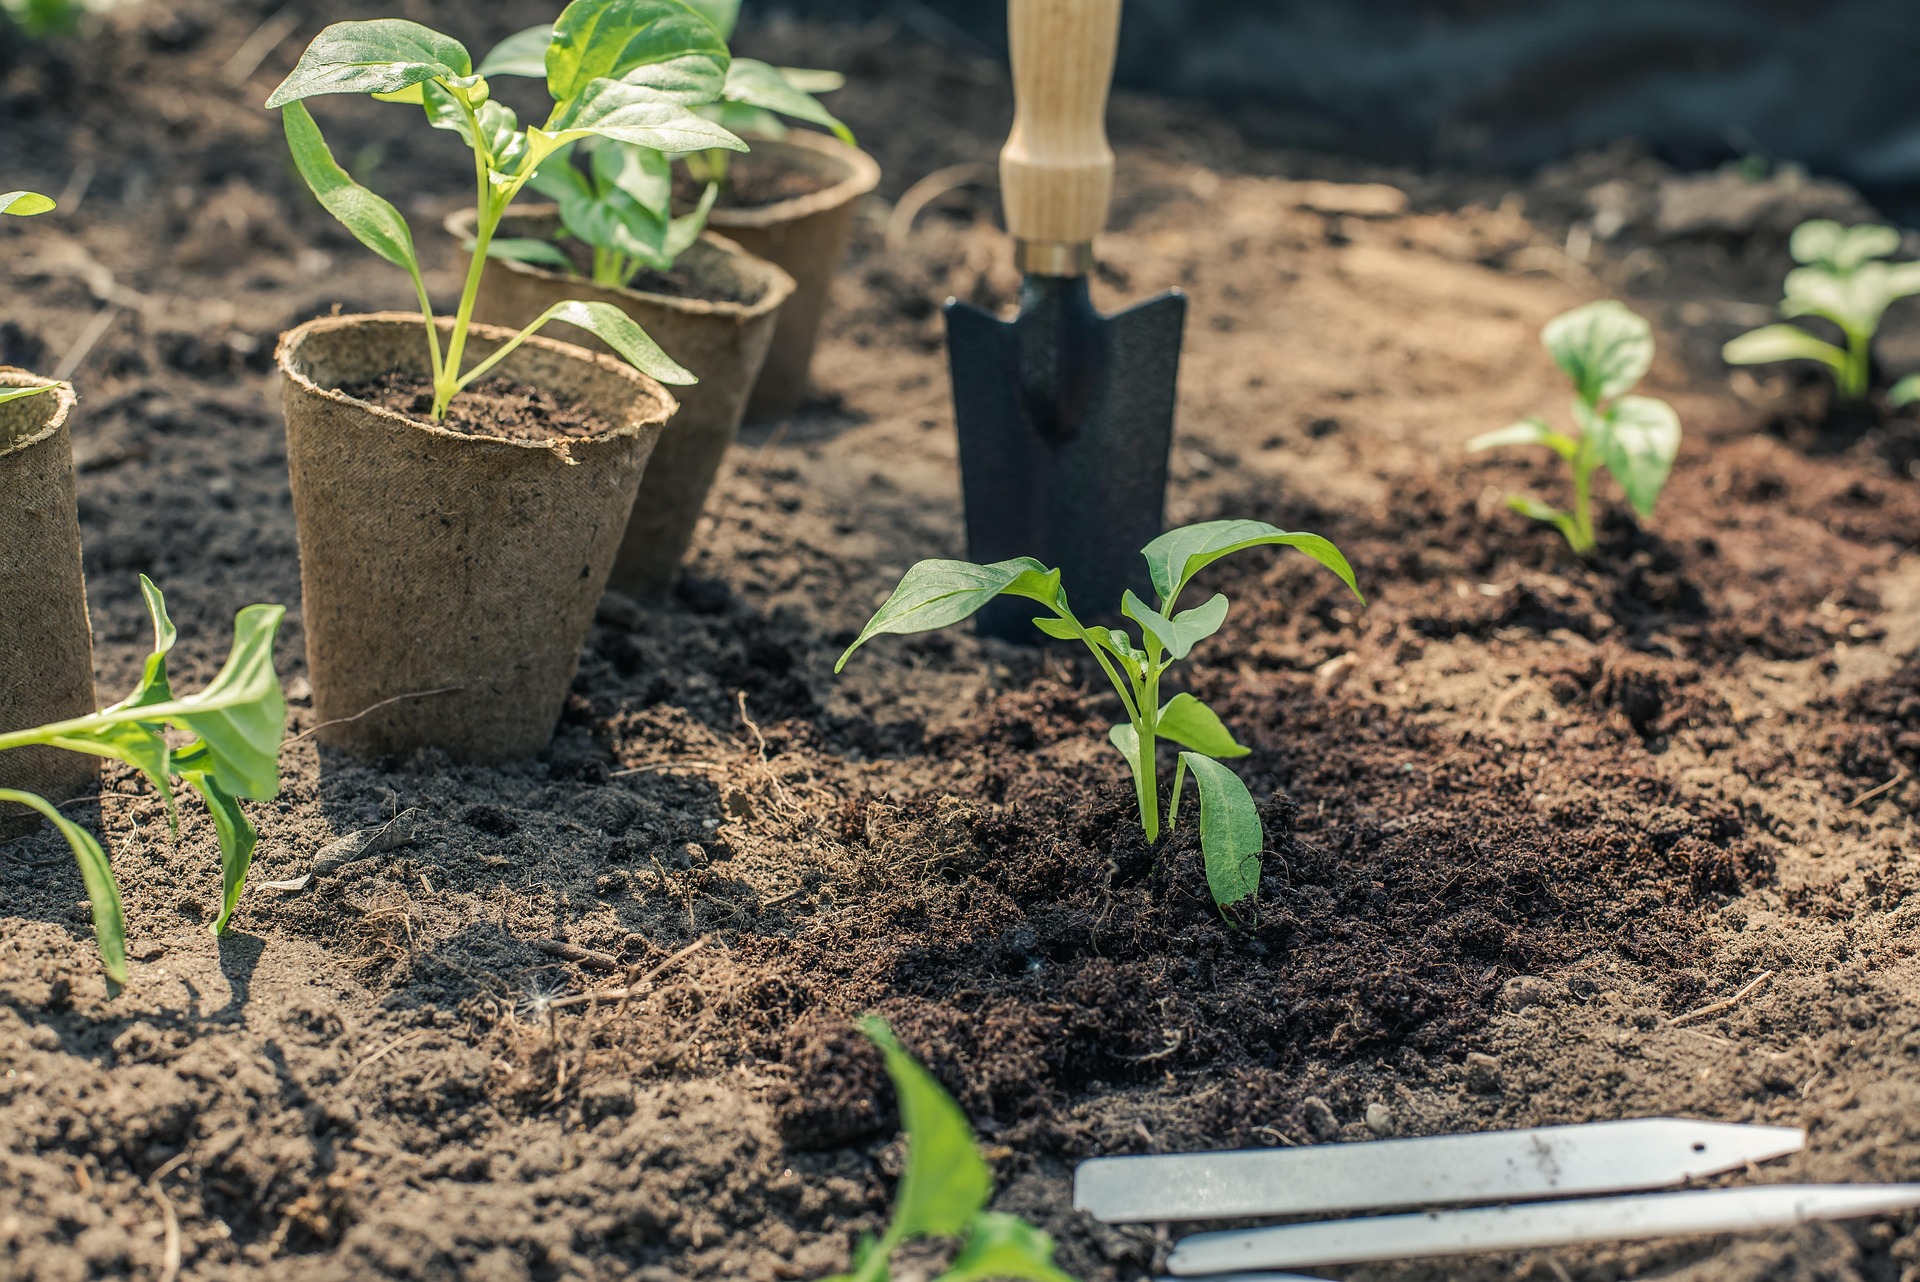
Crops that we start indoors need to tolerate a certain amount of disturbance. They have to transition from a controlled environment to the outdoors. Inside, you control the soil moisture, lighting, humidity, and wind. Transitioning outdoors, your plants will experience harsh sunlight, varying moisture and humidity levels, and wind.
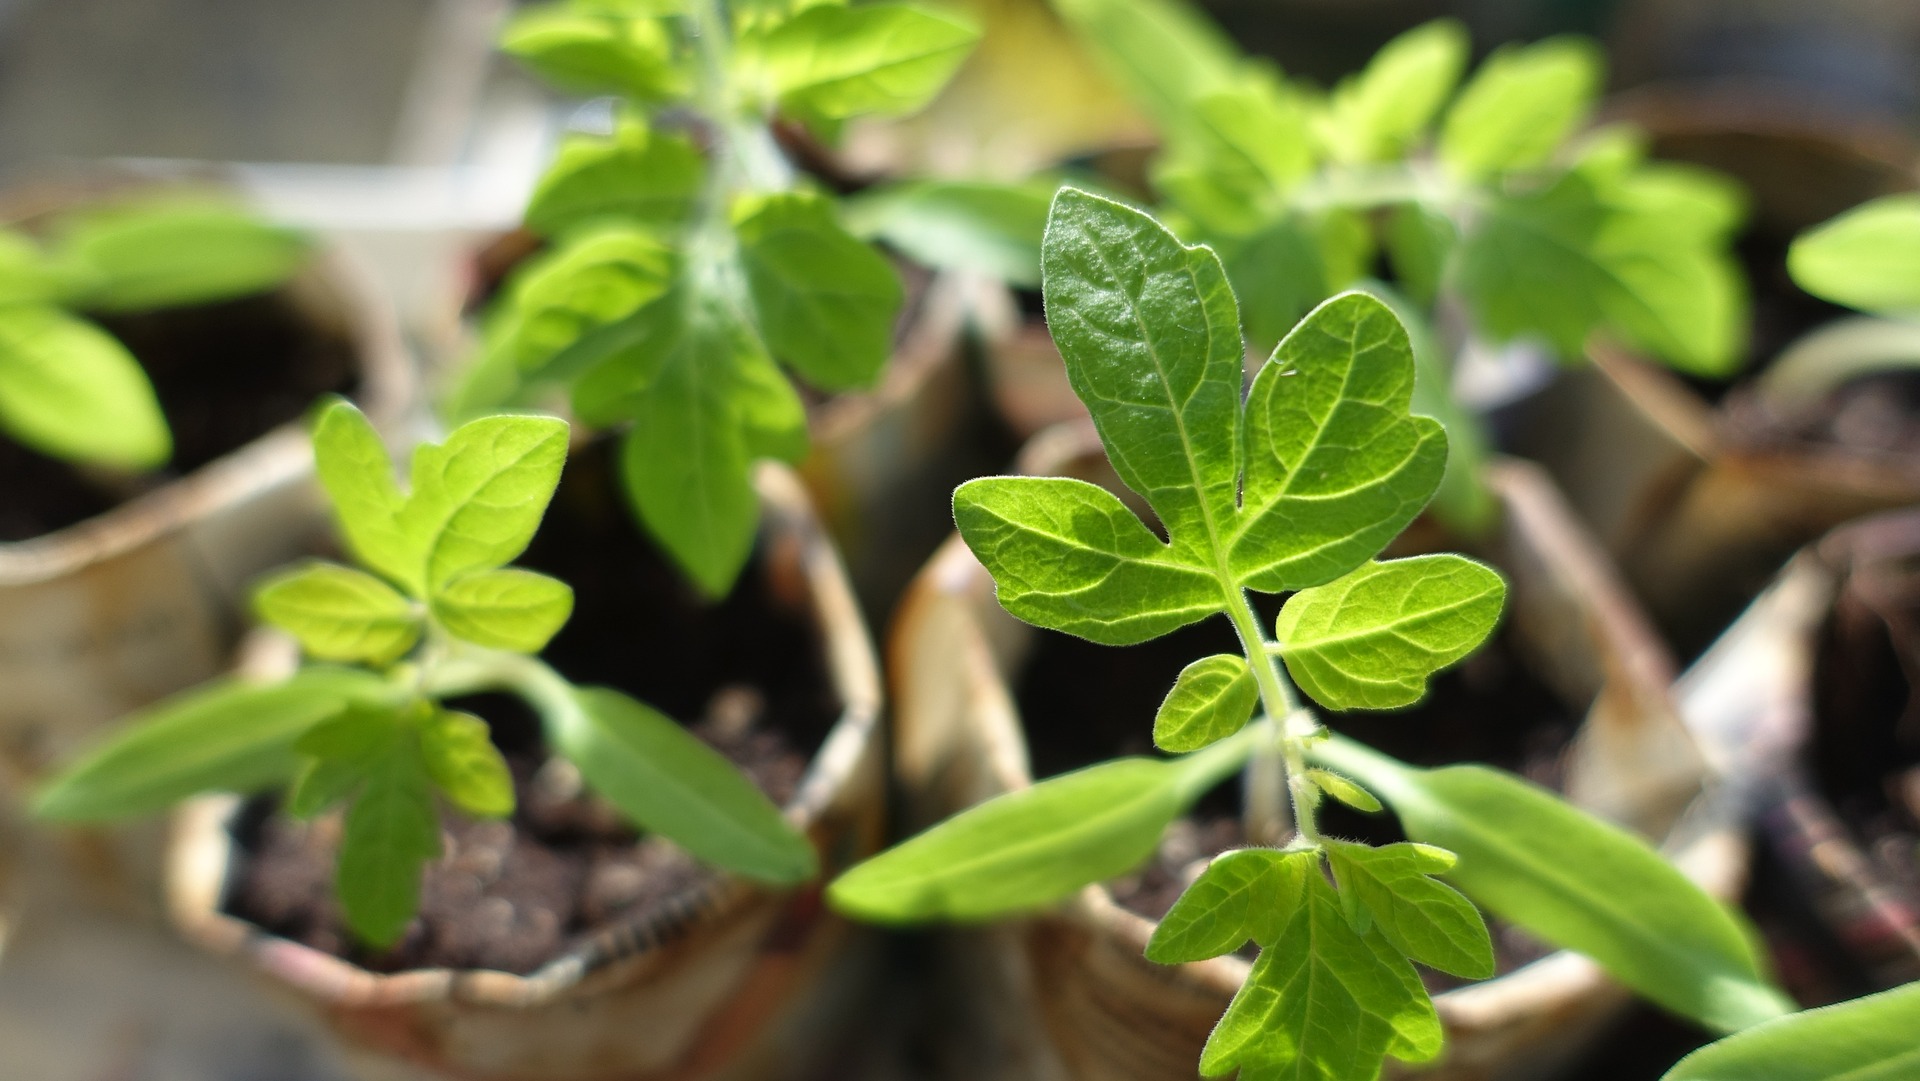
As you transplant them into the soil, the plants will also experience root disruption. Some plants, like tomatoes, thrive with root disruption. You can repot them multiple times and then transplant them into the garden with few negative side effects. Other plants, like many in the Cucurbit family, don’t tolerate root disturbance.
Many of the crops we recommend you always start indoors are warm season crops with a long growing season, like tomatoes.
Theoretically, you could direct sow tomatoes, our Matt’s Wild Cherry tomatoes frequently self seed outdoors, but with most varieties you’ll end up with poor results.
Tomatoes are slow to get started and if you waited for your soil to warm enough for tomato seeds, you may not get a harvest until late summer or even fall.
- Celery & Celeriac
- Eggplants
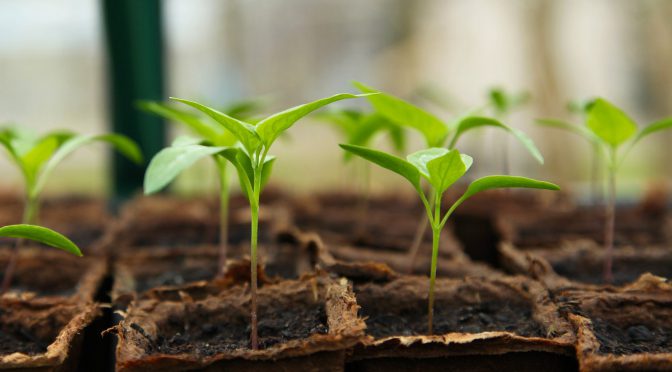
- Tomatoes
- Peppers
While some of these crops occasionally self-seed, their long season and lack of cold tolerance means they’re really only productive as transplants.
 Crop You Should Direct Sow
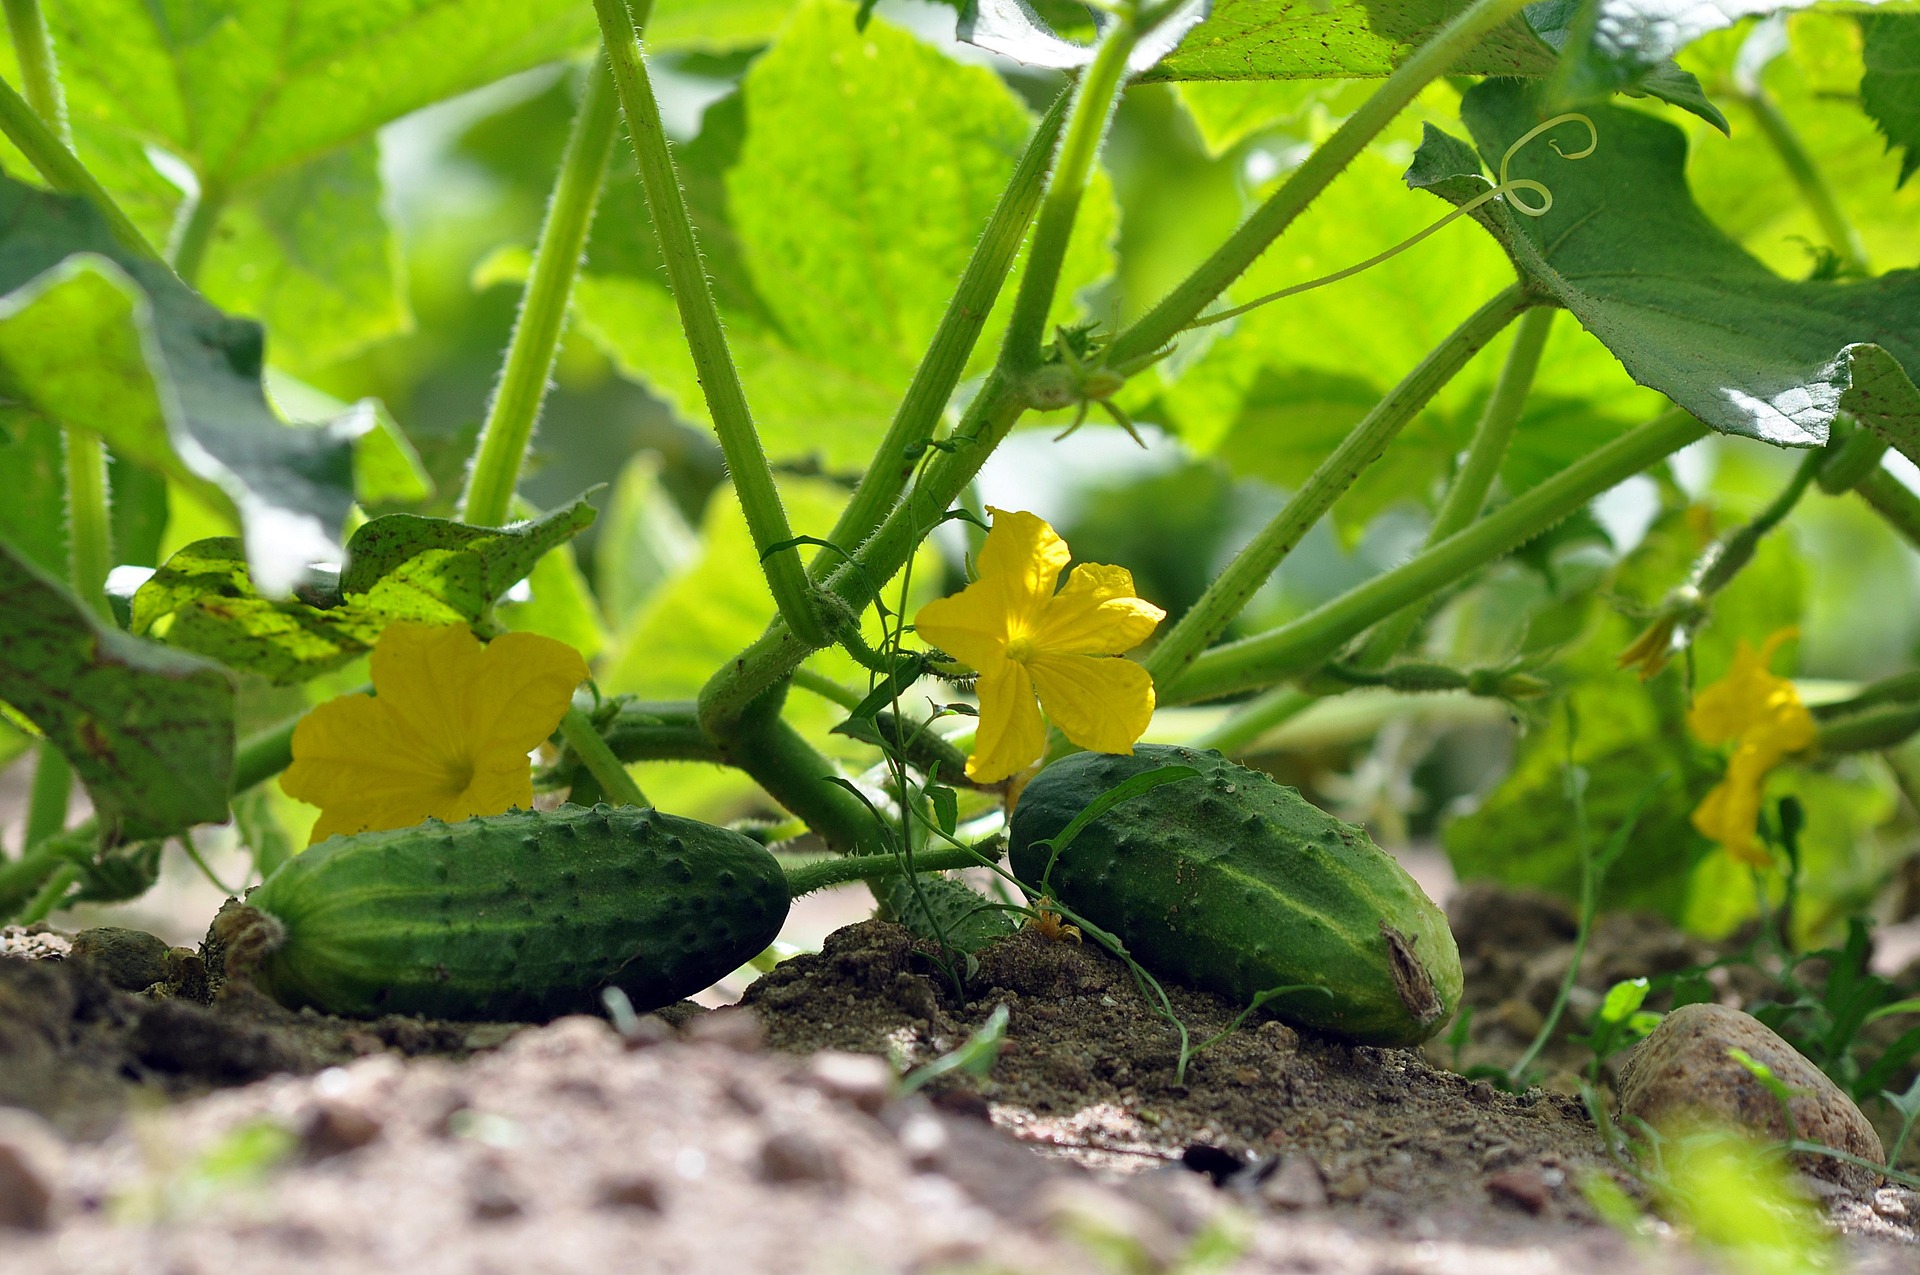
Seeds you direct sow must tolerate environmental conditions right out of the starting gate. The crops that we always direct sow are usually those we plant in high volume, like corn, and those that won’t tolerate root disruption like summer squash and okra.
- Beets
- Carrots
- Corn
- Cucumbers
- Radishes
- Turnips
- Parsnips
- Muskmelon
- Okra
- Rutabaga
- Spinach
- Summer Squash & Zucchini
- Swiss Chard
- Winter Squash & Pumpkins
- Watermelon
While you could technically transplant some of these crops, their growing style makes it impractical.
It can be tempting to transplant crops like zucchini for an early harvest, but they’re so sensitive to transplant shock, direct sown plants often produce more quickly. If you must transplant any of the cucurbits, use a method like soil blocks that minimizes root damage.
Crops You Can Direct Sow or Transplant
There are many crops that are suitable for direct sowing or transplanting. Throughout a growing season, we may use a combination of these methods even for a single crop. We can keep things simple with direct sowing or use transplanting to handle weather conditions and grow additional successions.
- Basil
- Beans
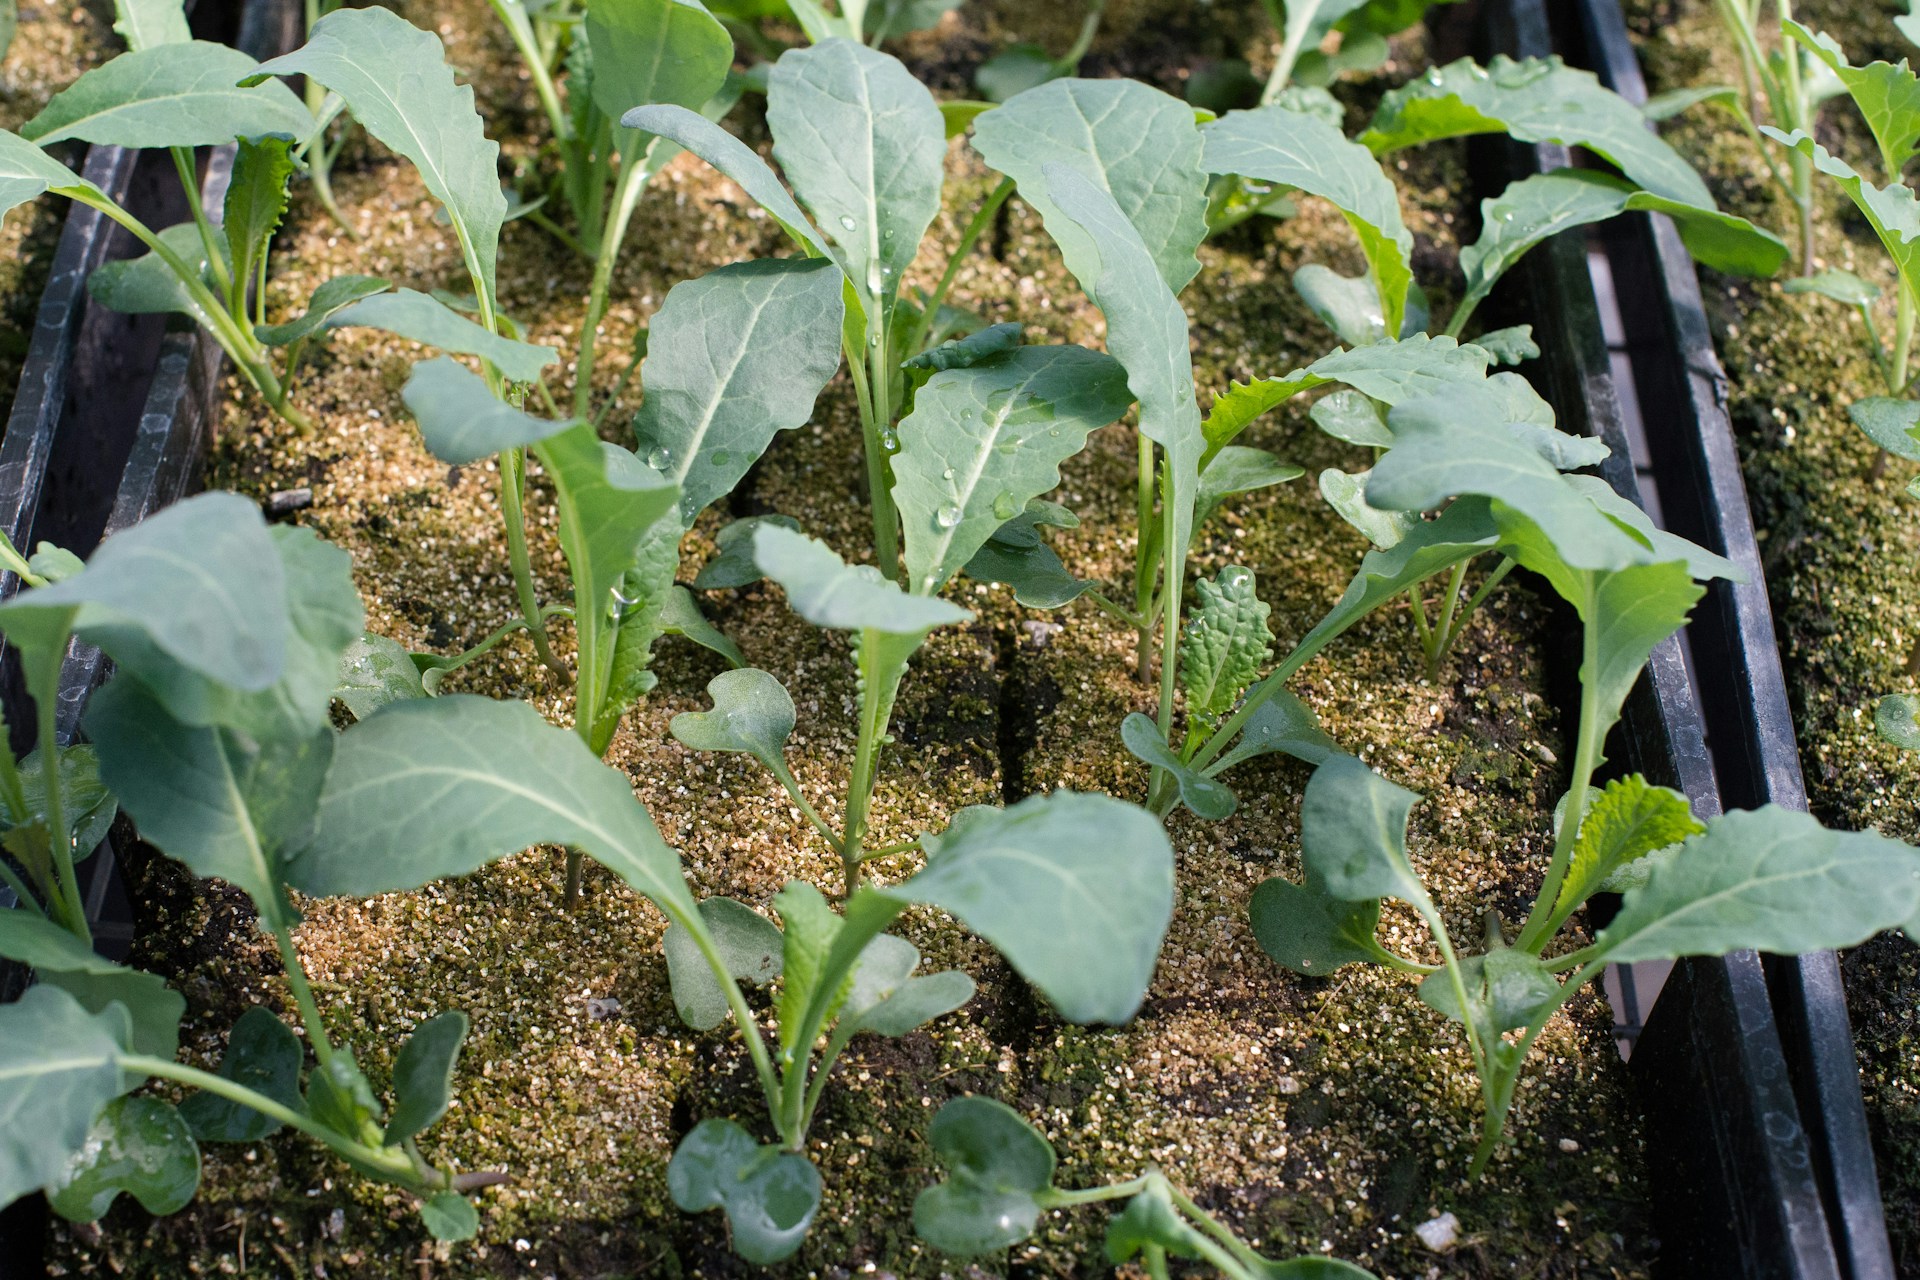
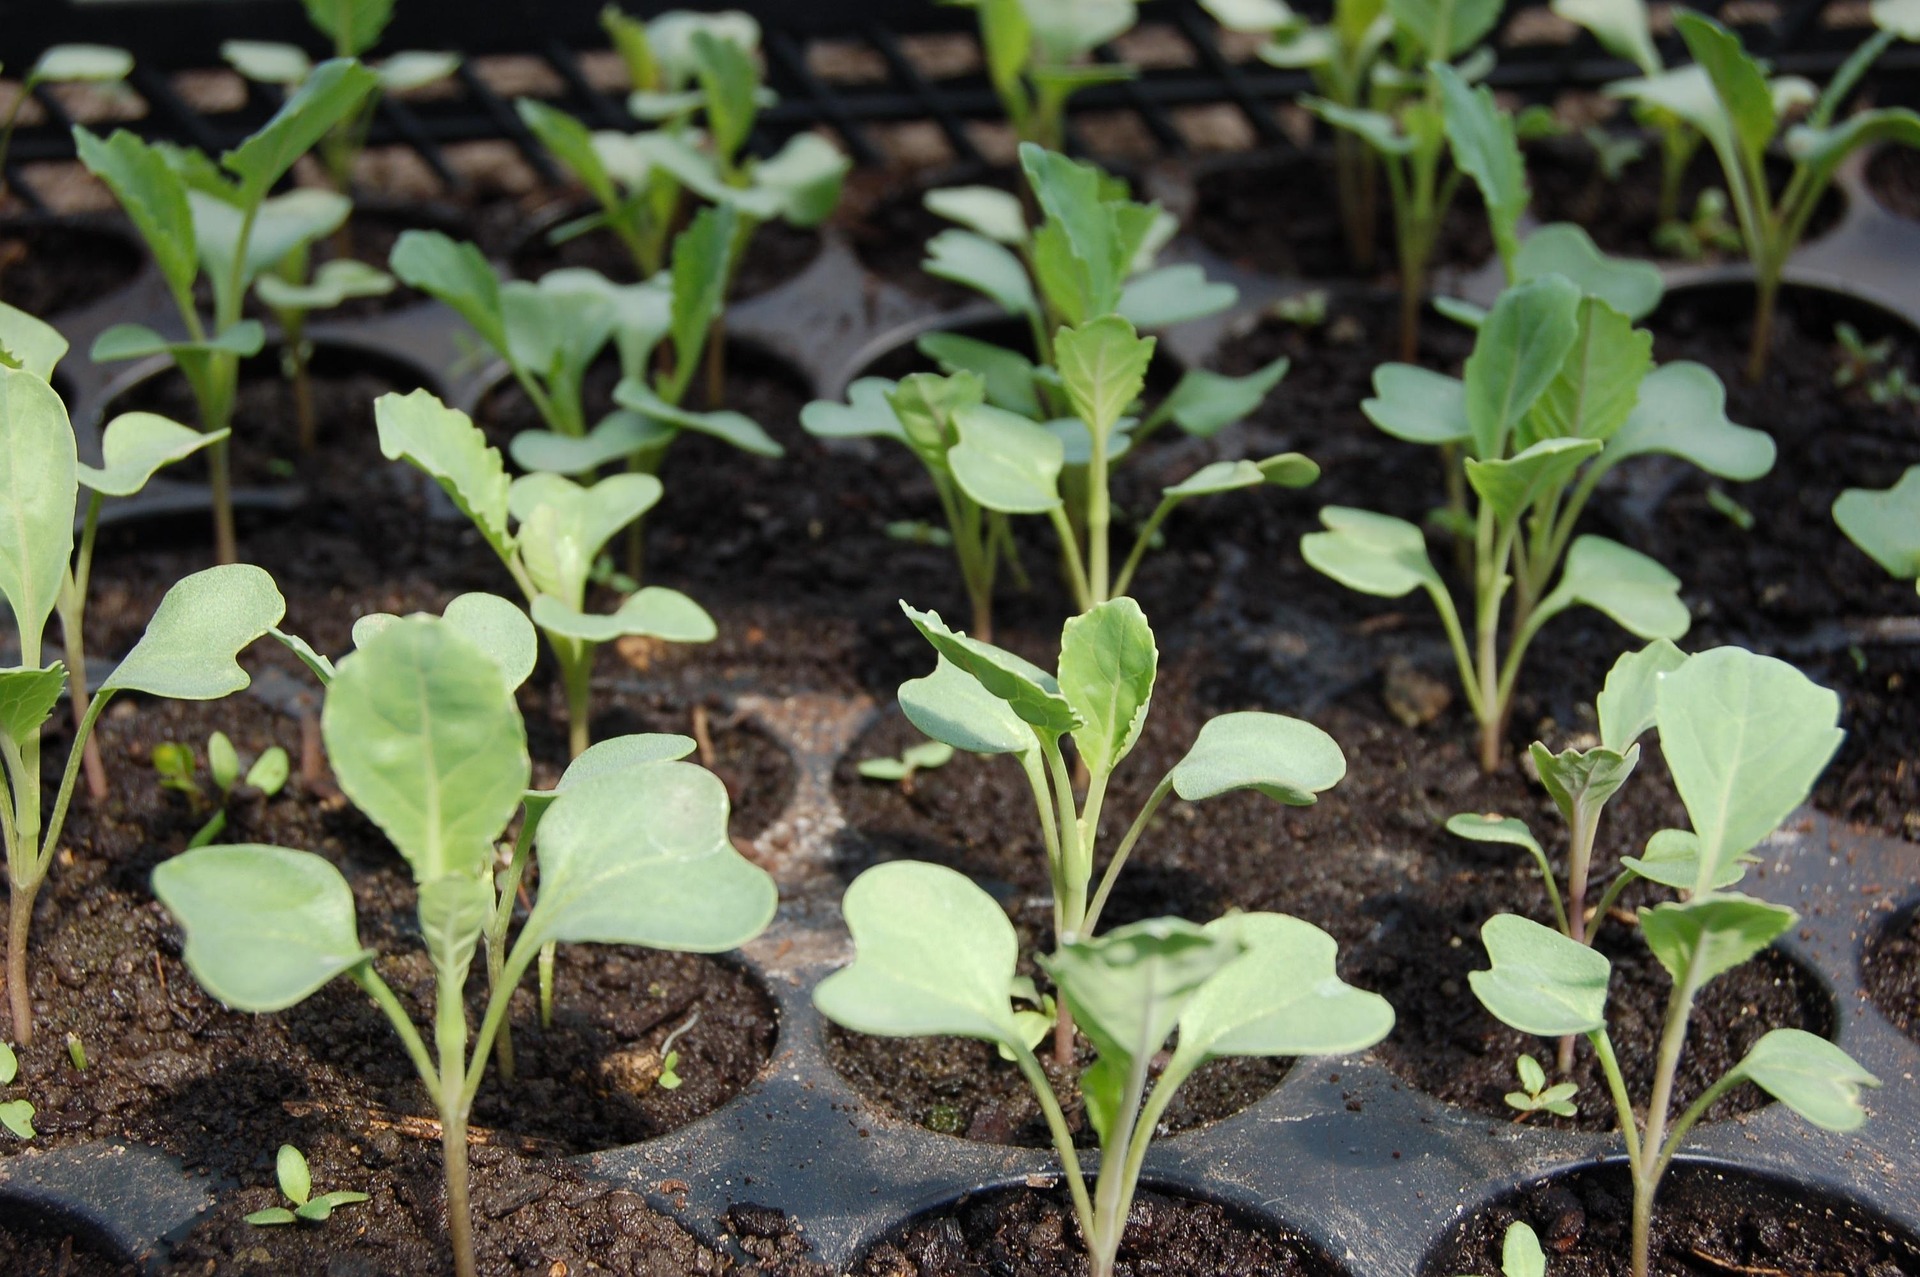
- Broccoli
- Cabbage
- Cauliflower
- Chinese Cabbage
- Collards
- Endive
- Kale
- Lettuce
- Marigolds
- Mustards
- Onions
- Peas
- Southern Peas
- Sunflowers
- Zinnias
Always do your research on individual crops. Some may tolerate either planting method, but need special care to ensure success.
Transplanting Versus Direct Sowing
It’s decision time! When working with crops that can be direct sown or started indoors, there are several things you’ll need to think about.
 Benefits of Transplanting
Transplanting has many benefits for crops that tolerate it. Starting seeds indoors gives you complete control of the environment. It’s a great way to establish seedlings with strong root systems before planting them in the garden.
-
Earlier harvest. Transplanting allows you to get a jump start on crops while the outdoor temperatures are still too cold for direct sowing.
-
More successions. Having transplants ready to go in spring and throughout the season as beds open up can help you get the most from a small garden.
-
Less waste. Planting out established transplants prevents you from needing to thin rows of seedlings. This can save you on the amount of seed you use.
-
Mulch from the start. Seedlings are easy to transplant into a bed already covered with mulch. This is ideal for folks using the no-till method with winter kill cover crops and anyone looking to cut back on weeding.
-
More flexibility. As transplanting allows you to control the environmental conditions, it’s a great way to add flexibility to your seeding schedule. Even if your spring is cold and wet, you can start plants indoors. You can also start cool weather crops like broccoli indoors during the height of summer for your fall garden.
 Benefits of Direct Sowing
Direct sowing doesn’t work with every crop, but for many, it can be a low maintenance solution. Getting started in the garden often makes for tough, well-established seedlings.
-
Less effort. We put less time and effort into tending direct sown seedlings.
-
No special equipment. You don’t need lights, racks and extra space, heat mats, humidity domes, or a greenhouse to direct sow seeds.
-
Better drought tolerance. Direct sown crops have the advantage of no disruption to their root systems. This means they display better drought tolerance, particularly early in the season.
-
No risk of transplant shock. If you’re not able to invest the time in hardening off and properly transplanting seedlings, direct sowing is more practical. Improperly transplanted seedlings can suffer transplant shock, which will delay harvest.
-
Easier on tender plants. Some crops like melons have fragile stems and roots. While many choose to transplant them, it can be tricky and you may lose some plants.
-
Better for high-volume crops. Direct sowing is the more practical option when you’re sowing tens or hundreds of seeds, like many gardeners do with corn, carrots, beets, and salad mixes.
 Supplies for Starting Seeds