New year, new seeds! We’re heading into 2024 by offering a few new varieties on our catalog and website. Some of these are heirlooms that have been shared with us, like the Turkish Cekirdegi Oyali Watermelon. Others are new varieties like Xiye Butternut Squash that have recently been bred for features like disease resistance, climate adaptability, and flavor. Not all of our new varieties are available on the website yet, but these fourteen are, so be sure to grab them while our seed supplies last!
Adirondack Blue Seed Potato
This new variety from Cornell University will quickly become one of your garden staples. Adirondack Blue produces moist, stunning, blue-skinned, and blue-fleshed potatoes. The vigorous plants support good yields.
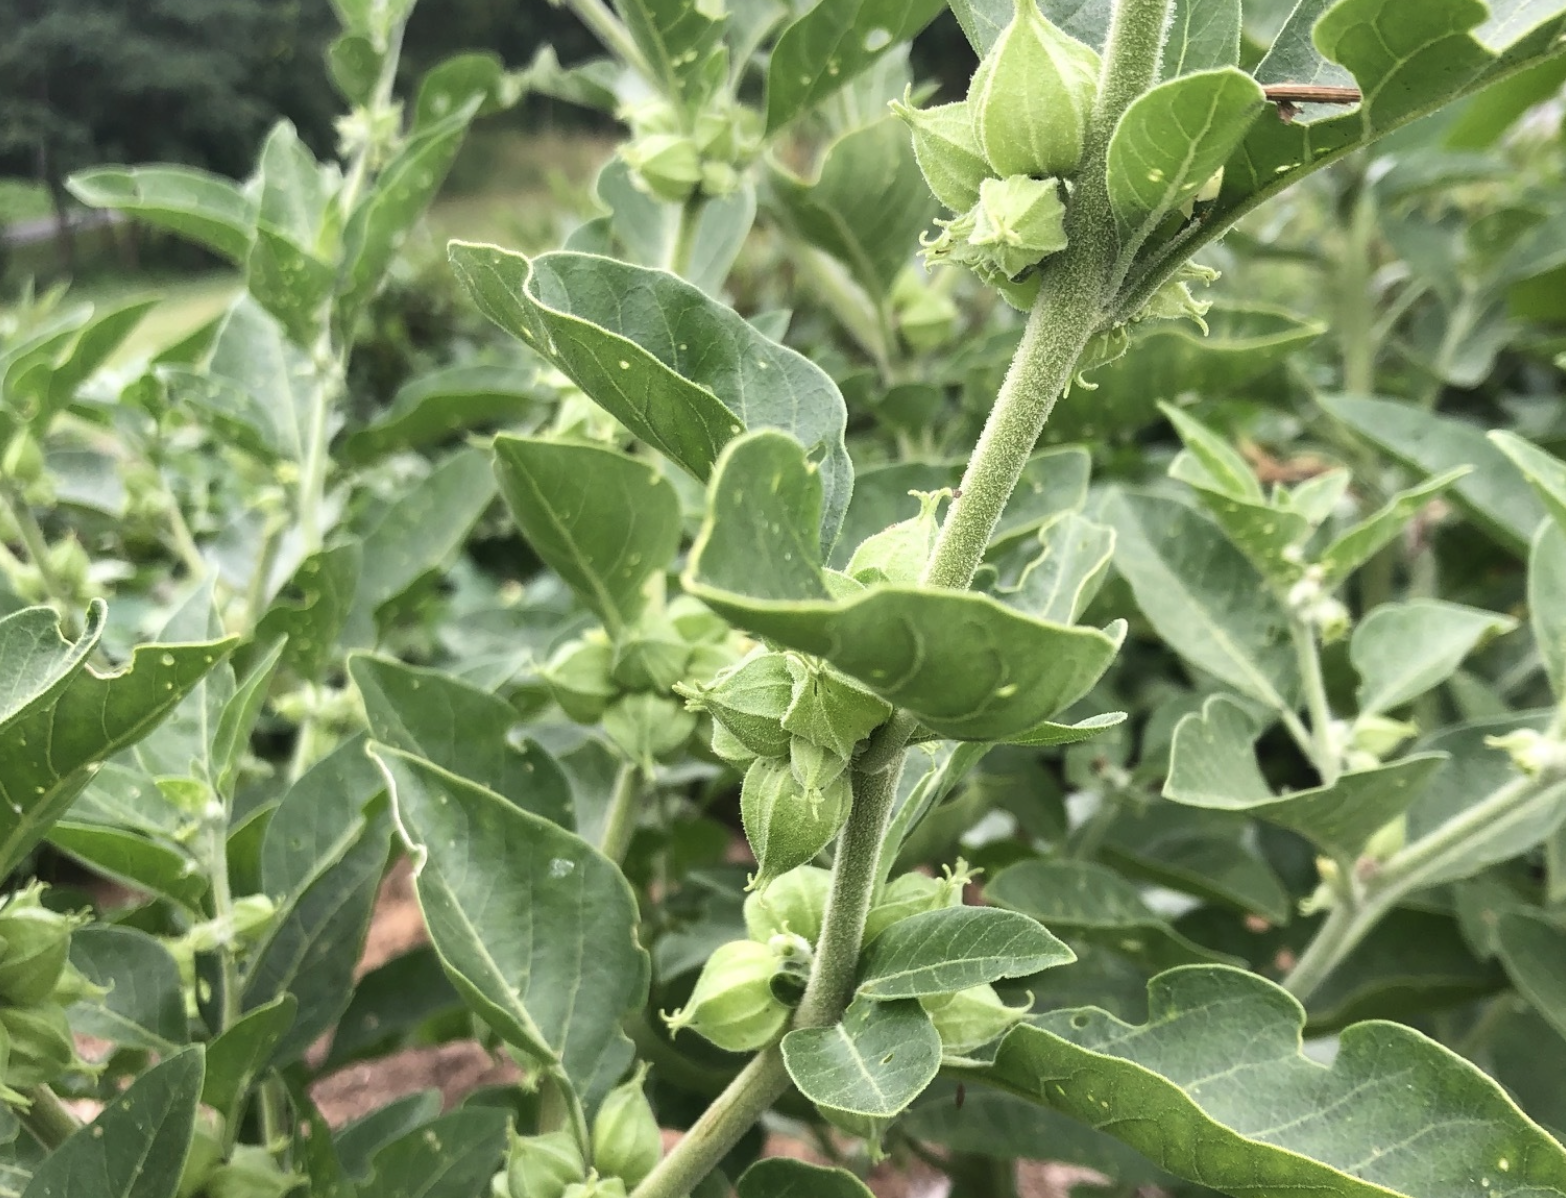 Ashwagandha (Withania somnifera)
Ashwagandha is an important herb in Indian traditional medicine. Herbalists use the roots to strengthen the immune system, increase resiliency to stress, and relieve insomnia. You can also use the berries as vegetable rennet.
Ashwagandha is native to the dry regions of India, the Middle East, and North Africa, where it grows to be a small shrub. It’s in the solanacea or nightshade family, like tomatoes and peppers. In the U.S., it’s only perennial to USDA zone 10 but can be grown as an annual in temperate regions.
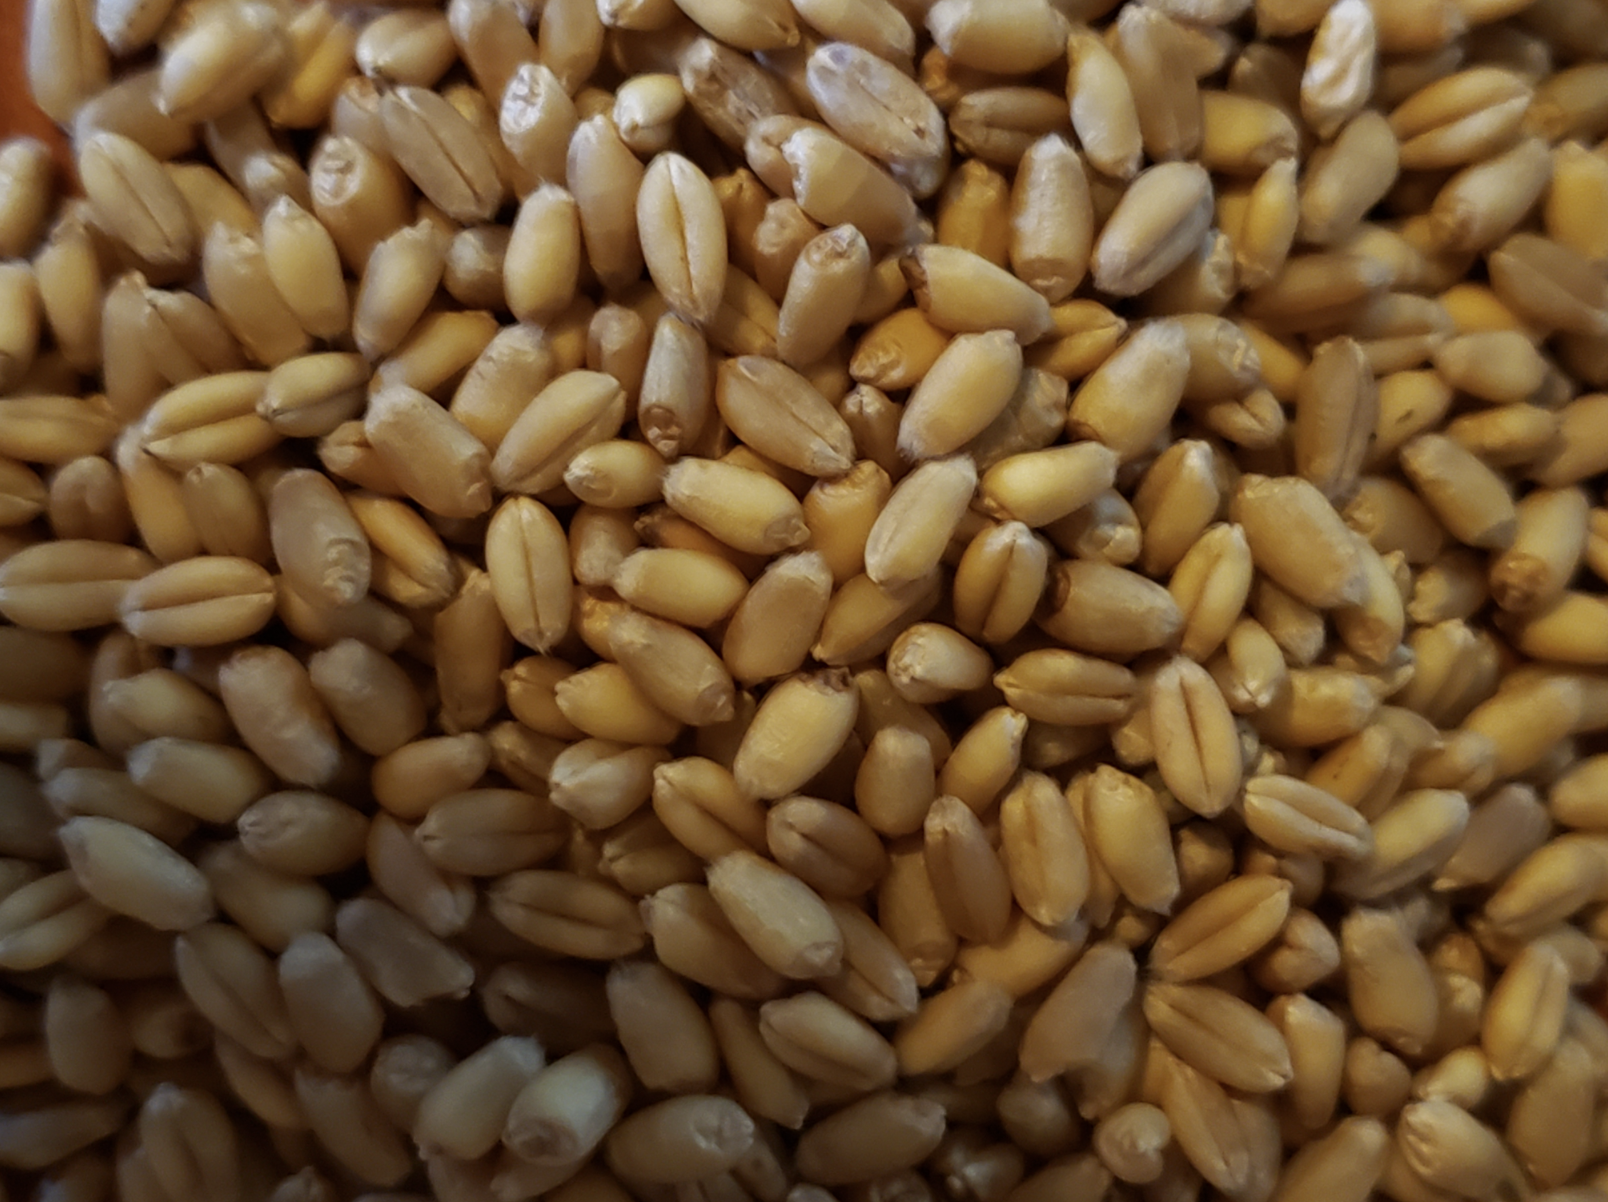 Appalachian White Wheat
Homescale grain production is easier than you think, especially with this excellent variety from North Carolina State University. Appalachian White Wheat has high protein (14%) and mild flavor.
It’s a semidwarf variety with good disease resistance to most wheat diseases of the Mid-Atlantic. ½ pound sows 125-250 square feet as a cover crop or 250 square feet as a grain crop.
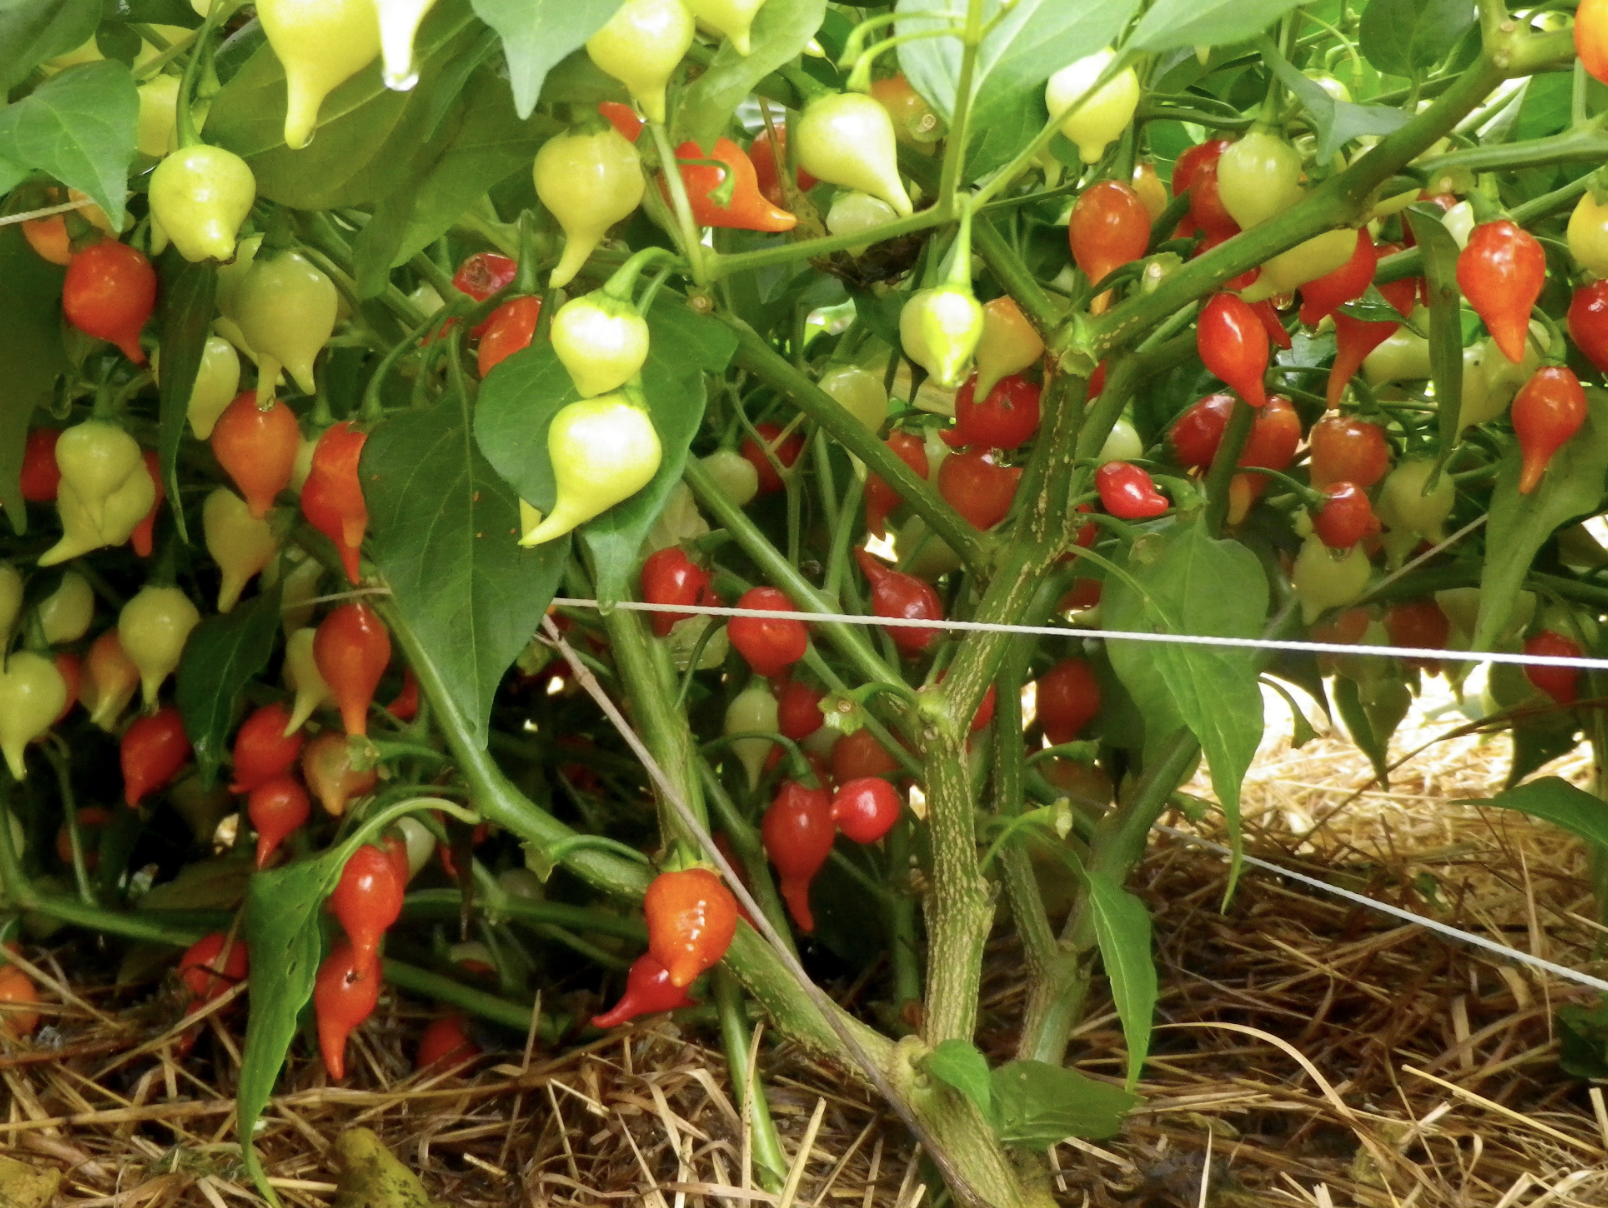 Biquinho Spice Pepper (C. chinense)
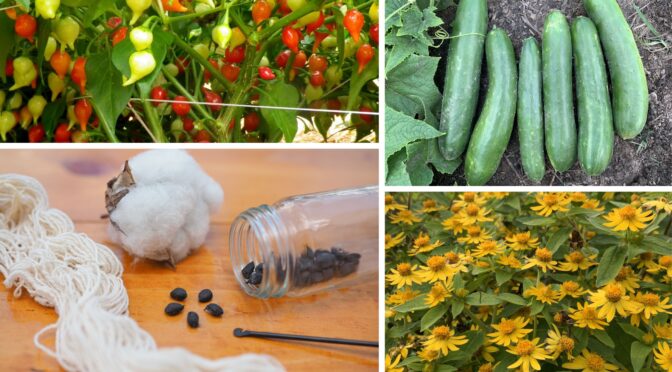
These little Brazilian Peppers are relatively mild and delicious pickled. In Brazil, they’re a popular snack in botecos or neighborhood bars and are often served with sausage or fish. They get their name, which means “little beak” in Portuguese, from their inverted tear-drop shape.
Biquinho Spice Peppers grow about 2 feet tall and are highly branched. The peppers are small, about ½ by ¾ inches, and relatively mild. Their harvests are more likely to taper off than with other Chinese types.
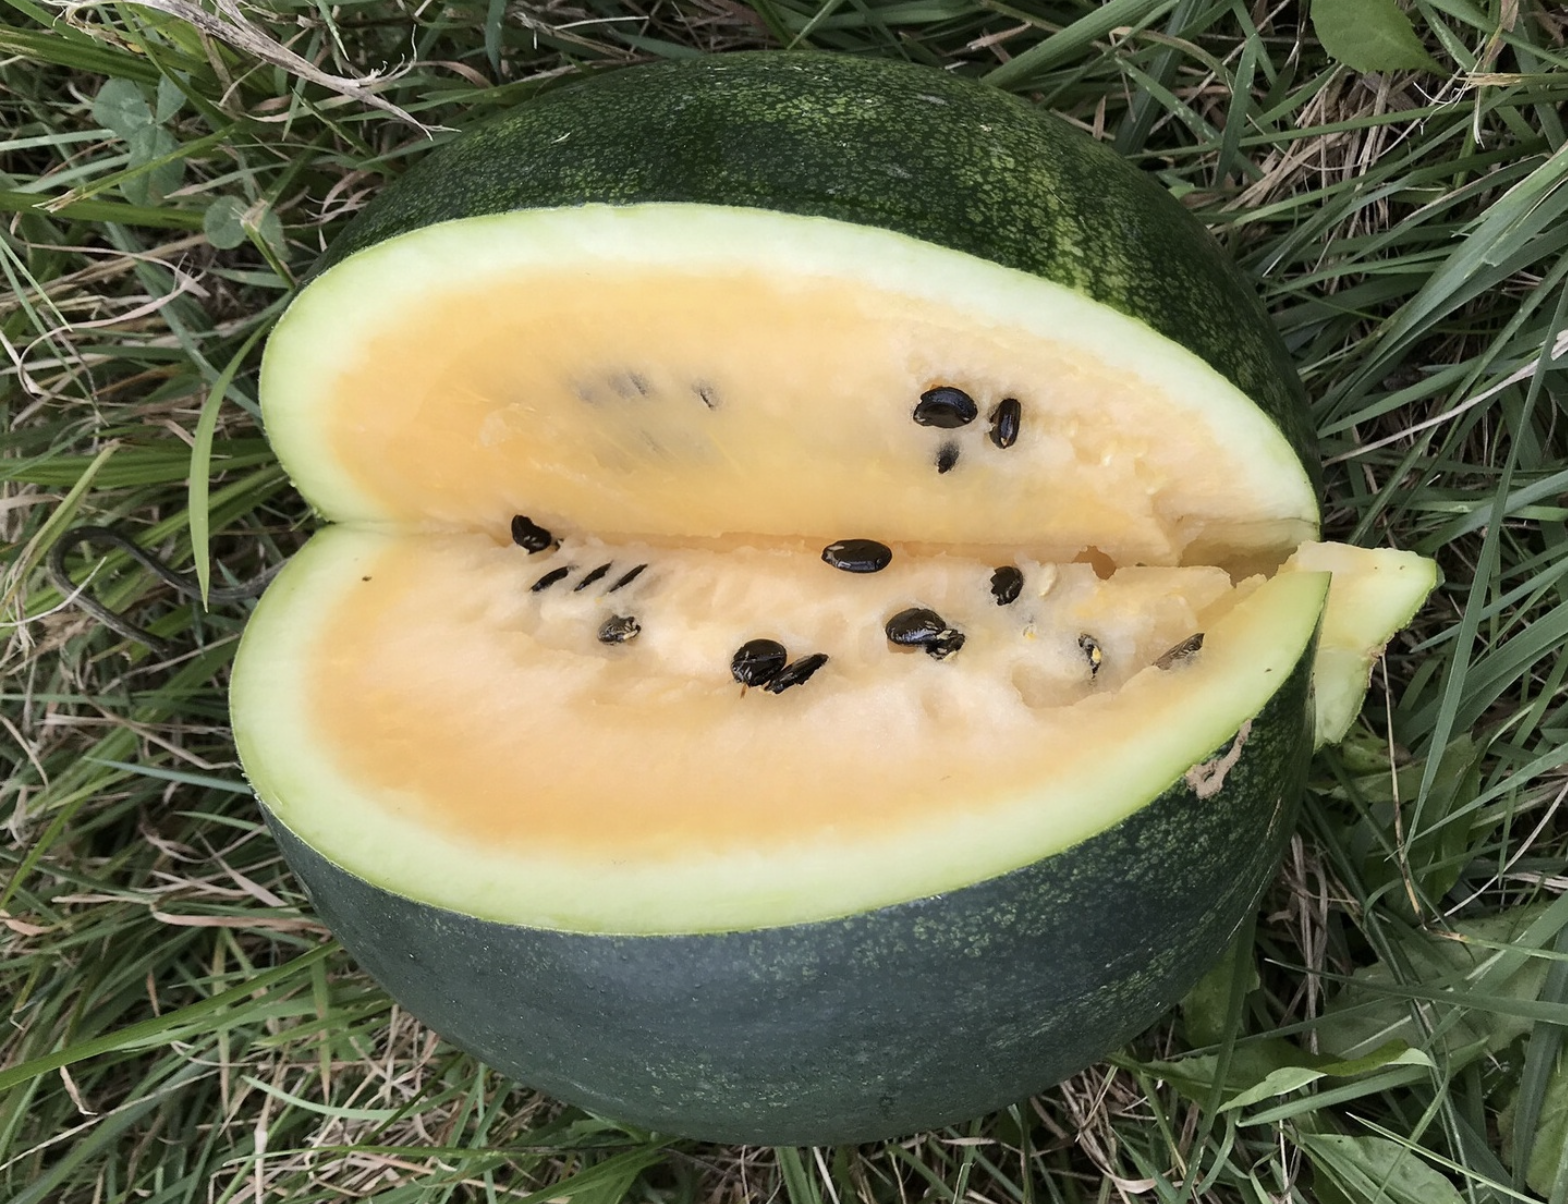 Cekirdegi Oyali Watermelon
Cekirdegi Oyali is a Turkish heirloom introduced to the U.S. by our friends at Two Seeds in Pod. This variety produces small melons, about 5 pounds each, with sweet orange flesh.
One of the joys of saving seeds from this variety is its unique-looking seeds, which look like they have been carved. As they dry, the black seed casing cracks, revealing the white seed inside.
Fiesta Trailing Mixed Color Nasturtium (Tropaeolum majus)
With a stunning mix of yellow, orange, rose, and crimson blooms, Fiesta is a must-have for any nasturtium lover. These plants produce long trailing vines of attractive, edible leaves and flowers with watercress-like flavor that works well for salads and garnishes.
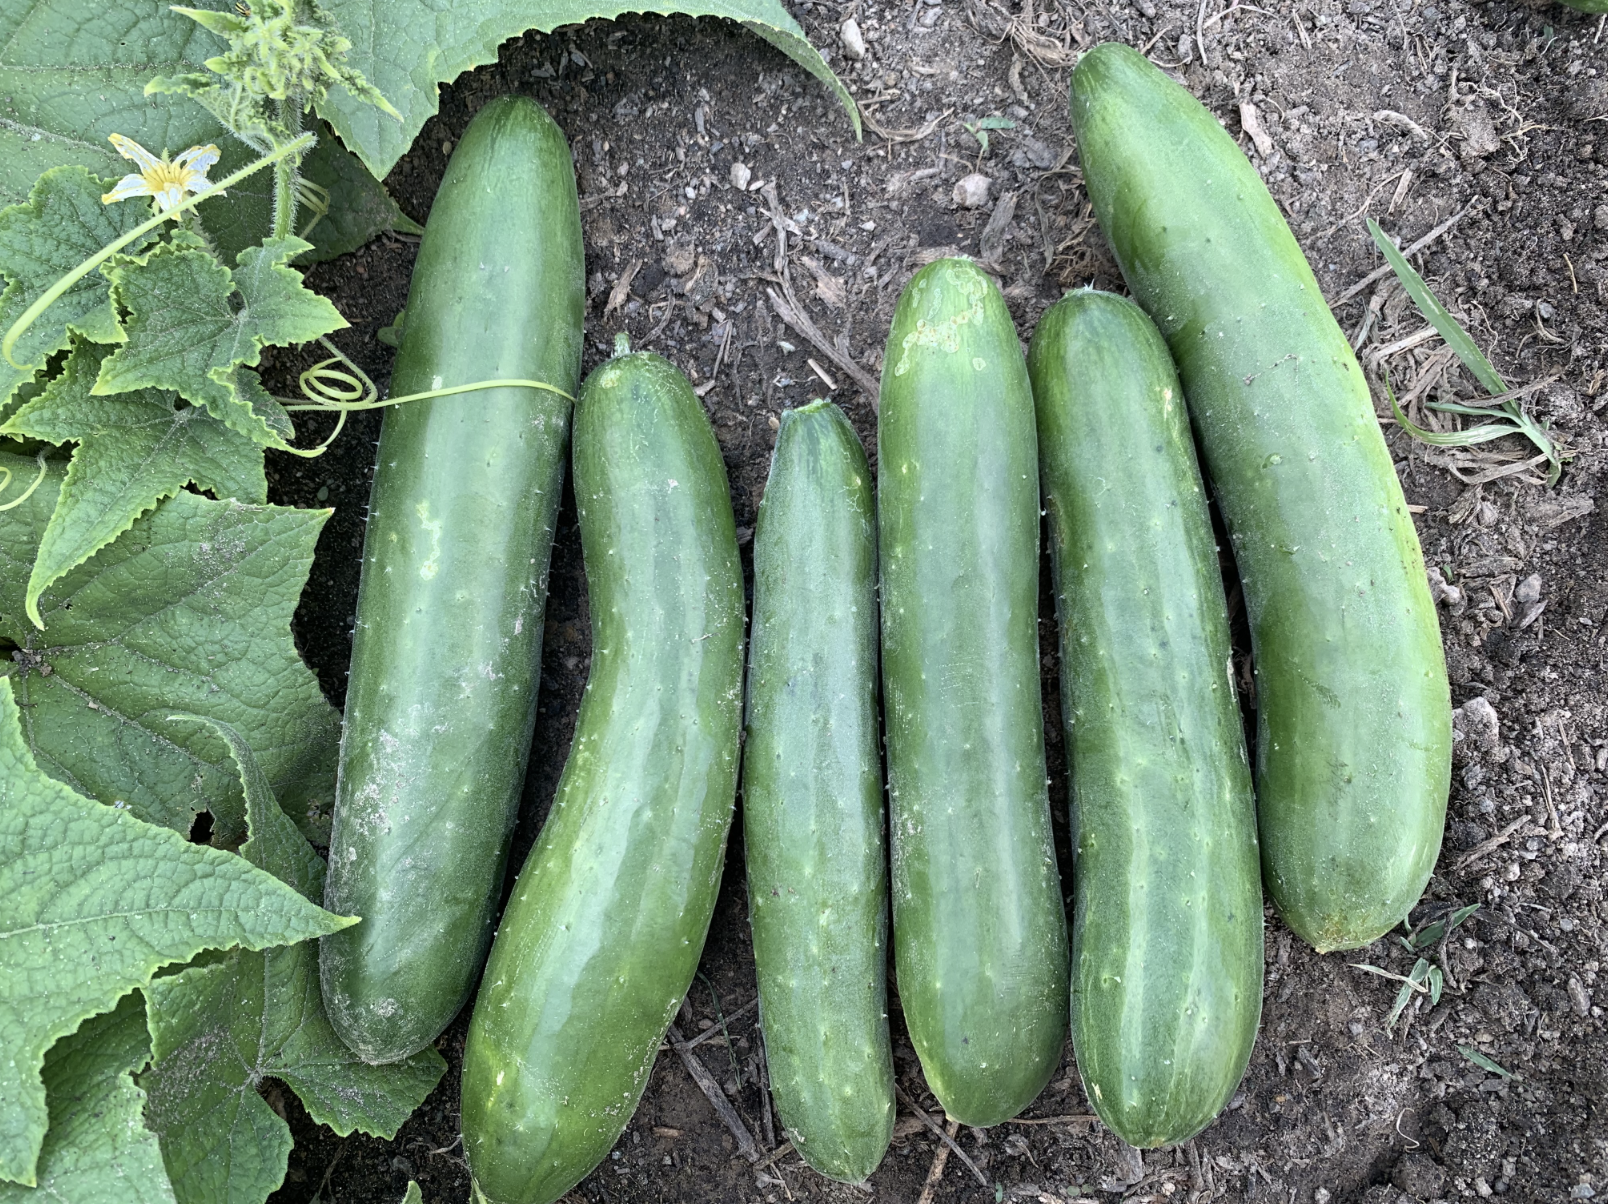 Green Finger Cucumber
Green Finger is an excellent variety for market and home growers bred by Cornell University. It produces crisp, thin-skinned cucumbers 8 to 10 inches long. They have great flavor and productivity and consistent fruits.
Green Finger shows excellent disease resistance to powdery mildew, papaya ring spot virus, watermelon mosaic virus, zucchini yellow mosaic virus, and high tolerance to angular leaf spot. It matures in sixty days.
Enjoy them right off the vine as you stroll through your garden, in a salad, pickled, or as an addition of crisp freshness to your cool summer drink!
Pink Zinnias
Who doesn’t love zinnias? These easy-to-grow flowers are staples for all kinds of flower gardens, so we jumped at the chance to add a new zinnia to the listings.
Pink Zinnias produce a smorgasbord of pink flowers on tall plants, including a lovely mix of single, double, and semi-double flowers.
Purple Viking Potatoes
Purple Viking has great looks and flavor. These attractive potatoes have purple skins with pink splashes and bright white flesh. They have great flavor, too, and are excellent mashed or baked.
Purple Viking produces big potatoes on compact plants. Their productivity and beauty make them an excellent choice for market gardeners.
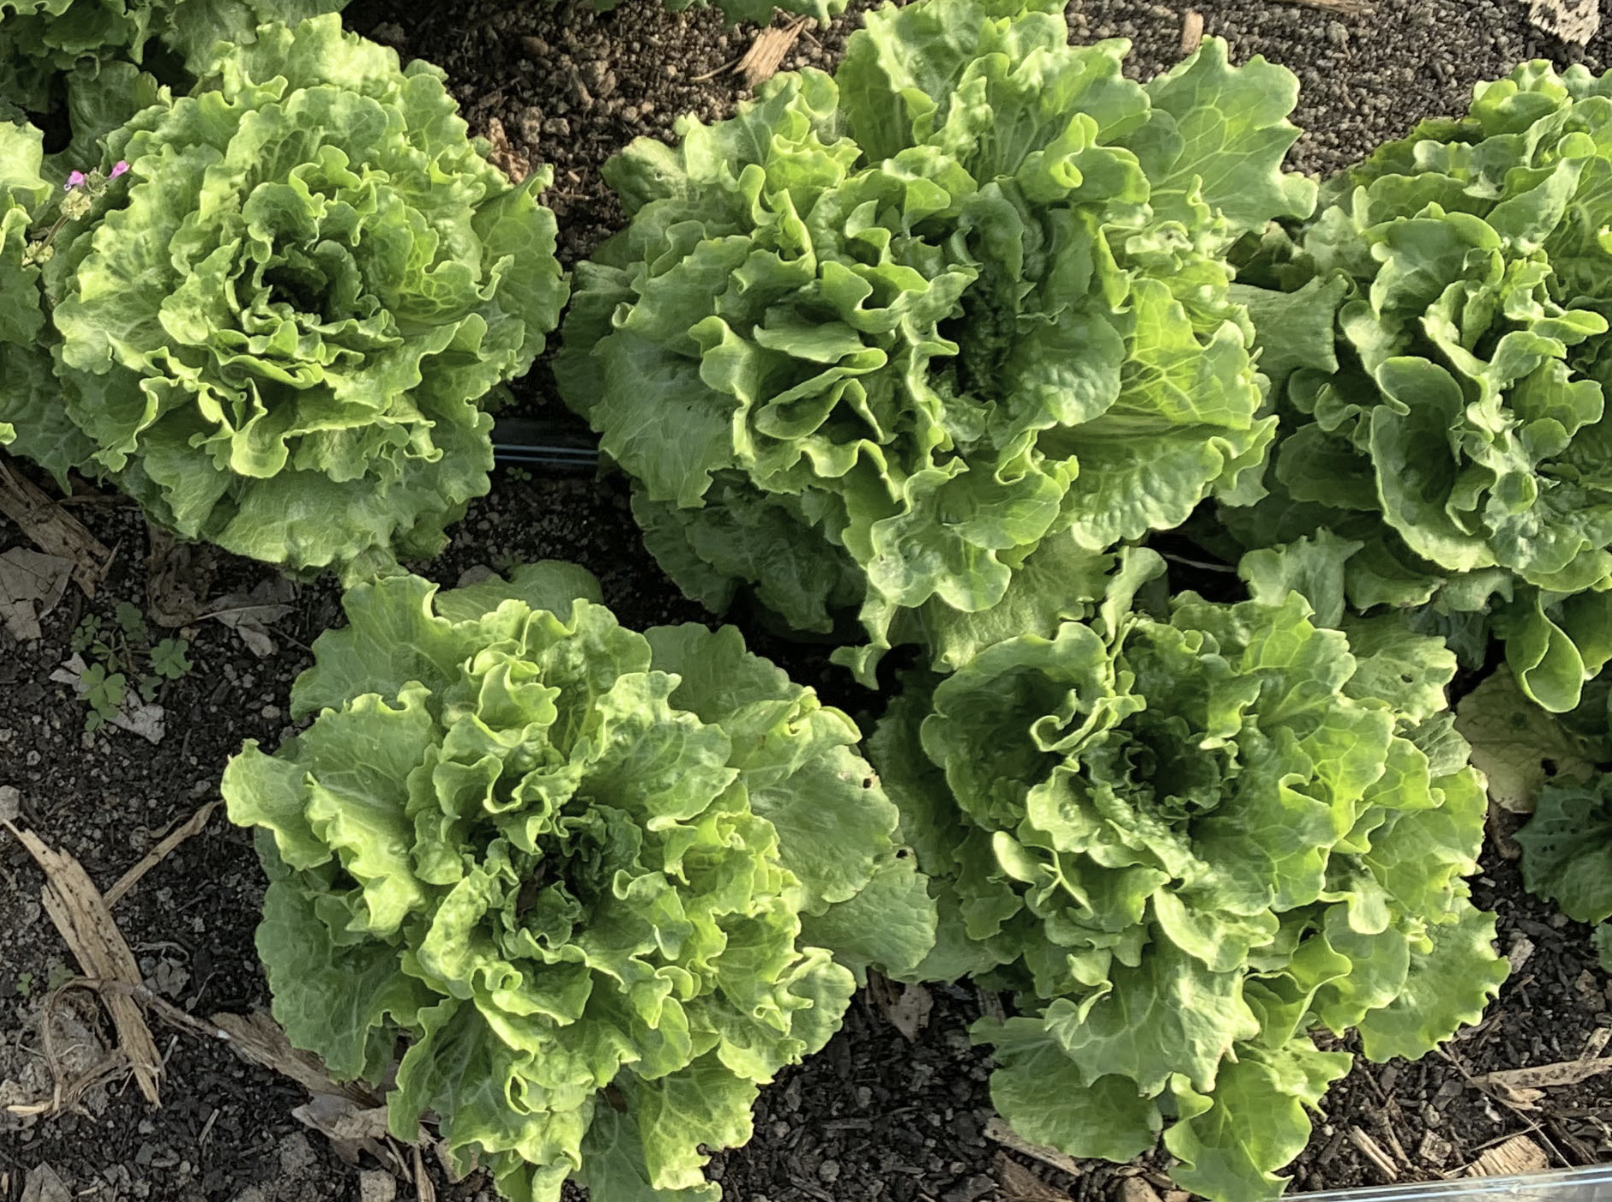 Quan Yin Batavian Lettuce
This Batavian-type lettuce produces lovely, big, dense heads. Quan Yin grows well in the summer heat, germinating more easily in hot soil than other lettuce types. It’s cold tolerant too and overwinters well in mild winters.
Our seed stock for this variety came from the wonderful folks at Siskiyou Seeds.
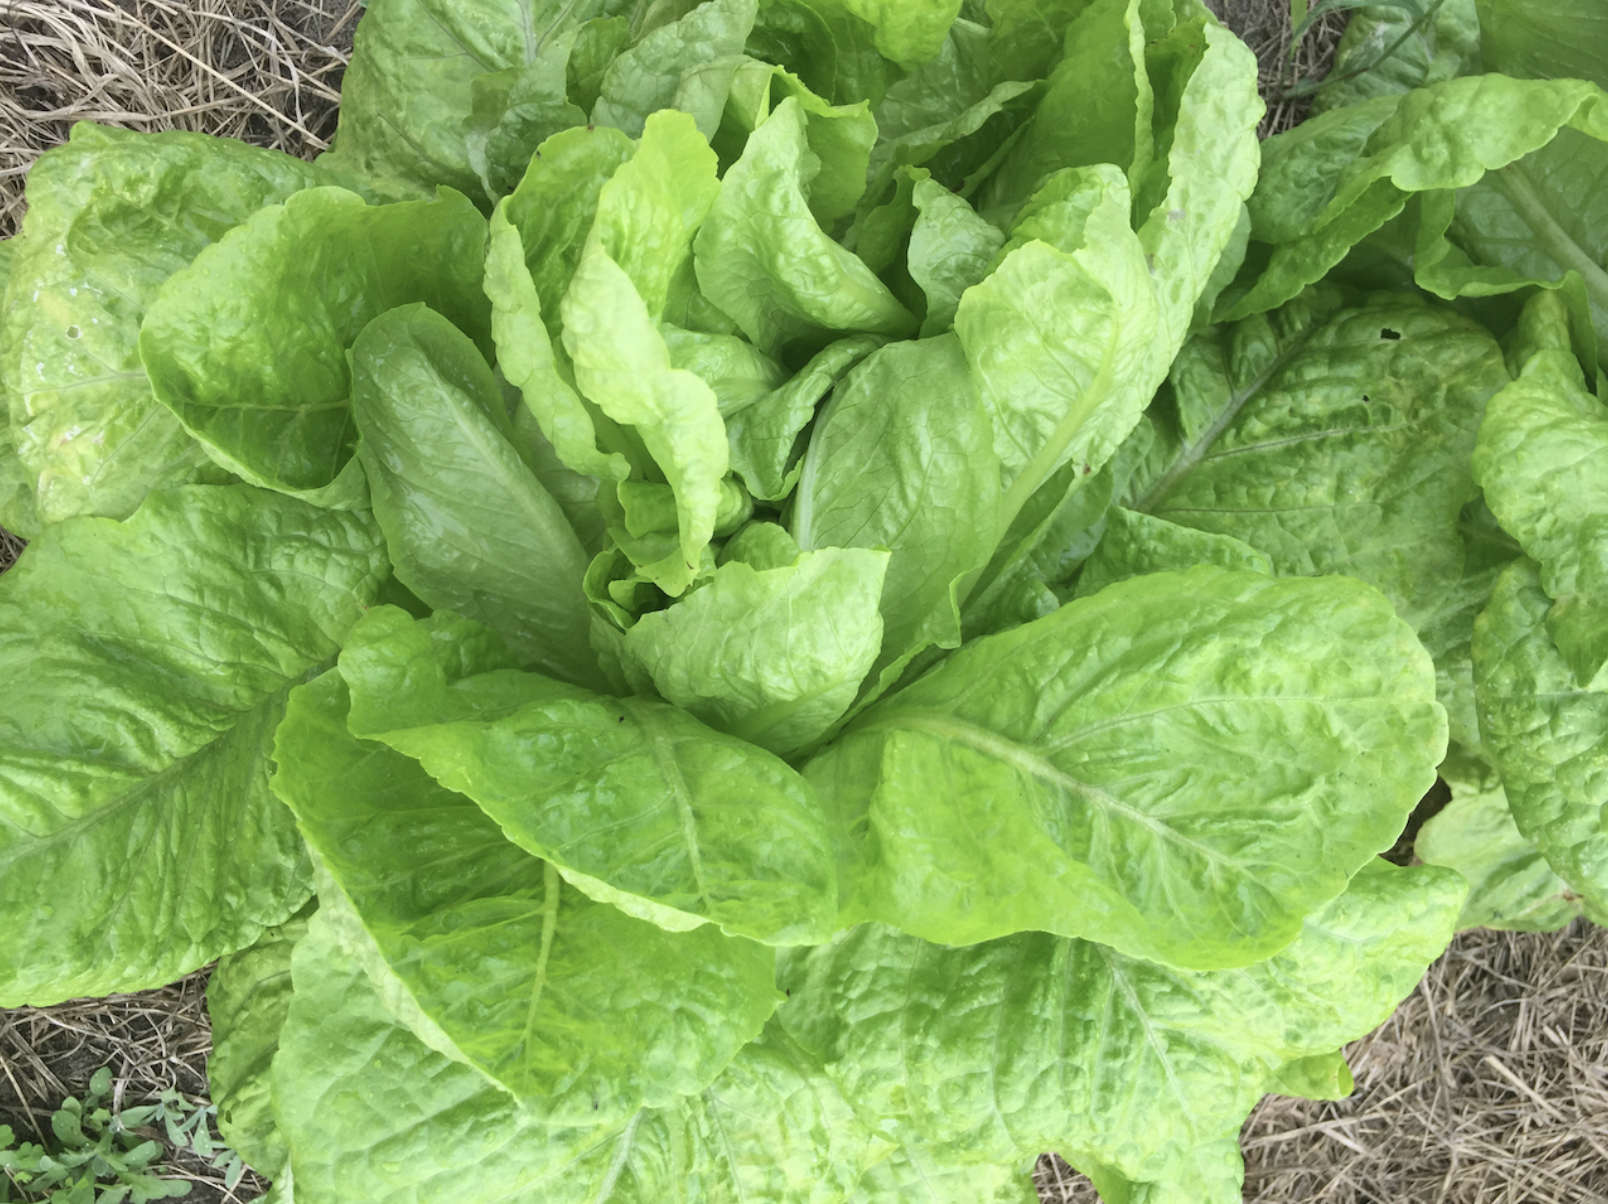 Queensland Romaine Lettuce
This Australian heirloom has great heat resistance and is a favorite for growers in Florida and the Deep South! It features tasty, large, light green leaves.
Our seed stock for Queensland Romaine came from the amazing seed keeper and artist Melissa DeSa. You can find her on Instagram @southern_seed_queen.
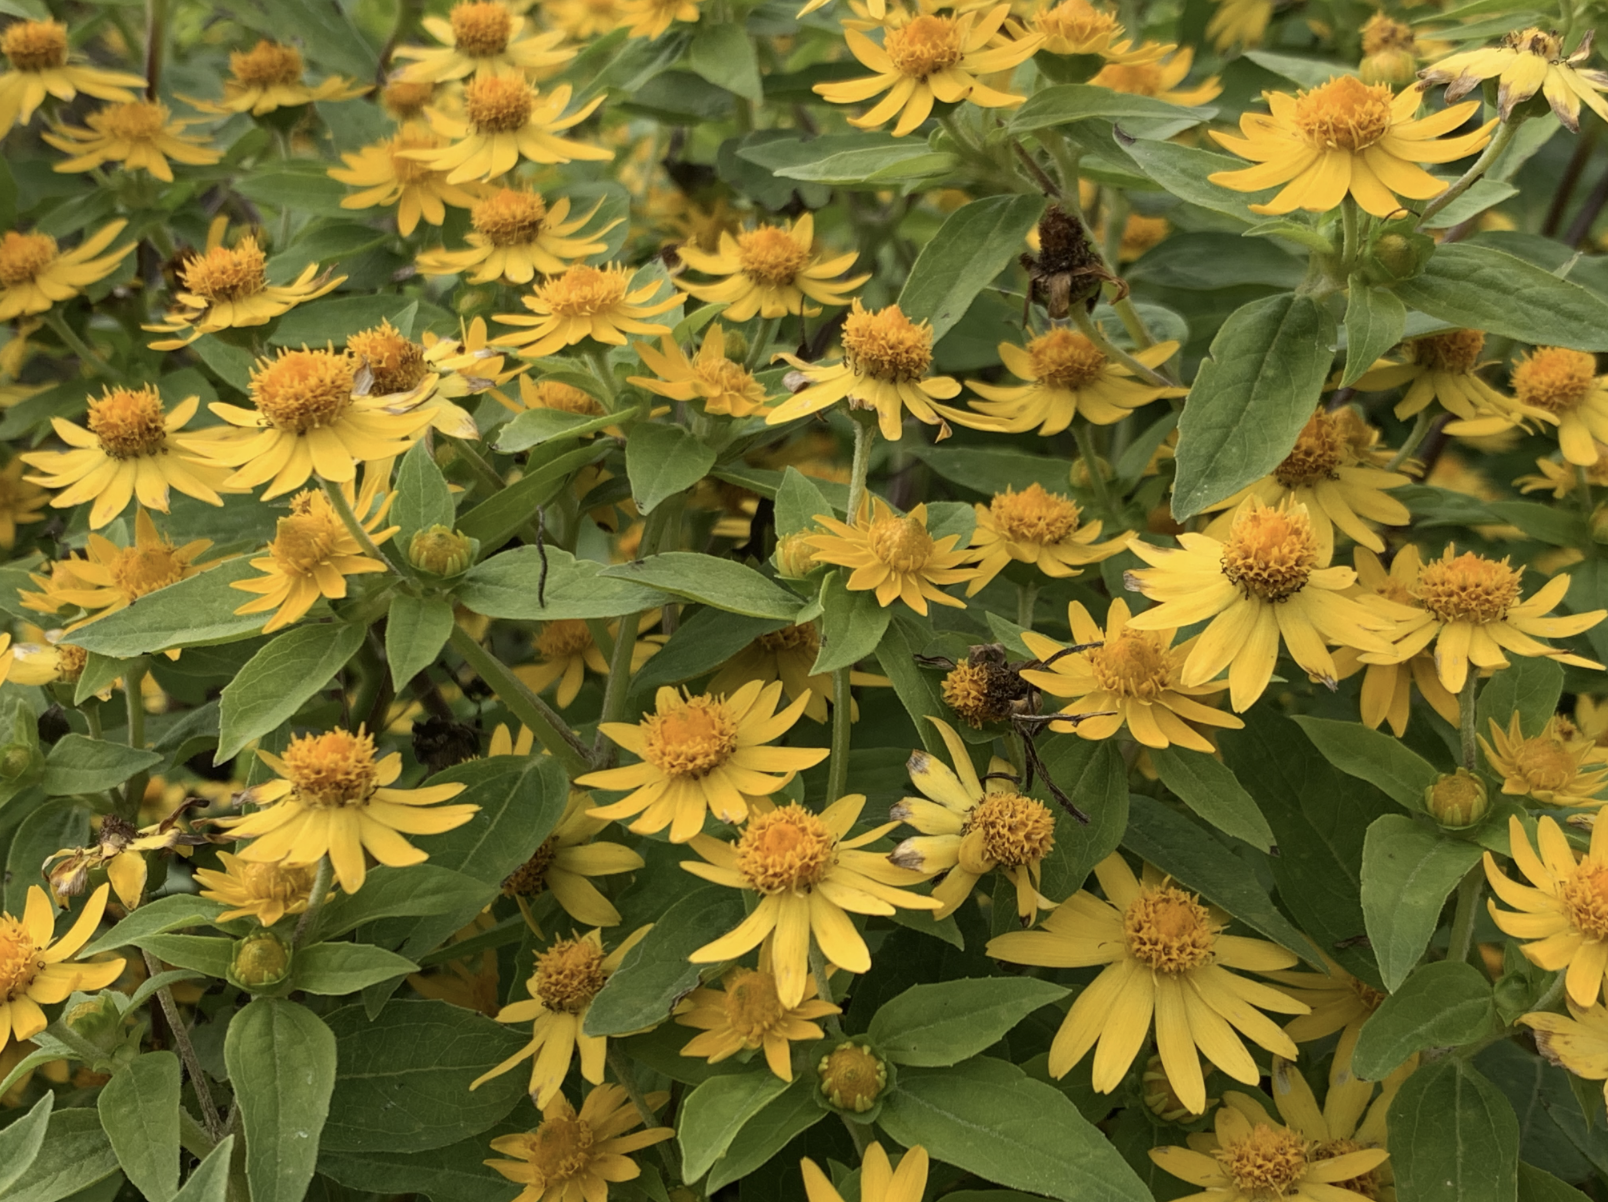 Showstar Melampodium
Looking for easy-to-grow plants that tolerate heat, humidity, drought, and poor soil? Look no further! Showstar Melampodium produces mound-shaped plants with many 1 ¼ -inch yellow flowers. It flowers most heavily in the fall and continues until frost, without deadheading!
 Spinners Ivory Cotton
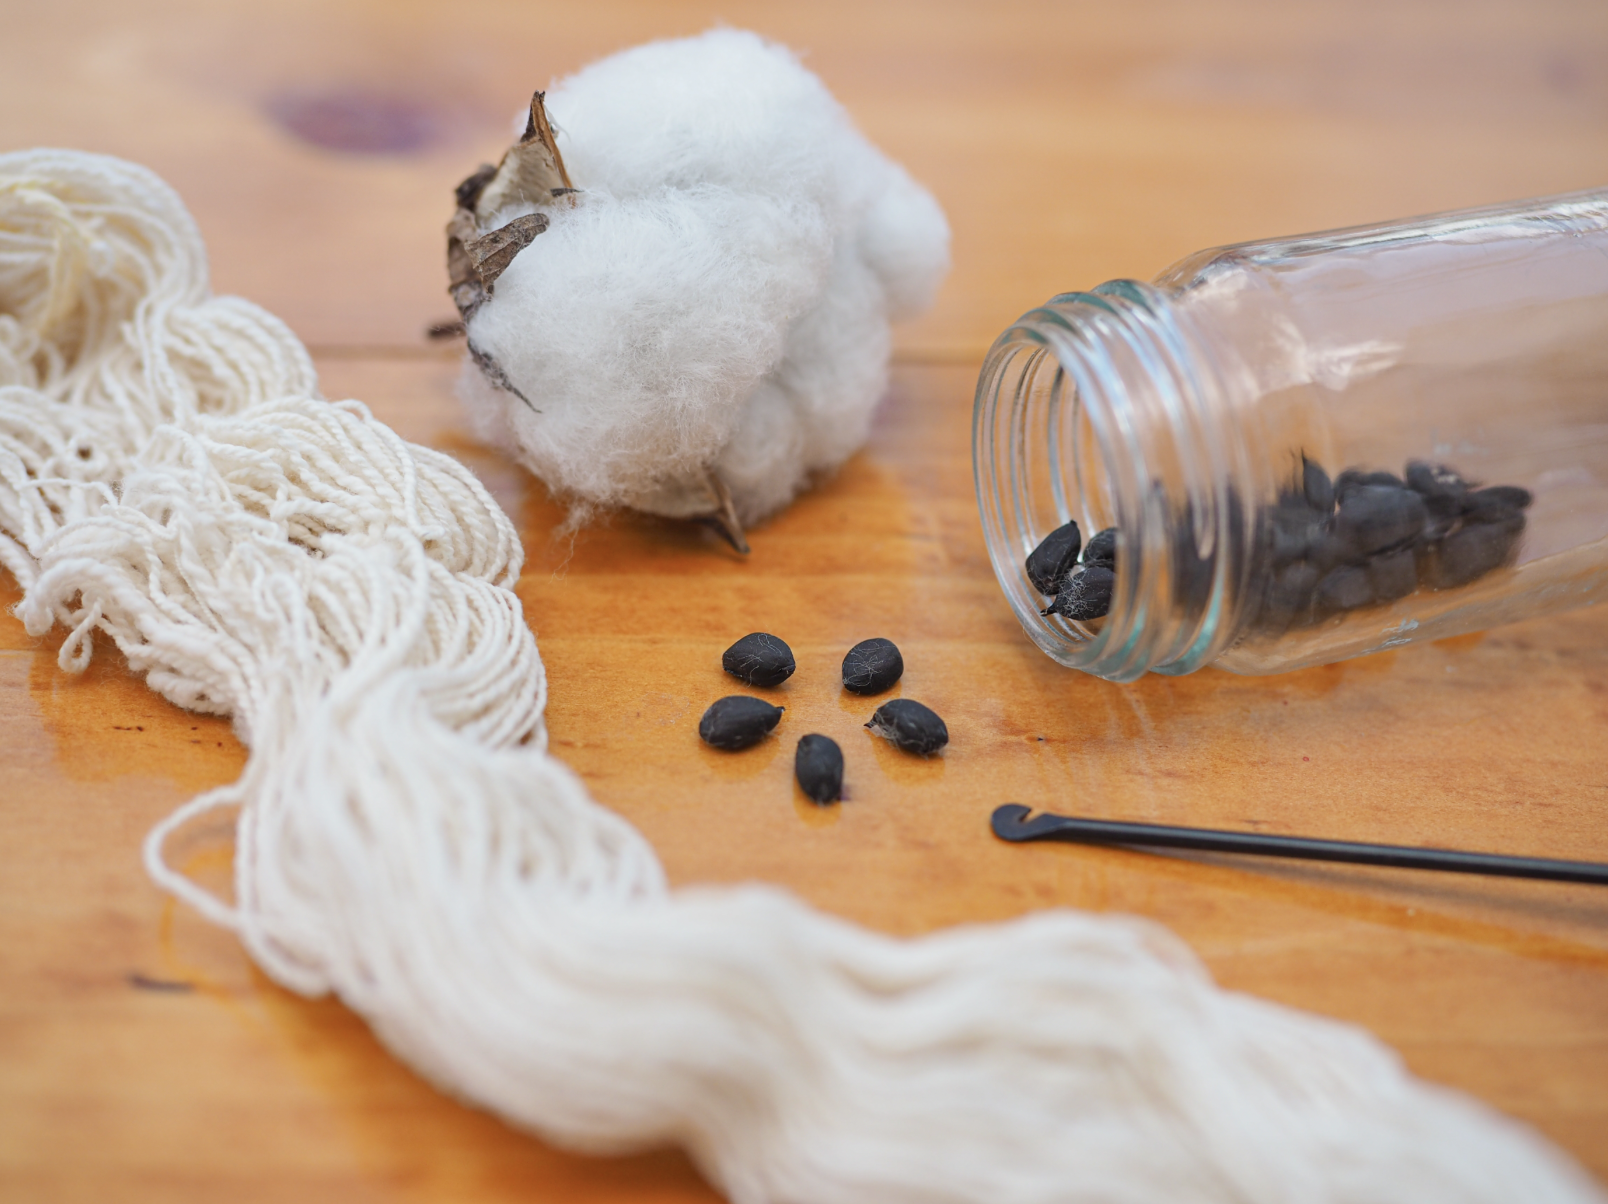
This new cotton variety was bred by Cindy Conner through Homeplace Earth’s Cotton Project right here in Virginia. She bred Spinners Ivory from a cross of green and brown varieties.
Cindy named this variety for its naked seeds (no lint), making it easy to remove by hand or spin right off the seed. It has a short staple and off-white color.
If you’re interested in cotton or fiber arts, we highly recommend you read Cindy’s book Homegrown Flax and Cotton: DIY Guide to Growing, Processing, Spinning & Weaving Fiber to Cloth.
 Xiye Butternut Squash (C. moschata)
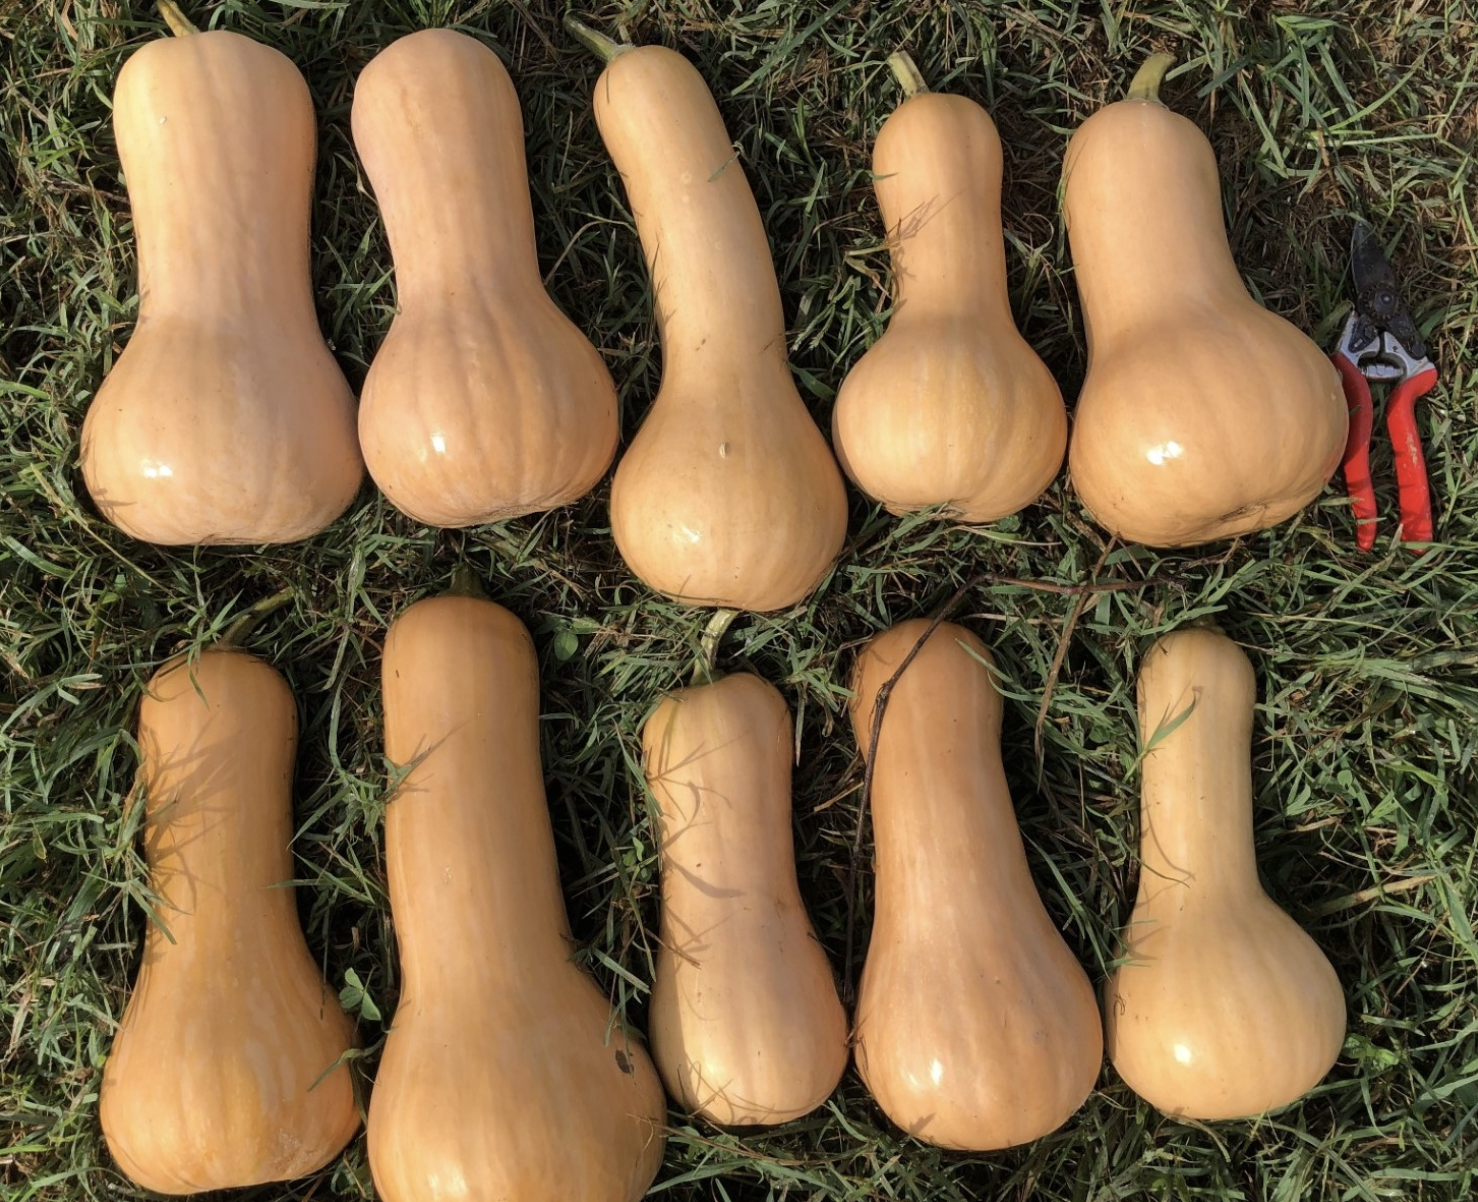
This new winter squash was bred by Care of the Earth Community Farm in Corryton, Tennessee, and named in honor of climate activist Xiye Bastida. This variety was bred from a cross between San Jose Mountain Club Squash (from Costa Rica) and Waltham Butternut.
This great-tasting squash was bred to resist downy mildew and tolerate variable and unpredictable climatic conditions. The plants are fully vining and very productive. Xiye Butternut is sweet and nutty and has a caramel or butterscotch flavor when roasted, and the exterior color is a deep tan.
Selection is ongoing for butternut shape, size (selecting for 4 lb. size), smaller seed cavity, dry matter content, flavor, and ability to store for at least three months. Xiye is currently in its 7th generation; expect a bit of variability for all characteristics.
Adding new varieties to Southern Exposure Seed Exchange and preserving old favorites is always a careful balancing act. Whether heirlooms or newly bred varieties, these fourteen crops have earned a place on our website and catalog for their delicious flavor, hardiness, disease resistance, beauty, and productivity. Consider adding one of these new varieties to your garden this season, and be sure to let us know how it goes!




 Plant Perennials
 Use Cover Crops and Mulch