Tag Archives: garden planning

Crop Rotation by Plant Family

Crop rotation is an essential tool in the organic gardener’s tool box. It’s an excellent way to reduce pest and disease pressure without resorting to pesticides, fungicides, or other chemical amendments. There are many methods of crop rotation but we prefer to rotate crops on a 2 to 4-year plan by plant family. This is a simple method for small gardeners and market growers alike, whether you’re working with flowers, herbs, or vegetables.

What is Crop Rotation?

Crop rotation is a system of gardening organization and planting that ensures you don’t grow specific types of plants in the same bed for multiple years in a row. Some farmers like to rotate by nutritional needs (ex. Heavy feeders, light feeders, and givers), but we prefer to rotate by family (related groups of plants).

For a large commercial garden or home vegetable garden, we encourage growers to rotate on a four-year plan, meaning that you don’t grow a type of crop in the same bed for four years.

If this isn’t feasible, do what you’re able. A two or three-year rotation is better than none!

Keeping track of your rotation each year is essential. Keep a garden journal (graph paper is helpful for sketching beds) or a garden planner app.

Benefits of Crop Rotation

Why can’t you just keep planting crops in the same spot? When we plant the same crop in a bed year after year, it uses the same nutrients and encourages disease and pests to build up in the soil.

Crop rotation can eliminate these issues and make your garden healthier. It may:

  • Reduce the risk of pests and diseases.
  • Improve soil health and fertility.
  • Reduce the need for chemical amendments.
  • Increase yields.
  • Improve soil carbon sequestration.

There’s even some new evidence that crop rotation may help reduce risks of crop loss in a changing climate.

What are the Different Plant Families?

Most of the common vegetable crops and even some flowers and herbs fall into a few larger plant families. Prevalent pest and disease issues often affect specific families. 

For example, some cucurbits like pumpkins, winter squash, and summer squash are all affected by vine borers, blight is a common fungal disease in the nightshades like tomatoes and potatoes, and many of the brassicas like broccoli, cauliflower, and cabbage are prone to cabbage worm issues.

Rotation often helps prevent theses issues. For example, garlic rust is most prevalent in garlic, but it can also infect onions and leeks when they’re planted closely or in an infected bed. 

Here are the basic crop families:

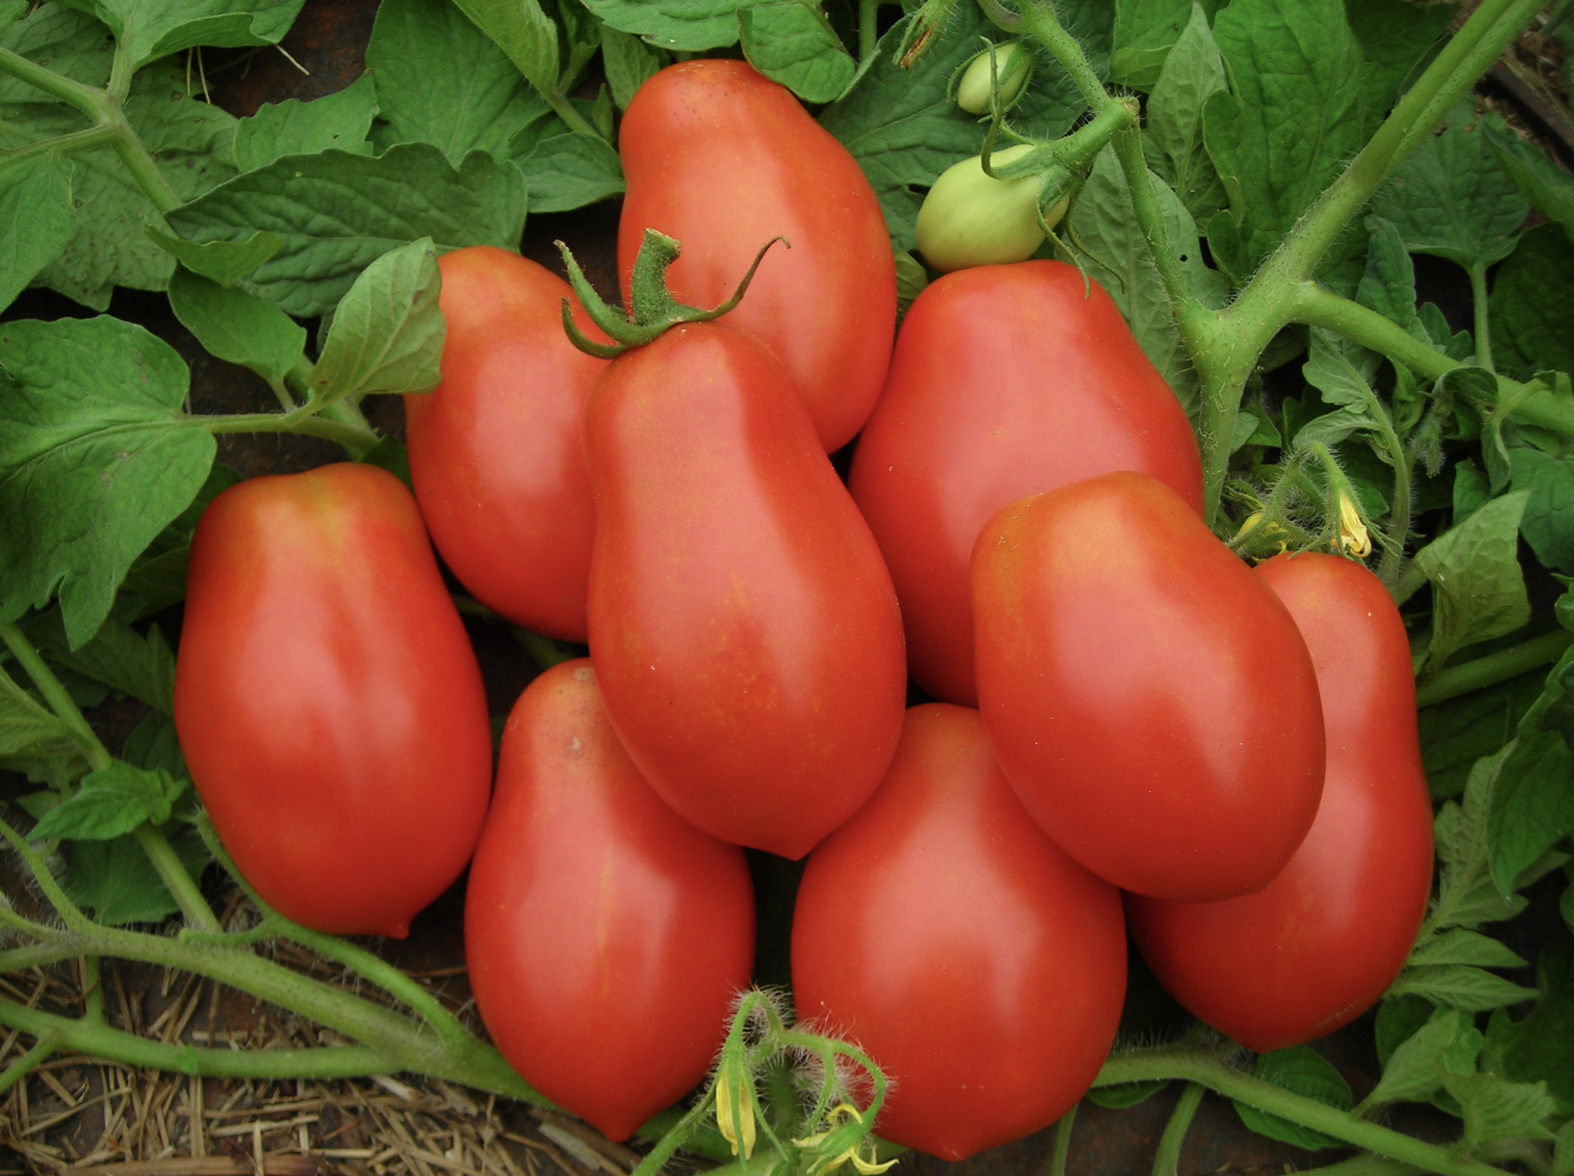
The Nightshades (Solanaceae spp.)

  • Tomatoes
  • Tomatillos
  • Ground Cherries
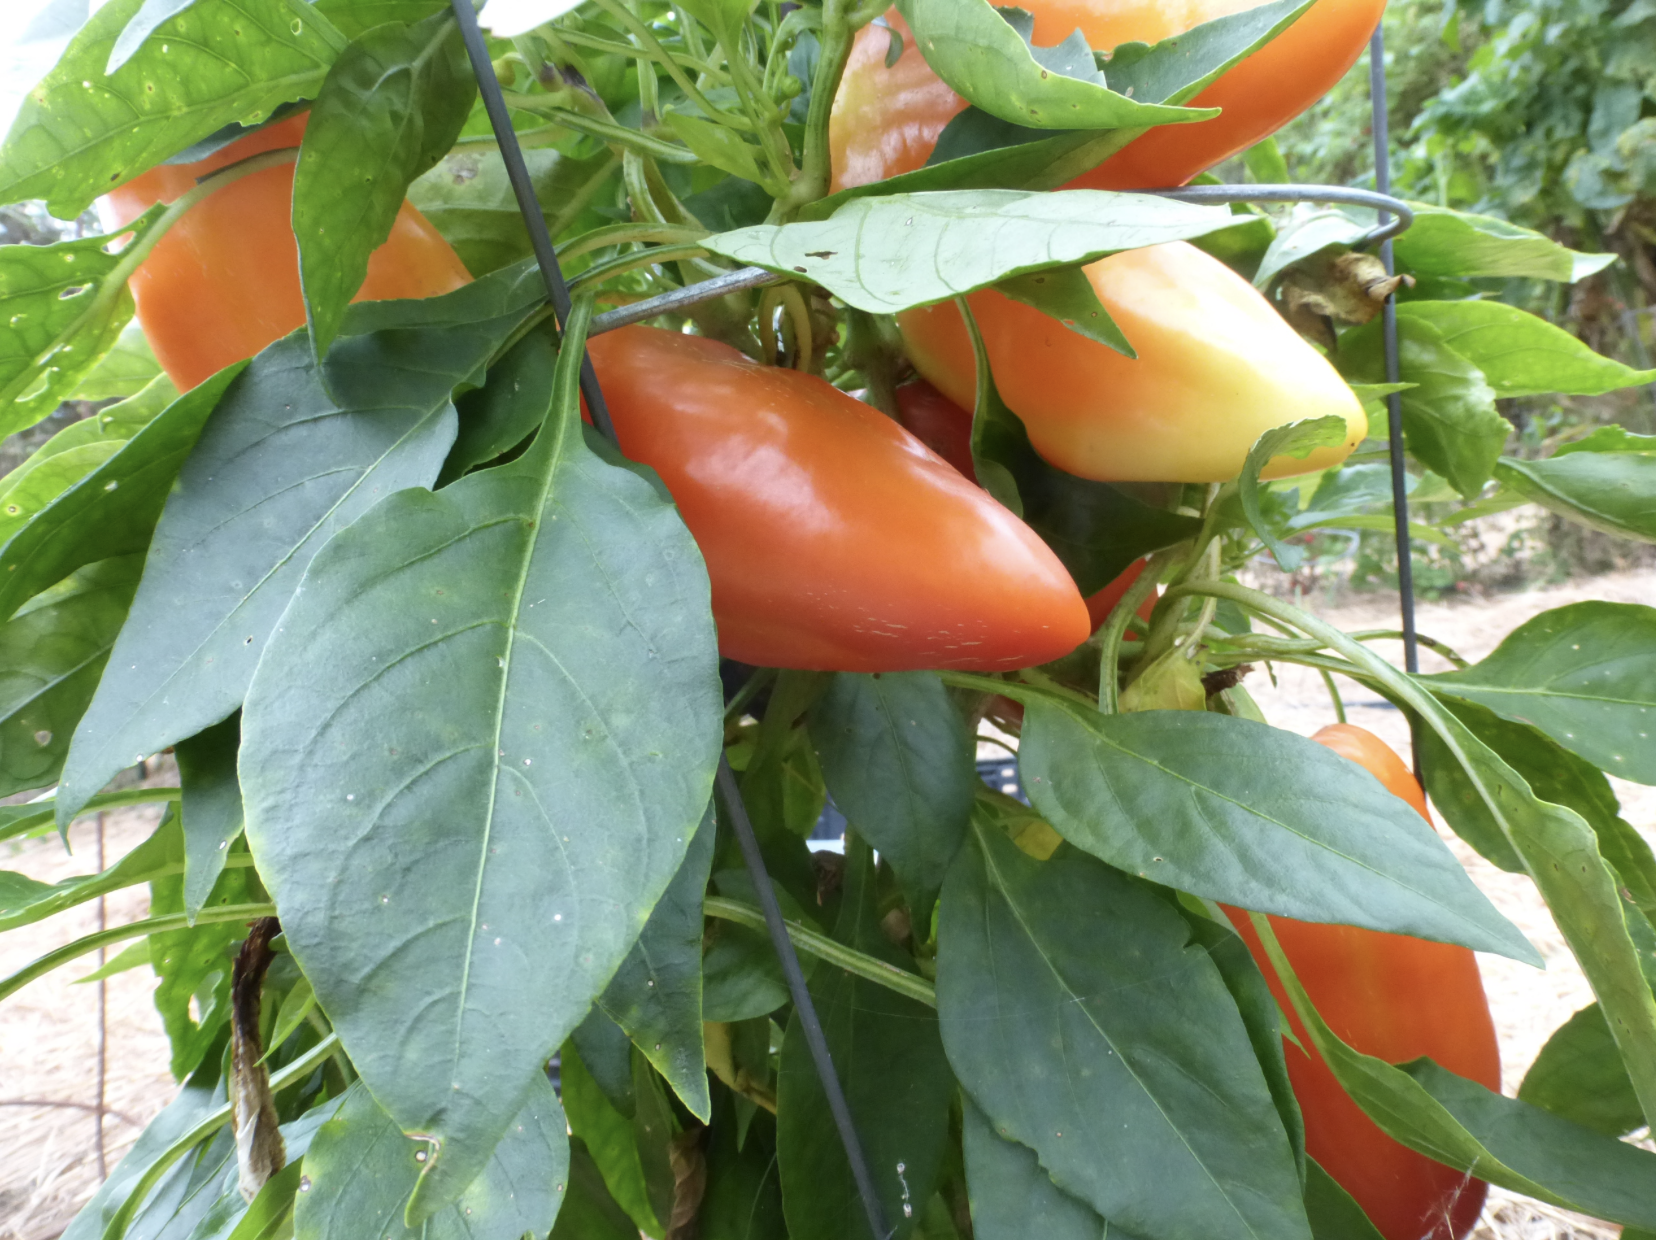
  • Peppers
  • Eggplants
  • Potatoes
  • Tobacco
  • Garden Huckleberry
  • Petunias

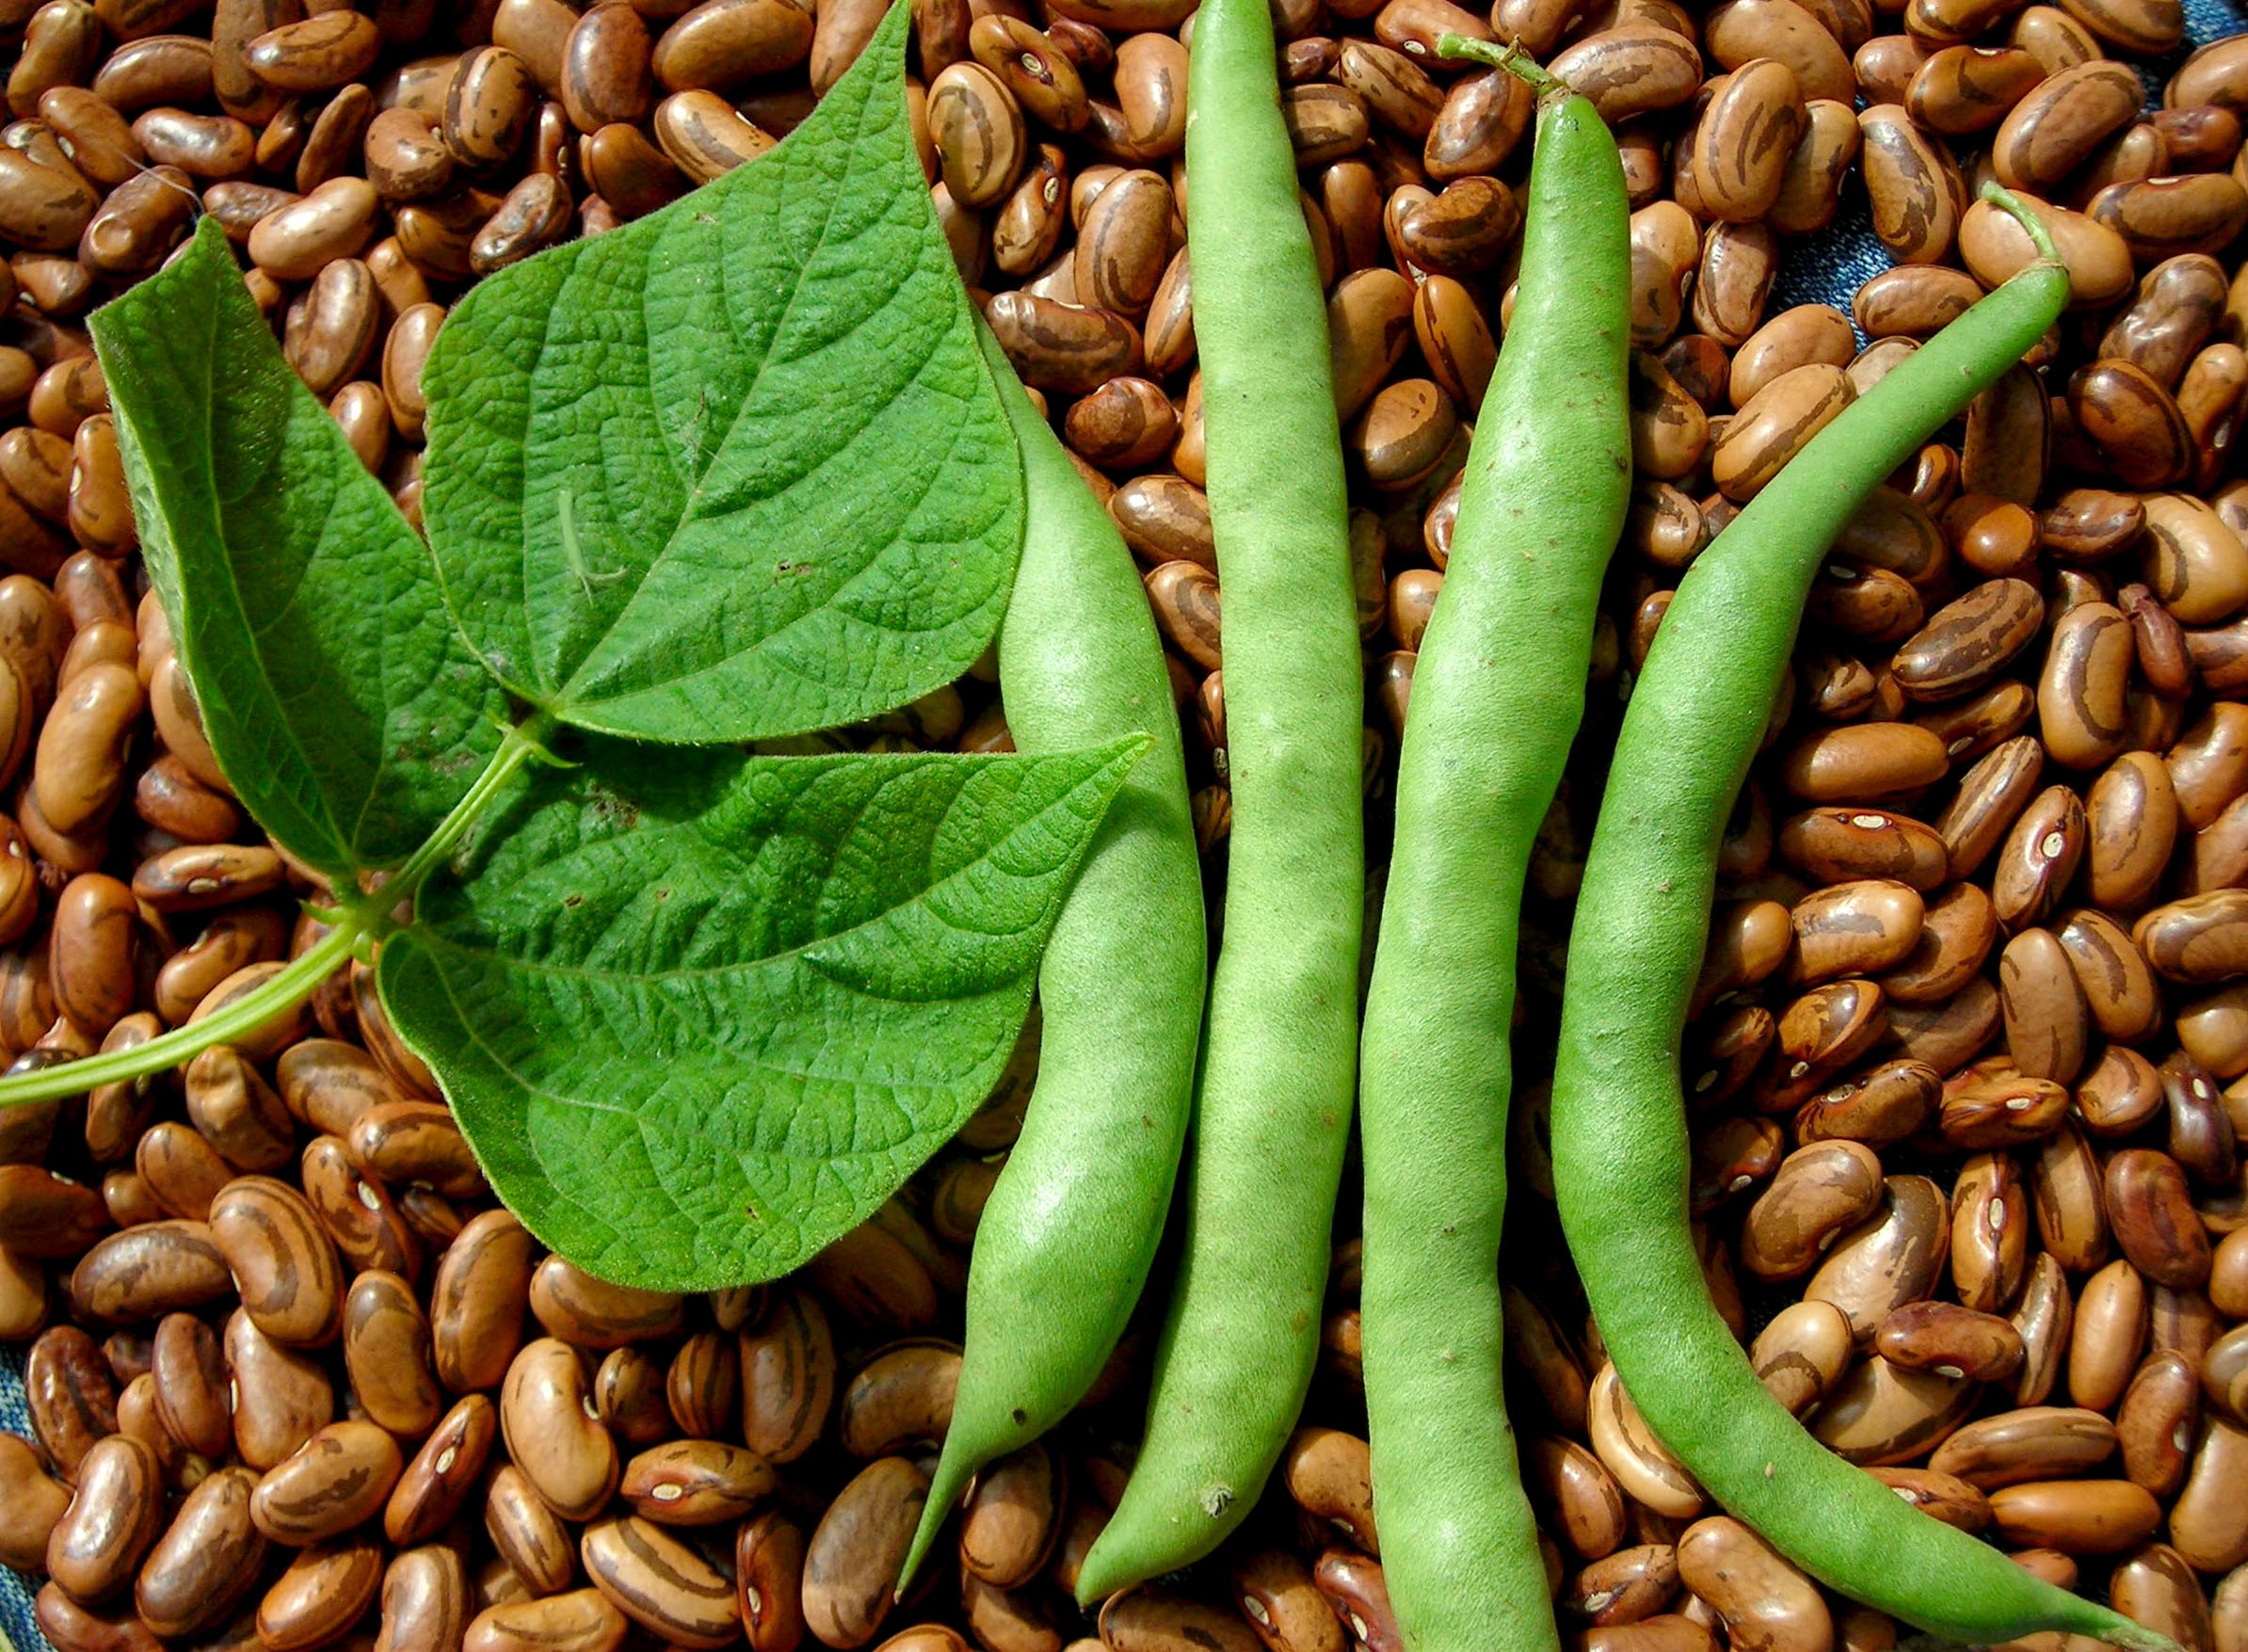
The Pea Family (Fabaceae spp.)

  • Pole beans
  • Bush beans
  • Asparagus beans
  • Fava beans
  • Soybeans (edamame)
  • Peas
  • Sweet Peas
  • Cowpeas

The Beet Family (Chenopodiaceae spp. or Amaranthaceae spp.)

  • Beets
  • Quinoa
  • Swiss Chard
  • Spinach 
  • Amaranth

The Cucurbits (Curcurbitaceae spp.)

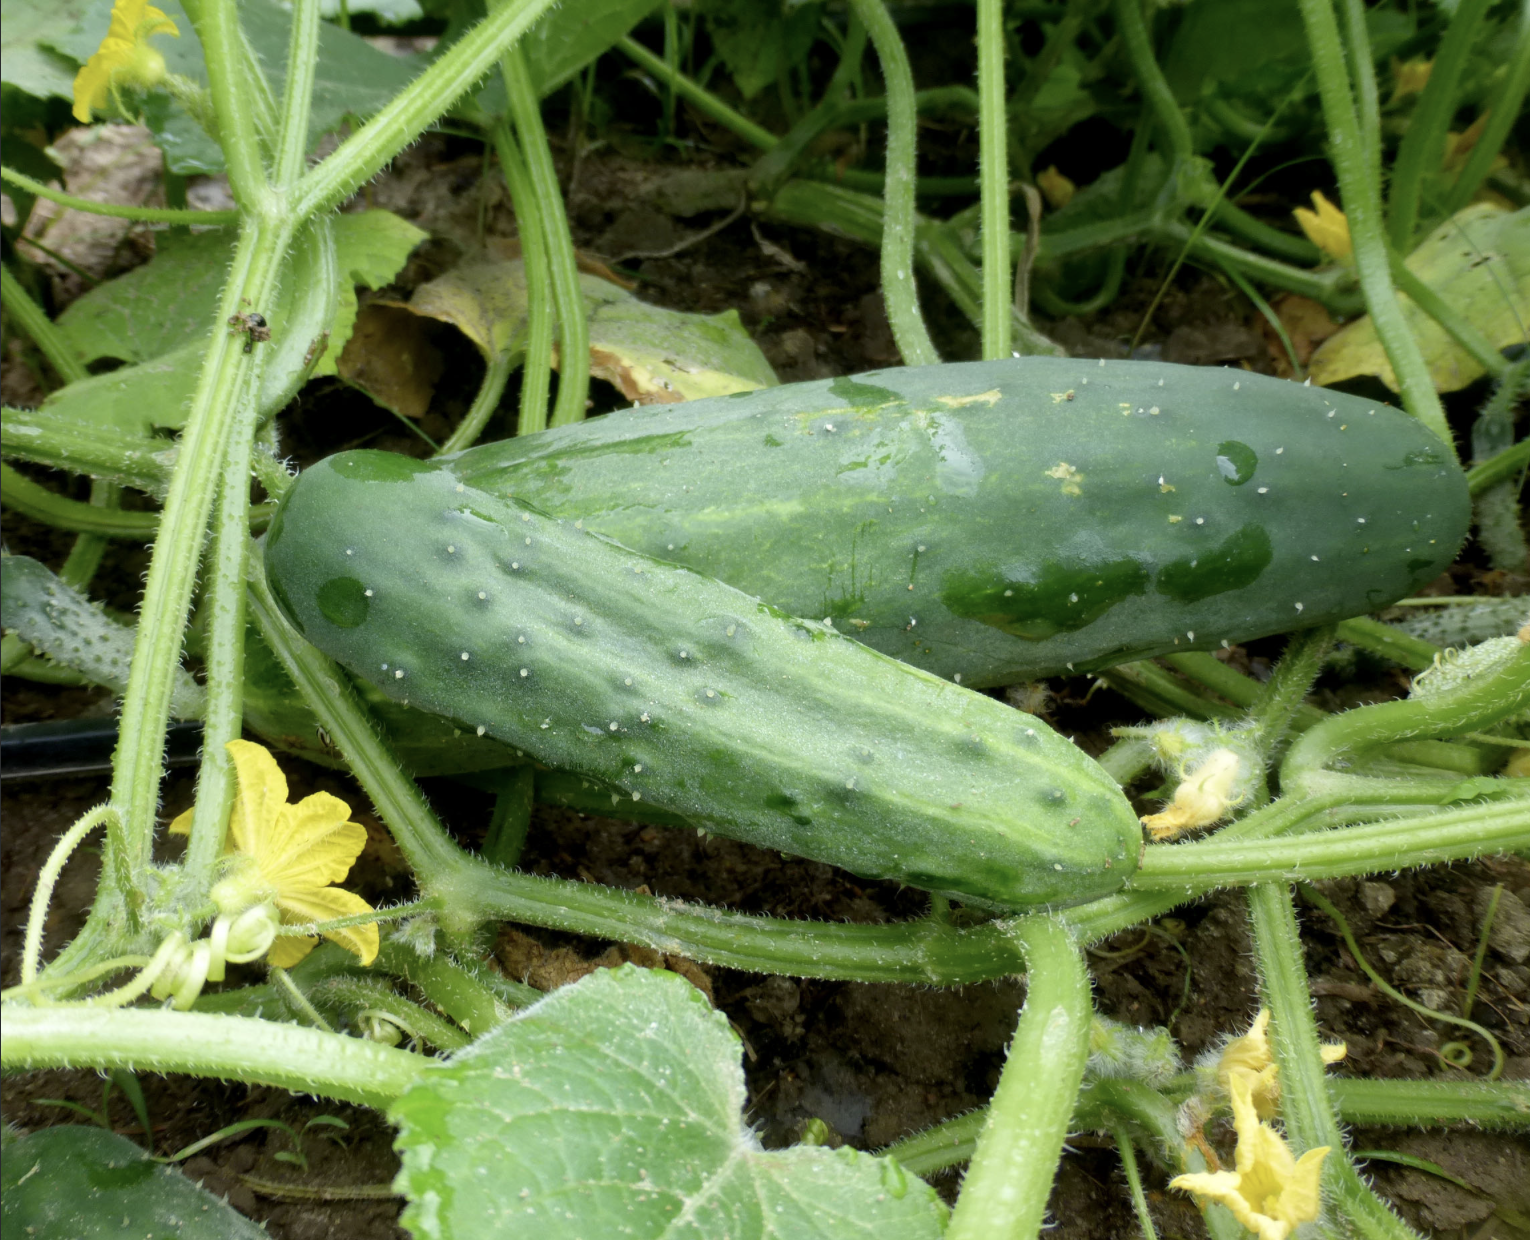
  • Cucumbers
  • Zucchini 
  • Summer Squash
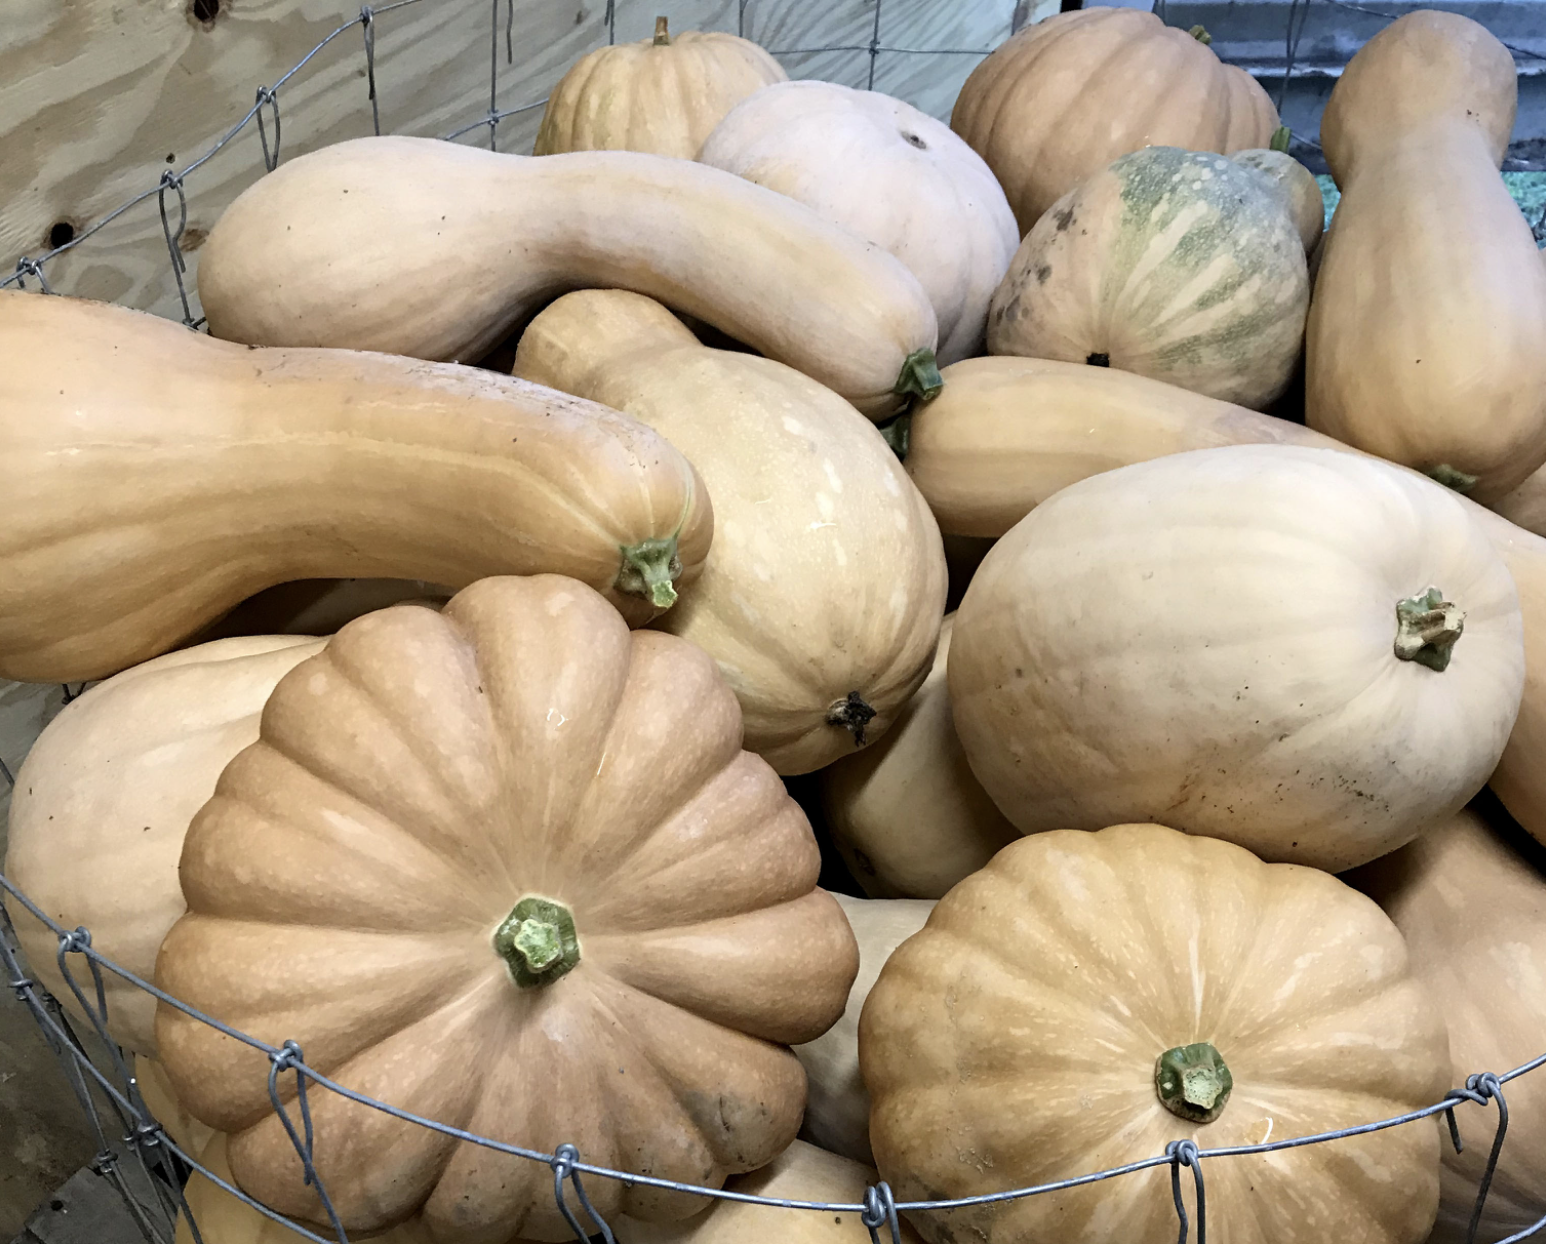
  • Winter Squash
  • Pumpkins
  • Gourds
  • Watermelon
  • Melons

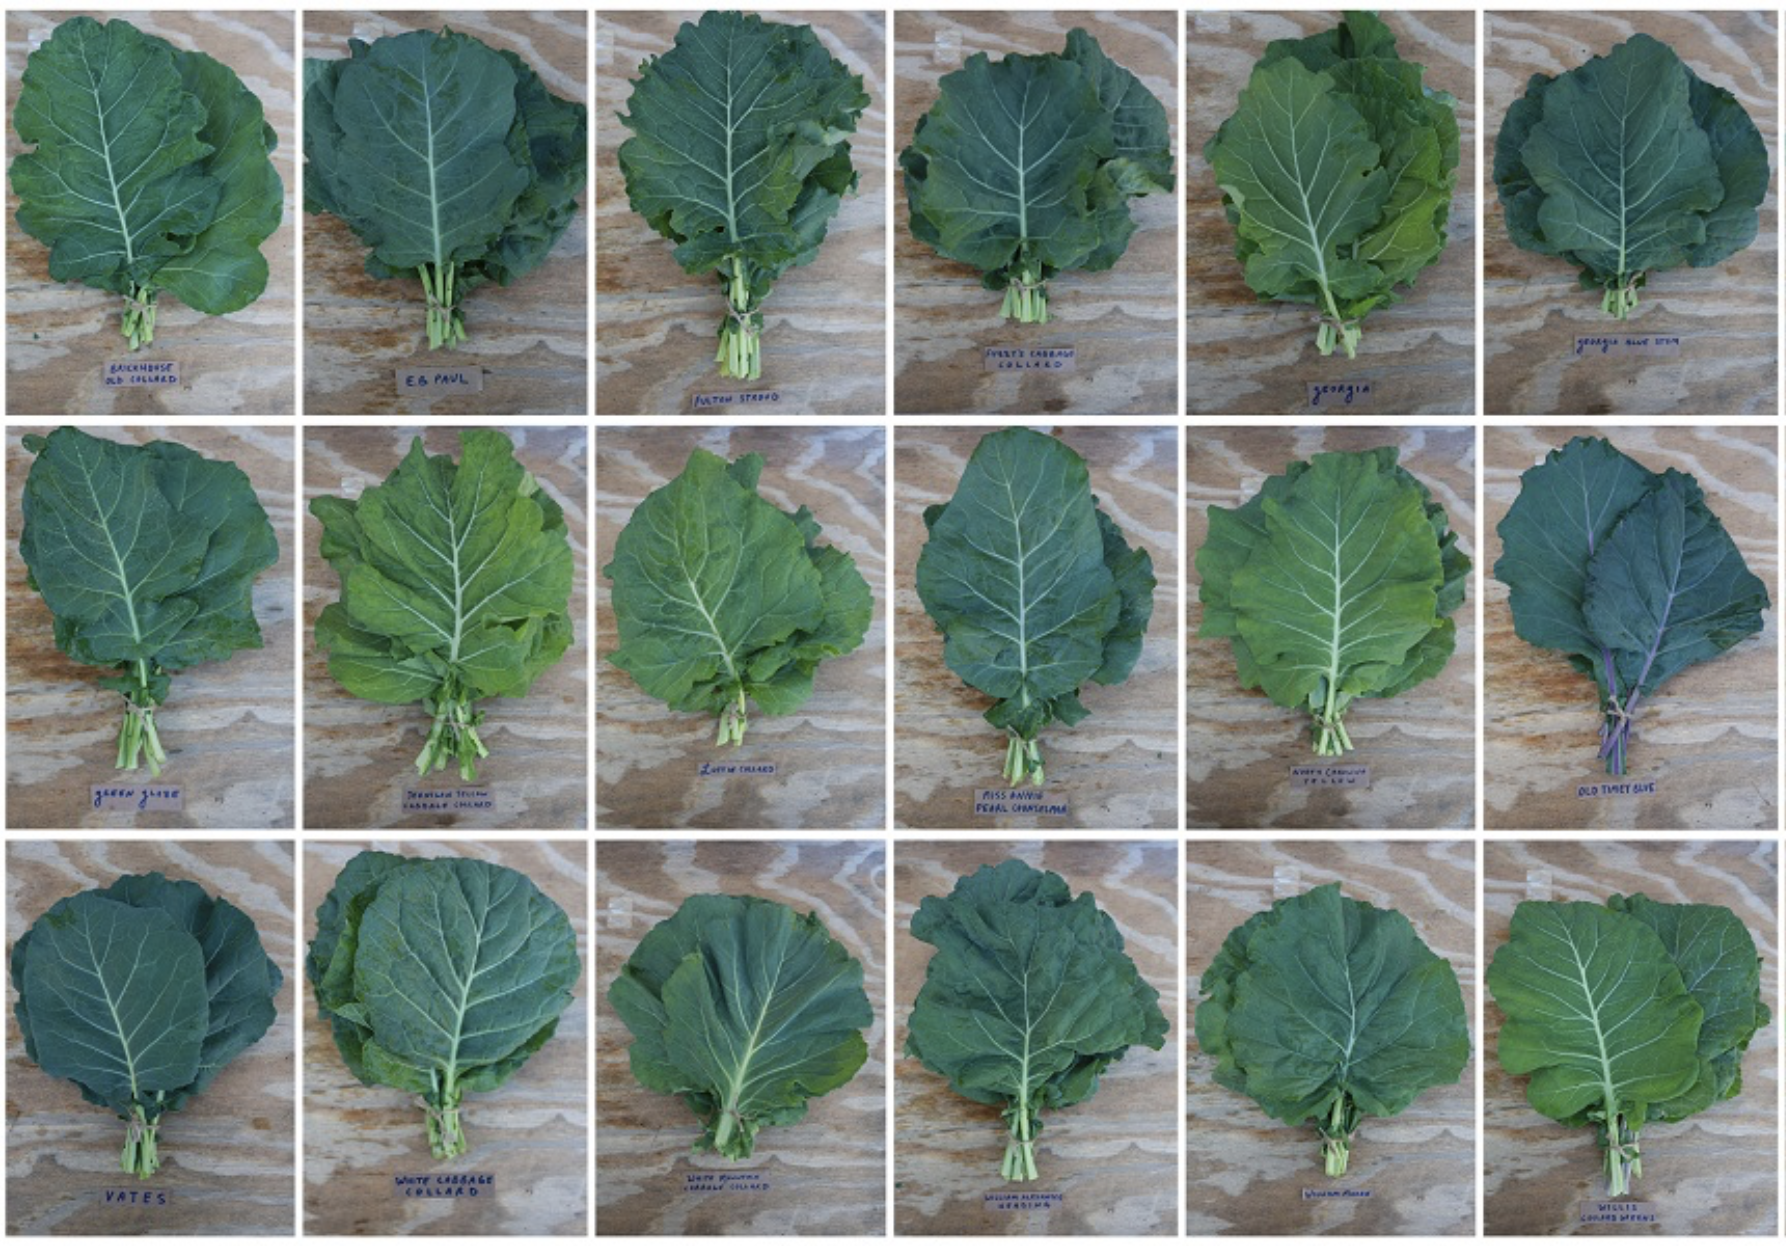
The Brassicas (Brassicaceae spp.)

  • Cabbage
  • Collards
  • Brussels sprouts
  • Kale
  • Broccoli
  • Cauliflower
  • Radishes
  • Kohlrabi
  • Mustards
  • Asian greens (bok choy)
  • Turnips
  • Arugula

The Carrot Family (Apiaceae spp.)

  • Carrots
  • Dara
  • Celery
  • Fennel
  • Cilantro
  • Parsley
  • Parsnips
  • Dill

The Alliums (Alliacaeae)

  • Bulb Onions
  • Garlic
  • Leeks
  • Perennial Onions
  • Shallots
  • Chives

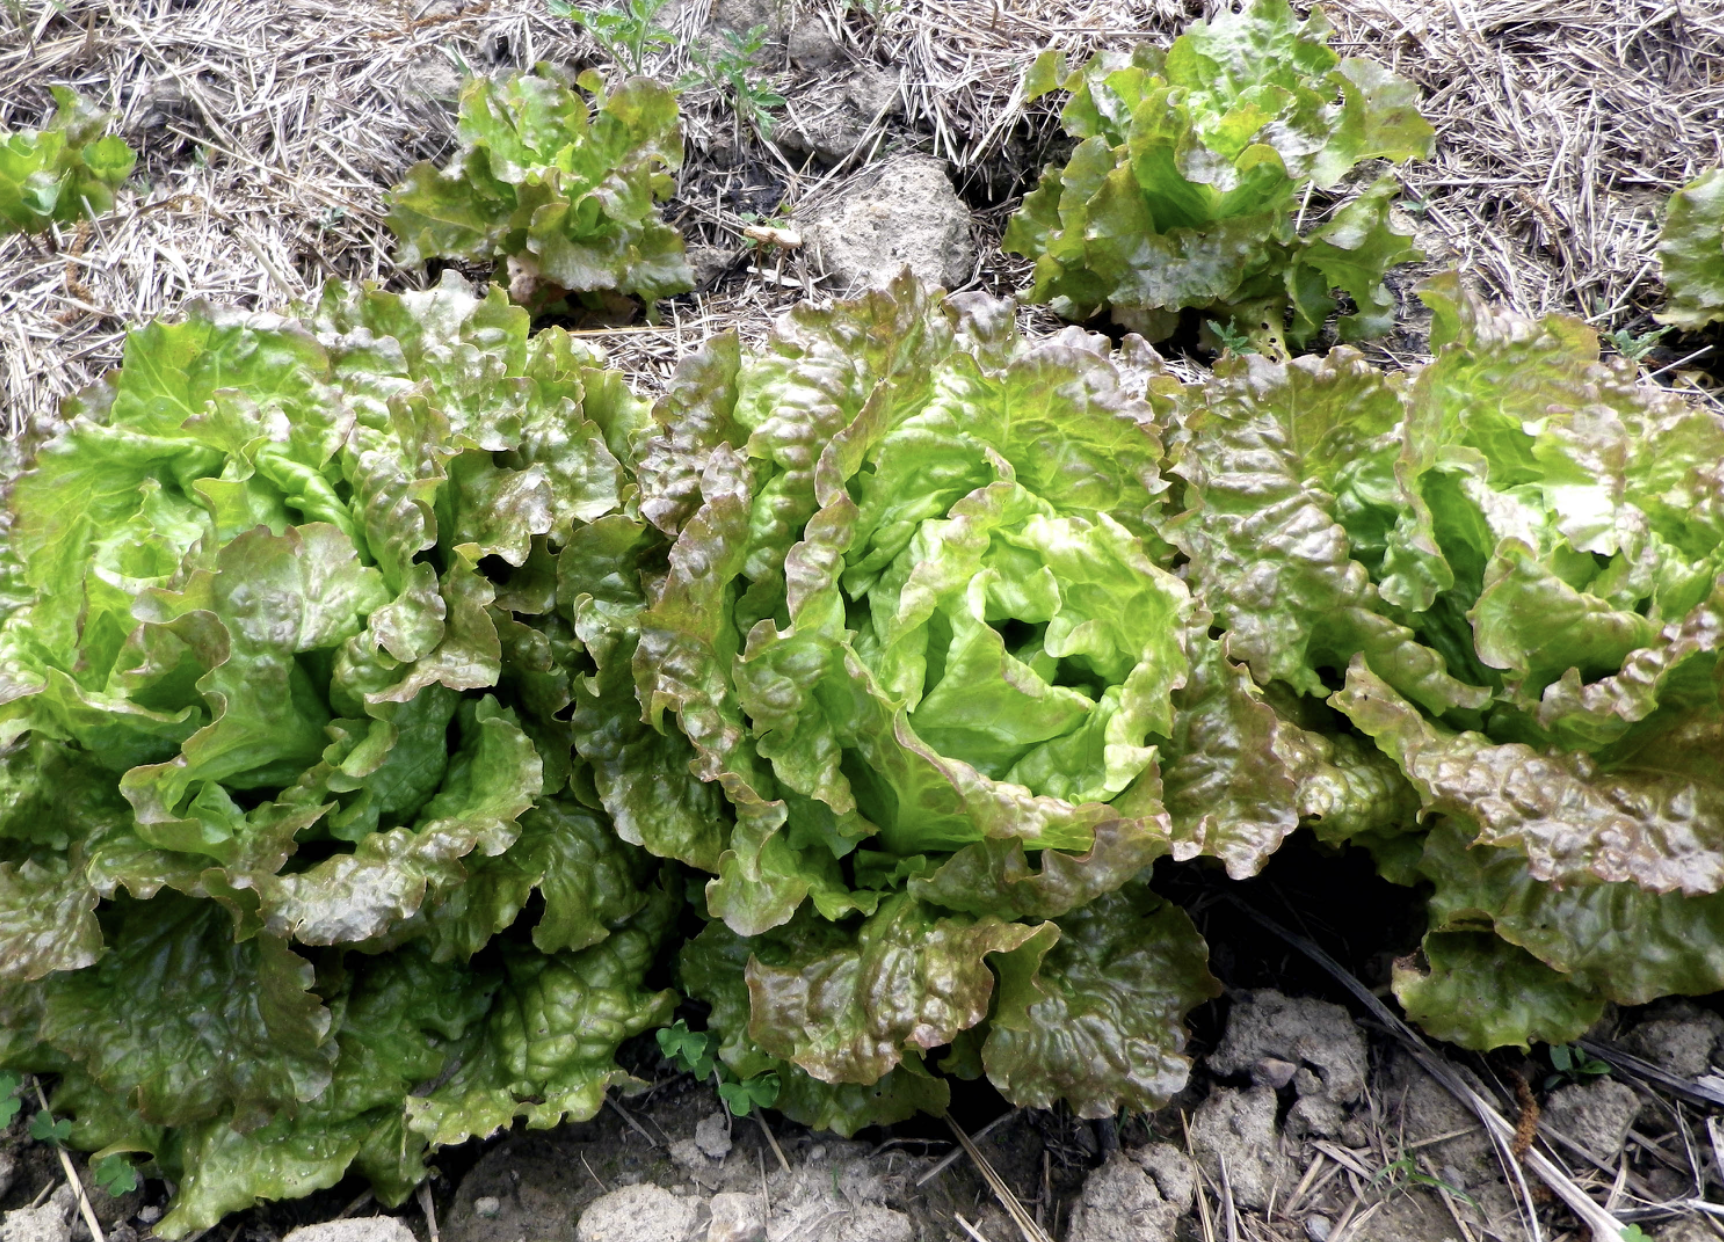
The Daisy Family (Asteraceae spp.)

  • Sunflowers
  • Lettuce
  • Endive
  • Radicchio
  • Asters

How to Crops Rotate by Family

There isn’t a one-size fits all formula for every garden. Just keep moving crops. For example, if you grow tomatoes (a nightshade) in a bed one year, you could grow broccoli (a brassica) the following year, then bulb onions (alliums), and then finally bush beans (pea family), before growing another nightshade, like peppers.

Buckwheat (cover crops)Other Considerations

Rotating by family is the basic way to get the job done, but there are some other techniques you may also want to include.

Fertility Requirements

As you plan your rotation, you may want to consider the fertility requirements of different plant families. Many growers choose to rotate crops through a bed, starting with high fertility needs to low fertility needs. Often, they will rest the bed for a year or put it in a cover crop in between cycles. 

Heavy feeders are vegetables that need a good bit of nitrogen to thrive, like tomatoes, sweet corn, and broccoli. Light feeders like garlic, parsnips, and Swiss chard need less nitrogen to thrive. Givers or fixers are the last category. These are the nitrogen-fixing members of the pea family. They rarely need much supplemental nitrogen as they can convert atmospheric nitrogen into its usable form.

You can also take this a step further with cover crops.

Adding Cover Crops to Your Rotation

Adding cover crops to your rotation can also make a tremendous difference in the health of your soil and productivity of your garden. In large gardens, you may decide to leave beds or sections in a cover crop for an entire year to rest the soil.

In smaller gardens, this may not be possible. Don’t fret, you can use the off-seasons and “in-between times” for cover crops. 

Winter cover crops are a great way to improve soil health during the slow season. You can also plant a cover crop as soon as a crop is finished. For example, if you grow a bed of early cabbages, you can sow the bed in a cover crop like buckwheat during the summer. In late summer or fall, cut the buckwheat and use the bed for a fall crop.


Crop rotation is a simple way to improve the health of your soil and garden. As your planning next season’s garden, think about incorporating crop rotation by family for a more productive year. 

6 Tips for Planting a Fall Garden in Hot Weather

Over the last few weeks, we’ve been preparing beds and sowing many of our fall crops, such as lettuce, radishes, and cabbages, here at Southern Exposure. Unfortunately, temperatures in our zone 7a and gardens farther south rarely cooperate. The 90°+ days we’ve been experiencing are far from ideal for these cool-season plants. Unfortunately, we can’t always wait until the temperatures start to dip. We need these plants to mature before cold temperatures and the dwindling light of late fall and winter set in. That’s why this week, we’re sharing our favorite tips to help you start your fall garden in hot weather.

Use Your Refrigerator or Other Cool Spaces

One of the biggest struggles with high temperatures is getting sensitive seeds like lettuce to germinate. Most lettuce germinates best around 75°F but will germinate at temperatures as low as 40°F. Rather than direct sow them or sow them in flats outdoors, we start our fall lettuces indoors and place the flats into the refrigerator for 4 to 6 days. If you don’t have space in your fridge, you could try another area that stays cool, like a root cellar. Just keep an eye on them; they need light once they germinate!

Beets in the fall gardenKeep Soil Cool and Moist with Boards, Burlap, or Cardboard

While our previous method works well for crops like lettuce or broccoli sown in flats, some crops like carrots don’t thrive as transplants. For these crops, we direct seed them into moist soil and then immediately cover the soil with boards, thick cardboard, or burlap. This ensures the soil stays cool and moist while the seeds germinate. However, you must check them and remove the covering as soon as they germinate. They’ll be leggy, pale, and weak if left covered too long.

Use Row Cover

We use row cover at Southern Exposure during every season, but in August, it’s handy for providing cool-season crops with some relief from the heat. Light row cover or shade cloth offers some protection from the sun’s harsh rays, keeping your plants and the soil they’re growing in cooler. It also keeps insects off young plants. 

Select Appropriate Varieties for the Fall Garden

Some varieties do better in this season than others. You’ll notice that many crops that are good for the fall garden, say so in their name. Some of our favorites like this include Black Spanish Round Fall Radish, Snowball Y Fall Cauliflower, and Winter Bloomsdale Spinach. However, for some, you’ll need to dig through the description. For those in the Deep South, it can be helpful to look for heat-resistant crops like Jericho Romaine Lettuce this time of year.

Winter Bloomsdale Spinach

Find Your Exact Sowing Window

Depending on your zone, you may also be able to wait until later to plant certain crops. We recommend using our garden planner or a similar app for exact planting windows for your zip code. 

You can also do things the old-fashioned way. To calculate your last possible sowing date, you must find your estimated first frost date and your variety’s estimated days to maturity. 

If you’re direct sowing a crop, add 14 days to the days to maturity; if you’re transplanting, add 14 to 28 days. Take this number and count backward from your first frost date to get your last possible sowing date, ensuring your crop reaches maturity before frost. 

Note that many crops will tolerate light frosts or can be protected with row cover or a hoop house. However, even in hoop houses that are kept warm, production dwindles in the fall as the days get shorter and shorter. 

Maintenance is Essential for the Fall Garden

Maintenance is crucial during hot weather, which can stress plants. Keep up with consistent watering and weeding. Place mulch around plants as soon as possible to keep the soil cool and moist and to suppress weeds. You can use wood chips, straw, grass clippings, or old leaves.

Getting started on a fall garden can be challenging when temperatures are still high, but getting crops in on time is essential. Using these tried and true methods can help you succeed with a fall garden, no matter what the weather looks like outside.

Simple Succession: 5 Easy Ways to Get More from the Garden

Succession planting is one of the best ways to get more out of your garden. It means you can spread out your harvests rather than having periods of extreme abundance and shortage. Unfortunately, people often picture hauling out a calendar, looking at spreadsheets, and spending hours calculating exact schedules. While some cut flower farmers and vegetable market growers do get it down to an exact science, succession planting in the home garden can be much simpler while still providing benefits. Here are a few simple ways we spread out the harvest with succession planting. 

Select Staggered Varieties

You may find a wide variation in days to maturity, even among the same crop. This is ideal for enjoying that crop over an extended period. A great example of this is cabbage. 

For early fresh eating, choose a variety like Early Jersey Wakefield (64 days) or Golden Acre (62 days), which will be easily ready in time to make coleslaw for your summer barbeque. Start a longer-season variety like Premium Late Flat Dutch (100 days) for fall storage, sauerkraut, and cooking.Early Jersey Wakefield Cabbage

Select Staggered Crops

Some crops naturally have their season, and that’s okay, too. While we might get a few successions of spinach and lettuce in the spring, it eventually gets too hot to have much luck with them. In these cases, selecting a different crop rather than another variety is best.

For example, we know that eventually, our lettuce will bolt in the summer heat. If you’re not keeping it all for seed, you should have a crop you can quickly put in that bed next. After lettuce, you may choose relatively quick-to-mature summer crops like bush beans or zucchini. 

Plant a Couple of Rows Every Couple of Weeks

You can also use the same variety and do your sowing over a longer period. For example, you can plant a few mounds of cucumbers every couple of weeks in the spring. We’ve found that this method can be especially helpful for crops like sweet corn and spring radishes that need to be harvested and used relatively quickly once they’re mature.

Corn succession plantingPlant a Couple More Rows When Crops Reach a Couple Inches High

As time to maturity can vary with weather conditions, some growers opt to plant more when their first section reaches a specific size. A good example is planting another section of sweet corn when the first section reaches 1 to 2 inches tall.

Intercropping

Intercropping may not be the same as succession planting, but it generally has the same desired effect by helping you get more from your space. You can use a trellis of pole beans to offer shade for greens or sow radishes in between mounds of watermelons, knowing they’ll be ready to harvest before the watermelon vines spread too much. 

Succession Planting Tips

  • Rotate your crops by family.
  • Add a couple of inches of finished compost in between planting to improve fertility and soil structure.
  • Pull plants that are no longer productive and plant another crop as soon as possible. 
  • Ensure you have the seeds you need for later successions and fall gardening.

Succession planting doesn’t have to be complicated. Try a few of these simple methods to spread out your harvest and have a more productive garden this season.