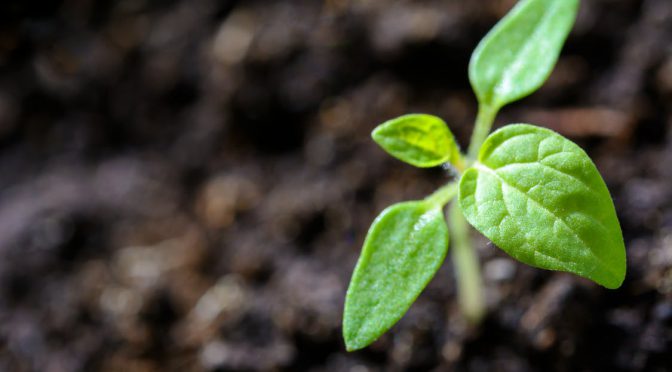
Companion planting or interplanting is the practice of growing plants together that provide benefits to each other as they grow. They can help each other by deterring pests and diseases, providing nutrients, shade, or even a trellis. Practicing companion planting can help you have a more low-maintenance garden and improve your yields.
The History Of Companion Planting
In the United States, the most well-known example of companion planting is probably the three sisters garden method practiced by some Native American tribes. Corn, pole beans, and squash are planted together. The beans grow up the corn stalks while fixing nitrogen and the squash grows beneath both, shading the soil which keeps it cool and minimizes weeds.
Companion planting is not exclusive to North America. It has been practiced in different ways across the world for thousands of years – probably since the dawn of agriculture. Companion planting can be seen in the artistic blends of English cottage gardens and French potagers. It has been used for thousands of years in China where mosquito ferns are interplanted with rice crops. It can also be seen in modern-day permaculture practices like forest gardening and fruit tree guilds.
Companion Plant Pairs to Try
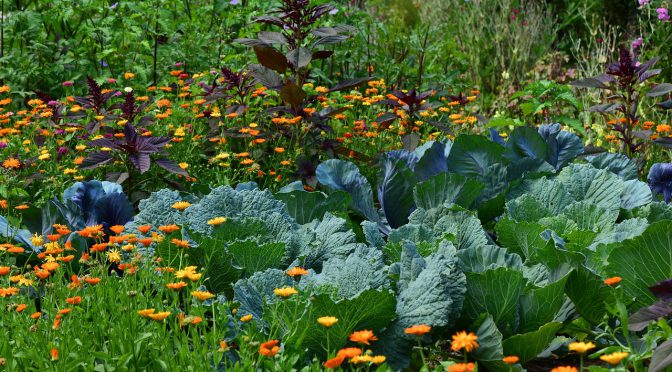
Companion planting is a really easy way to improve your garden! Try a few of the following pairs to get started companion planting this season.
Tomatoes & Basil
Basil is believed to repel flies and increase tomato yields. Plus they make excellent sauce together!
Carrots & Onions
Carrots and onions help protect each other from pests. Onions are believed to repel carrot flies and carrots are thought to repel onion flies.
Radishes & Cucumbers
Radishes are thought to deter cucumber beetles. Cucumbers can also be space hogs if they aren’t trellised. Growing a quick crop of radishes next to your young cucumber plants can help you make the most of your space. The radishes will be ready to harvest as the cucumbers are really starting to sprawl.
Sunflowers & Pole Beans
Mammoth sunflowers, in particular, make sturdy trellises for pole beans. While growing up the sunflower, pole beans fix nitrogen in the soil. You can also add vining squash to this combo for another version of the three sisters garden.
Melons & Dill
Many gardeners struggle to achieve good melon or watermelon yields. One of the keys to a productive melon patch is good pollination. Planting dill or another flowering herb can help attract pollinators to melons.
Peppers & Chives
Chives help deter aphids and other pests. They’re also believed to improve peppers when grown nearby. Chives will tolerate and thrive in a bit of shade from the peppers.
Buckwheat & Cabbages
Buckwheat attracts a plethora of beneficial insects including predatory wasps. Predatory wasps can help keep cabbage worms and other pests in check.
Collards & Catnip
Catnip helps repel flea beetles and can reduce damage to collards.
Cucumbers & Nasturtium
Nasturtiums benefit cucumbers in a few ways. First, they help attract pollinators. They also make an excellent habitat for predatory insects like spiders. Lastly, nasturtiums are thought to help repel cucumber beetles.
Carrots & Radishes
A common complaint among gardeners is struggling with slow or poor carrot germination. While they won’t necessarily improve germination, quick to sprout radishes make an excellent row marker for slower carrots.
Mix a bit of radish and carrot seed and plant a row. The radishes will come up first helping to mark your carrot row and aerate the soil as they grow. Most radish varieties will be ready to harvest before carrots start getting big.
Resources
Check out the following resources for more companion planting information.
Books on Companion Planting
- Native American Gardening Stories, Projects, and Recipes for Families by Michael J. Caduto and Joseph Bruchac
- Carrots Love Tomatoes by Louise Riotte
- Permaculture: A Designer’s Manual by Bill Mollison
SESE Blog Posts