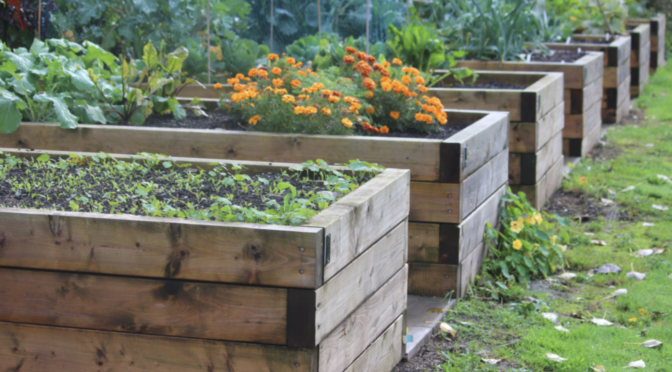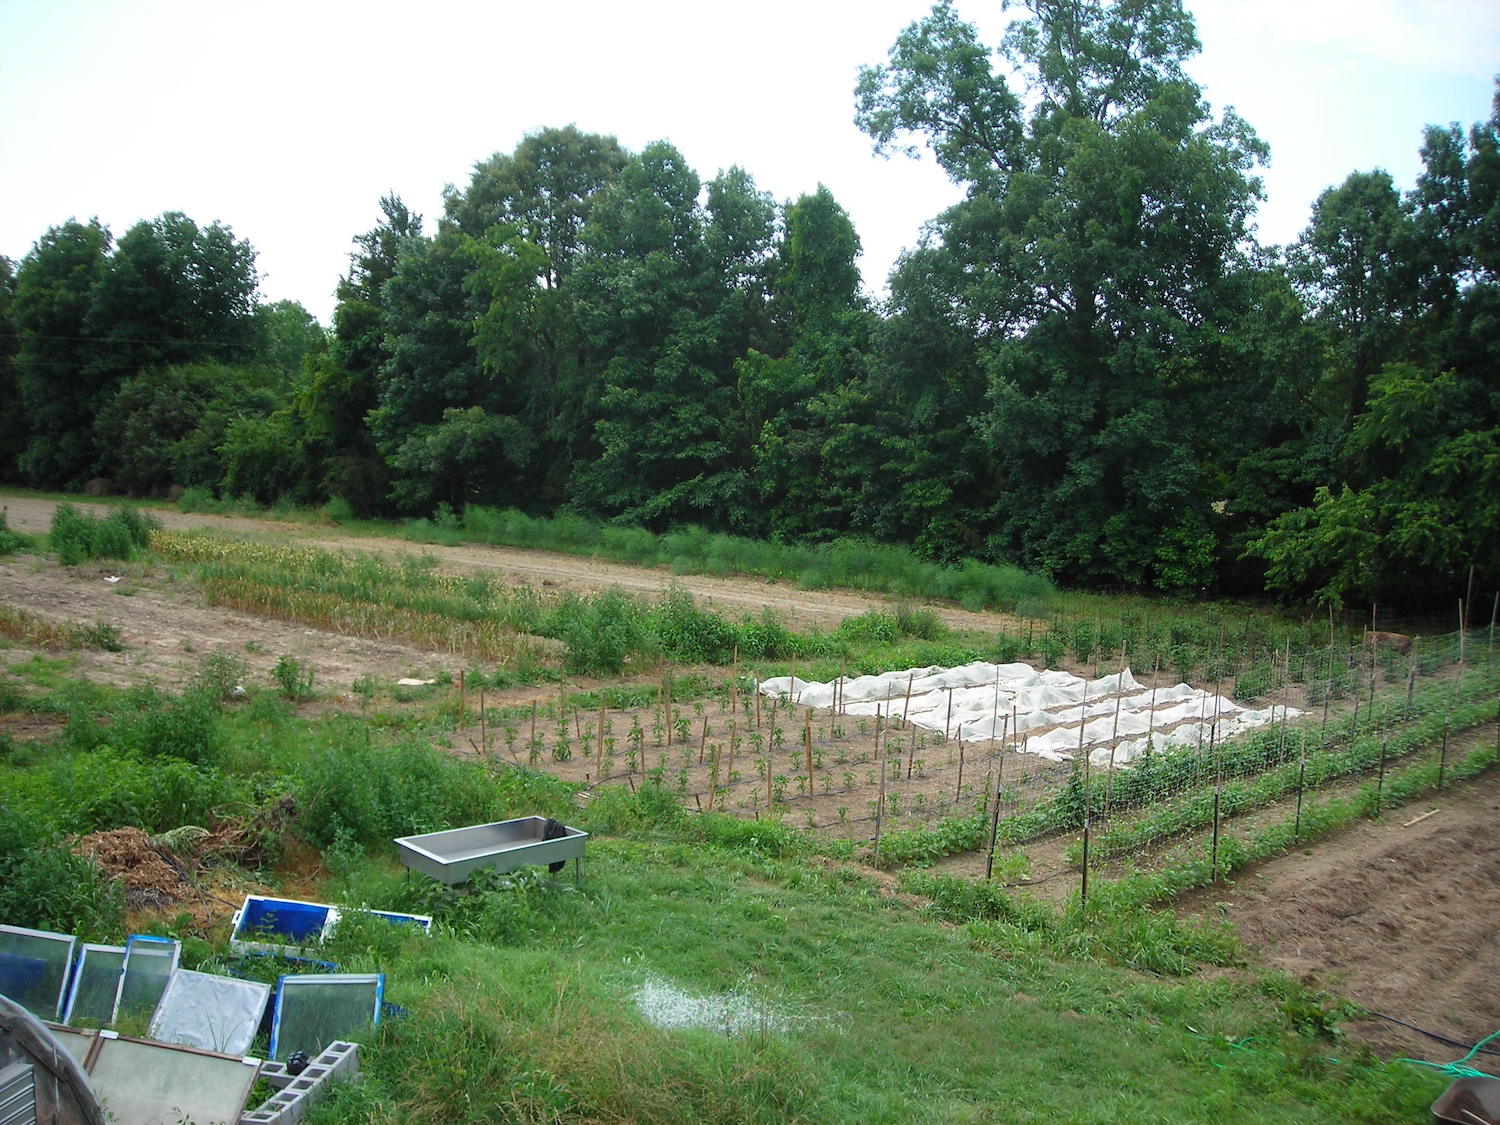
Raised beds offer a unique set of advantages and disadvantages. They drain well, warm quickly, and can provide soft, loose soil. They may also be more expensive, need to be watered more frequently, and may not provide enough space for large roots. Raised beds can be incredibly productive, especially for small spaces, when you make crop choices that play to their strengths. Here are some of the best crops for growing in raised beds.
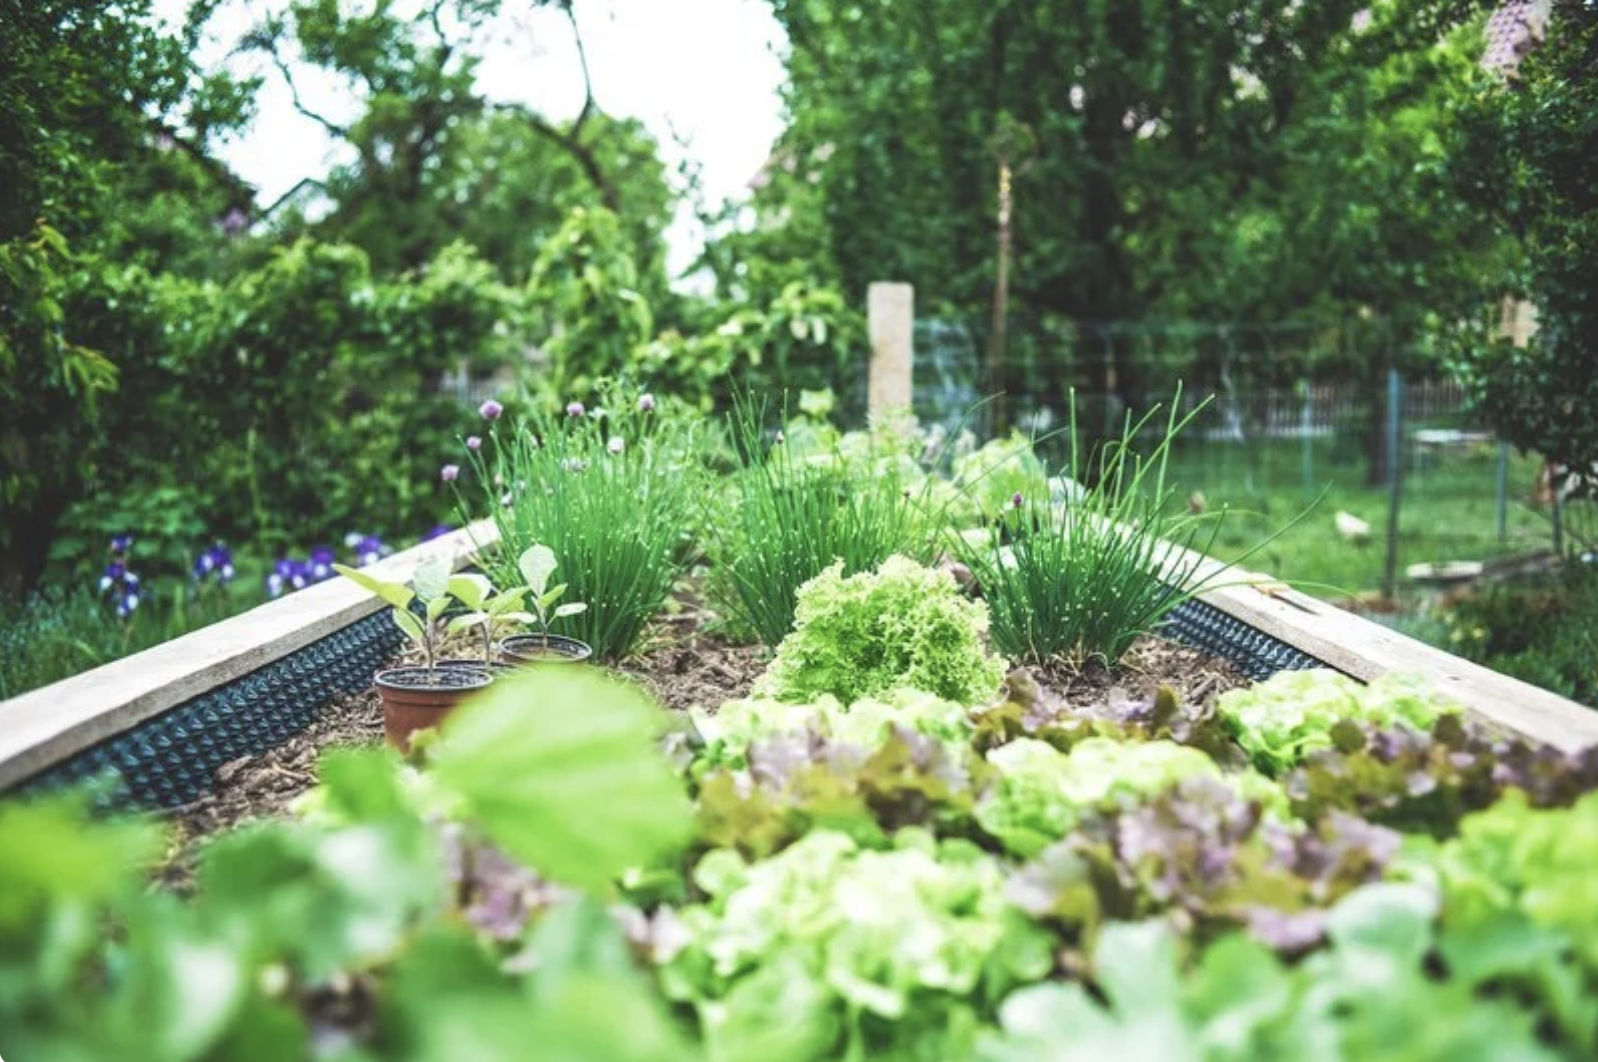
Lettuce
One major problem with some raised beds is their shallow depth. Thankfully, lettuce has a relatively small root system and will thrive even in small raised beds. Raised beds are also usually easy to fit with some sort of cover cloth, allowing you to protect early lettuce from light frosts and late lettuce from intense sun and heat.
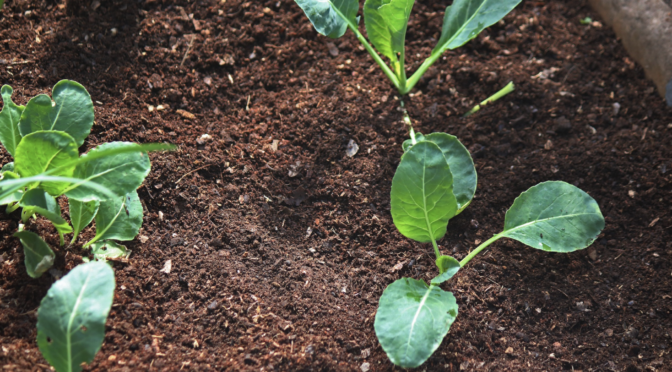
Other Greens
Like lettuce, many greens are relatively compact and quick-growing. We’ve had success growing Swiss chard, collards, kale, spinach, arugula, mustards, and other greens in raised beds.
Bush Beans
Bush beans offer speedy growth in a compact package, making them ideal for raised beds. They produce some of their own nitrogen and are ready to harvest in just 50 to 60 days, meaning you can plant several successions in your raised beds to enjoy harvests of beans throughout the season.
Pole beans are also a great option if you can place a sturdy trellis along one side of the bed. They’re productive and space-saving when trellised.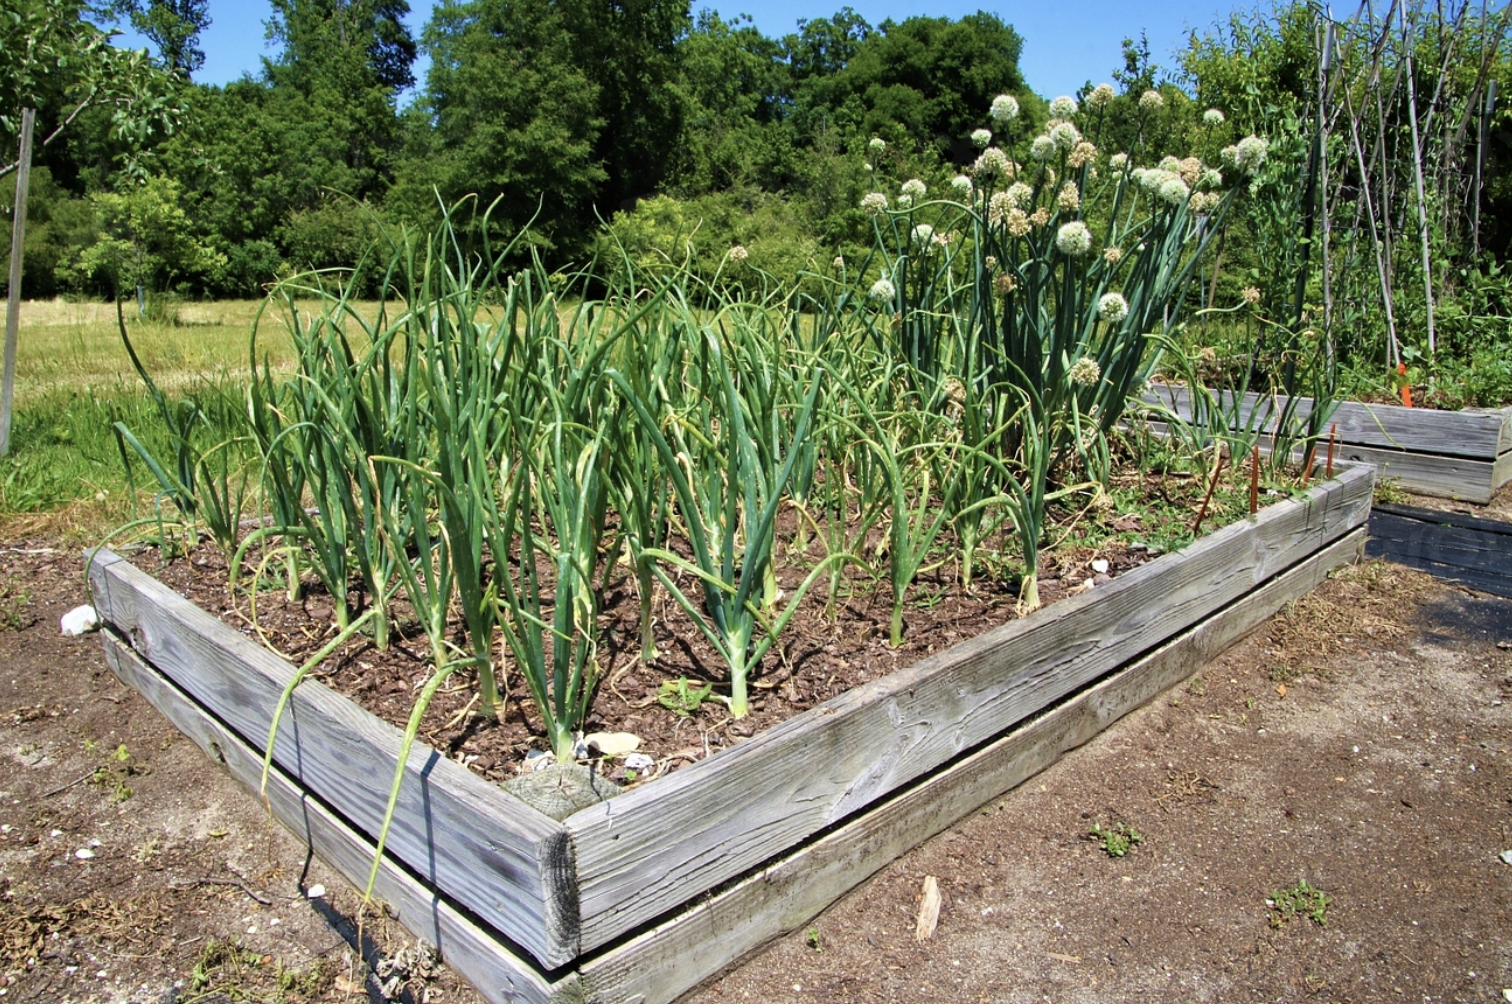
Garlic
A generally easy crop to grow, garlic suffers in wet, poorly drained soil and doesn’t bulb up well if it competes with too many weeds. In moist bottom land with heavy clay soil, common in much of the eastern United States, garlic may be a struggle. Raised beds are a great way to grow garlic, and their loose soil makes for much easier harvesting.
Strawberries
Adding fruit to the garden can be a challenge in a small space, but strawberries are a great option! They have relatively shallow roots and are incredibly productive for the amount of space they require. They’re a great fruit option for raised beds, smaller properties, and rentals.
Spring Radishes
Except for some baby greens, there are no crops that can match spring radishes for speed. Some varieties are ready to harvest in as little as 24 days. Their productivity and small roots make them well-suited to raised bed successions. To help make the most of your space, you can inter-plant them with slower-growing crops.
Bulb Onions
Like garlic, bulb onions do best in well-drained, fertile soil in a bed that’s kept weed-free. Using raised beds to meet these demands can help you produce large onion bulbs. Their shallow root system also makes them well-suited to smaller raised beds where deep-rooted crops will struggle.
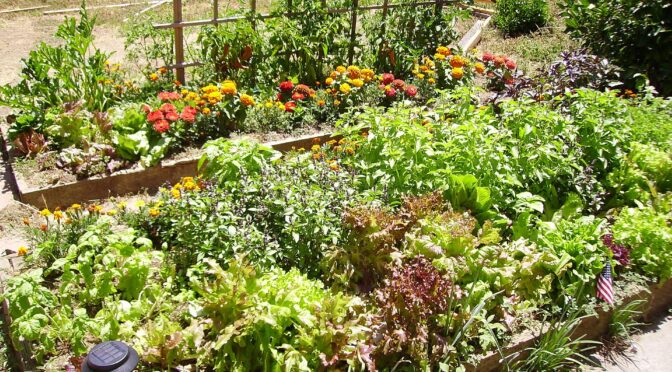
Herbs
Basil, thyme, lavender, oregano, and so many of our other culinary herbs thrive in warm, well-draining soil. They’re a great option for raised beds, especially if you can place them somewhere near a door for easy access for quick additions to meals.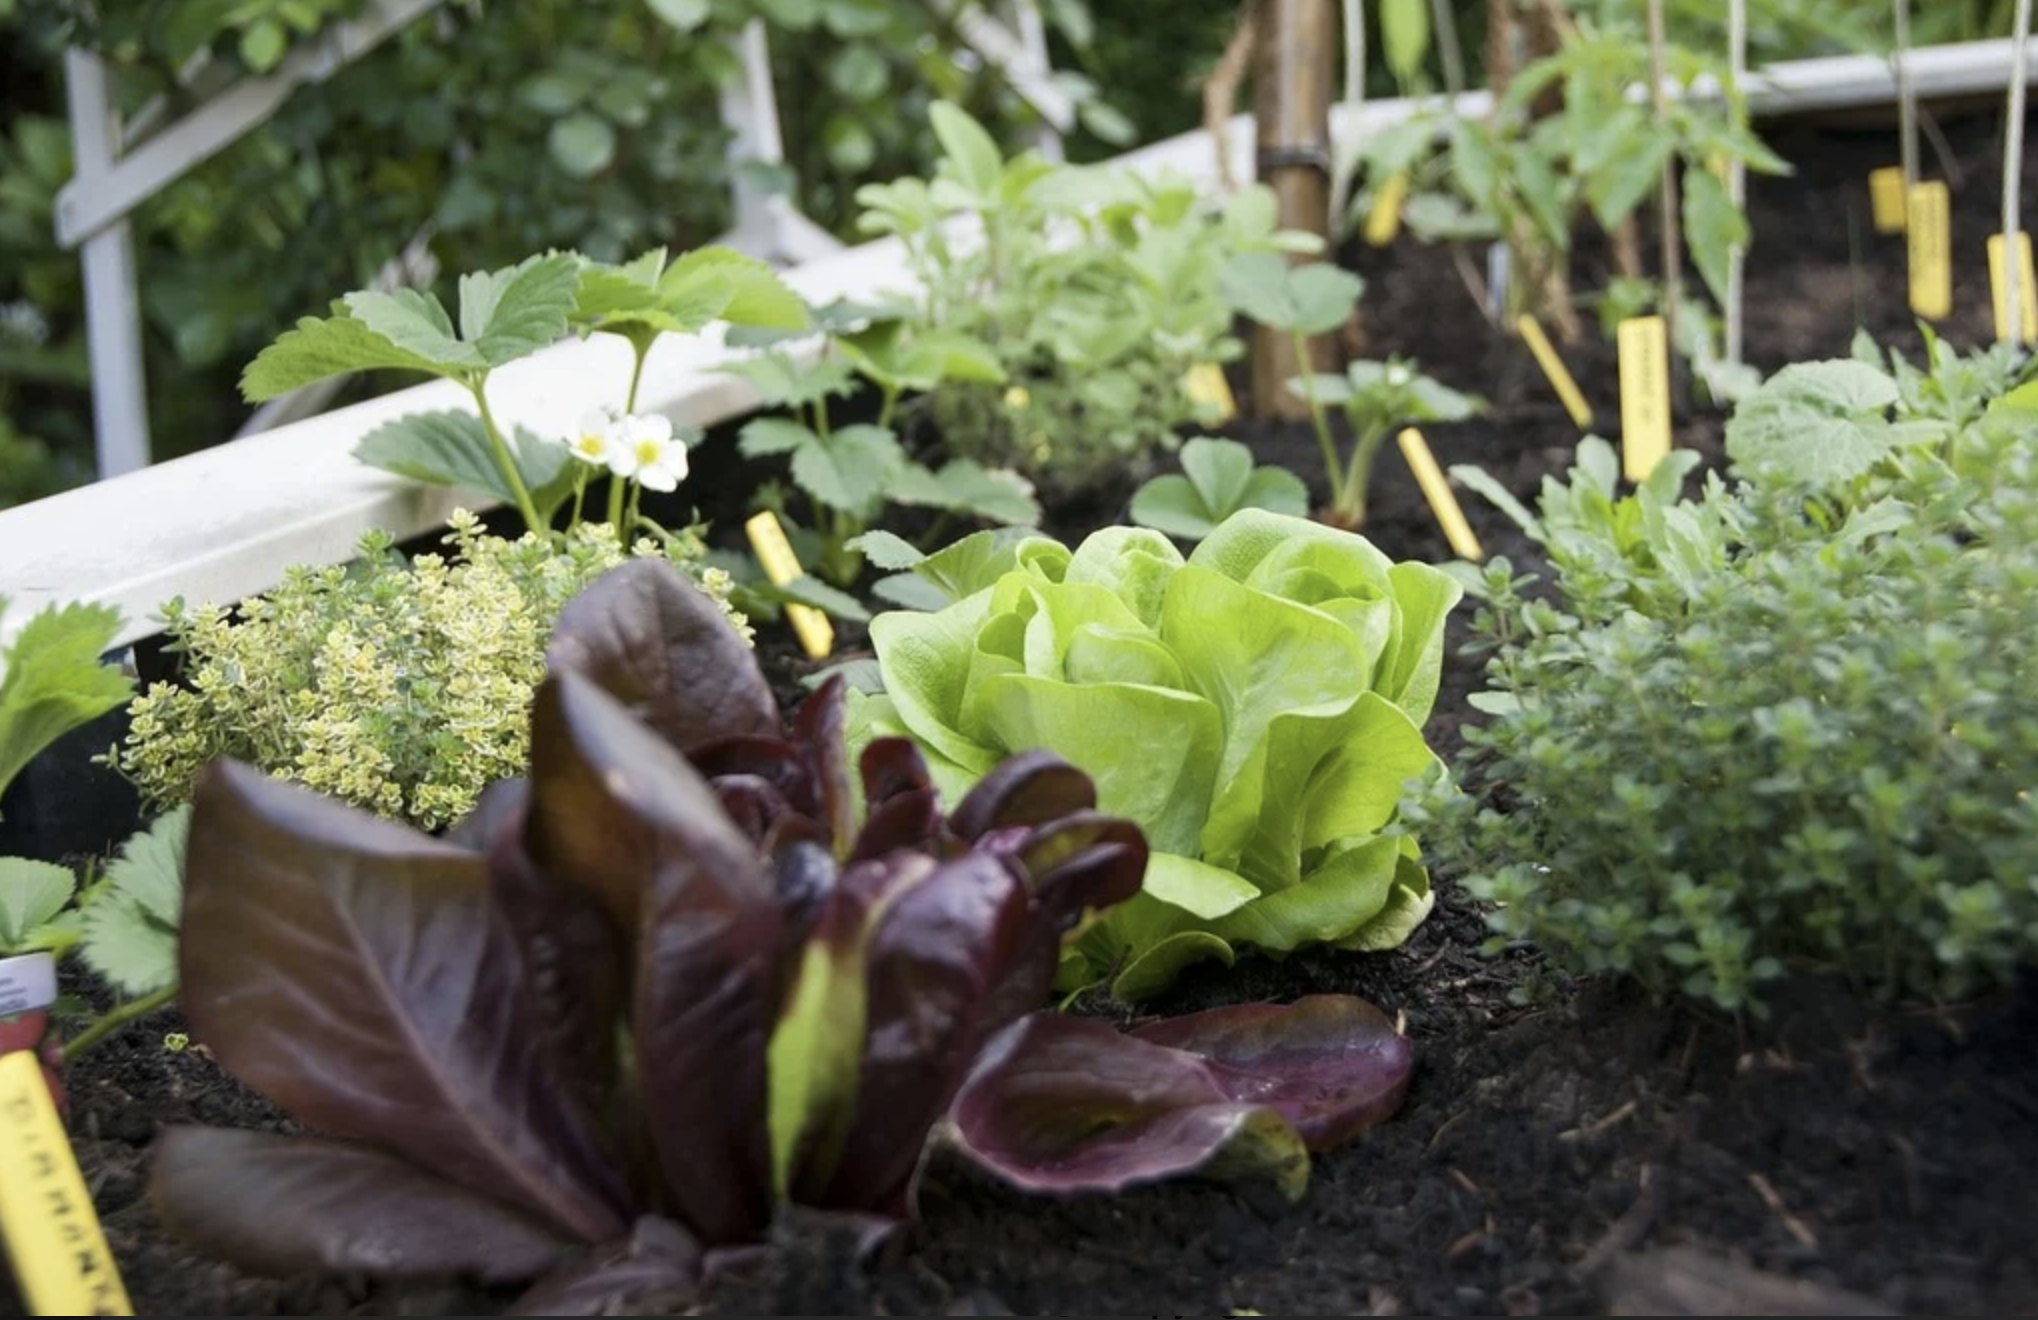
Summer Squash & Zucchini
In spring, raised beds always warm up faster than traditional garden beds. For heat-loving summer squash and zucchini, this is a great way to get a jump start on the season. They’re fast-growing and productive, so you’ll get plenty of squash even if you have minimal space.
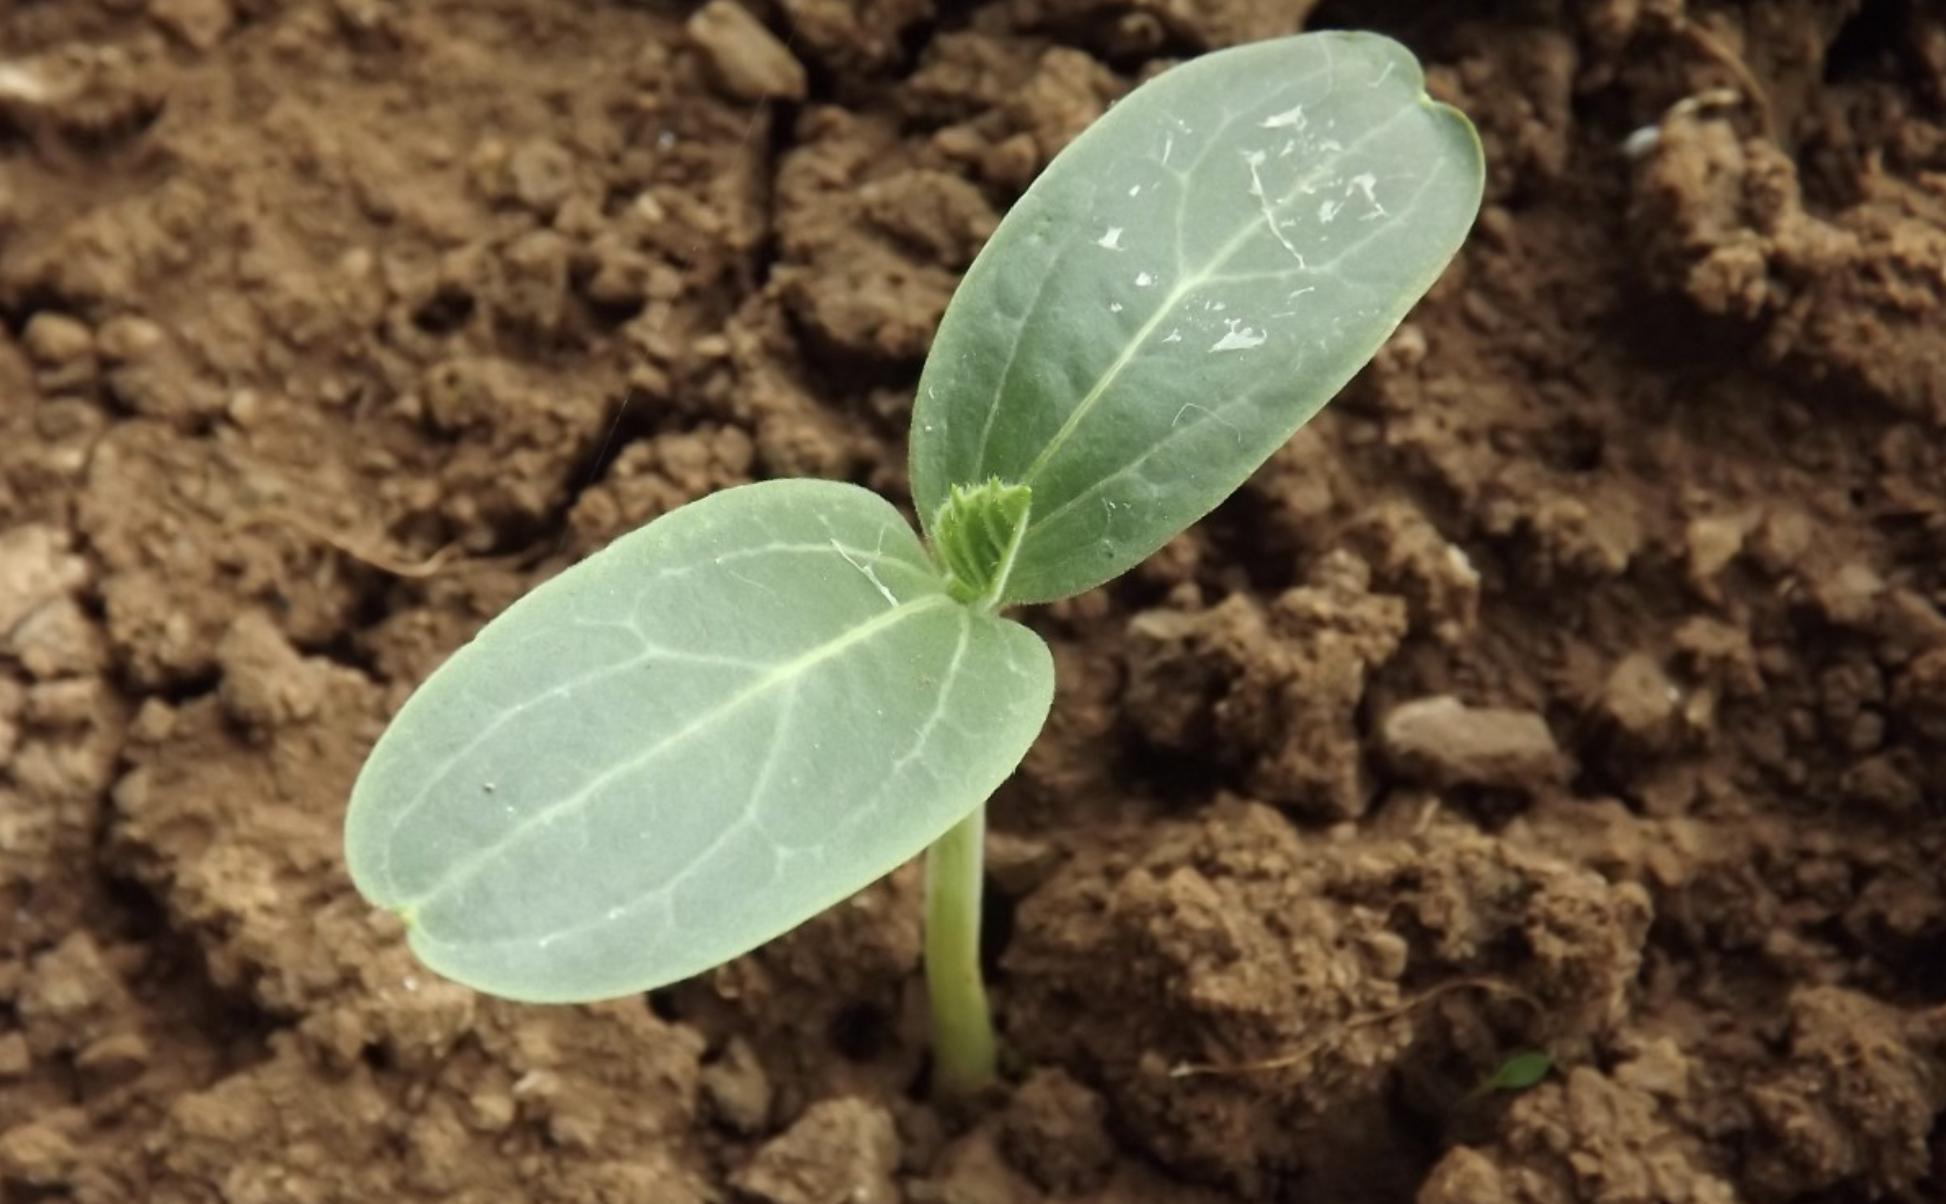
Cucumbers
Cucumbers thrive in warm soil, so a raised bed can help you get an early start. Bush-type varieties like Spacemaster are ideal for small beds, or you can trellis larger varieties at the back of the bed to make the most of your space.
Sweet Potatoes
While sweet potatoes won’t work for very shallow raised beds, they do thrive if you have the space for them. The warm, loose soil of a raised bed is perfect for growing large sweet potatoes.
Tomatoes
Tomatoes thrive in warm, fertile soil and will perform well in raised beds if you have large enough beds and can provide a sturdy trellis. For smaller beds, stick to cherry-type tomatoes or determinate varieties, which offer a more compact, bush-like shape.
Peppers
Warm soil makes a noticeable difference in pepper plant growth! We even recommend waiting a month to mulch around pepper plants to allow the soil to warm up. The warm soil in raised beds can help you harvest peppers earlier. However, peppers do best in large raised beds. They need an uncrowded root system to produce the best yield.
Plants to Avoid in Raised Beds
Theoretically, you can grow anything in a raised bed. However, there are some features that make it tricky. As raised beds dry out quickly, crops like artichokes and asparagus thrive with plenty of moisture over a long season, which can be difficult to manage.
Your bed’s size and depth may also be a limiting factor. Deep-rooted crops like rhubarb and daikon radishes may need more space than a raised bed offers. Large or vigorous, sprawling plants like large indeterminate tomatoes, watermelons, and pumpkins can be tricky to support and manage in a limited space.
You should also avoid perennial crops that may spread aggressively in the bed, like mint or Jerusalem artichokes, as this could limit your production of other crops.