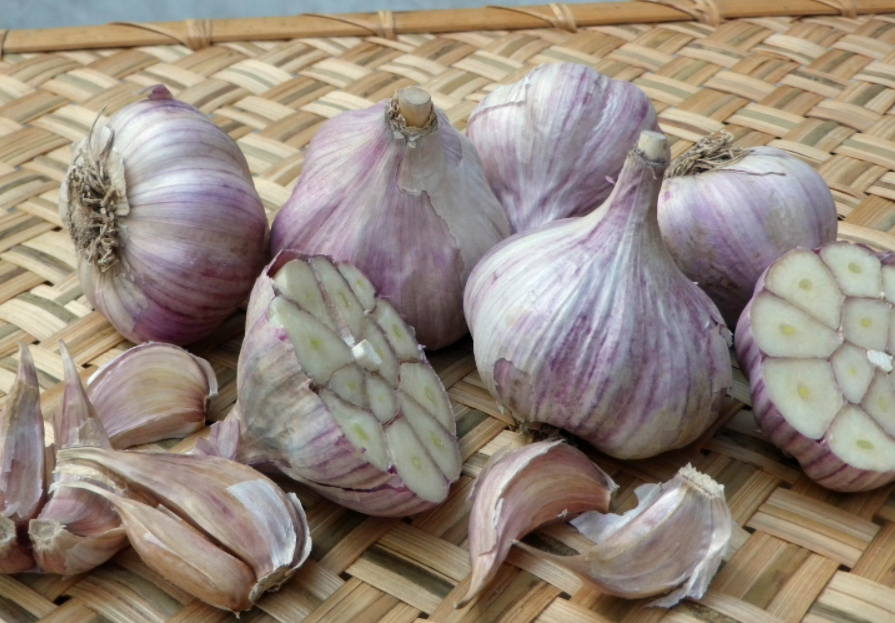
Garlic’s easy cultivation and powerful flavor has made it a favorite for farmers and chefs alike. It’s is an unbelievably common ingredient in food today worldwide but few people realize that garlic is one of the oldest known horticultural crops. Evidence from historical records suggests that garlic has been cultivated for at least 5000 years! There are references to its use found from ancient Egypt, India, and China.
Garlic is believed to be originally native to Central Asia as this is where it can currently be found growing wild. Many plants referred to as “wild garlic” worldwide are members of the Allium family (leeks, onions, shallots, chives) but are not in fact true garlic or Allium Sativum. All cultivated garlic comes from two subspecies A. sativum var. ophioscorodon and A. sativum var. sativum. Like many “wild garlics” elephant garlic, though tasty, is not a a “true garlic” but is instead a member of the onion genus.
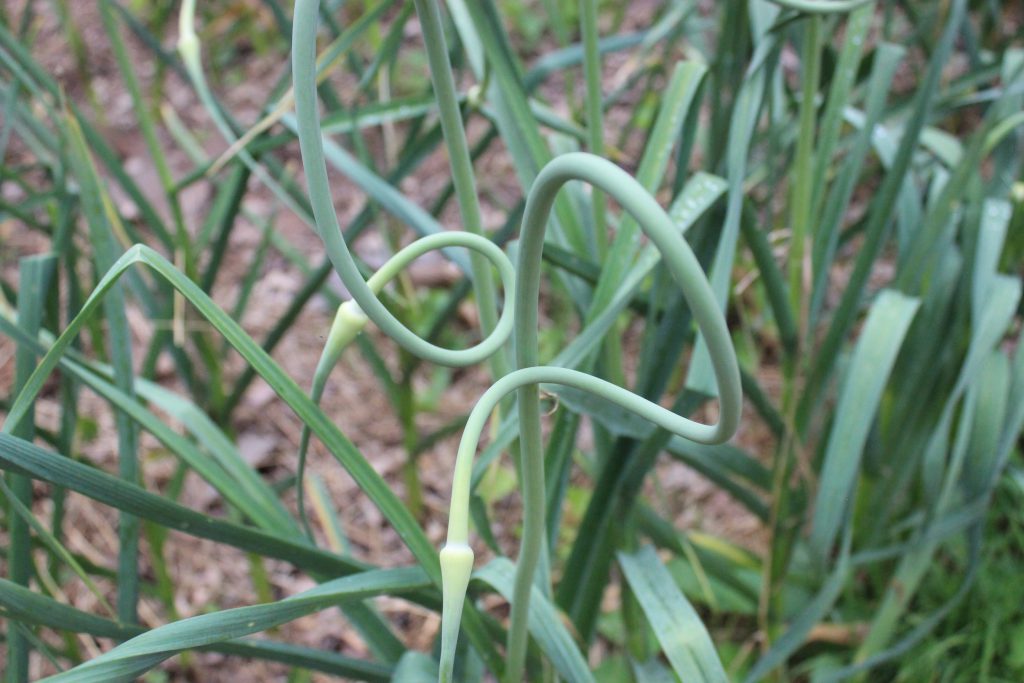
A. sativum var. ophioscorodon often referred to simply as ophioscorodon are the hardneck garlics. They are generally grown in cooler northern climates and typically produce fewer but larger cloves. They also produce garlic scapes or flower heads. These are generally cut off before they open and eaten. This allows the garlic to put energy into the bulb rather than flowering.
A. sativum var. sativum are the softenck garlics. They do better in hotter climates farther south than hardneck garlics do. They’re also favored for braiding and their ability to keep extremely well in storage.
The cultivation of garlic probably came about because it was easy for people to pull up and travel with for later use or to plant somewhere else. Garlic cultivation may have also been a quickly taken up by humans because of it’s ability to reproduce both sexually and asexually. Meaning that garlic can make seed, combining genes with other garlic plants, but it is also very simple to grow garlic clones from individual cloves.
Another reason garlic may have quickly become so popular and widespread is because it grows well in a wide range of climates and soil conditions. Garlic is also very hardy and susceptible to few diseases and pests. So much so that in modern gardens it’s used as a companion plant to deter certain pests.
As people traveled and traded garlic’s use and cultivation spread. Little is known about most of its first travels around Asia but it is documented that garlic was first brought to Europe by the Crusaders.
Interestingly garlic has played more than a culinary role in human history. It’s been used for both spiritual and medicinal purposes through the years. In fact, it’s the most widely recognized medicinal herb.
In medieval times it was believed that garlic could ward off all types of evil. A belief that easily lent garlic for use in warding off vampires. Many cultures also believed that garlic was an aphrodisiac or held special powers relating to love. In the Middle Ages it was grown by the monasteries for its healing powers.
In ancient Greece garlic was given to athletes as it was believed to enhance their power and in ancient Egypt it was often fed to commoners and slaves to keep them healthy and working well. This belief also led to it’s use in feeding both Greek and Egyptian warriors as well as Roman soldiers and sailors who needed to be strong.
Garlic’s use as an herbal remedy is as varied as it is widespread. In ancient China garlic was prescribed for respiratory ailments, digestive issues, diarrhea, and parasites. It was also used in combination with other herbs to treat fatigue, impotency, headaches, and insomnia. It was used similarly in ancient India plus was prescribed to fight infections.
Today garlic is most renowned for its pungent flavor but has also gained some scientific credibility as a medicinal herb. Though there isn’t conclusive evidence some studies suggest that garlic can reduce blood pressure and cholesterol, boost your immune system, and help the body fight off illness and infection through its anti-inflammatory and antibacterial properties.
Garlic’s story is ultimately a human story. This one plant has been handed down, shaping people’s meals (and possibly health) for 5000 years. If there’s an easy to grow plant that deserves a place in the home garden surely it’s garlic.
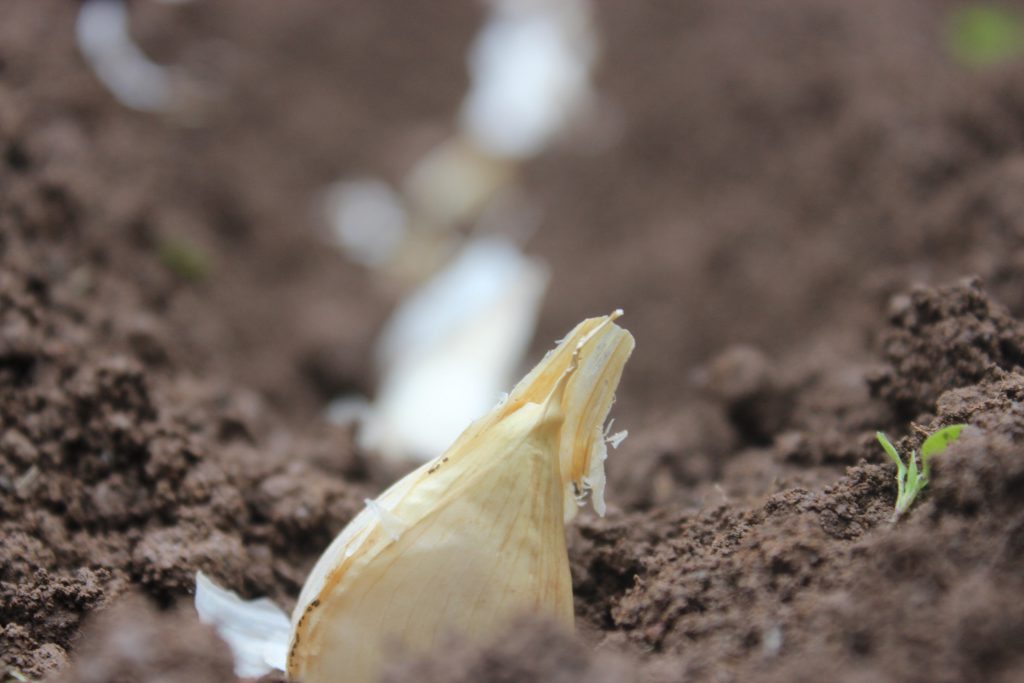
Remember garlic is planted in the fall so the time to start yours is now!