Fall is the perfect time to save squash seeds from your favorite variety!
There are four species of pumpkins and squash, including zucchini. While they all share the same characteristics for care and seed saving, home gardeners can grow one of each species without worry. Crossing between species is rare.
Isolate Your Plants
In our catalog, you’ll find the species names: Curcurbita pepo, C. maxima, C. moschata, and C. mixta listed in parentheses next to each variety name.
Isolate varieties of the same species by a minimum of 1/8 mile if you save seed for home use. Pure seed requires hand pollination or a minimum isolation of 1/4 to 1 mile, depending on planting size.
Select Plants for Seed Saving
While you can save viable seeds from just one plant, we recommend saving from five to ten plants if you can to maintain a variety over many generations. If you’re working to preserve a rare variety, aim to save seed from 25 plants or more.
If you have many plants to choose from, you can select plants based on desired characteristics like pest or disease resistance, early production, or appearance.
Allow Your Squash to Mature
To save viable seed, your squash must be fully mature. When working with summer squash and zucchini, this means allowing them to grow beyond the typical eating size. The fruits are ready to harvest for seed when they’re oversized, may have changed color, have dry stems, and the rinds are difficult to dent with your fingernail.
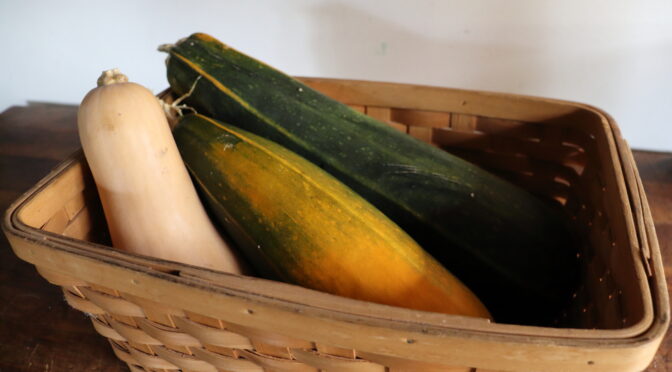
Winter squash and pumpkins have mature seeds when you would normally harvest them for eating. Watch for their color to change to its mature hue and their stems to fully dry.
Harvest Your Squash Seeds
You may harvest seeds immediately after picking the fruit, but it’s best to wait another 20 days or even longer if desired. The seeds will continue to mature during this curing period, but you won’t risk the fruit rotting out in the garden.
When working with winter squash and pumpkins, you can keep your fruits in storage as usual and harvest the seeds when you’re ready to cook the squash. 
Process Your Squash Seeds
There are two ways to process squash seeds. The first is just to scoop them out, rinse and manually remove the pulp, and dry them. While this way may be the quickest, there’s another great option.
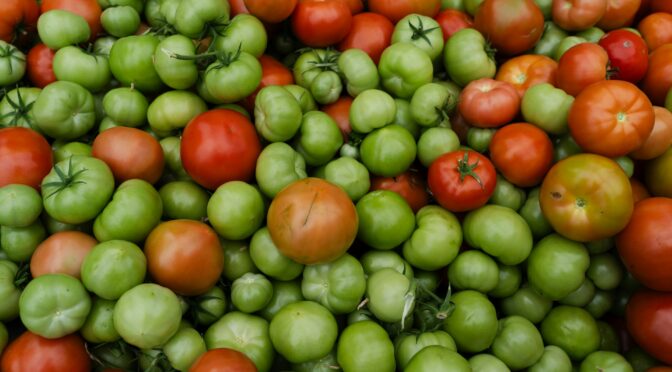
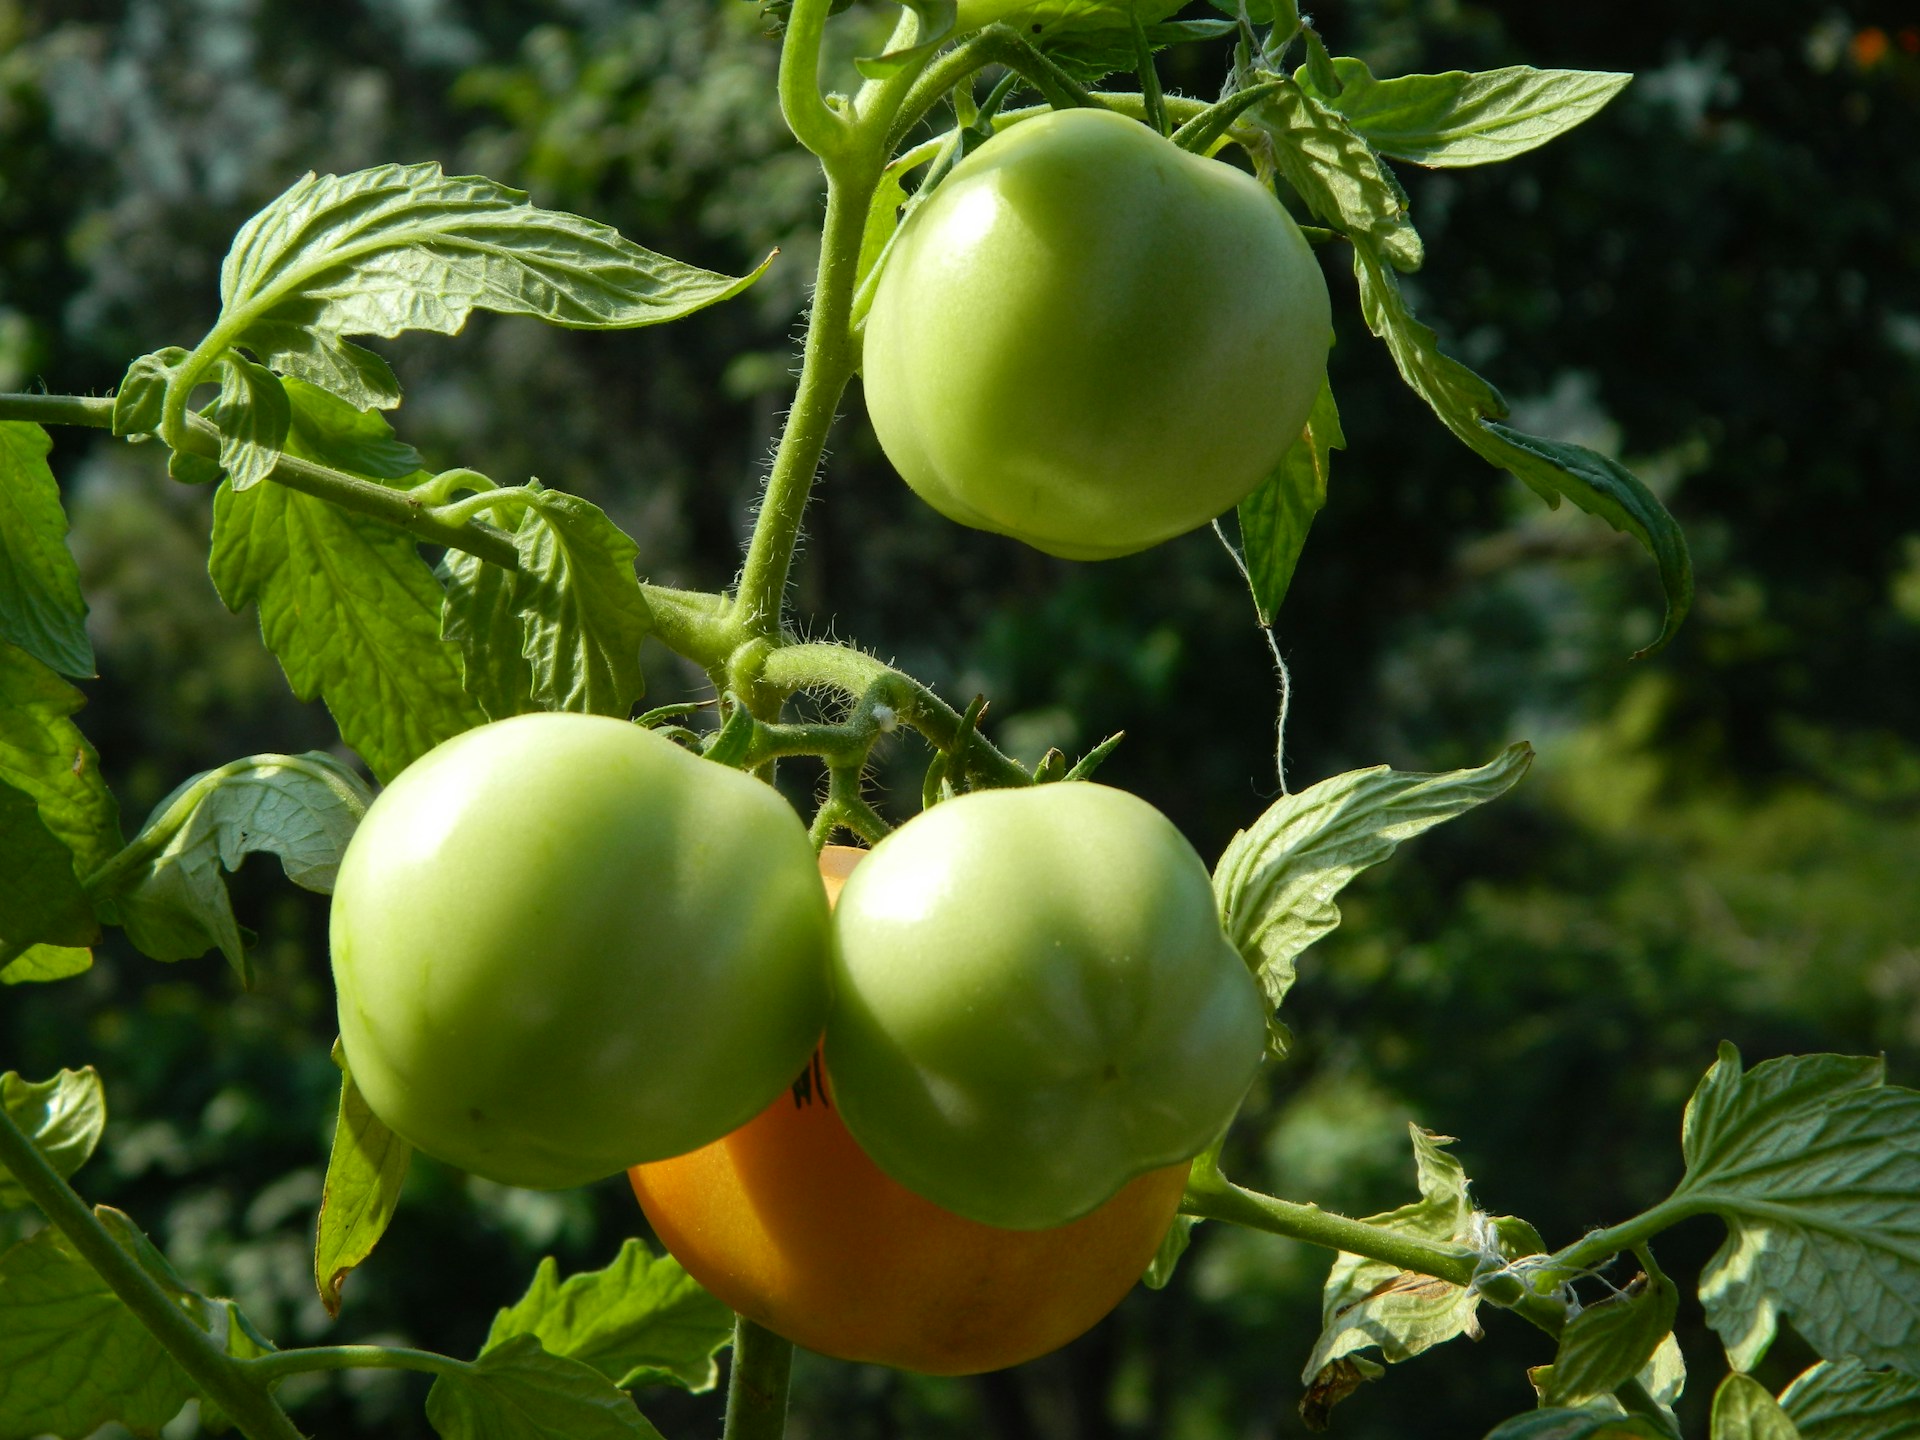
The second option is to ferment the seeds, similar to processing tomato seeds. The fermentation helps remove the natural gel and pulp from the seeds, which improves germination. It also kills many seed-borne diseases.
In this method, you’ll scoop out all the seeds and don’t worry about the pulp. Place the whole mess into a Mason jar. Top the jar off with water, cover with a cloth and rubber band or twine, and leave the seeds to ferment for 2 to 4 days. You’ll probably notice a film or some bubbles on the surface; this is perfectly fine.
Then rinse the fermented seeds on a screen or colander. The pulp and gel should come off easily now that they’ve fermented.
Finally, lay your seeds out on a towel, paper towel, or fine mesh screen to dry for a couple of days. On a towel, flip or stir them occasionally so they dry faster.
Storing Squash Seeds
Only store squash seeds that are completely dry. When you bend one, it should crack, not flex under pressure. Place dry seeds in airtight containers somewhere cool, dry, and free from direct sunlight.
Read more about properly storing seeds and testing for germination.