All posts by Jordan Charbonneau

Tips for a Drought & Heat-Tolerant Garden

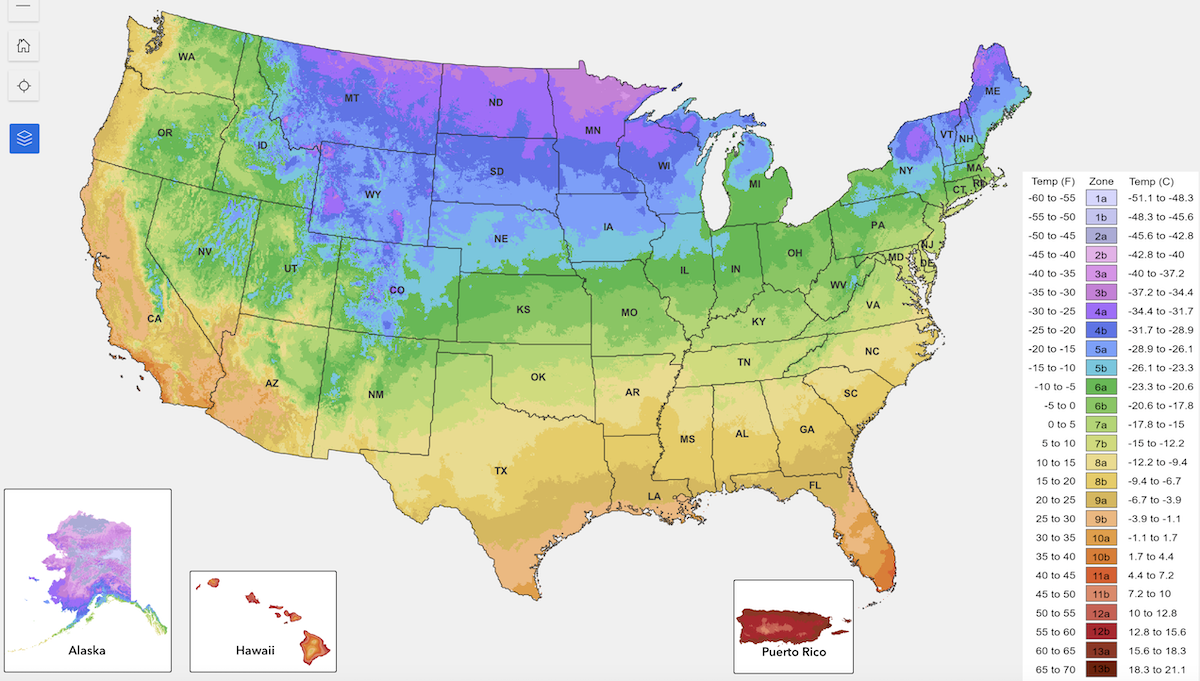
Many of you probably saw that the USDA released a new hardiness zone map just a couple of weeks ago. Some of you may have gotten a further surprise, glancing at the map to see that your hardiness zone had changed! This little jolt may have helped confirm signs of climate change you’ve already noticed in your garden, like milder winters, hotter summers, erratic weather patterns, or earlier budbreak. While we can’t totally predict the effects of a changing climate, we do expect to see generally hotter, drier summers, and many of our customers do too. Here are a few ways to prepare for a heat-tolerant garden this season.
Genuine Cornfield Pole Beans

Grow Drought Tolerant Varieties

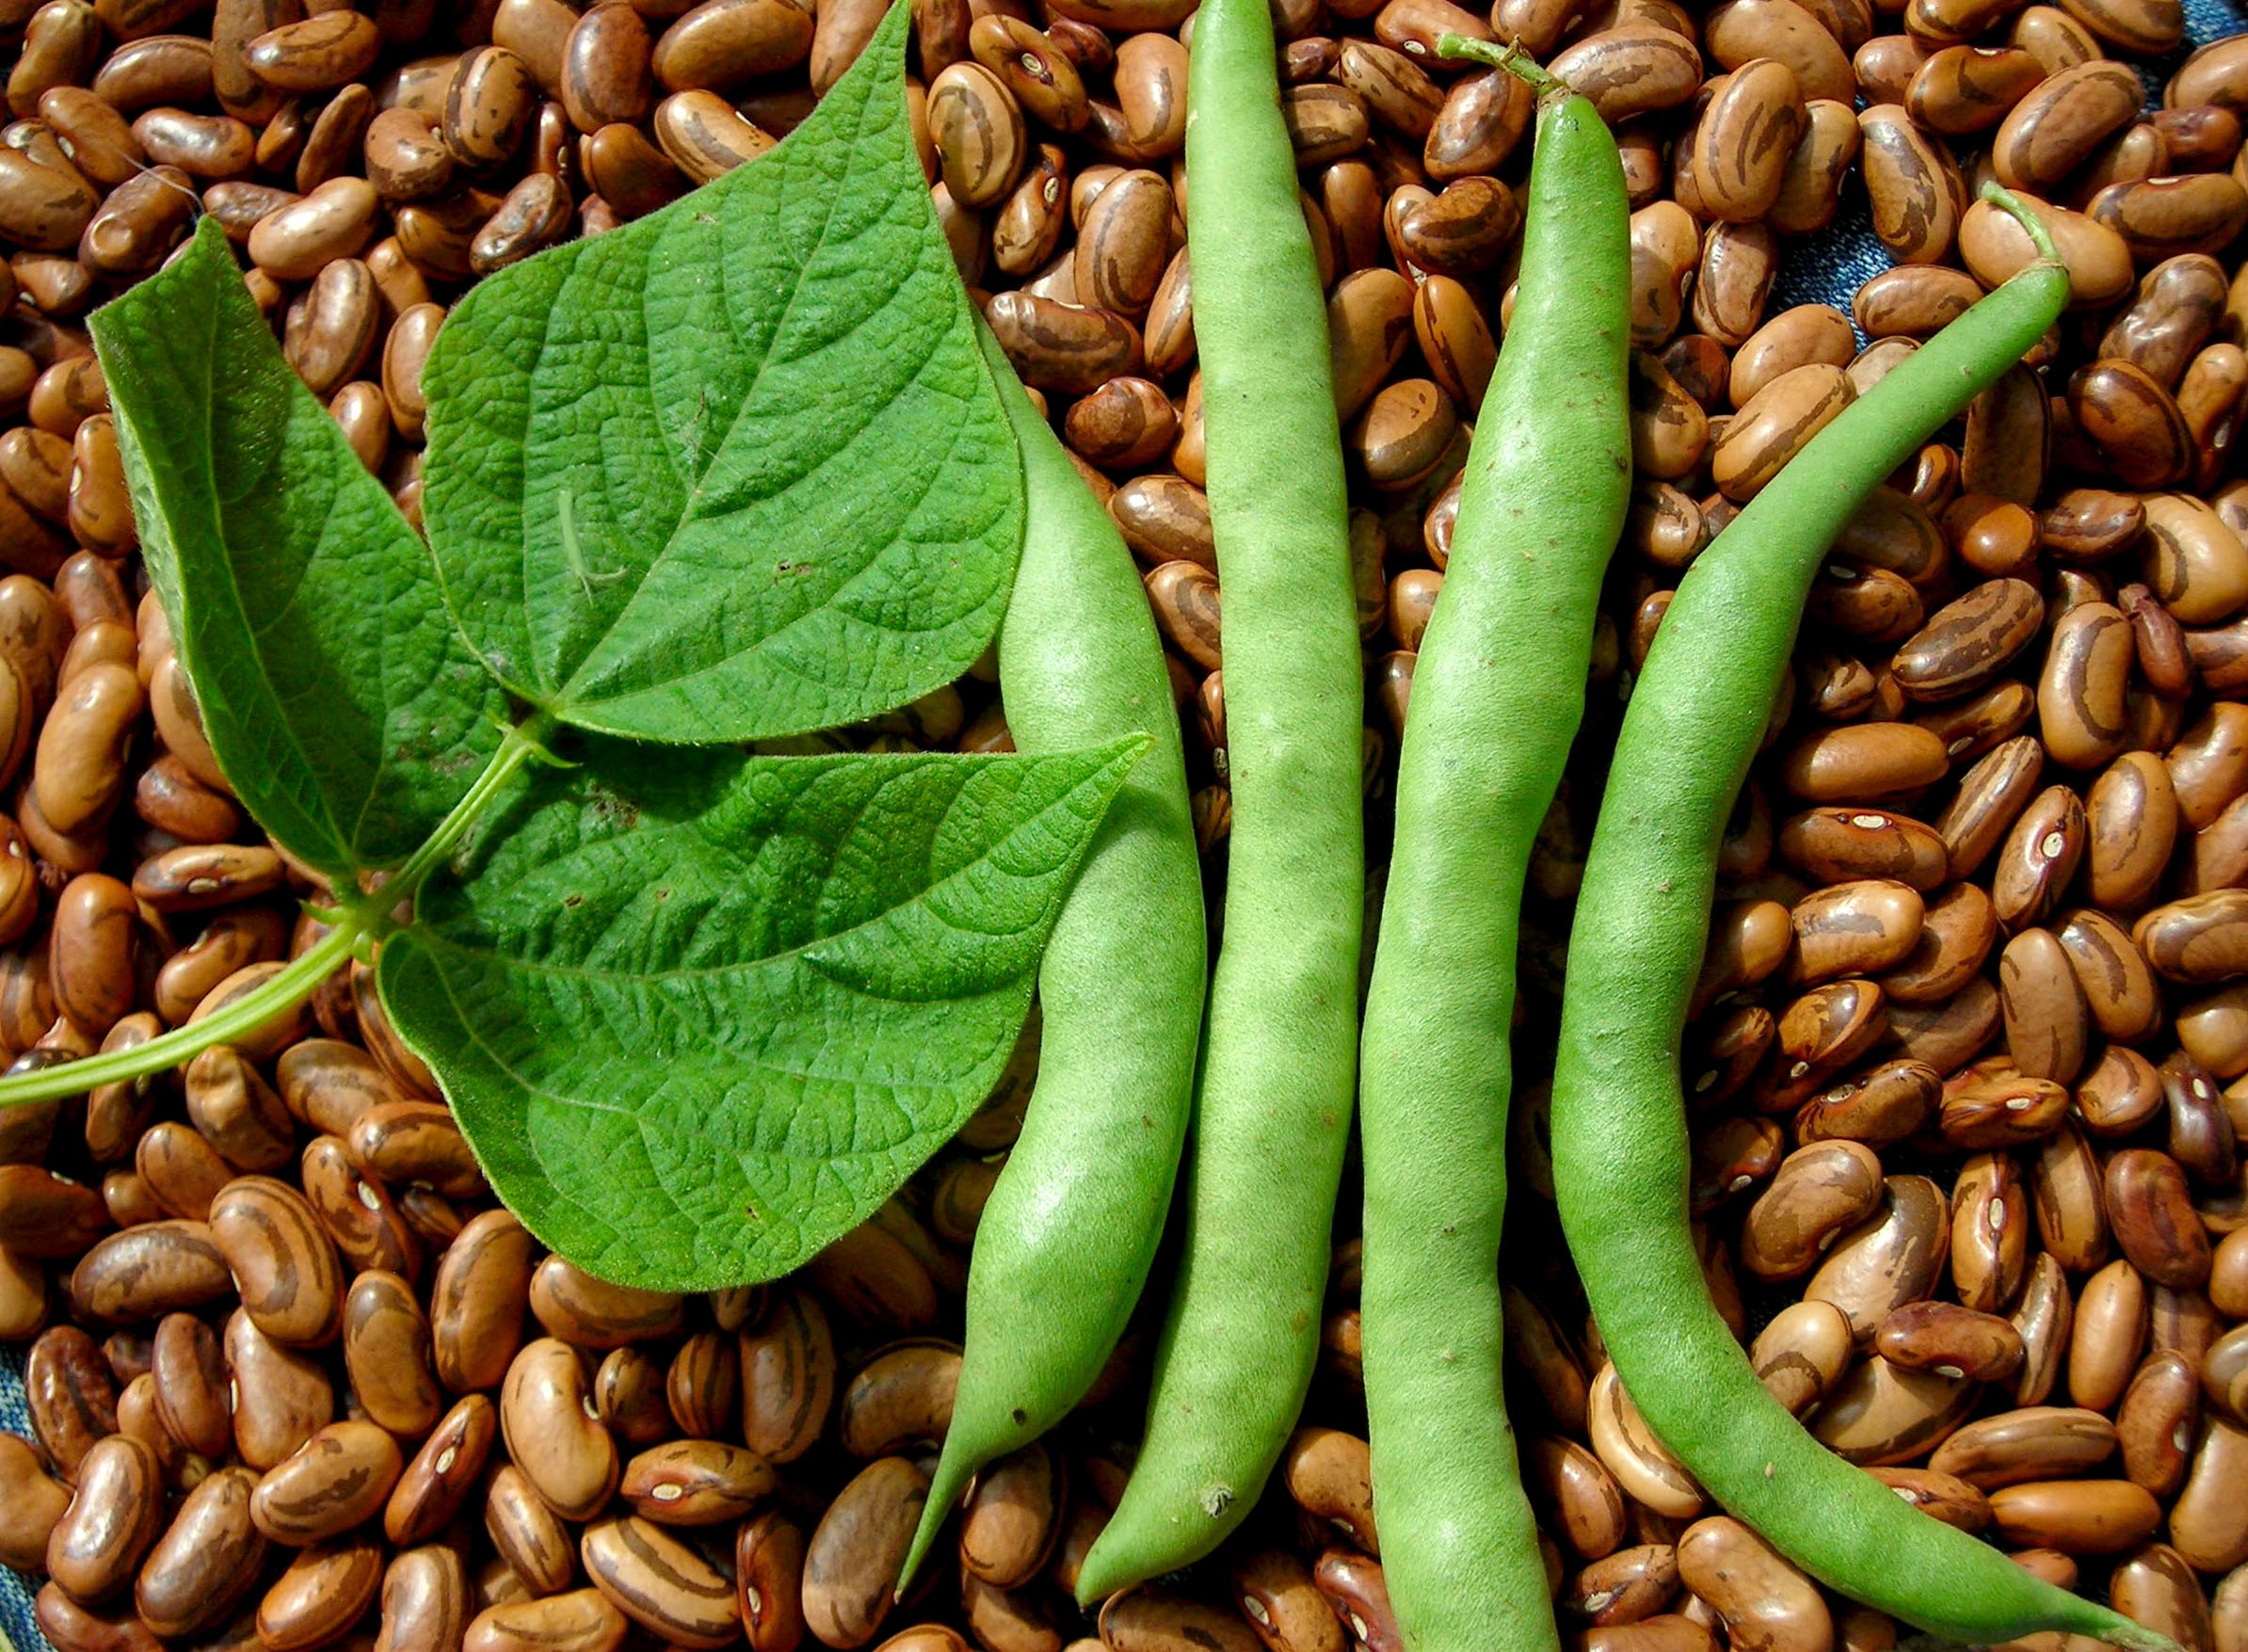
Many of our old heirlooms come from a time when irrigation on a small family farm was non-existent. When you look at many old Southern heirlooms like ‘Iron and Clay’ Southern Peas, Texas Gourdseed Corn, and Genuine Cornfield Pole Beans, you’ll find varieties that have tolerated heat and drought for years without much assistance.

Grow Short-Season Crops

One way to beat the heat is to avoid it. Crops that are fast-maturing stand a better chance of producing before they even have to face extreme temperatures or drought. Short-season bush beans are a great crop for this strategy. Varieties like ‘Provider’ can mature in as little as 48 days. In hot areas, crops like these should make up a good portion of your spring garden and will allow you to get another round in autumn. 

You can also opt for smaller versions of some of your typical slow-maturing favorites. ‘Golden Midget’ has become one of our favorite small watermelons for its ability to produce in just 72 days. ‘Table Queen’ winter squash, which produces in just 80 days, is another great option, especially when compared to varieties like ‘Big Max,’ which takes 115 days to mature.
Plant Perennials

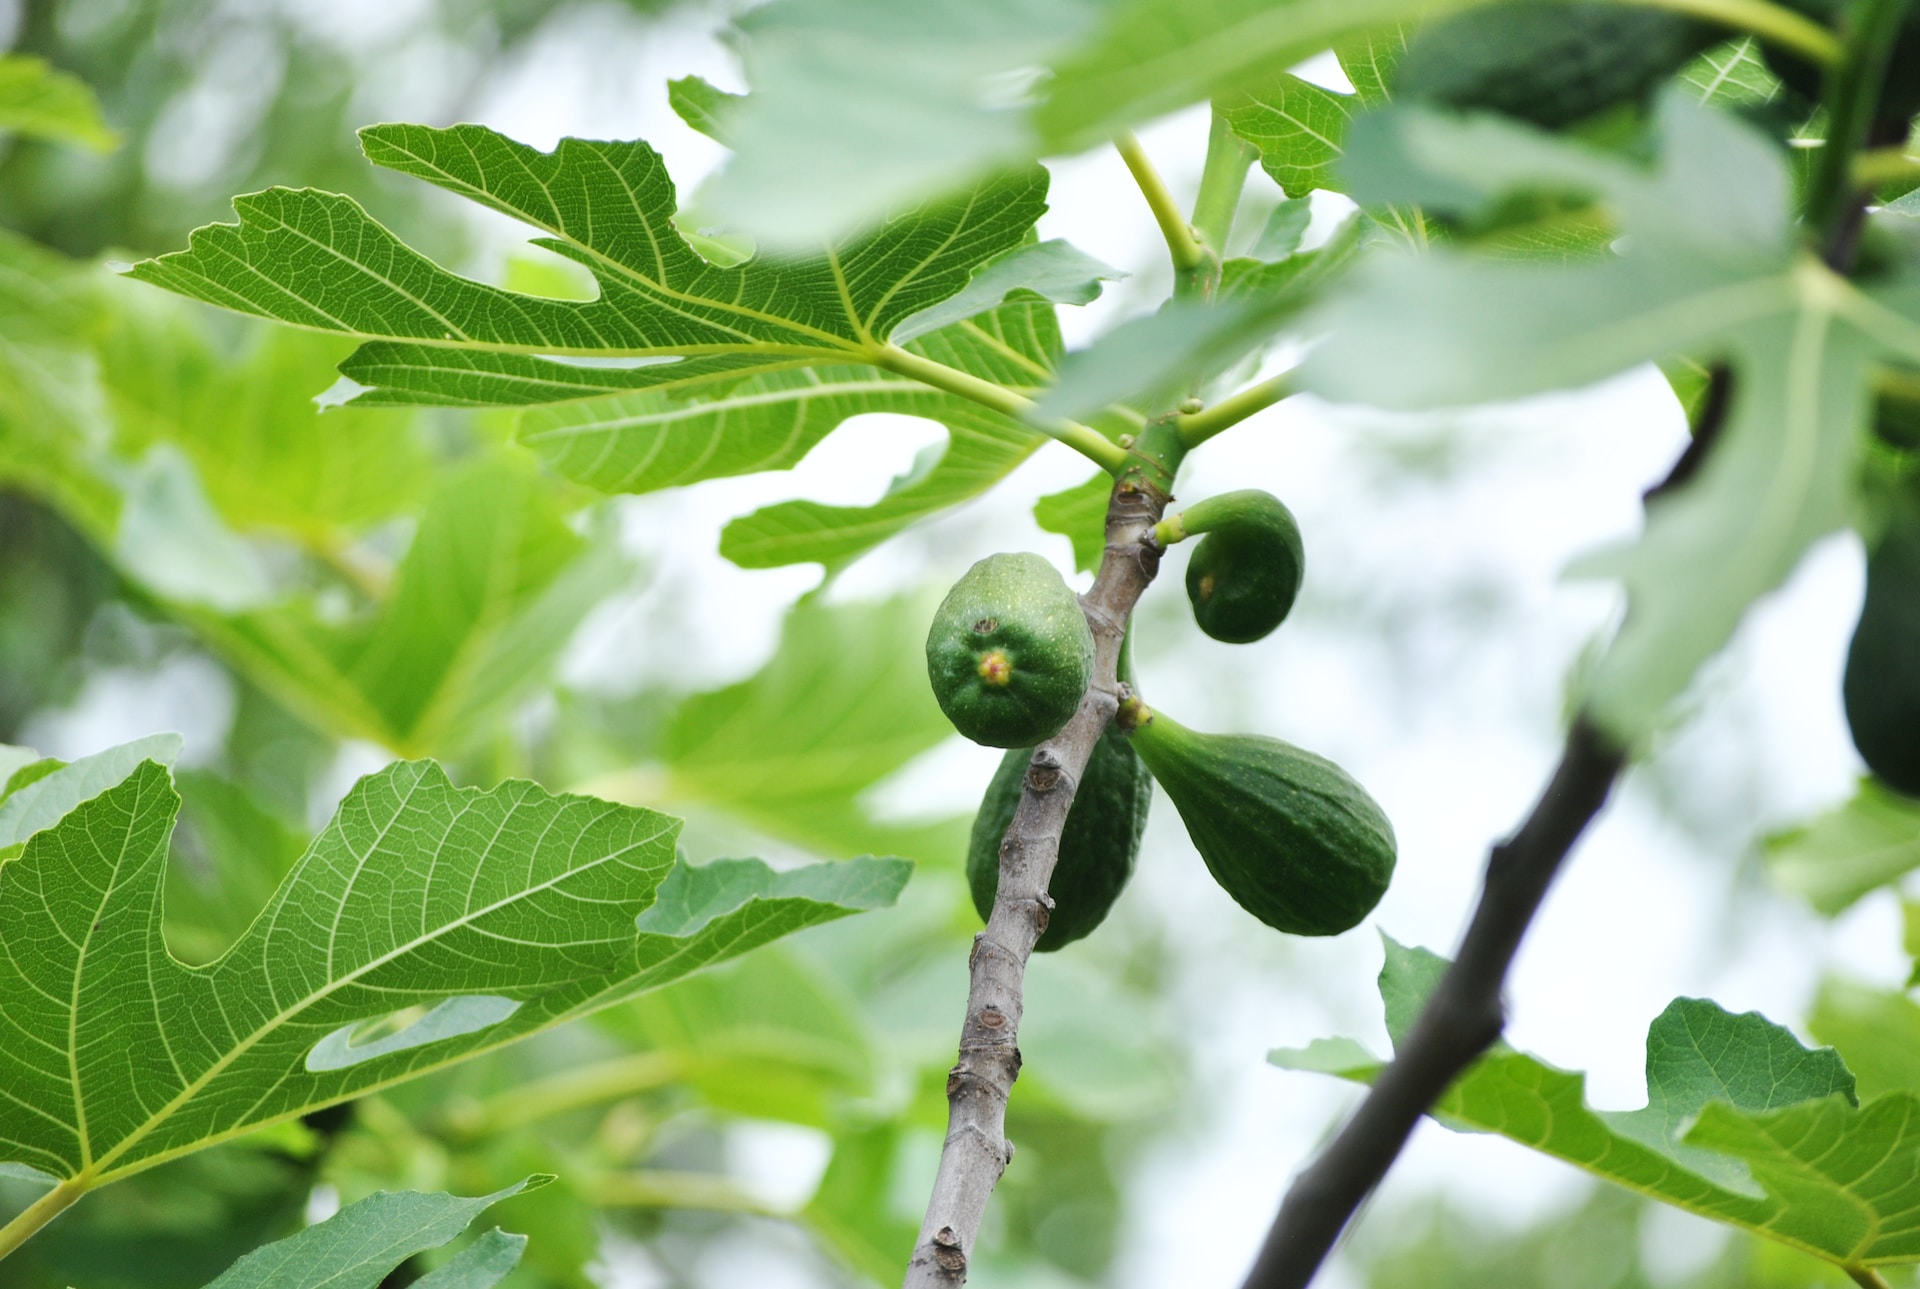
Many perennials are quite drought-hardy once established. Their long lives allow them to develop deep tap roots and extensive root systems. This includes many fruit and nut trees and perennial herbs and vegetables like figs, almonds, horseradish, and asparagus. They may require watering initially, but once established, they should do pretty well on their own, especially if you keep them mulched.

Many of our native wildflowers, like Rudbeckia, echinacea, and Early Horse Gentian, have more extensive, deep root systems than many ornamental flowers. Opting for more species like these can reduce watering and maintenance in flower beds.

Use Companion Planting and Intercropping

The classic example of companion planting is the Three Sisters Garden, where corn, beans, and squash are interplanted. In this example, the squash vines help shade the soil for the corn and beans, keeping it cool and moist. 

While this example has become famous, Native Americans often interplanted other crops like sunflowers and amaranth, too, and you can use the same principles with other crops. Cucumbers can be grown beneath sorghum, roselle, or other tall crops to shade the soil. Bean tunnels or trellises can create shade to stretch the season for cool-weather crops like lettuce and broccoli. 

Diversifying in this way has other benefits, too. If one crop fails, you’ll still have used your space well. Multi-crop beds also tend to be more disease and pest-resistant than monoculture plantings. 
Use Cover Crops and Mulch

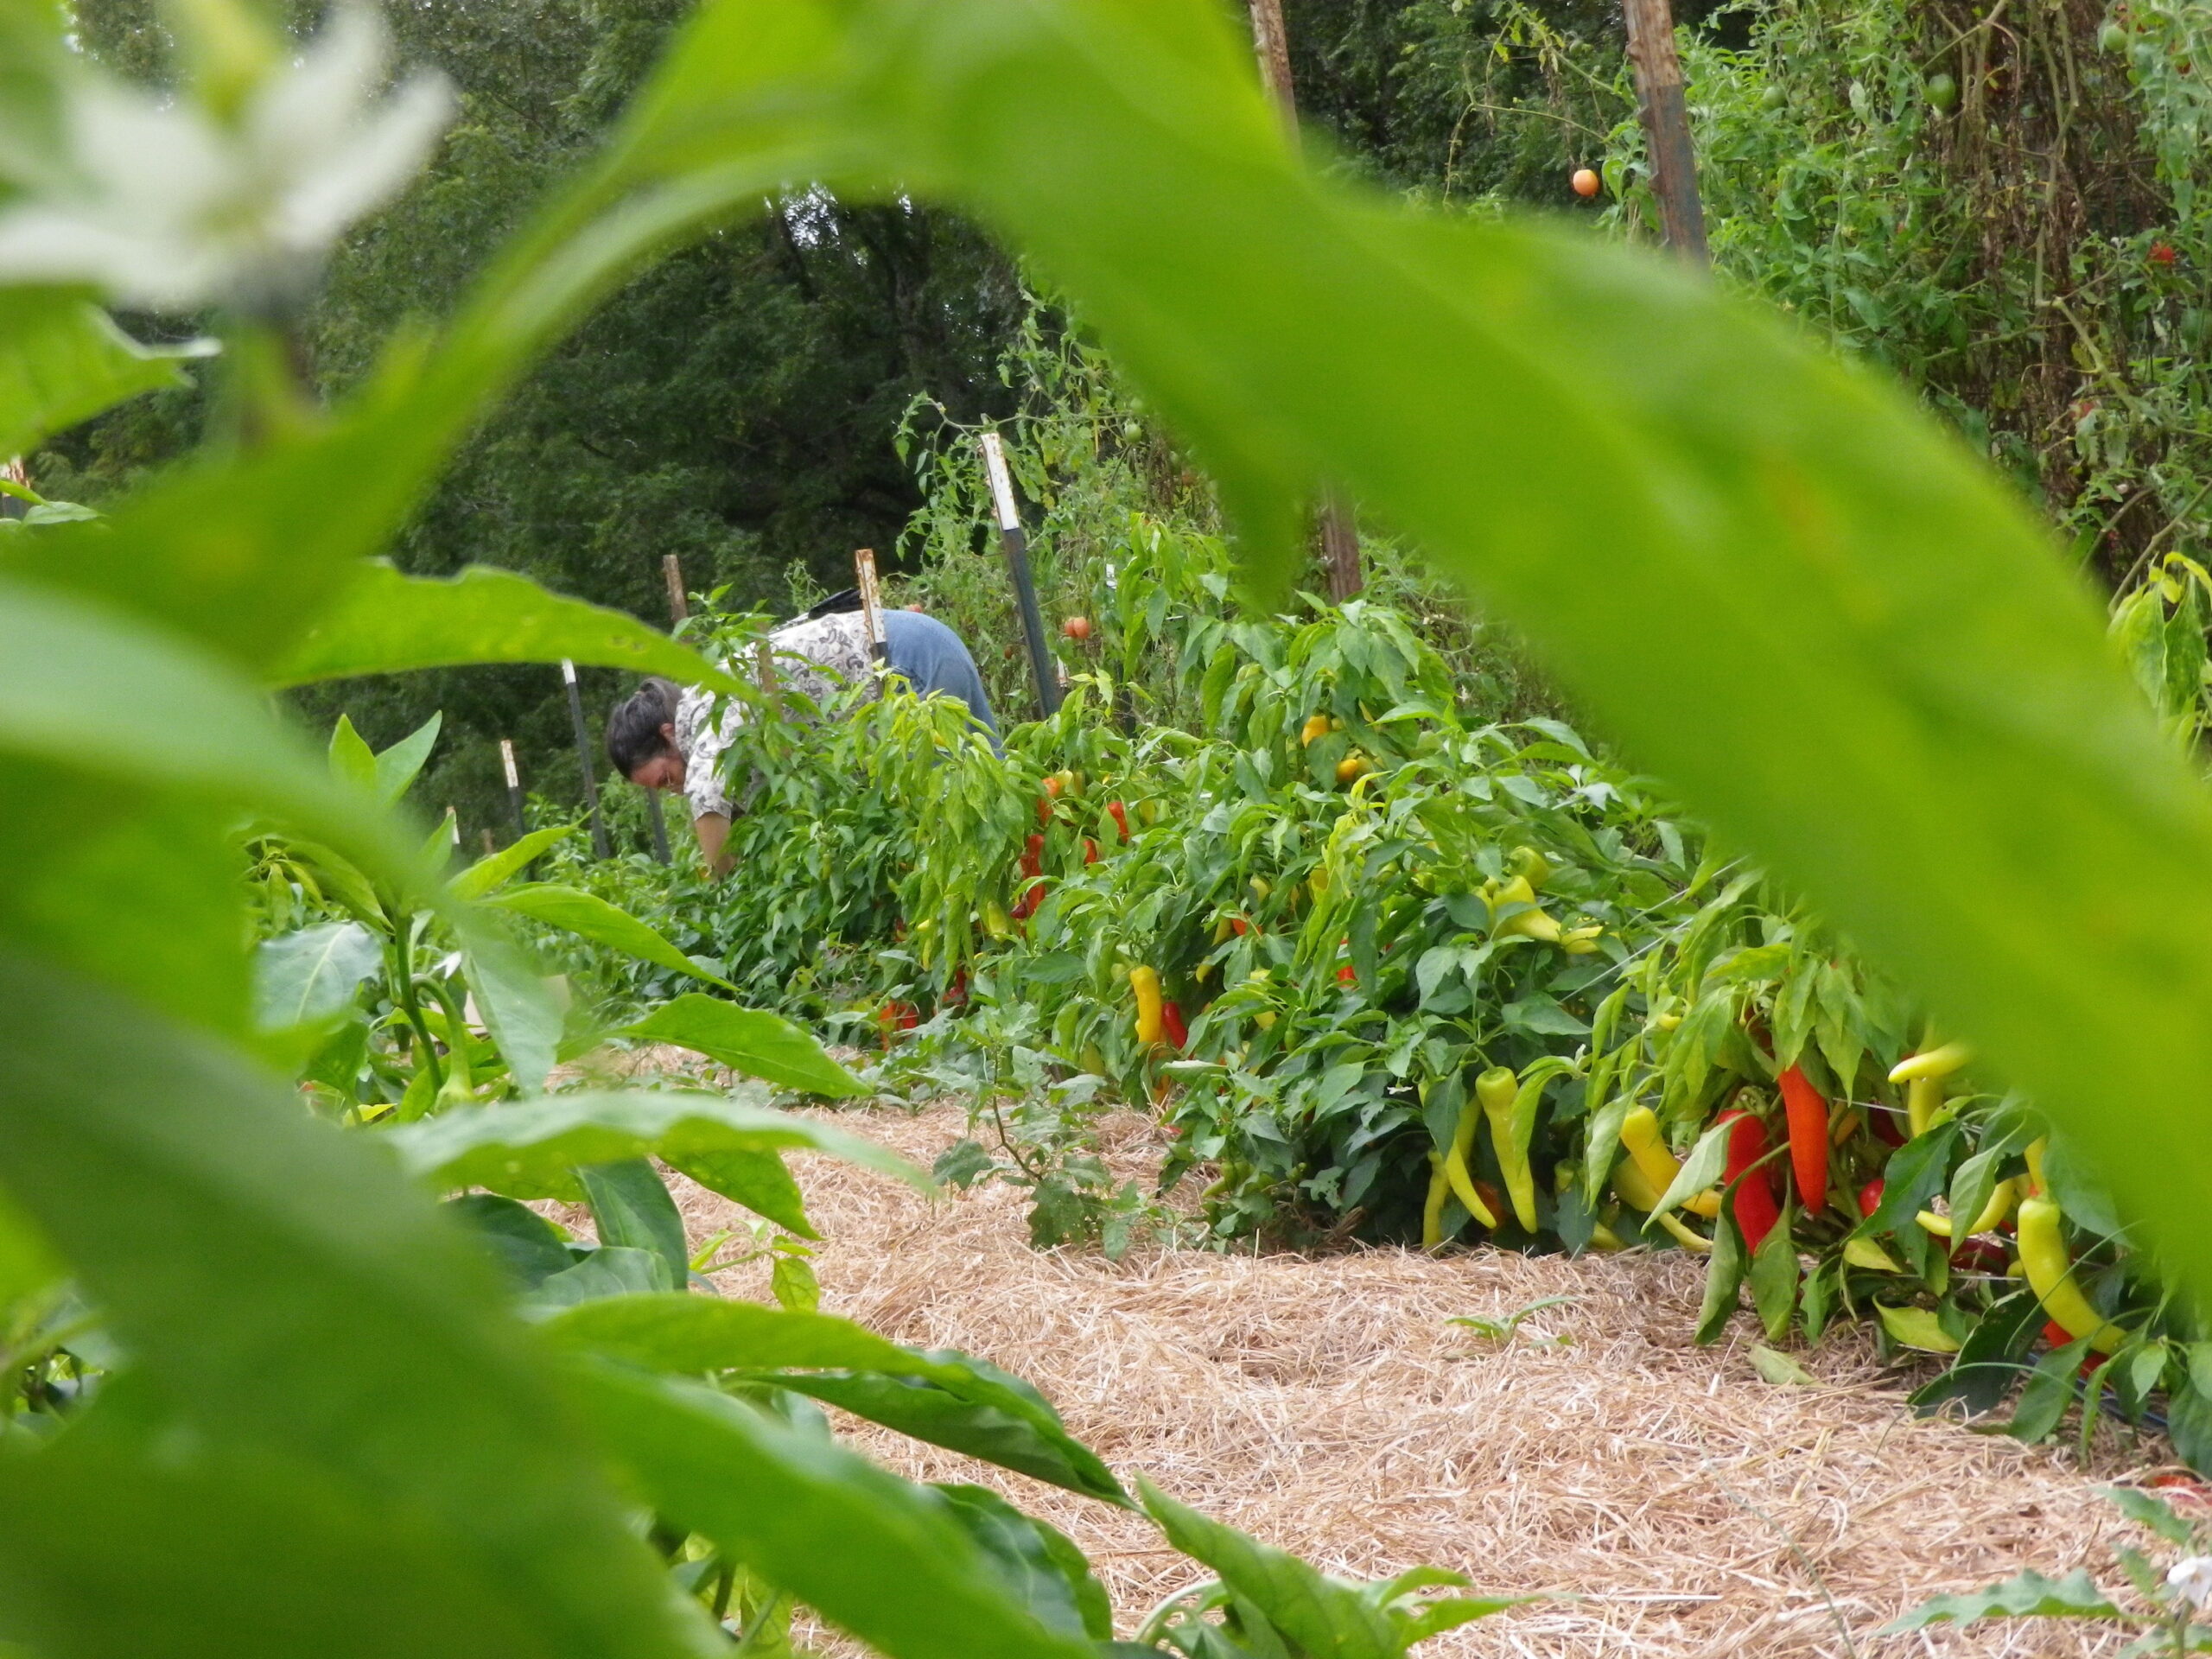
Bare soil is dead soil, especially when the temperatures climb. Keep your soil cool, moist, and healthy by keeping it covered. Cover crops are ideal for edges, pathways, and resting beds as they add nitrogen and organic matter to the soil. Some, like buckwheat, are very quick-growing and can be cut, dropped, and used as mulch for transplants. 

Use mulch around plants and in heavy-use pathways. Mulch doesn’t have to be beautiful and perfectly matching. Try woodchips, straw, hay, grass clippings, or old leaves.

Use Your Shade

Shade isn’t usually a vegetable gardener’s friend. However, in the middle of a hot summer, plenty of cool-season crops will benefit from a bit of shade. Use the spaces around fruit trees or sides of buildings to experiment with getting better summer production from tender crops like green mixes.

Save Seeds

Each year, you have an opportunity to adapt your favorite varieties to your climate. Take it. 

You may not have the time or energy to save all the seeds for your garden, but you can probably pick a few favorites. Maybe there’s a tomato you couldn’t live without or a pole bean your family has enjoyed for years. If you save seeds from the plants that performed best each year, you will shape that crop’s future to be specifically adapted to your growing conditions. 

Gardening has never been easy, and it isn’t getting any easier! Climate change brings warmer temperatures, drought, new pests, and more. Hopefully, these tips will help you adapt your garden strategy to climate change and have a productive year.

How to Grow Onions

Onions are often touted as one of the easiest crops for beginners, but many folks need help for good production. Bulb onions can be a bit finicky, and if you don’t provide the correct conditions, your onions won’t bulb up properly. This quick-growing guide will get you on track for a big onion harvest, even if you’re a complete beginner.

Step One: Choose the Right Onions for Your Area

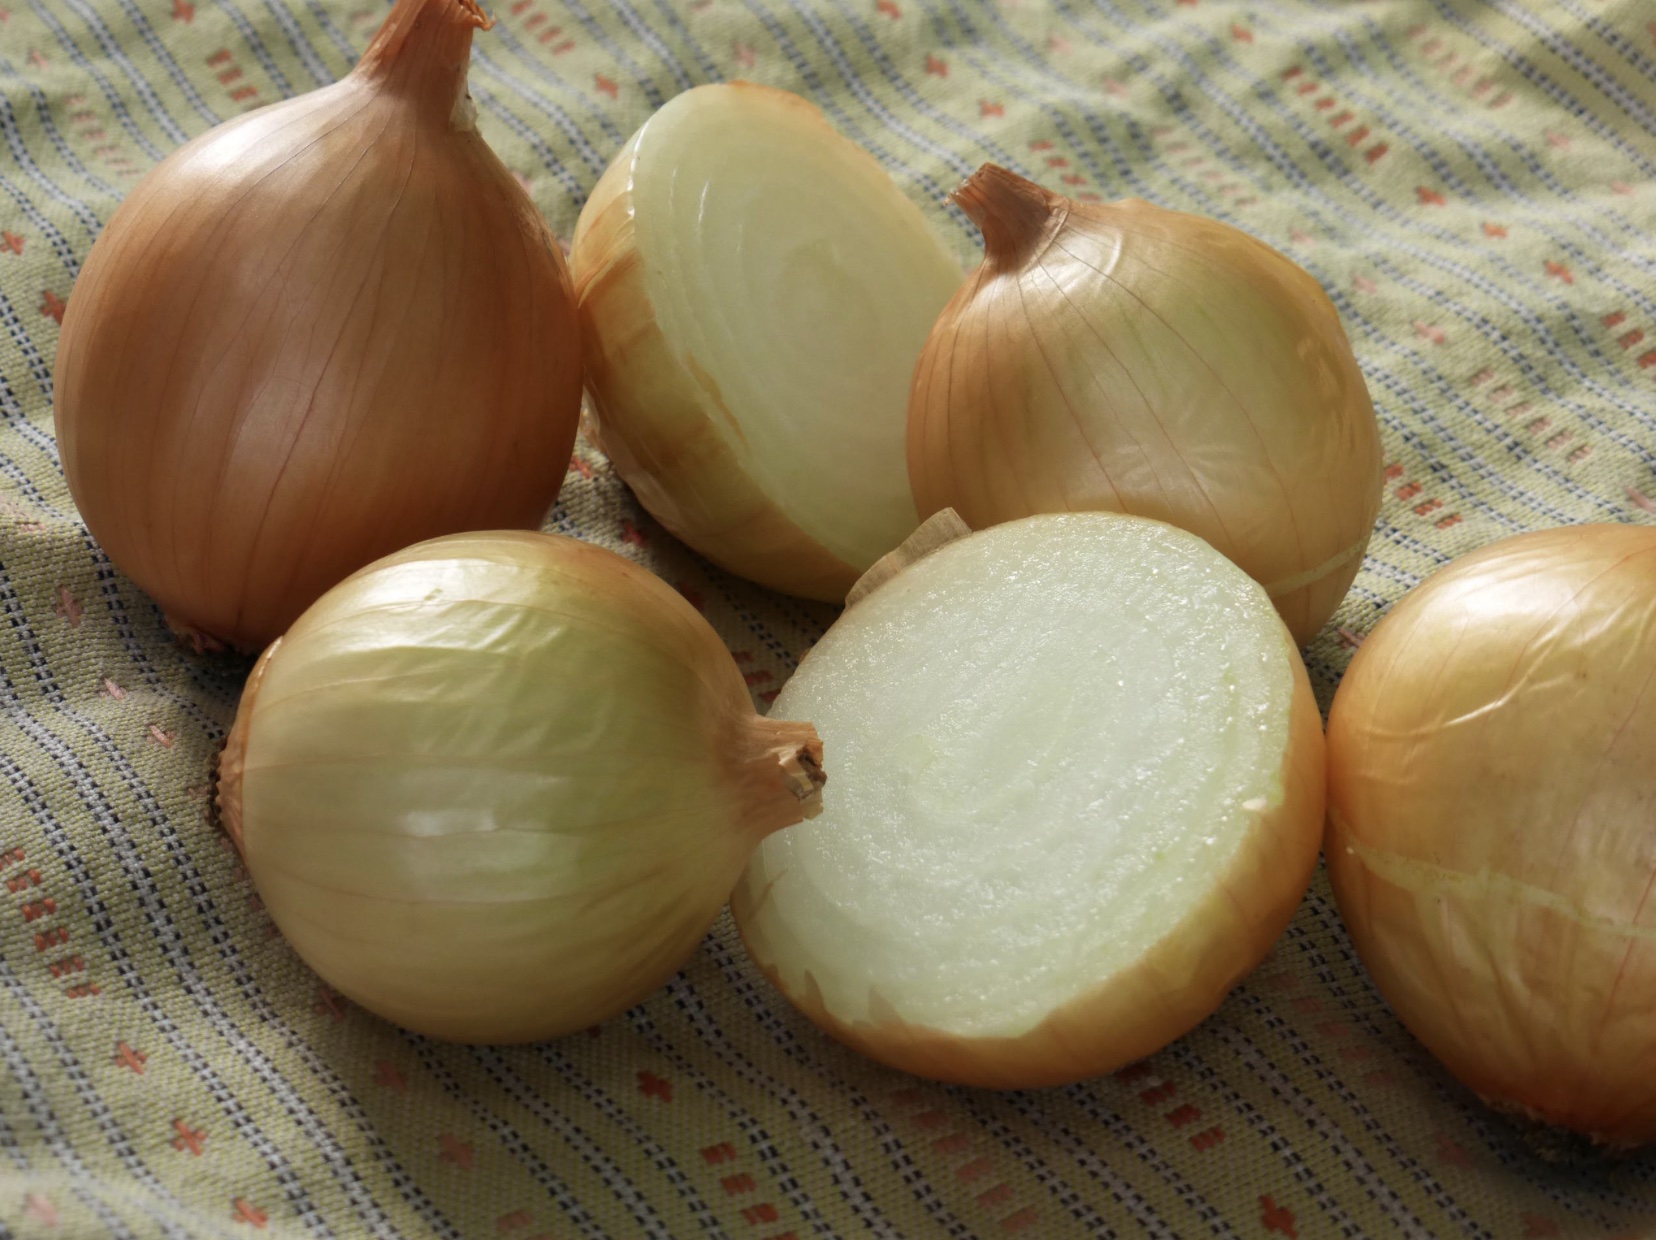
If you’ve browsed the bulb onions we carry, you’ve probably noticed that there are long-day (LD) and short-day (SD) onions. This designation is critical as it refers to the hours of daylight necessary to trigger the onions to bulb up.

Long-day onions need 14 to 15 hours of daylight to bulb, while short-day onions need 10 to 12 hours of daylight. For the LD types that we carry, you can plant them from Virginia northward. SD types can be spring or fall-planted in Virginia and fall-planted in the South.

Step Two: Start Onions Early

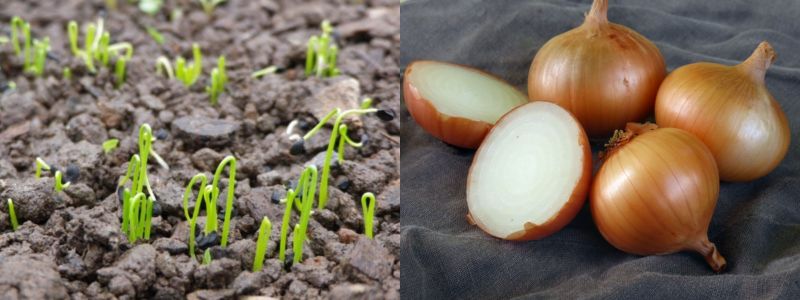
Bulb onions are one of the earliest crops we start at Southern Exposure. We begin tucking seeds into cold frames between September and January. You can also sow them in a greenhouse or indoors any time from mid-September through mid-March.

Just remember, earlier is better! Earlier sowing means larger bulbs because plants will get larger before the heat and lengthening days signal them to bulb up. 

Onions should be sown about 1/4 inch deep in flats or trays. If you’re new to seed starting, check out this guest post, Starting Seedlings, by our friend Pam Dawling, author of Sustainable Market Farming.

Guest Blog Post: Starting Seedlings

Step Three: Select a Good Location & Improve Your Soil

Onions grow best in bulbs with full sun and light, well-drained soil with a pH between 6-7. Soil that is too acidic or alkaline will cause slow growth and late maturity.

Onions are heavy feeders that require fertile soil with plenty of organic matter. Onions need abundant potassium and phosphorous for good bulb formation and plenty of nitrogen during active leaf growth.

To improve your bed for transplanting, remove all weed growth, loosen the soil with a broad fork, garden fork, or tiller, and add a few inches of finished compost.

Step Four: Transplant Your Onions

Transplant your onions early. Onion seedlings are hardy to about 20 degrees F. Set them out in February or as soon as the soil can be worked in the spring.

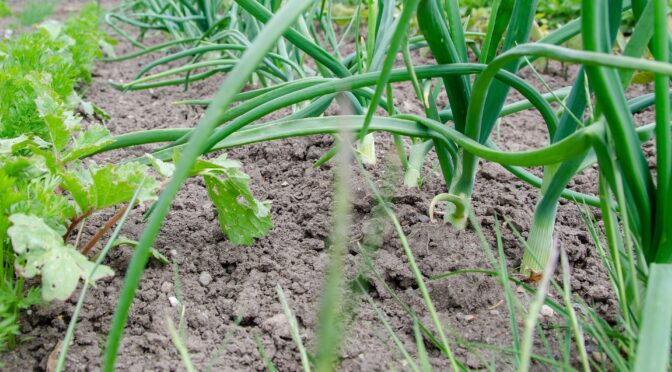
Plant your onions 3 to 4 inches apart in rows 12 to 16 inches apart. Crowding can reduce production, particularly in poor soil. Refrain from pruning the tops, or your harvest will be significantly decreased.

Step Five: Mulch them Well

Mulch around your onions with a thick layer of straw, old leaves, grass clippings, or other organic material. Mulch will help suppress weeds and aid in maintaining moisture and nutrient levels.

Step Six: Keep Up with Weeding

Yes, this is every gardener’s least favorite chore and seems like a no-brainer, but it is critical with onions! Experiments have shown that weeds can cause a 4% reduction in onion production in one day or a 50% reduction in yield in 2 weeks.

Onions have shallow roots, so you may need to weed them by hand. Cultivation between rows should be shallow. 

Step Seven: Harvest & Cure Your Onions

Harvest your onions when most of the tops have fallen over.

Some folks like to break the tops of their onions by hand to accelerate harvest. However, we’ve found that this harms the storage ability of some varieties and helps the storage ability of other varieties.

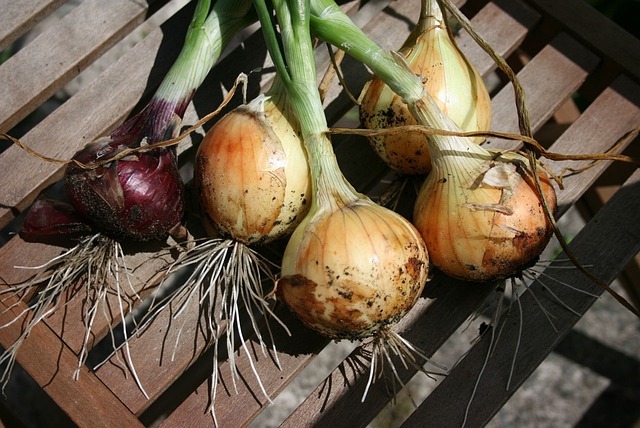
It’s best to harvest onions after a few days without rain so the soil isn’t muddy and difficult to work with. Pull your onions, using a garden fork if necessary, and cure them for 2 to 3 weeks until the necks have thoroughly dried. 

Cure your onions somewhere with partial shade and good ventilation. After this period, you can clip the tops to within one inch of the bulb. 

Texas Early Grano OnionsStep Eight: Rotate Your Onions Next Season
As with all crops, onions are subject to specific pest and disease issues. To continue getting good production, it’s best to rotate your crops. We like to rotate onions on a three-year rotation and compost any onion residue to keep them pest and disease-free. 

If onions have given you trouble in the past, following this guide can help ensure good production. Start your onions early, provide plenty of space and nutrients, keep them weeded, and harvest them properly. Happy gardening!

6 Tips for Ordering Vegetable Garden Seeds

It’s that time of year again! After a short break, we’re already dreaming up next year’s garden, and soon, we’ll be flipping through the seed catalogs. Whether you’re an experienced grower or a first-time gardener, you should consider a few things when ordering vegetable garden seeds. 

Get your order in early.

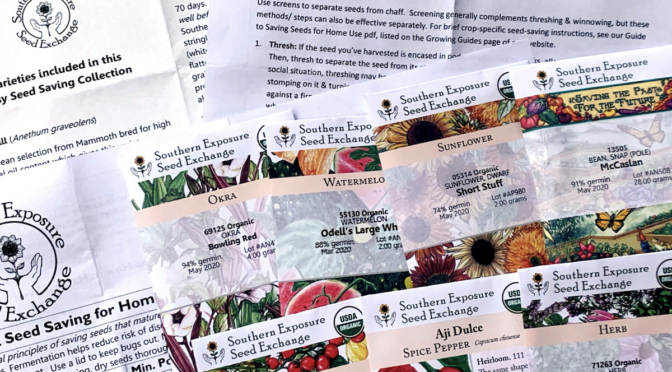
In many areas, the demand for vegetable seeds has remained higher than usual since the pandemic. We’ve found that this is especially true for staple crops like heirloom dent corn and pole beans, which are more challenging for large seed growers to produce. Getting your order in early ensures you don’t miss out on your favorite varieties.

Additionally, getting your order in earlier will help ensure you get your plants started on time. It may seem unbelievable for new gardeners, but we begin the growing season in January, tucking cold, hardy crops like bulb onions and broccoli into flats indoors. Hence, they’re ready for transplanting in early spring.

USDA Hardiness Zone MapKnow your climate.

Knowing your hardiness zone can help you decide what plants and seeds best suit your area. The USDA just released an updated U.S. Hardiness Zone Map, and we have a Guide to Understanding Hardiness Zones you can check out.

One of the biggest things to consider when ordering your seeds for your climate is their days to maturity. Some crops like Vates Collards are quick, maturing in just 68 days, meaning you can get multiple successions even in many northern areas. Other crops like Rouge Vif d’Etampes (Cinderella) Pumpkin take a long, warm 120 days to mature.

Bulb onions, in particular, can be tricky. You’ll notice that there are long-day (LD) and short-day (SD) onions. Long-day onions need 14 to 15 hours of daylight to bulb, while short-day onions need 10 to 12 hours of daylight. For the LD types that we carry, you can plant them from Virginia northward. SD types can be spring or fall-planted in Virginia and fall-planted in the South.

Be realistic about your space and time.

It’s easy to end up with a vast seed order after flipping through the seed catalogs on a dreary winter day. Dreaming about all the heirloom varieties thriving in your garden invokes a sense of hope and excitement for the season to come. 

However, ordering more than you have the time and space for can lead to disappointment. It’s better to have a smaller garden you can manage and enjoy spending time in than a large, unproductive, weedy patch.

Cucumbers, beet, garlic in basketConsider pest and disease resistance.

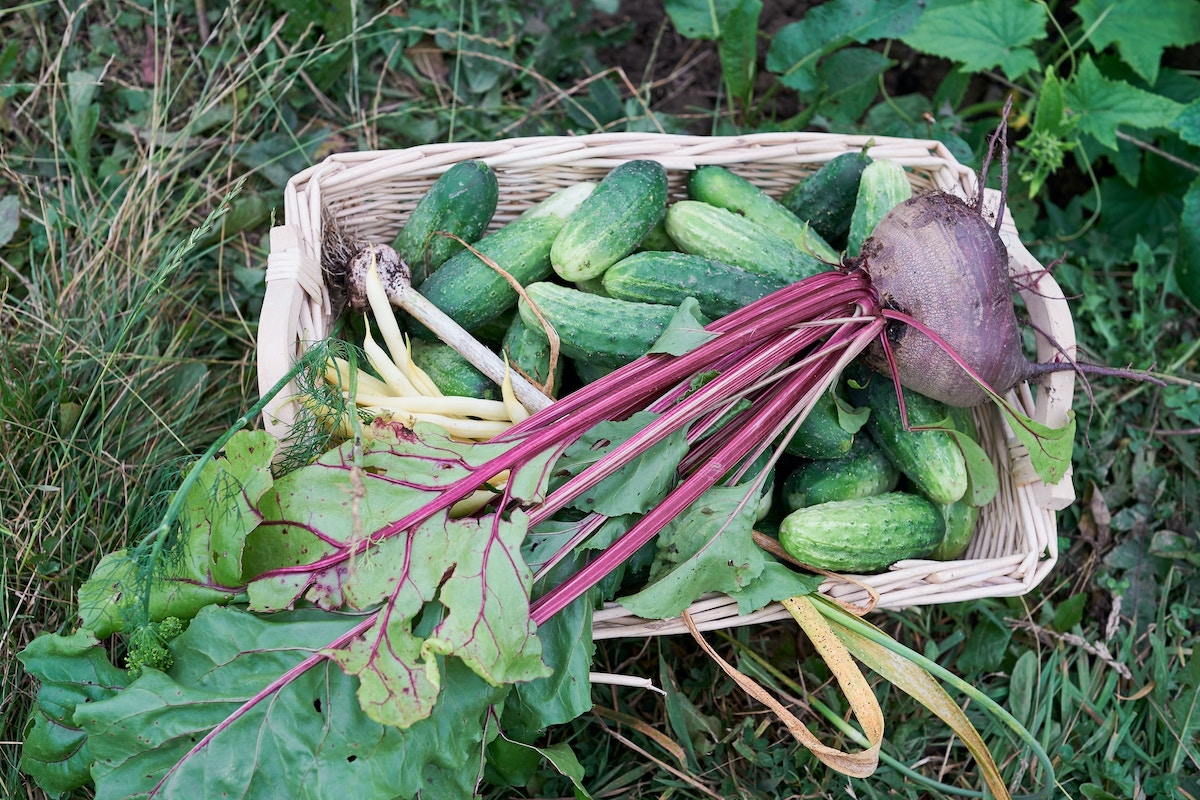
Check out disease-resistant varieties, especially if you’ve had past issues with a specific crop. We carry many varieties with particular disease or pest resistance. You’ll find keys to disease and pest resistance on our website and catalog, like this tomato disease resistance key. For example, tomatoes marked “ab” are Alternaria (early blight) resistant, and cucumbers marked “cub” are resistant to cucumber beetles.

Think about pollinators.

A vegetable garden is nothing without pollinators—the healthier your local population of pollinators, the healthier and more productive your garden. Consider adding a few flowers to the mix. Even if you’re working with limited space, flowers can help improve production. One study found that flower strips and hedgerows in crop fields reduced pest pressure and improved pollination and yield. Flowers are worth it!

Gochugaru Hot Pepper

Focus on your favorites.

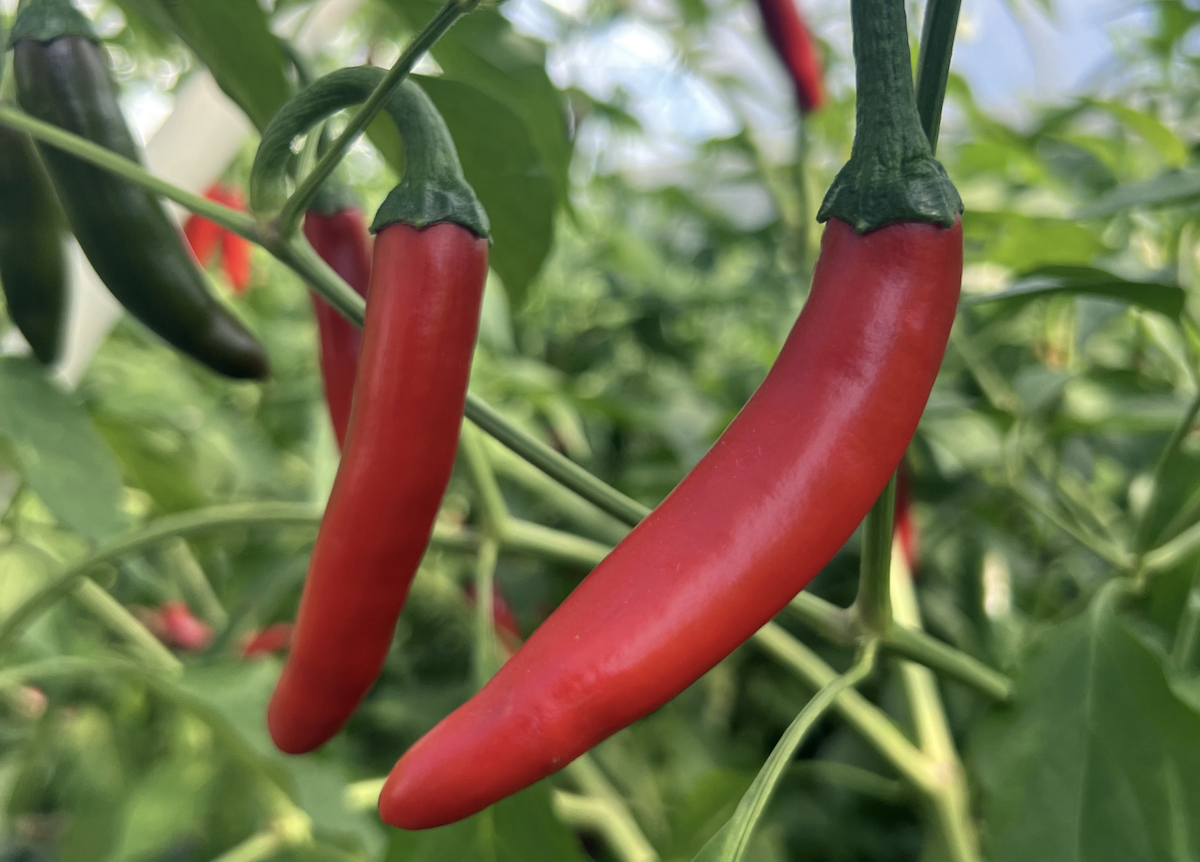
Your garden should bring joy to your life and kitchen. If you love Caprese salad, try out varieties like Lettuce Leaf Basil to maximize production or Red Rubin Basil to add a unique purple flair. Love kimchi or Korean sauces? Try growing the classic Korean Gochugaru hot pepper. Have you always wanted to make your hot sauce? Opt for something like the juicy Xochiteco Hot Pepper from Southern Mexico. 

On the flip side, if you never buy winter squash, adding them to your garden may not be the best plan because they’re an excellent storage crop. Use your space wisely and get the most enjoyment out of your vegetable patch possible.

When the catalogs start pouring in, making decisions can be tough! Keep these six simple tips in mind as you order your vegetable garden seeds this year.